
 |
| Ripped Cover as a result of a former career in student halls.... |
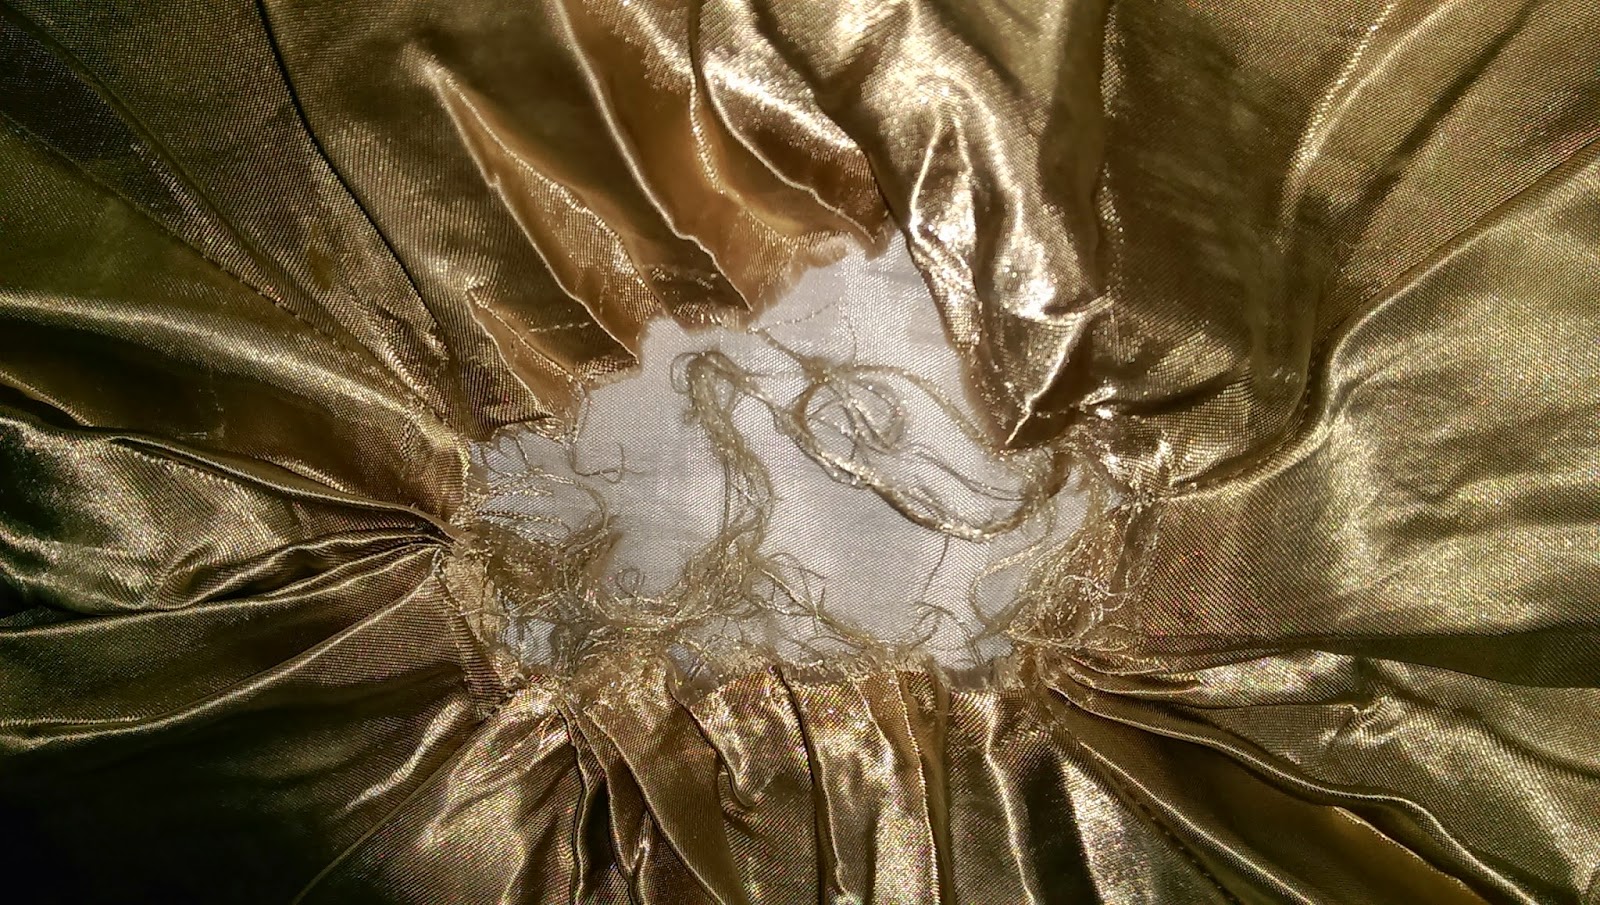 |
| Having never bothered to fix the original tear this has gotten worse over the years :-( |
The one good thing about the existing cover though was the presence of a good quality invisible zip!
 |
| The zip was still good! |
 |
| Checking the seam allowance so the final cover would fit. |
So the final design was made up of materials from my stash - the purple is from my New Look 6144 dress and the white is from a bunch of fat quarters which im not sure they ever had a definate purpose.
the pattern isn't exactly how i envisioned it i didnt have enough of either colour to make one the entire background on both sides so I improvised a bit and dont think it turned out too badly.
 Each of the pinwheels is made from a 6.5" square and each of the squares is then rotated one quarer wrt the previous one so it would give the efect of a rotating wheel. The inside of the cover is simply a piece of sheeting to line it and cover the raw edges - I was going to quilt the cover but the cushion was still quite good. On retrospect i should have quilted it. I may still do that at a future date....
So I hope you like my little stop gap project - it was really quick to sew up and looks a million times better than its predecesor!
JCS
No comments:
Post a Comment
I love reading your comments. Please feel free to drop me a wee message :-)