Sunday 26 July 2015

Complete: New Look 6020(2)

Hey guys! Iteration 2 of my New Look 6020 project is now completed :-D read - has been complete for quite some time... haha


I tried a few alterations from the first version that i made and I showed a few quick pictures of this during MMMay week 2 (and week 3) and even then I wasn't convinced that I had made the right changes - now after a ton of wear, I seem to have confirmed that while the changes helped they were not the right ones.


After many an hour trawling through the internets I'm pretty sure I need to size down to a 12 and perform an FBA. This should reduce the excess I'm still feeling in my shoulders and neckline. Also what is with the extra space before the pic below...(what can I say my laptop is pish!)


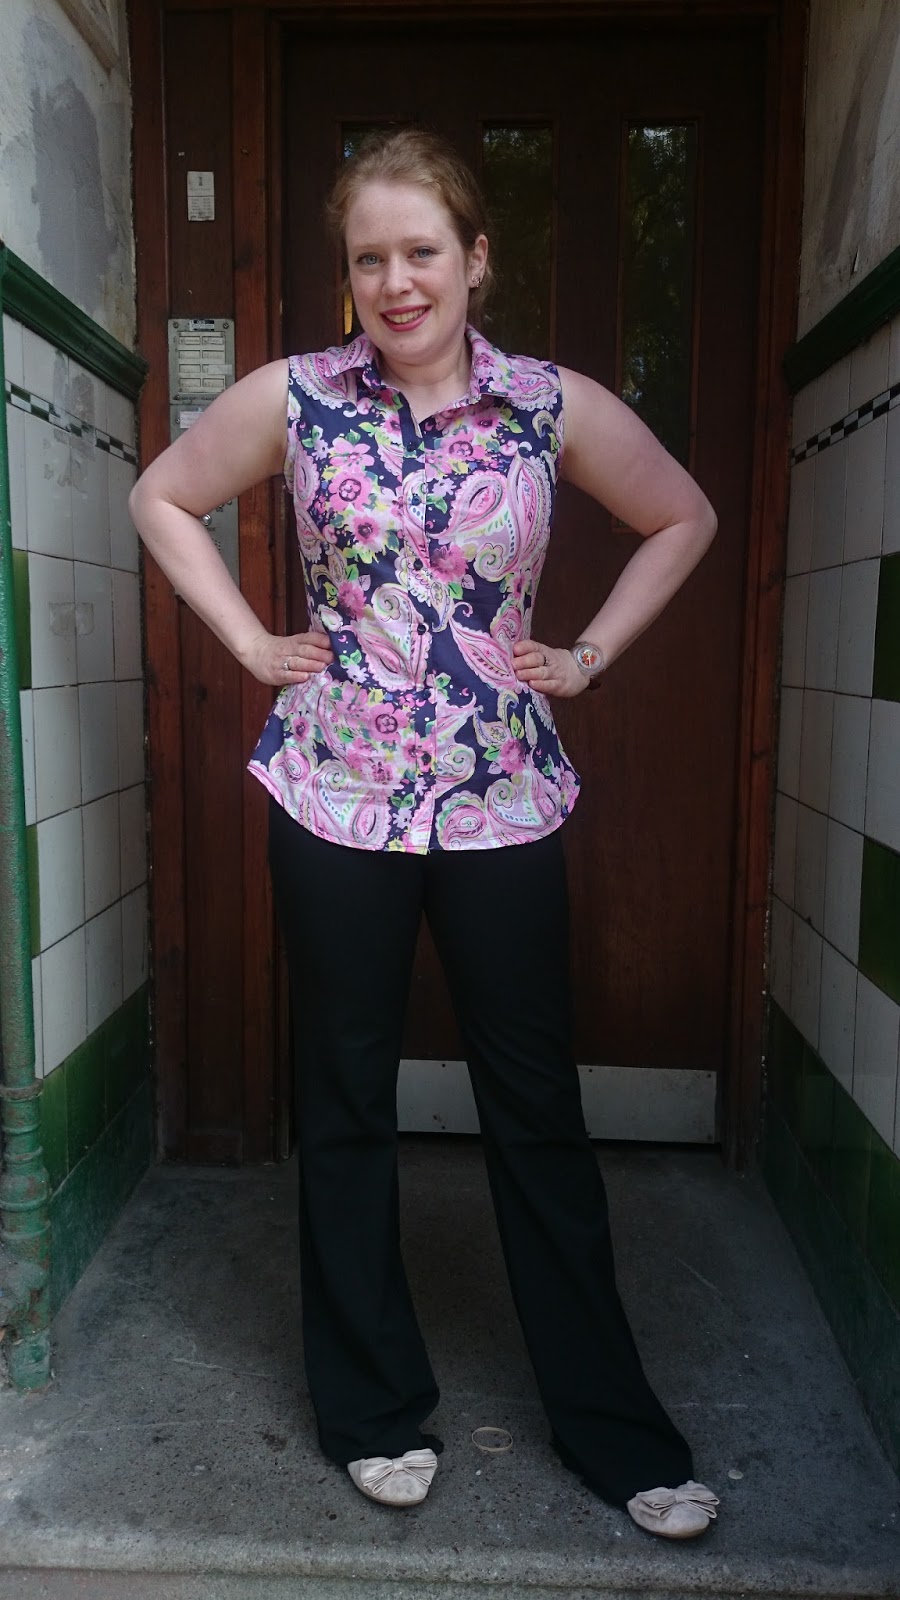
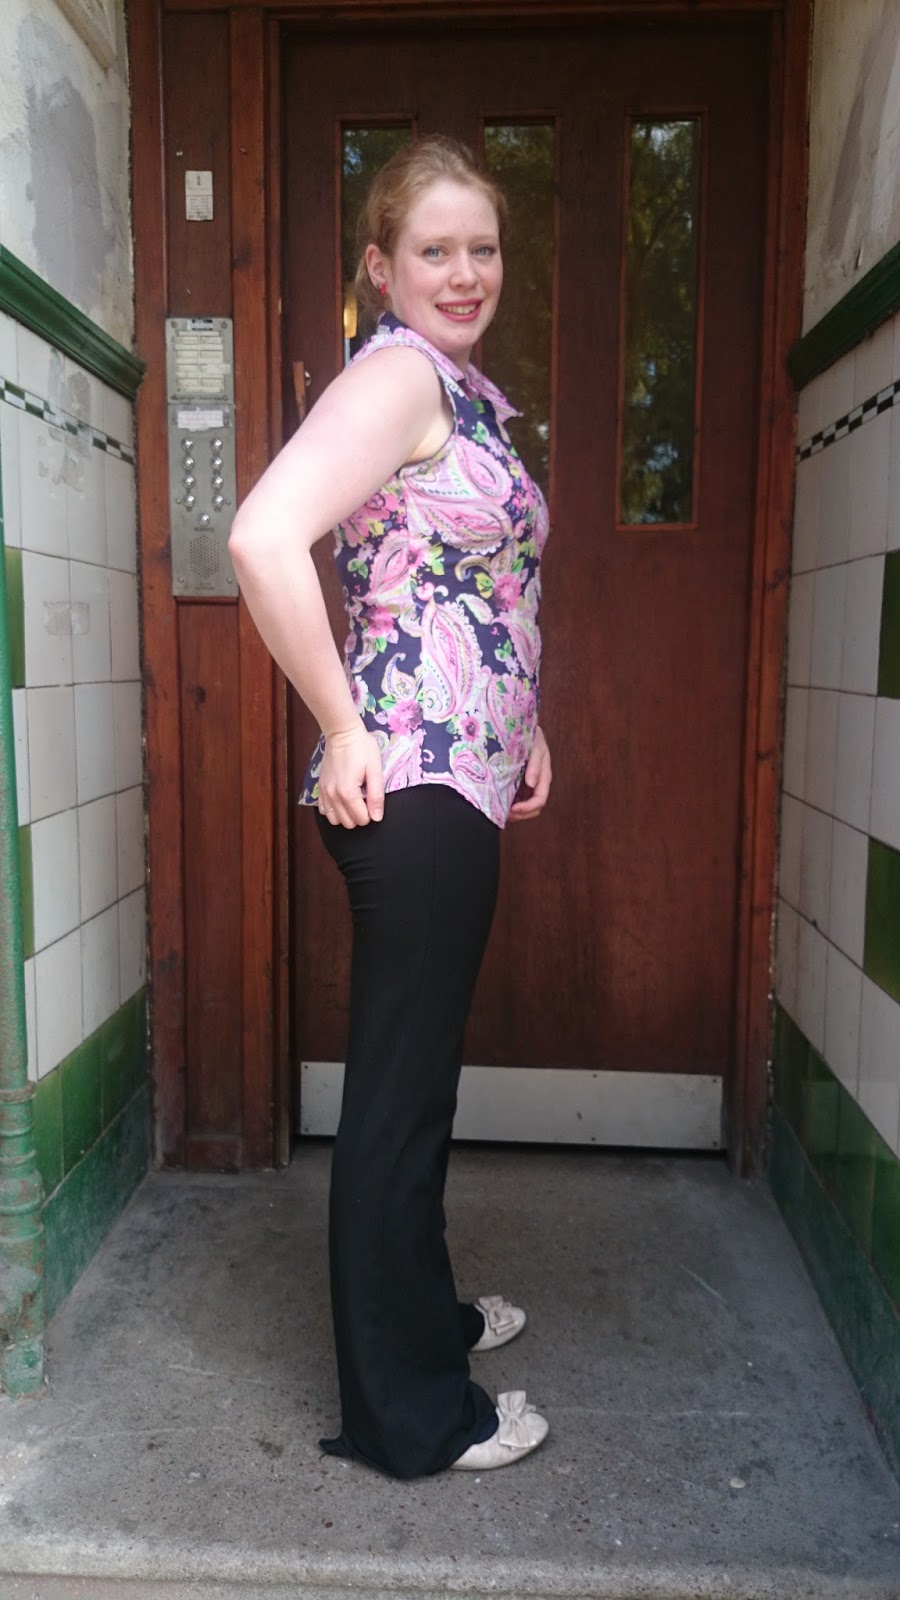
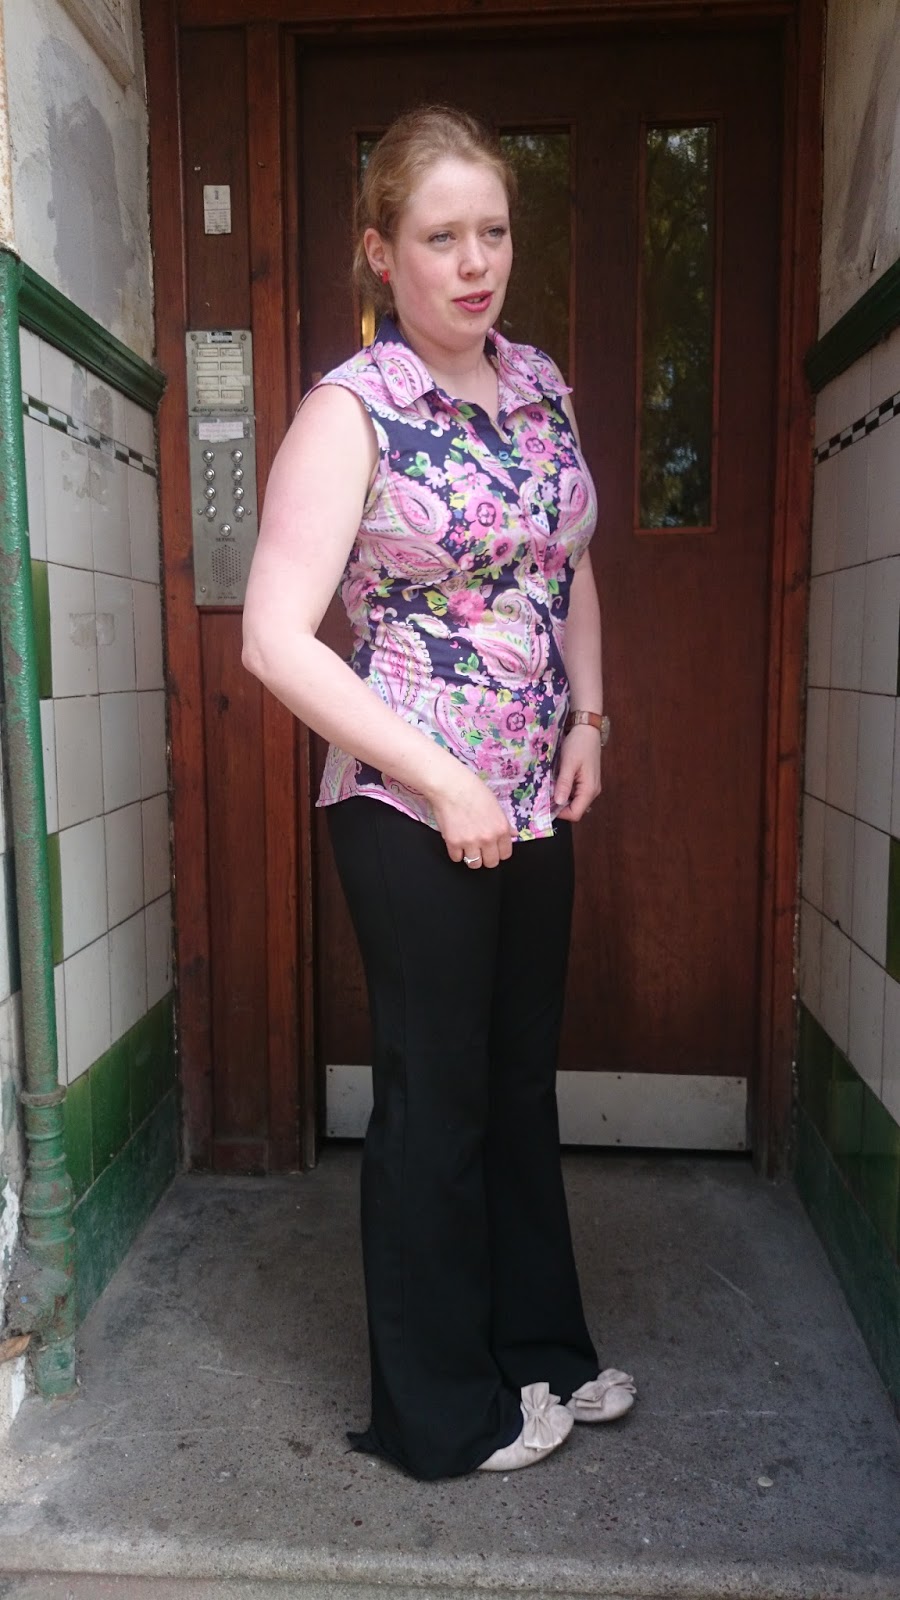
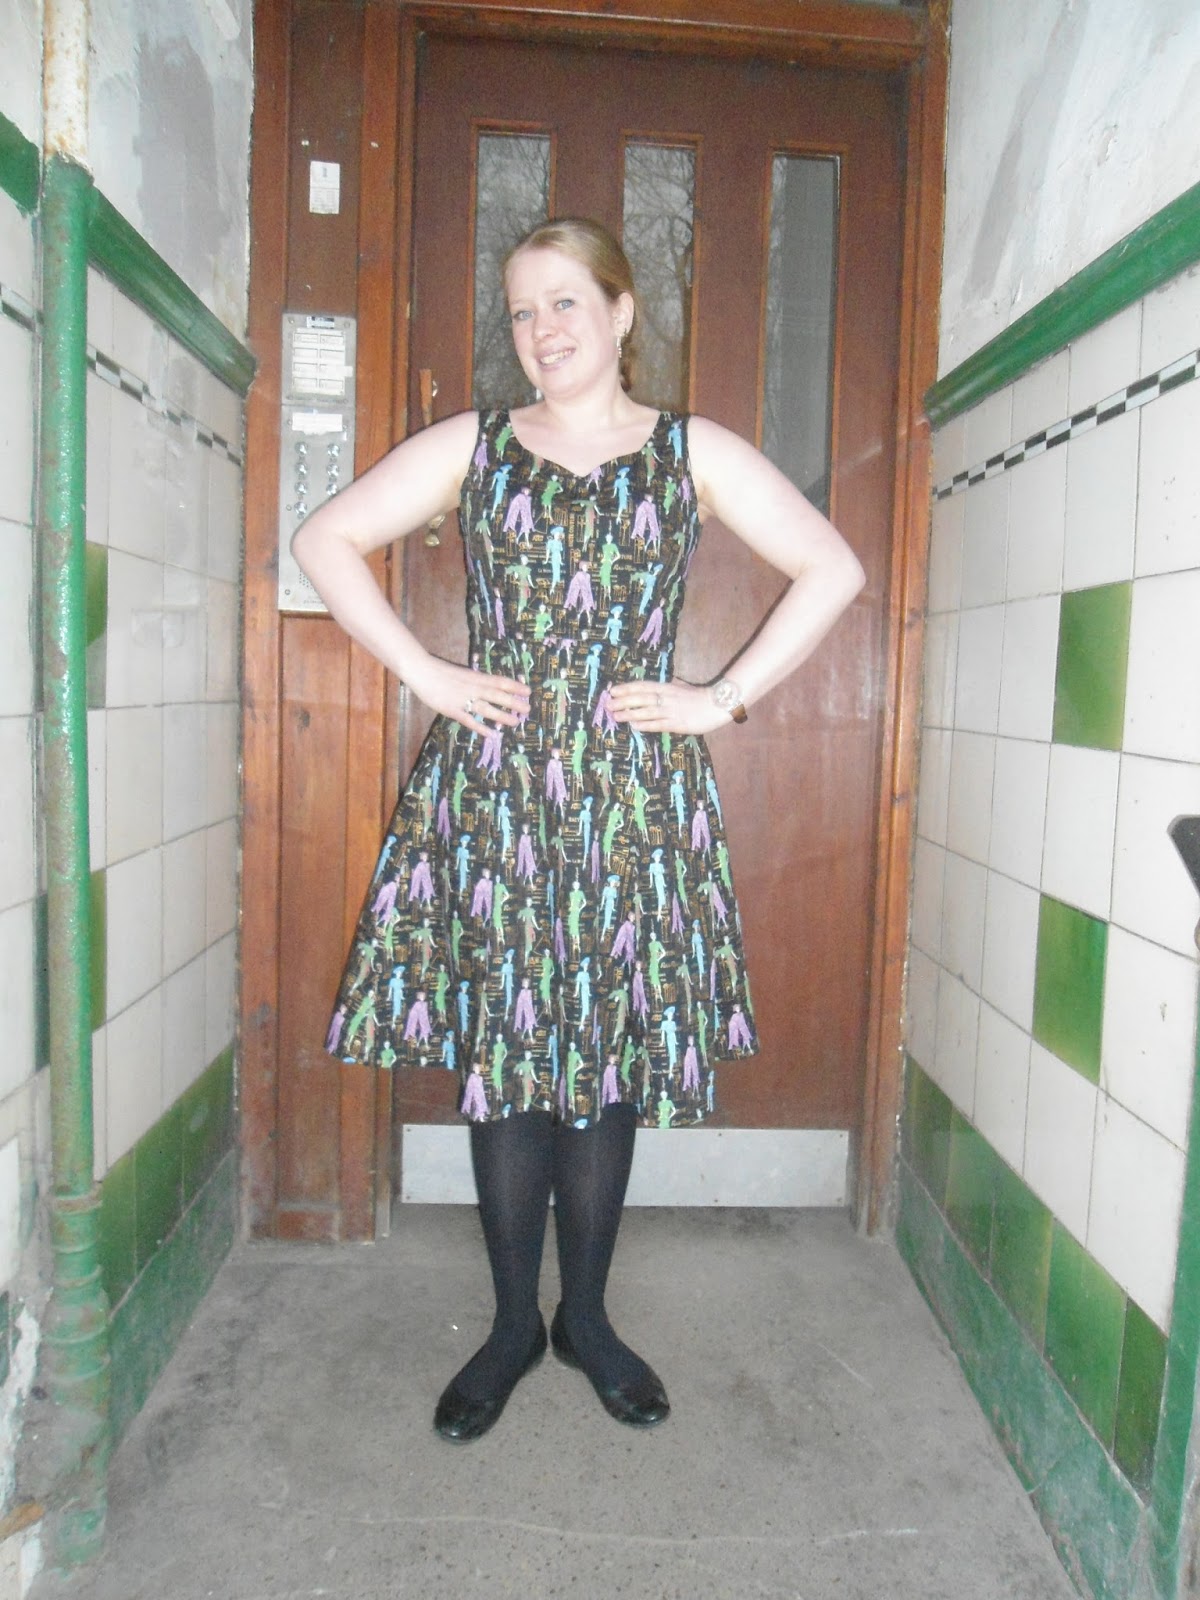
A lot of the gaping and excess is around the shoulders and the neckline as I cut a 14 based upon the 38.5 inch finished bust measurement. My high bust is a little over 36 inches and that puts me into the size 12 range. Next time I think I'll try the FBA as I have tried a few times recently to OK effect... :-)


This isn't to say that I don't have a wearable dress! It fits so much better than my last attempt and I love the fabric - it was another Mandors purchase and was around £6 per m.

Close up of the fabric

One thing I have decided upon with this version is that I'm happy with the length - previously I had toyed with the idea of making the dress full length but I now know I'm happy with this length.

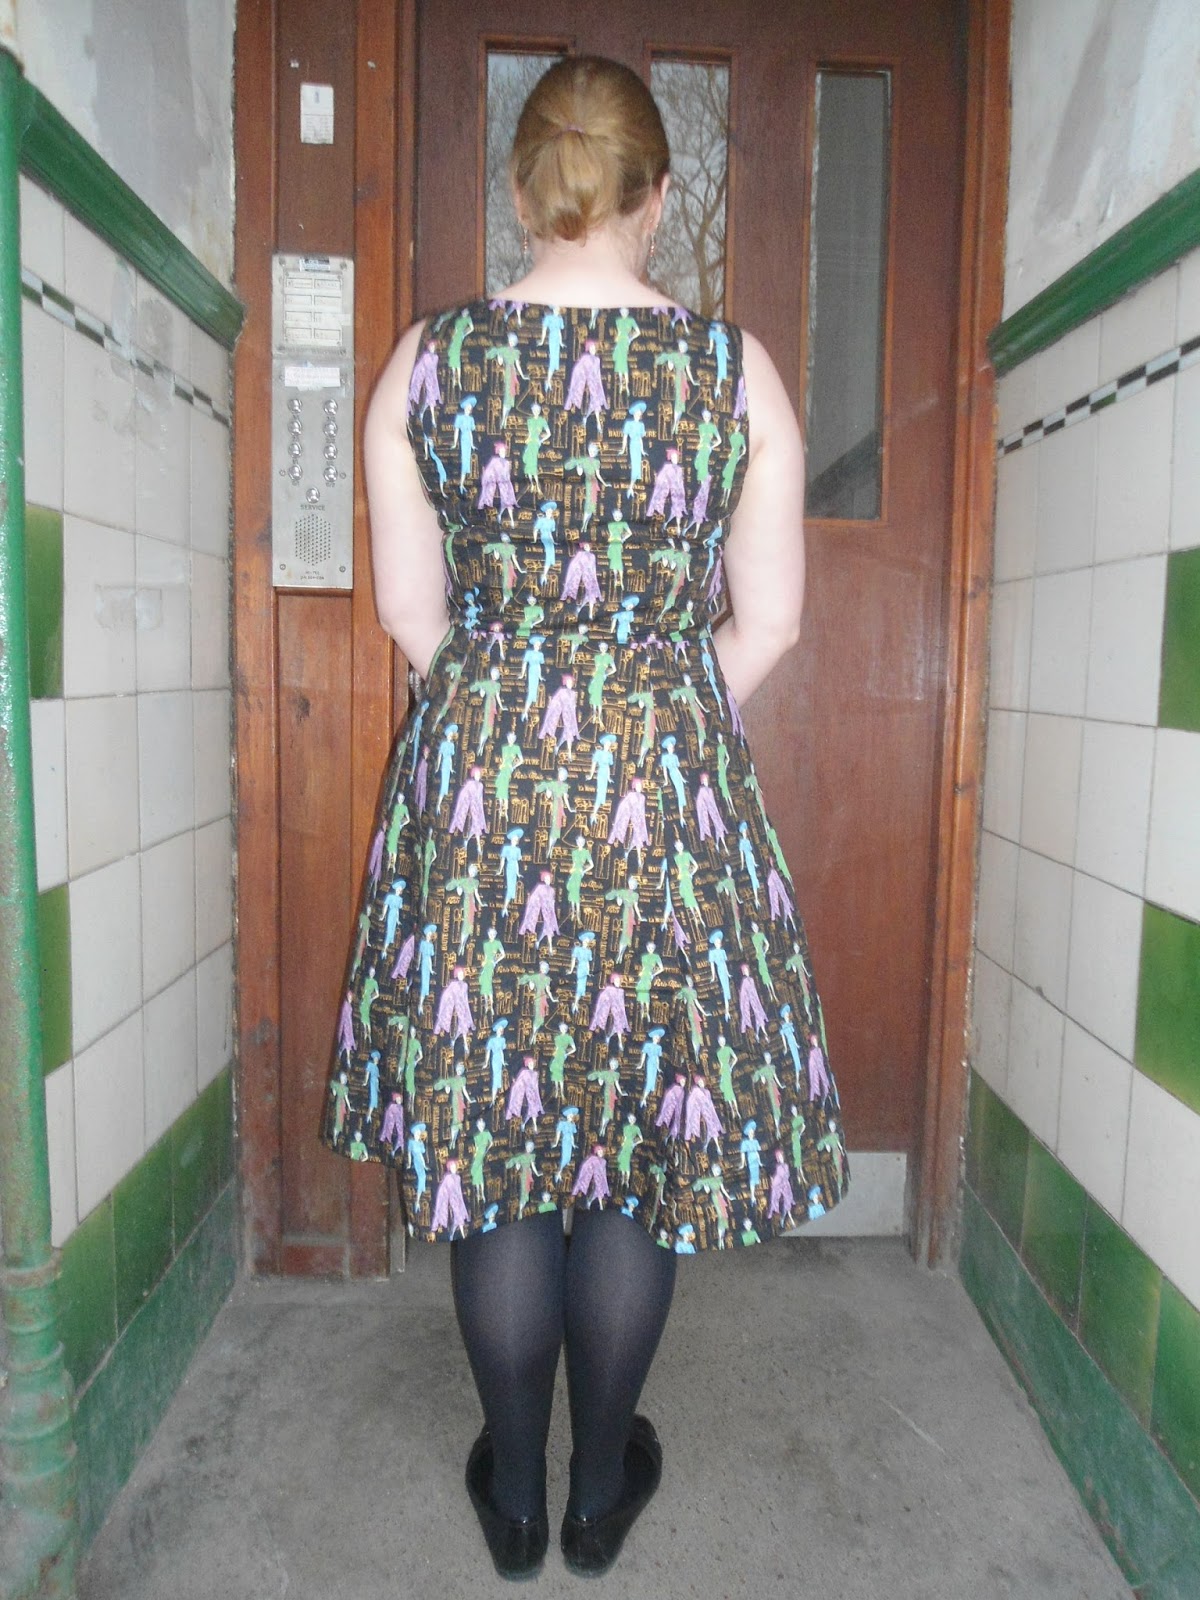
you can see the excess on the right neckline - it has a weird curve

All in all I think two more iterations and I might have a dress that I'm 100 % happy with...It turned out that with the lack of time I ended up with, I didn't use this pattern for the wedding but I cant wait to make this up again. I love love love the neckline and it's great to have a TNT princess seam bodice! As for that crepe...I have a plan, but need to wait for the cooler weather so sleeves will be functional!

Hope everyone has a great week - 'm off to another festival on friday - the gentleman of the road tour with mumford and sons and primal scream. I'm not necessarily the biggest fan of either bands however looking forward to the break. It's about a two and a half hour drive for us but the scenery is breathtaking! I think this dress may also make an appearance!

Jen xx


Wednesday 15 July 2015

Completed: Granville too

Good Evening guys! I hope you are all well and hopefully the sun shone where you were today too :-) I'm really glad its our long weekend this weekend I have been feeling so rundown! It's glasgow fair weekend this weekend - its a fair that dates back to the 12th centuary, Wikipedia has more info if you're curious - however it is now pretty much a bank holiday for all intents and purposes. If the weather holds we're off to my grans on friday to pick blackcurrants :-D.


 I have a bit of an impromptu make to share with you all tonight - another sleeveless Granville shirt from sewaholic. I had decided that after the previous version that I would like to make up another few similar shirts. The problem is that I dont really like this one. The fabric is the right weight and looks really nice and all it's just a result of sewing when I haven't been feeling well for a couple of weeks and this is riddled with mistakes.


I think that overall I got a better fit with this second version than with the first - I sized down from a 10 to a 6 and performed an FBA. I still need to add about another cm to the FBA but I think the darts are sitting ok adn it fits well around the neck and shoulders. Whereas the front looks not to be pulling- that is because of mistake 1 - instead of making a double fold on the left front I only folded once. HMPF! I only noticed after the collar and stand had been attached and by this point there was no going back. I fixed up the raw edge with bias tape. Problem solved.


Another thing which I annoyed myself with was my lack of attantion paid to the back of the shirt. I have made enough sway back adjustments by now that I know I should do them every time. But I forgot. For next time I will make this alteration! Due to the fact there is no CB seamline the back piece will have to be cut on a single layer in future.


While I sized down by two sizes so the shirt wasnt as baggy as last time I kept the few extra mm that the length of the 10 gave me. I serged the bottom hemline and then folded over once managing to create some additional length. While it may not be necessary I kind of like having a few additional cm at the hemline. I managed to line up the bottom of the button band and facing on this shirt better than the last time too: the button holes even sewed up really nicely and I think the buttons are lined up relatively square too. UNTIL I HAD CUT THEM AND REALISED THEY WERE ON THE WRONG SIDE!!! Face palm all round. The result being that the buttons sit very obviously off centre.

So the shirt os OK. it is wearable and will probably live under a sleeveless jumper if it makes it to an office situation. I was considering donating it however if i'm not happy with the finish I can't imagine other people would buy it! Finally:


Got to love a good outtake pic! Apparently John thinks this looks like I am lusting after a runner in lycra running past the flat....ahem!

Have a great week folks!

Jenn

Wednesday 1 July 2015

Completed: Sewaholic Cambie with a Pleated Skirt

Hello! It seems summer has now come and gone! Well almost. The sun seems to have returned to the clouds... At least I had a dress ready for the summer and conveniently as it turns out - it was the same day as my cousin's wedding!

Sewaholic Cambie Dress
The bodice pattern I used for this dress - as the title suggests is the Cambie by Sewaholic. This is a personal favourite bodice of mine however looking at the fit i think I need to make a few changes. I have already shortened the waistline by a cm or two and for this verison I made a sway back alteration too. Next time I think I will side down the bodice to an 8, perform an FBA, raise the neckline by a few cm and then grade back out to a 10 for the waist, I found that the neckline still gapes a little and I am determined to rectify this!

I think this photo proves we have lived together toooo long!!

In terms of pattern placement I only really agonised over the placement of the CF bodice. I wanted to have the flowers of the print on full display! Because of this I ran slightly over the 2 m of fabric I had and used some scraps from a previous project to use as the back lining and pocket pieces. The fabric was really light so definetely required lining - if only for modesty!

For the skirt I used my now favorite sewing technique - pleats! I substituted the gathered skirt for one width of fabric rectangle for the front and two half width for the sides - maintaining the pocket pieces of course. This brought a whole new meaning to advanced higher maths!!

each pleat was measured out to 4.8 cm

I did experience some overlap of the pleats because the fabric was 160 cm wide.... and I experienced a lot of heartache in ironing them pleats when I took the dress out of the case! This added like an hour to my getting ready time!

So thats about it for this dress. Sadly I ran out of time to make the red crepe dress which I had wanted to but I'm really happy with what resulted! And to finish on a high - who can resist an awesome photo in a beautiful car!


Hope everyone else enjoyed their summer (!)

Jenn xx