Tuesday 23 December 2014

Complete: A Christmas Cambery

Q. What do you get when you cross the Sewaholic Cambie bodice with the Christine Haynes Emery skirt?

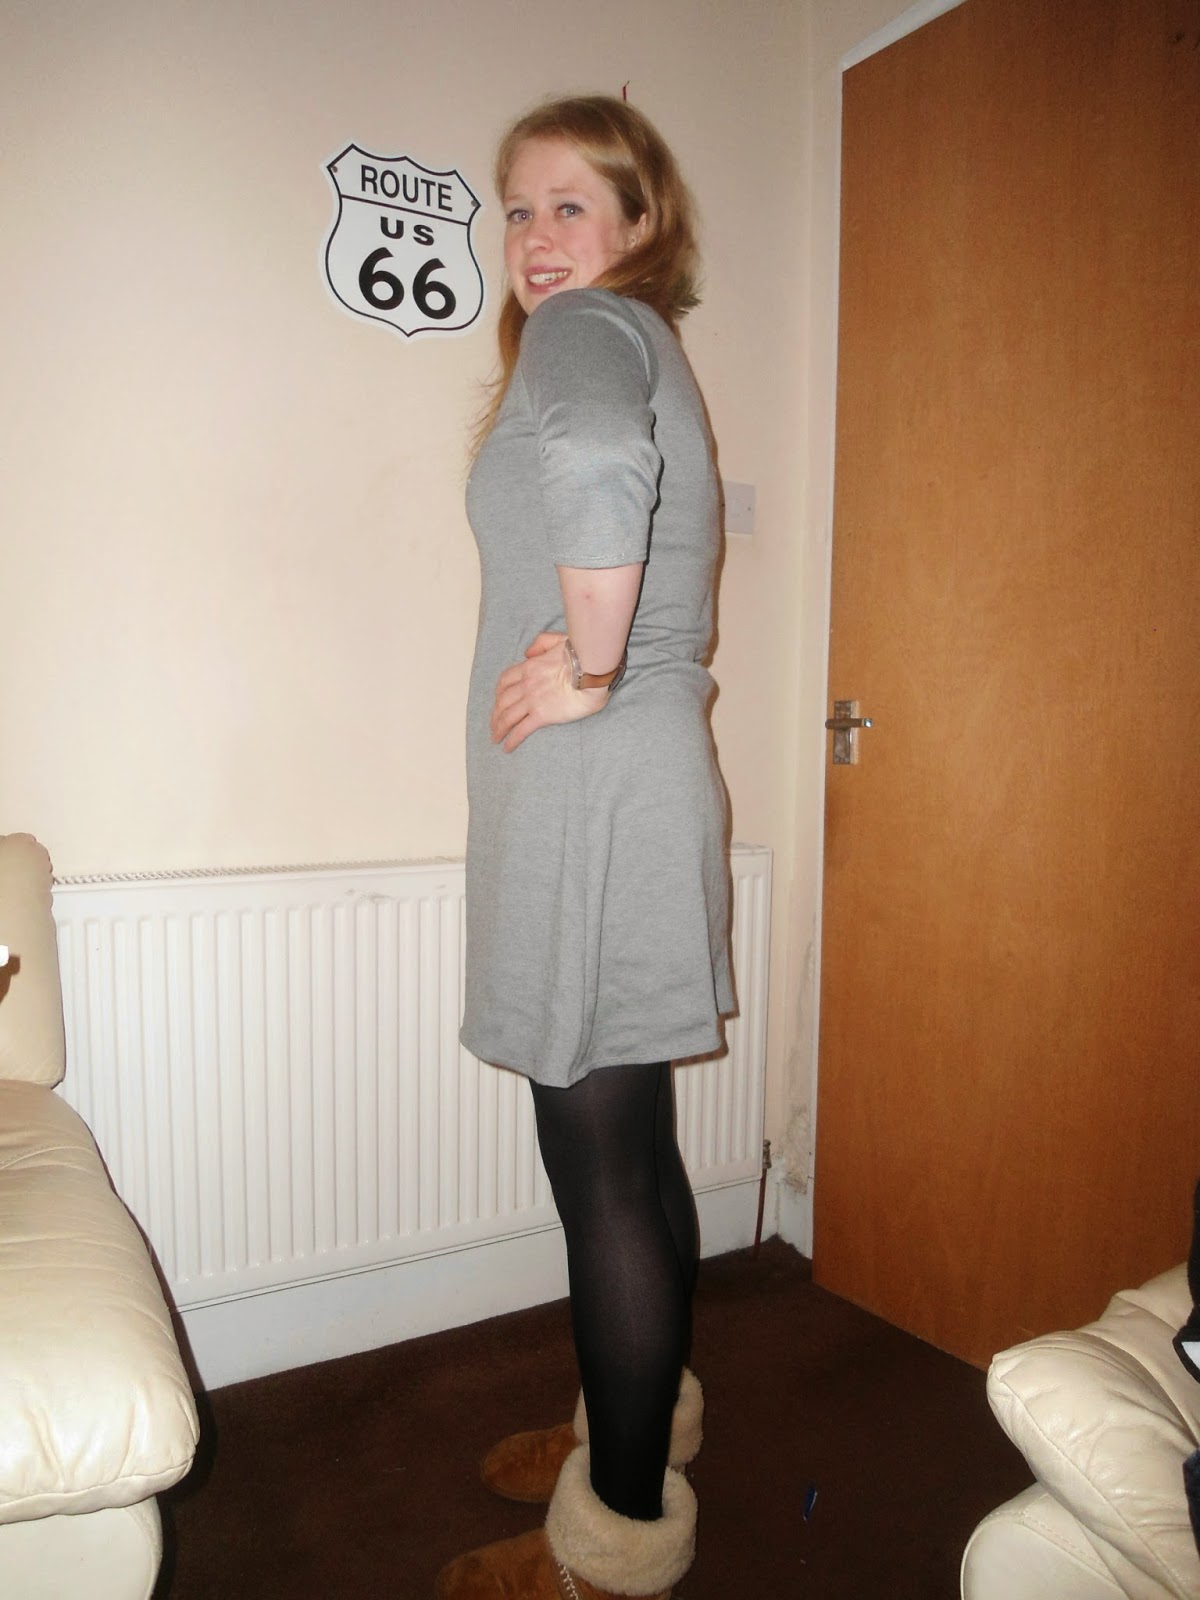
A. A Cambery dress of course!


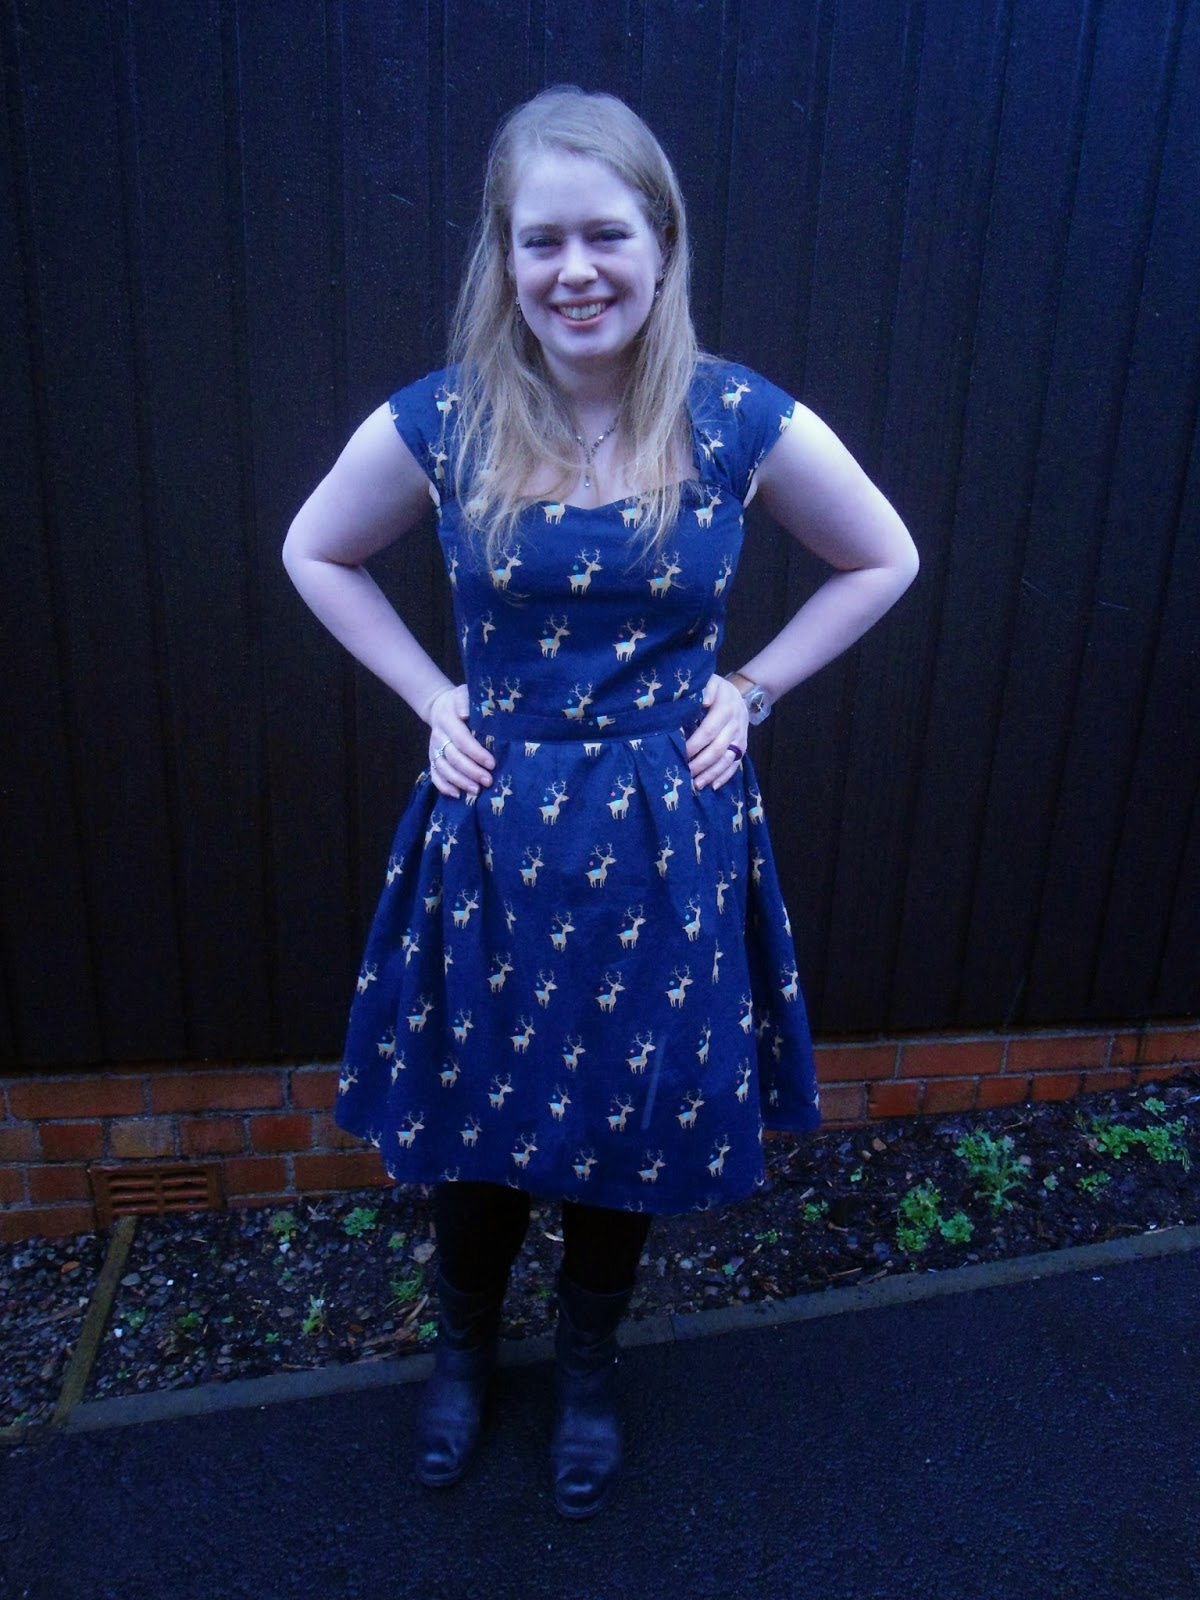
so here is my Christmas Cambery dress, a combination of patterns that I am sure to use again.  This pattern combination came about due to an engineering challenge that i set myself...failure to buy enough fabric for the really gathered and voluminous cambie skirt!

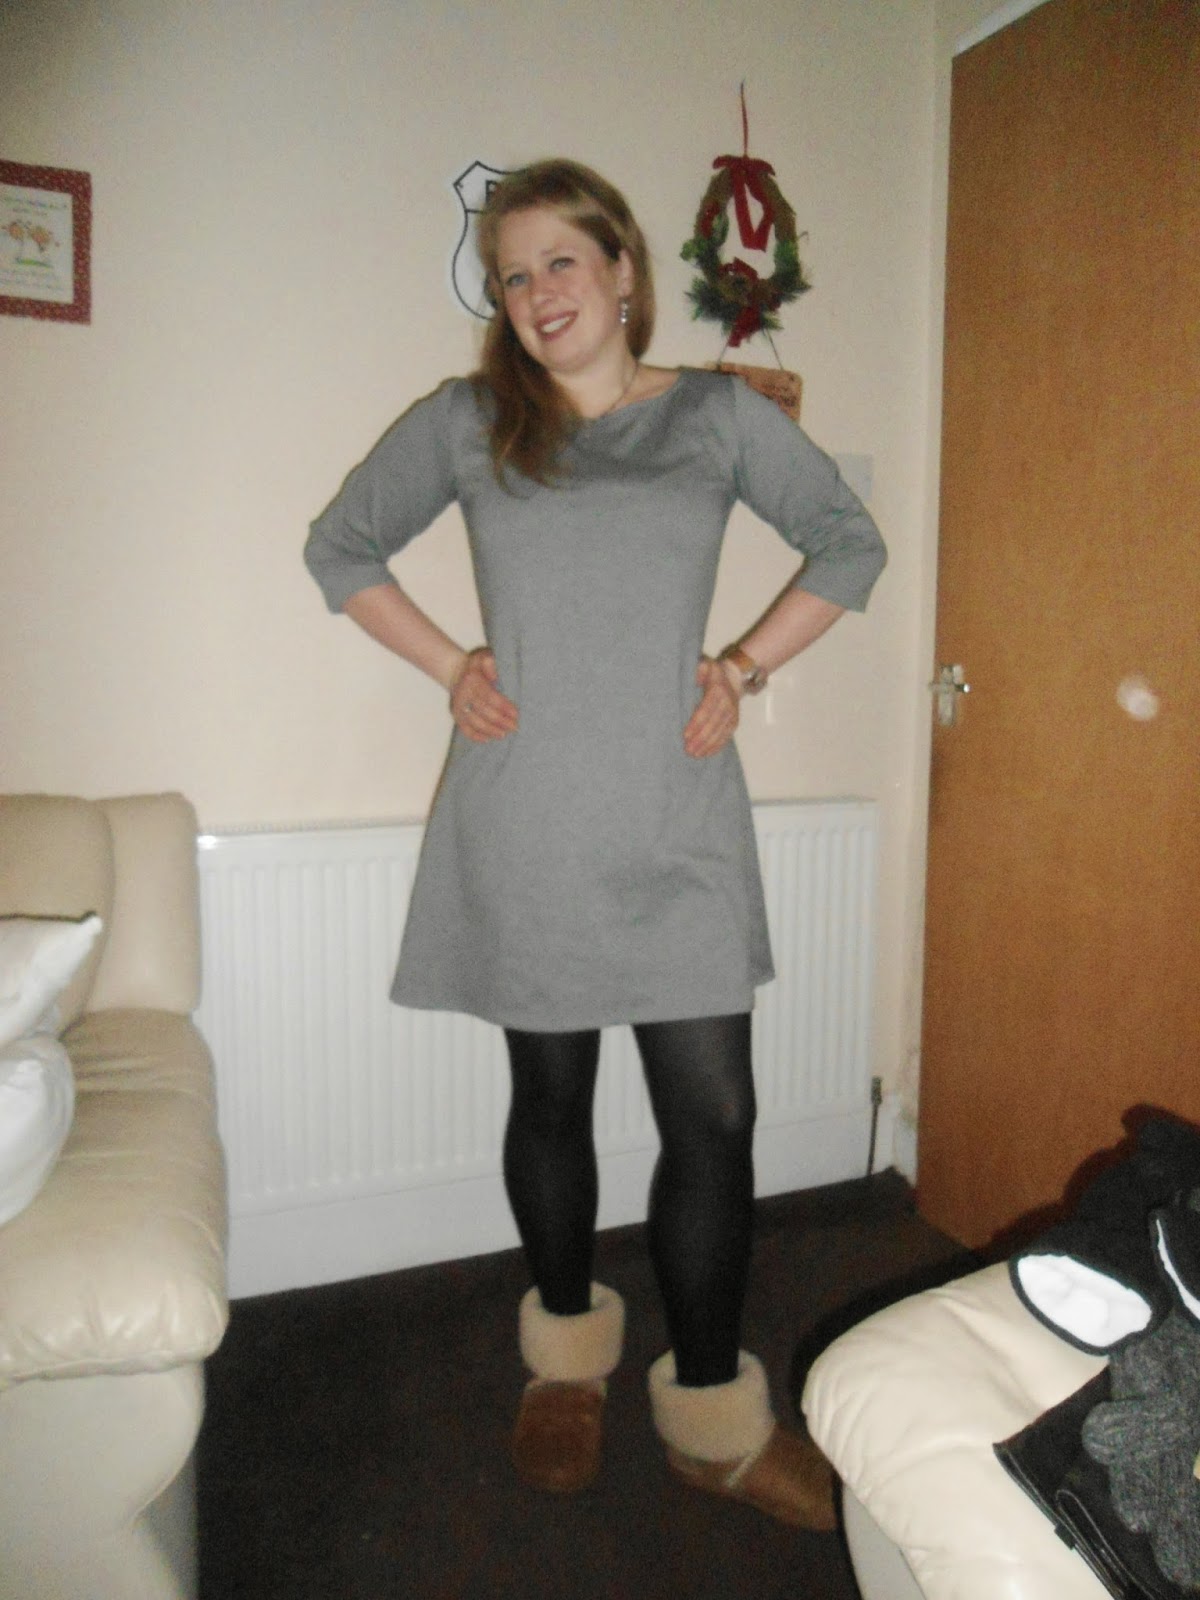
I have made up the cambie before however can't really wear it because of 'slight' errors that were incorporated when assembling the pdf pattern - somehow the waistband ended up about 15 mm too short and thus leaves me with a dress unsuitable for christmas dinner. I do really like the dress so after the festive season i'll throw some pictures together.


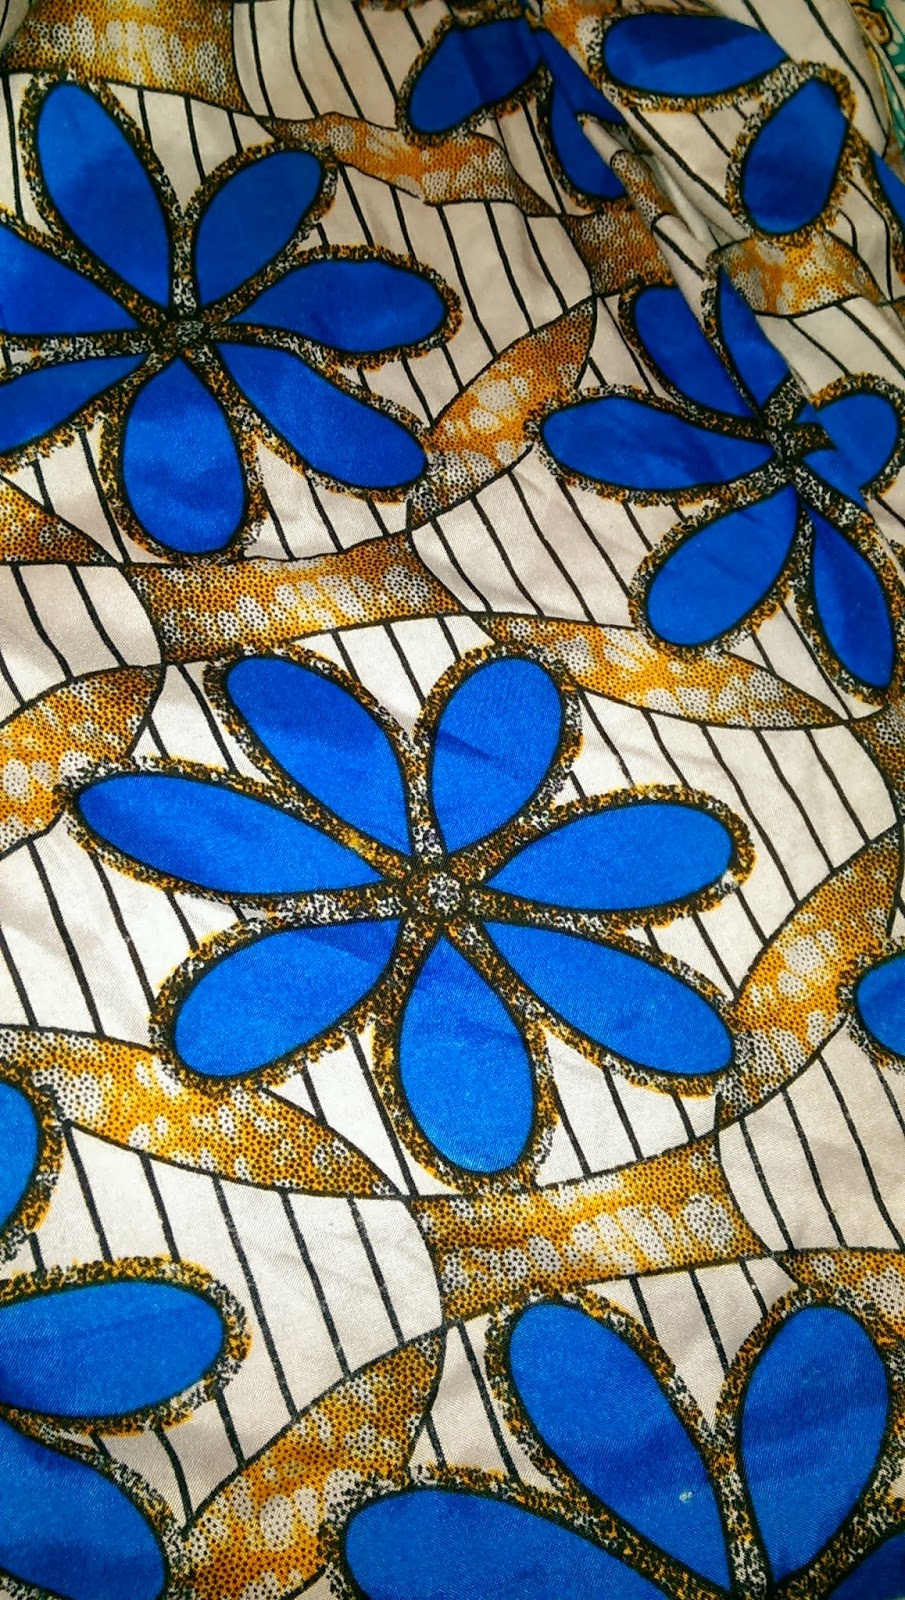
So based upon my previous cambie make I decided that this would be my Christmas dress of choice this year and when I saw this fabric decided that they would make a great match. I had enough to make the bodice and a skirt and some of the lining. The fabric was bought here at the village haberdashery and was £4 per fat quarter so that helped persuade me that only 1.5 m would be enough for a dress. Which it was, just not the Cambie.
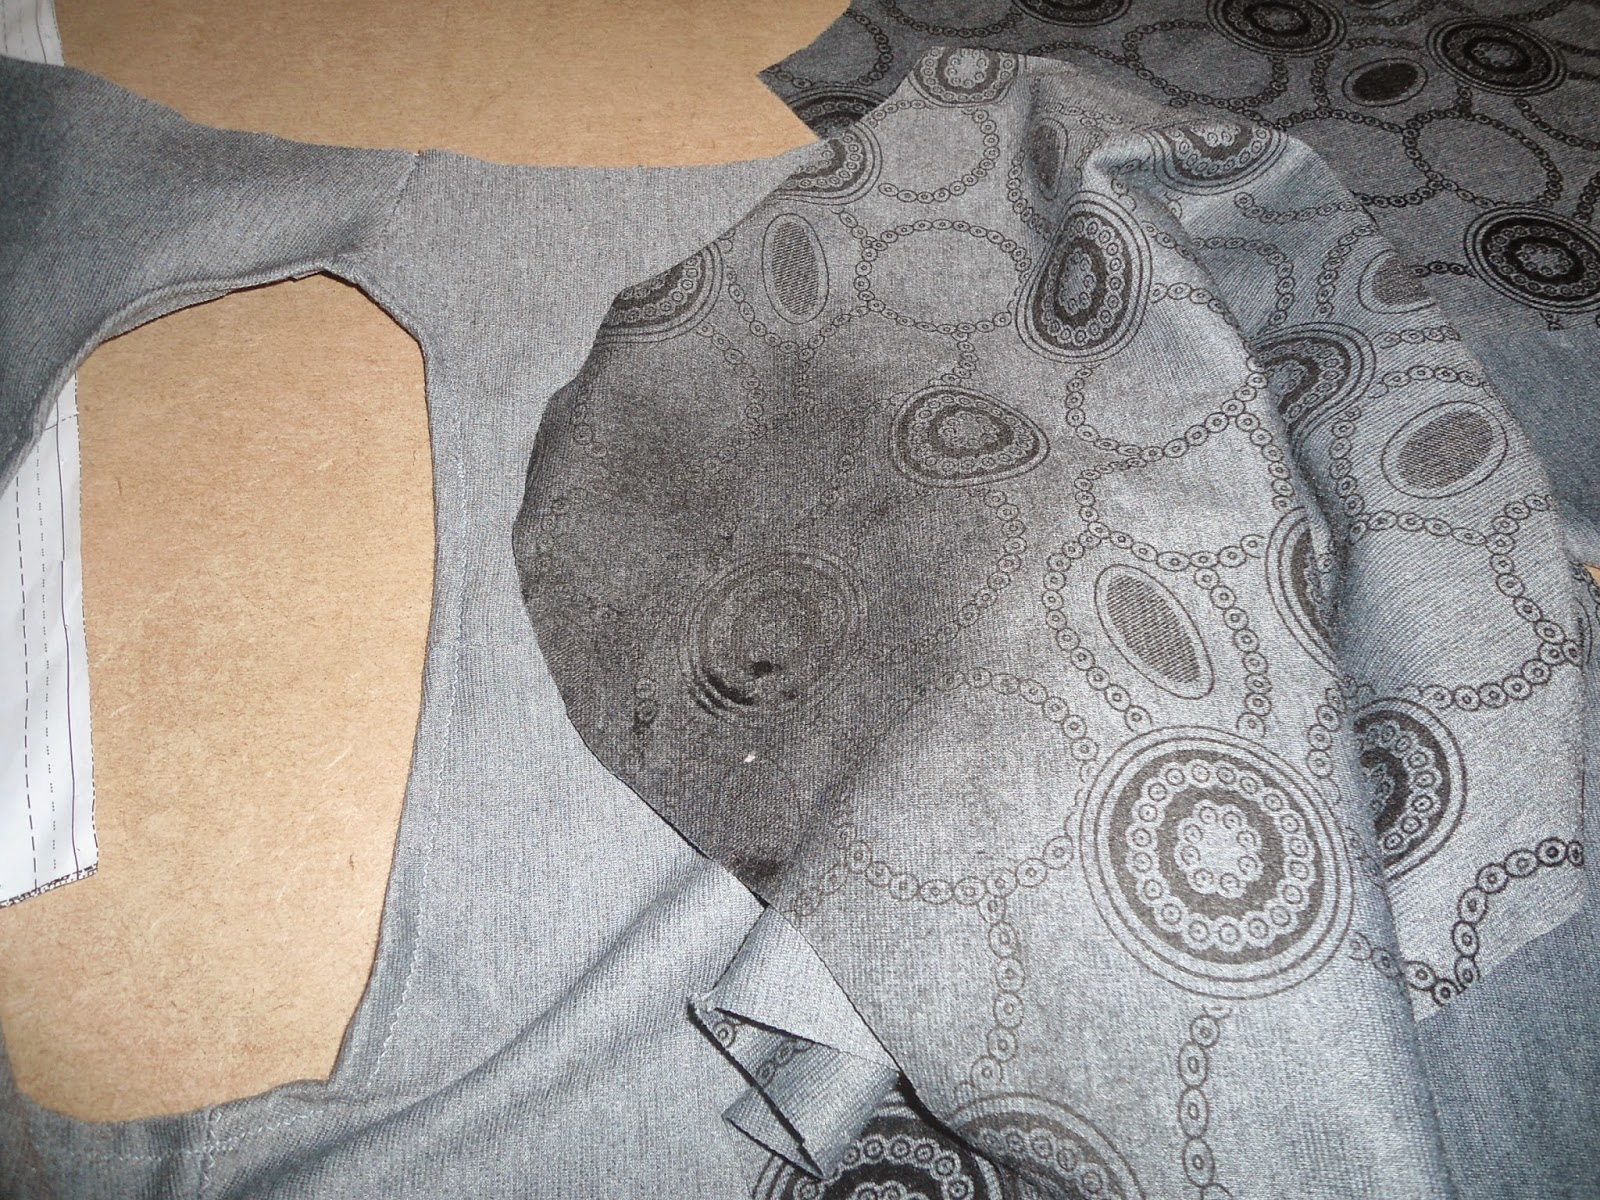
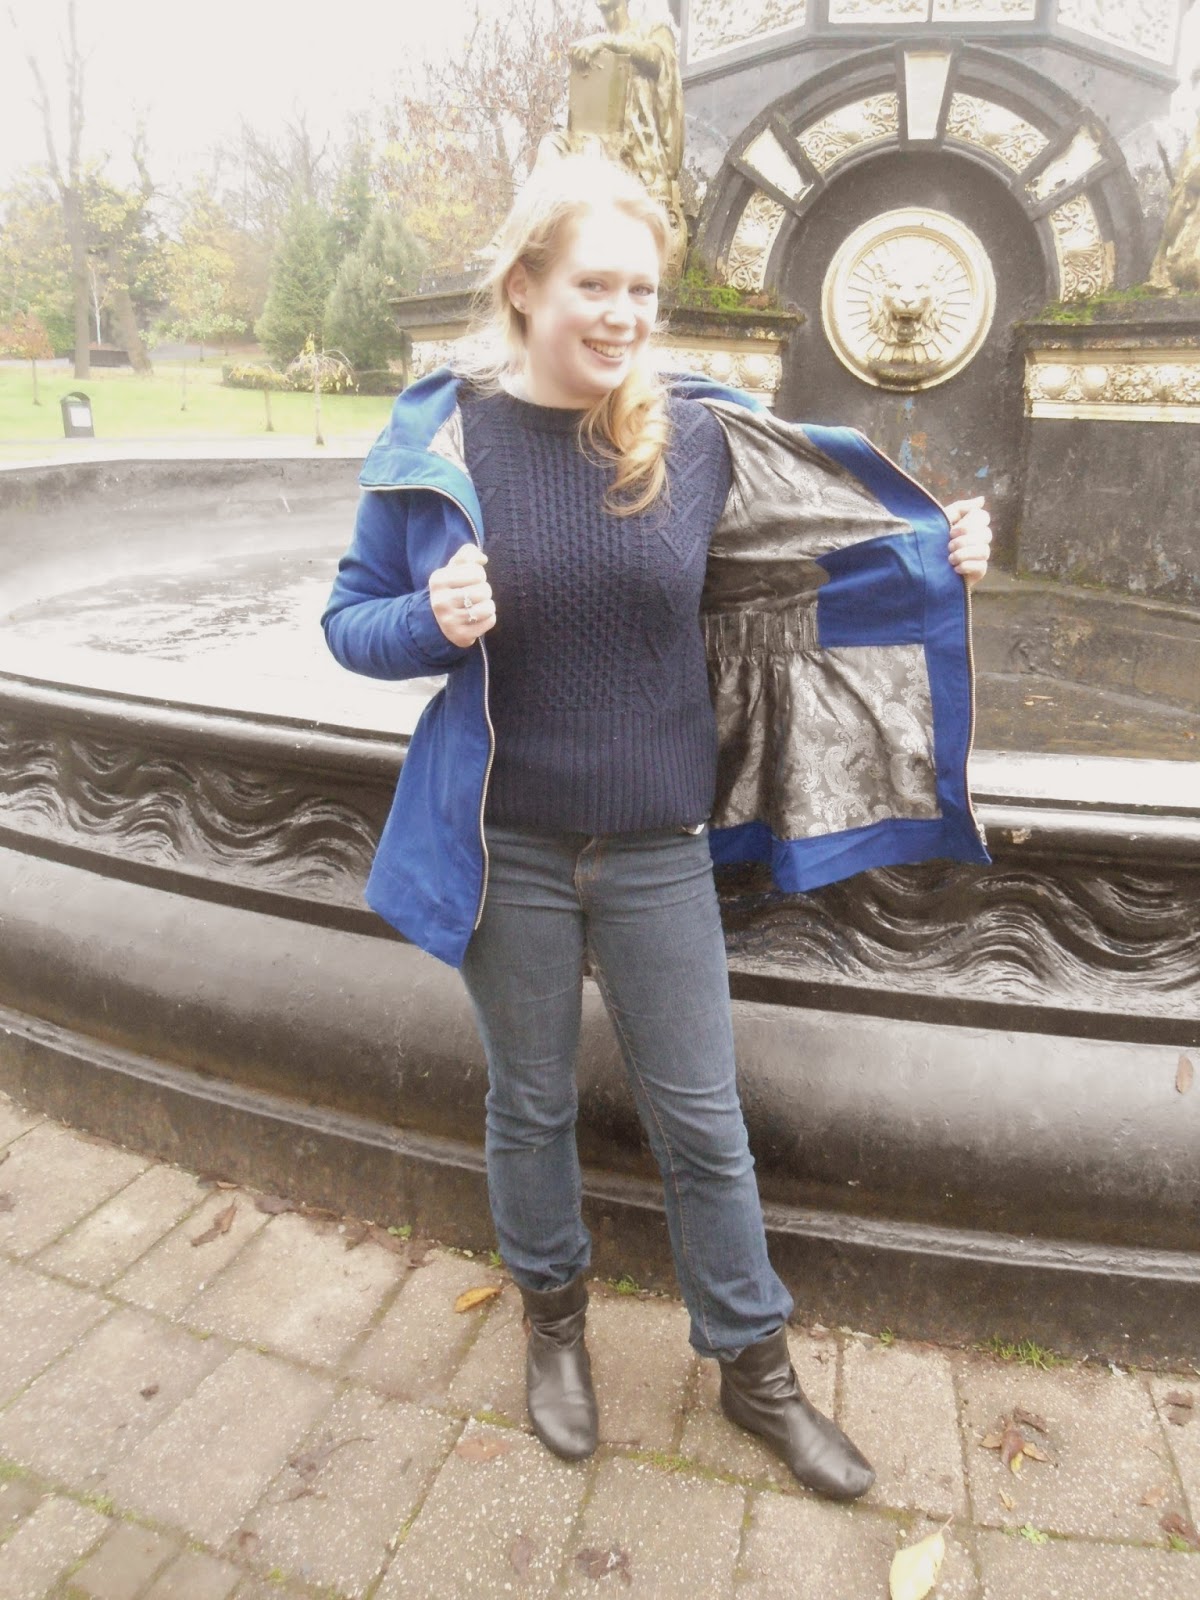
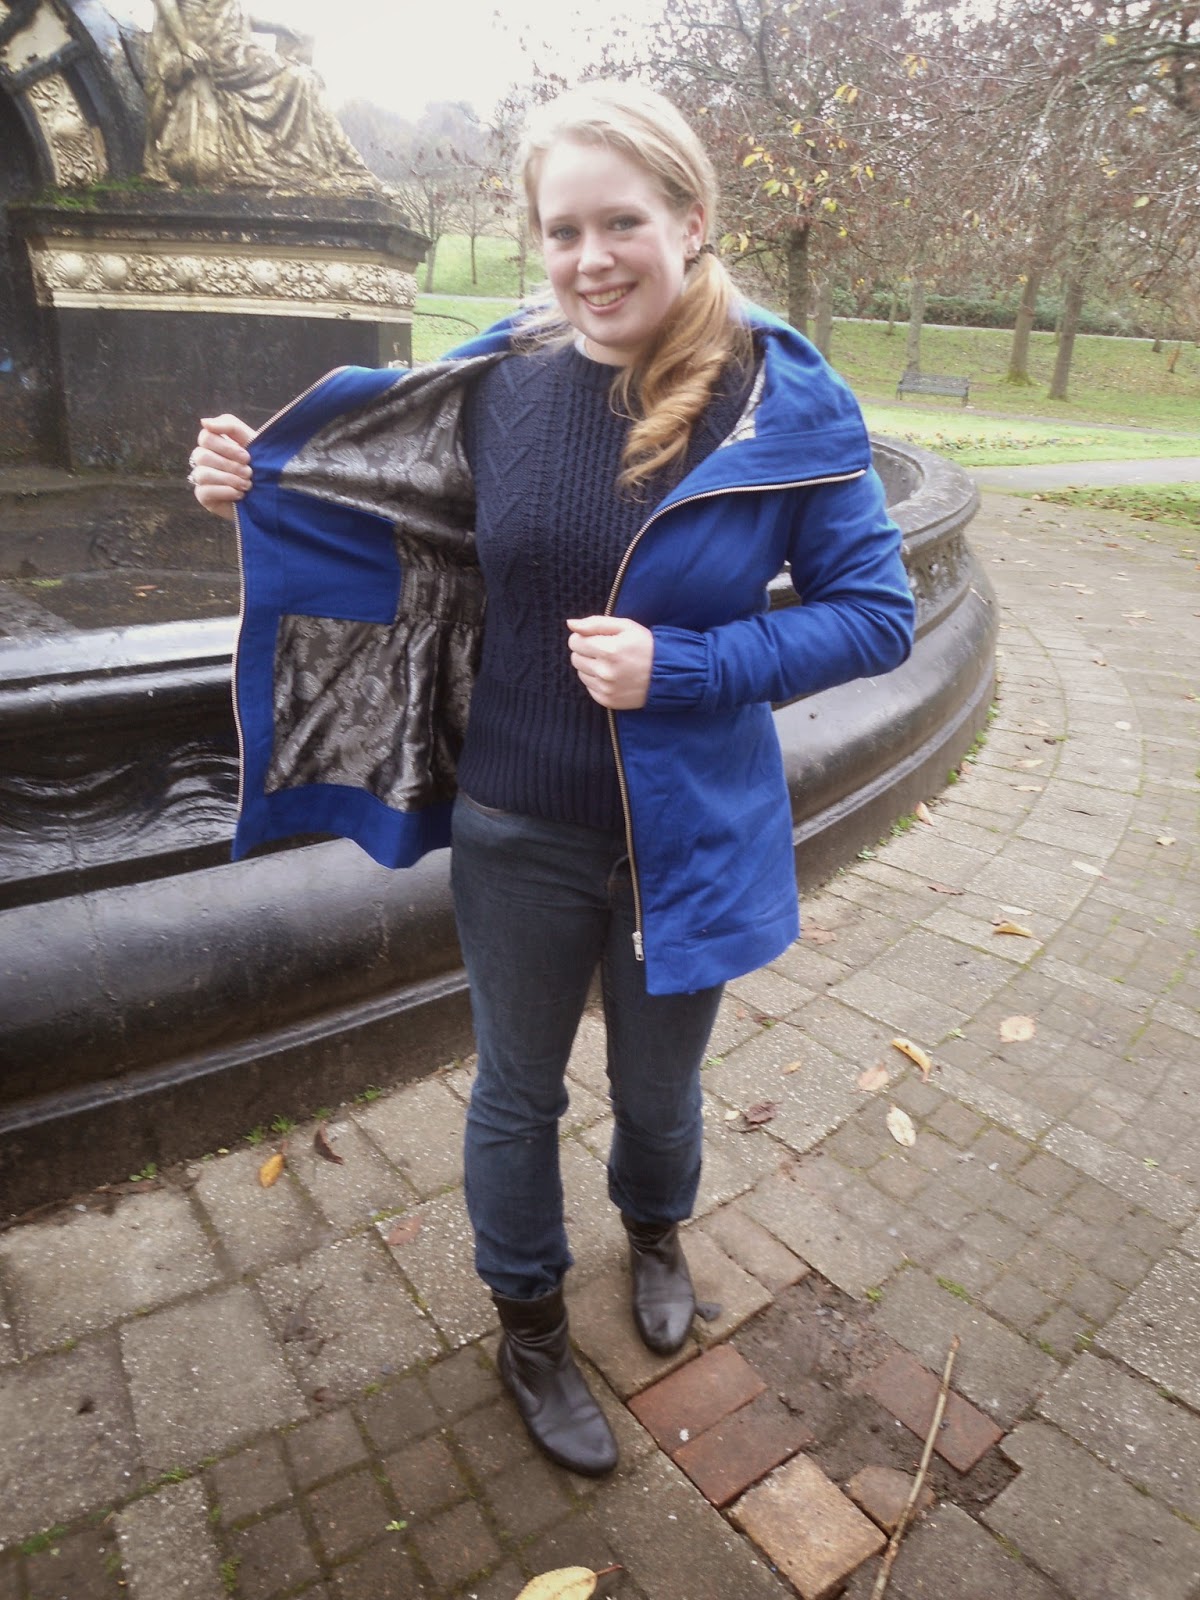
The awesome lining material used for the pocket bag
In terms of changes, I removed my usual wedge from the back and made the dress up as per instructions only using the slightly different skirt and only one pocket...BIG mistake! I miss my second pocket :'(. The front two lining panels and sleeves are made up with the reindeer fabric however the back two are the same fabric as I used to line my minoru. There's still some left which will make an appearance soon no doubt!
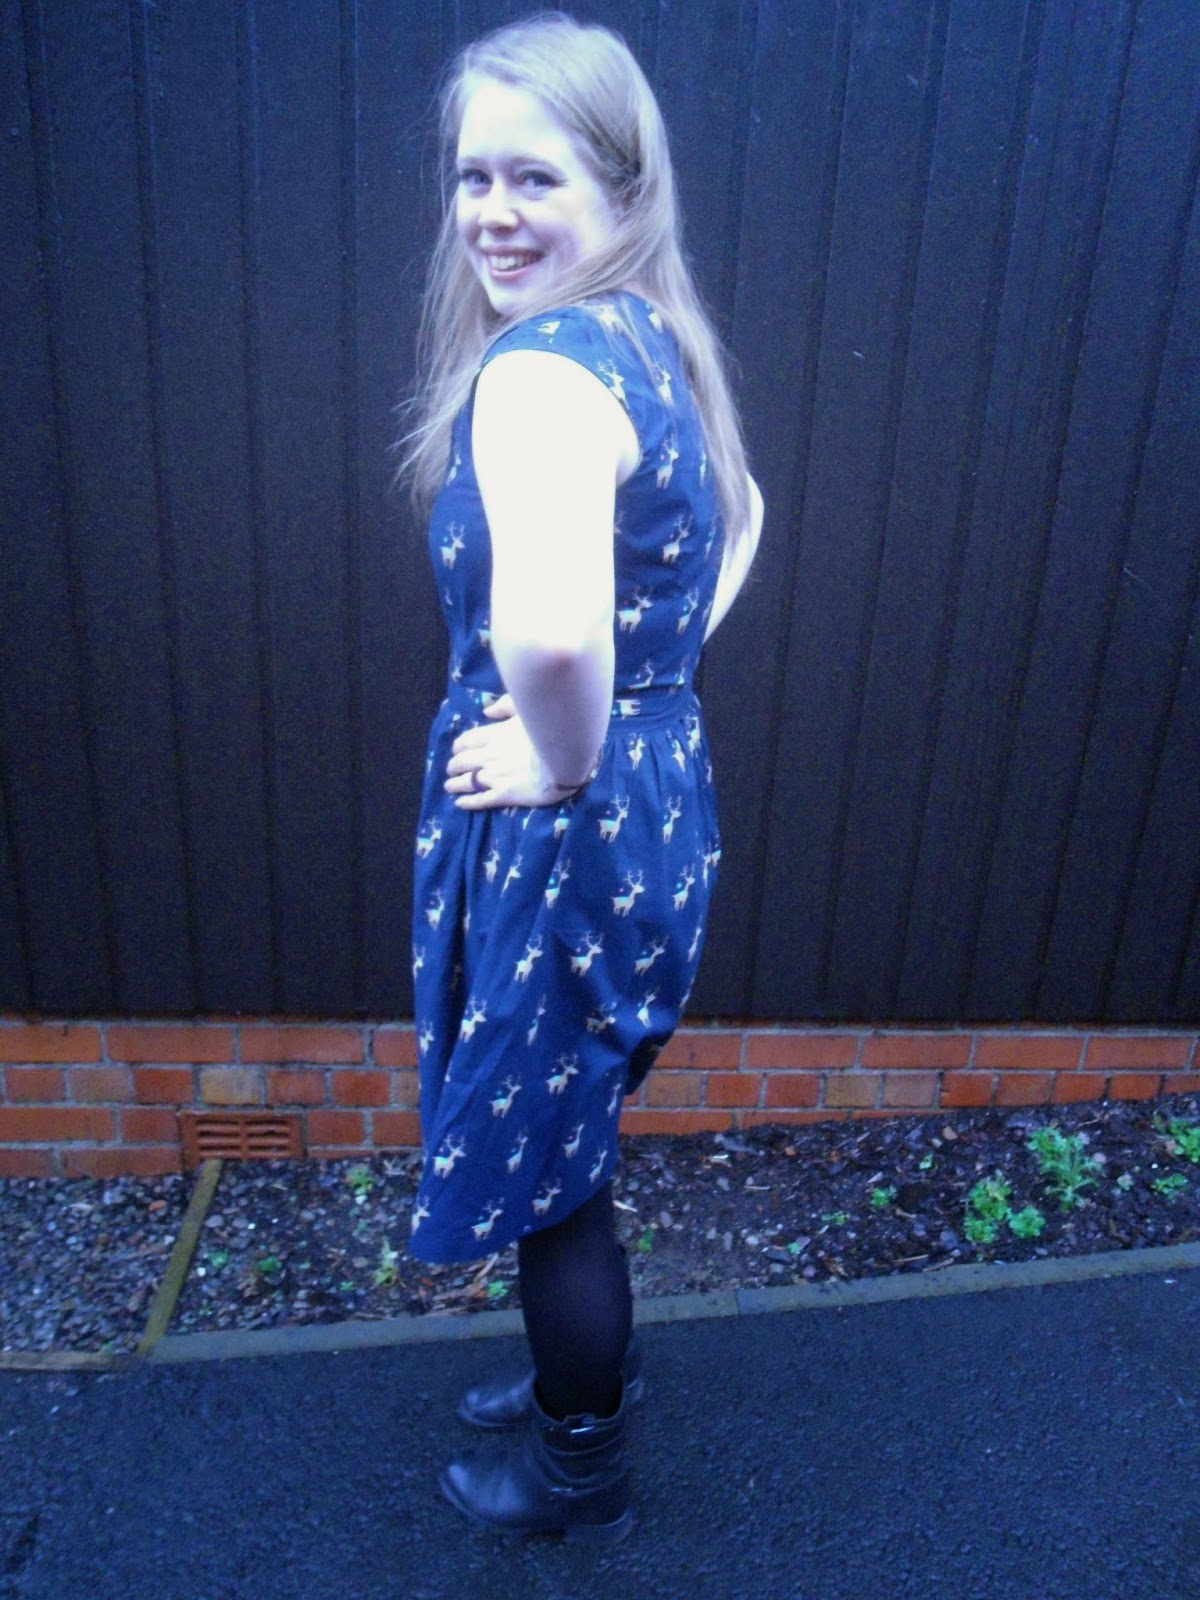
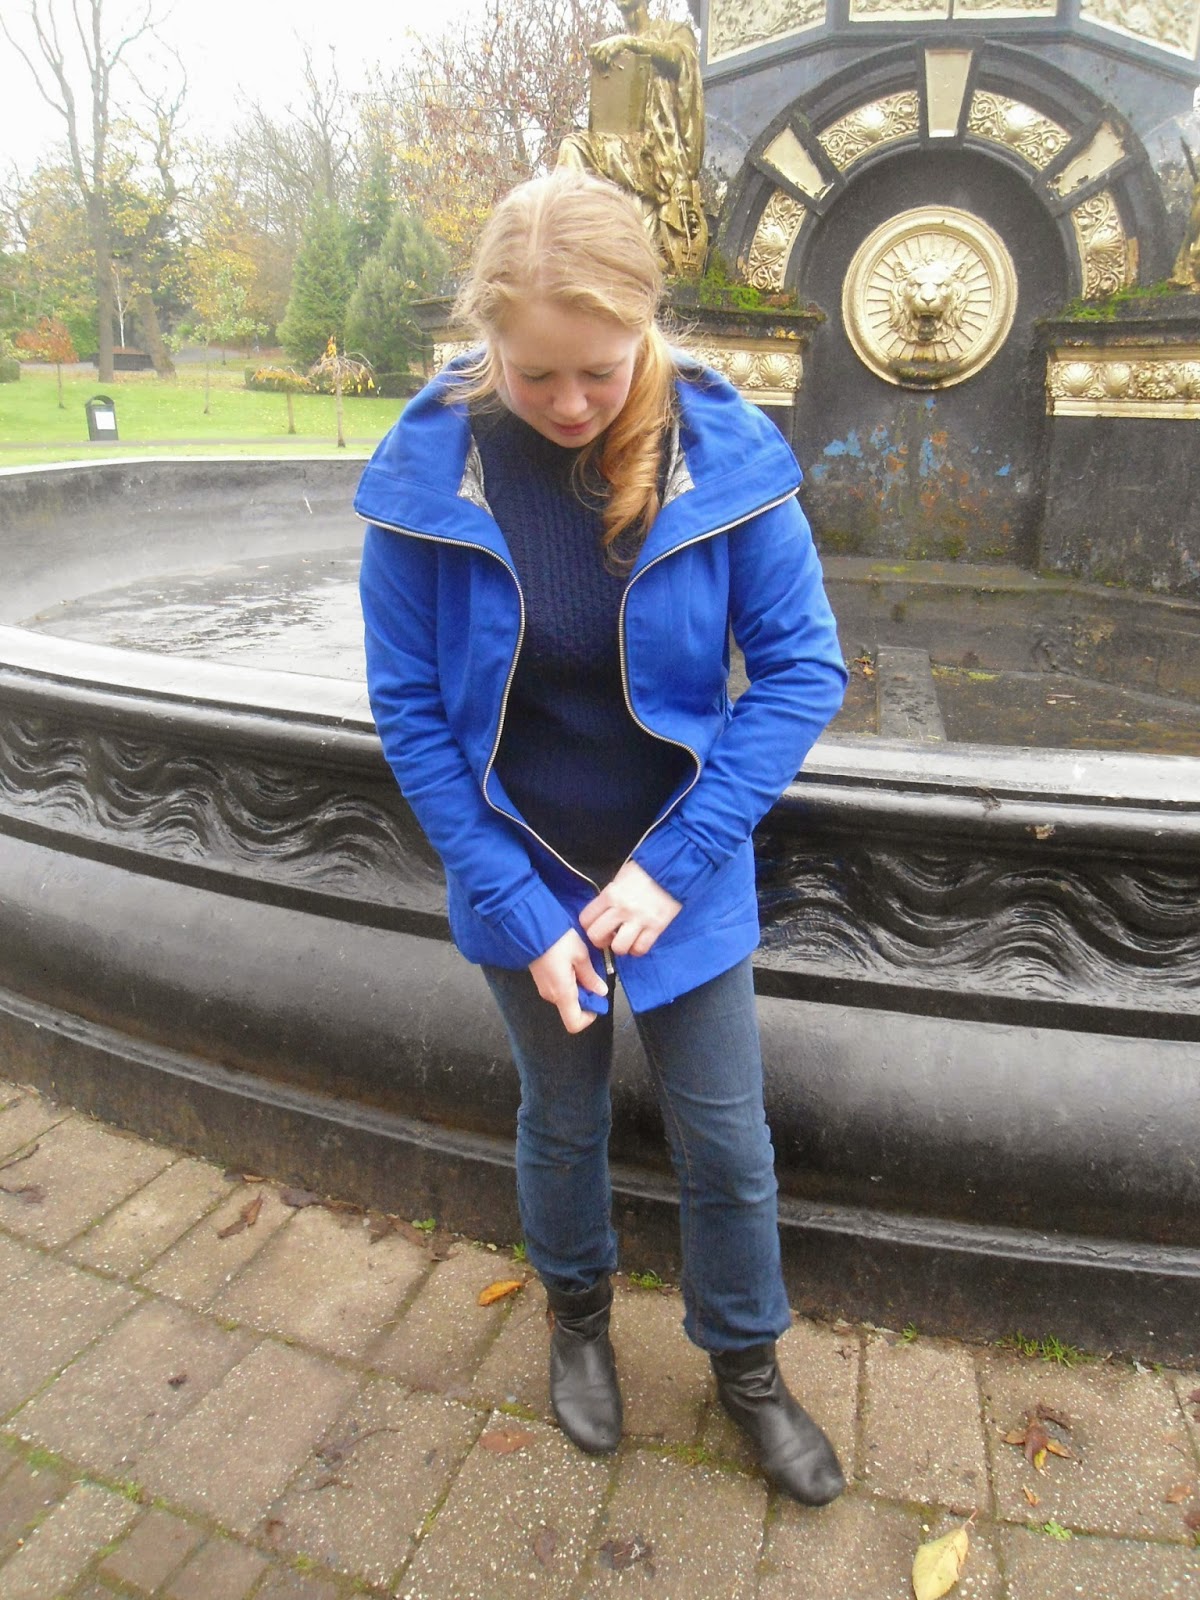
I think I need a hook and eye here...

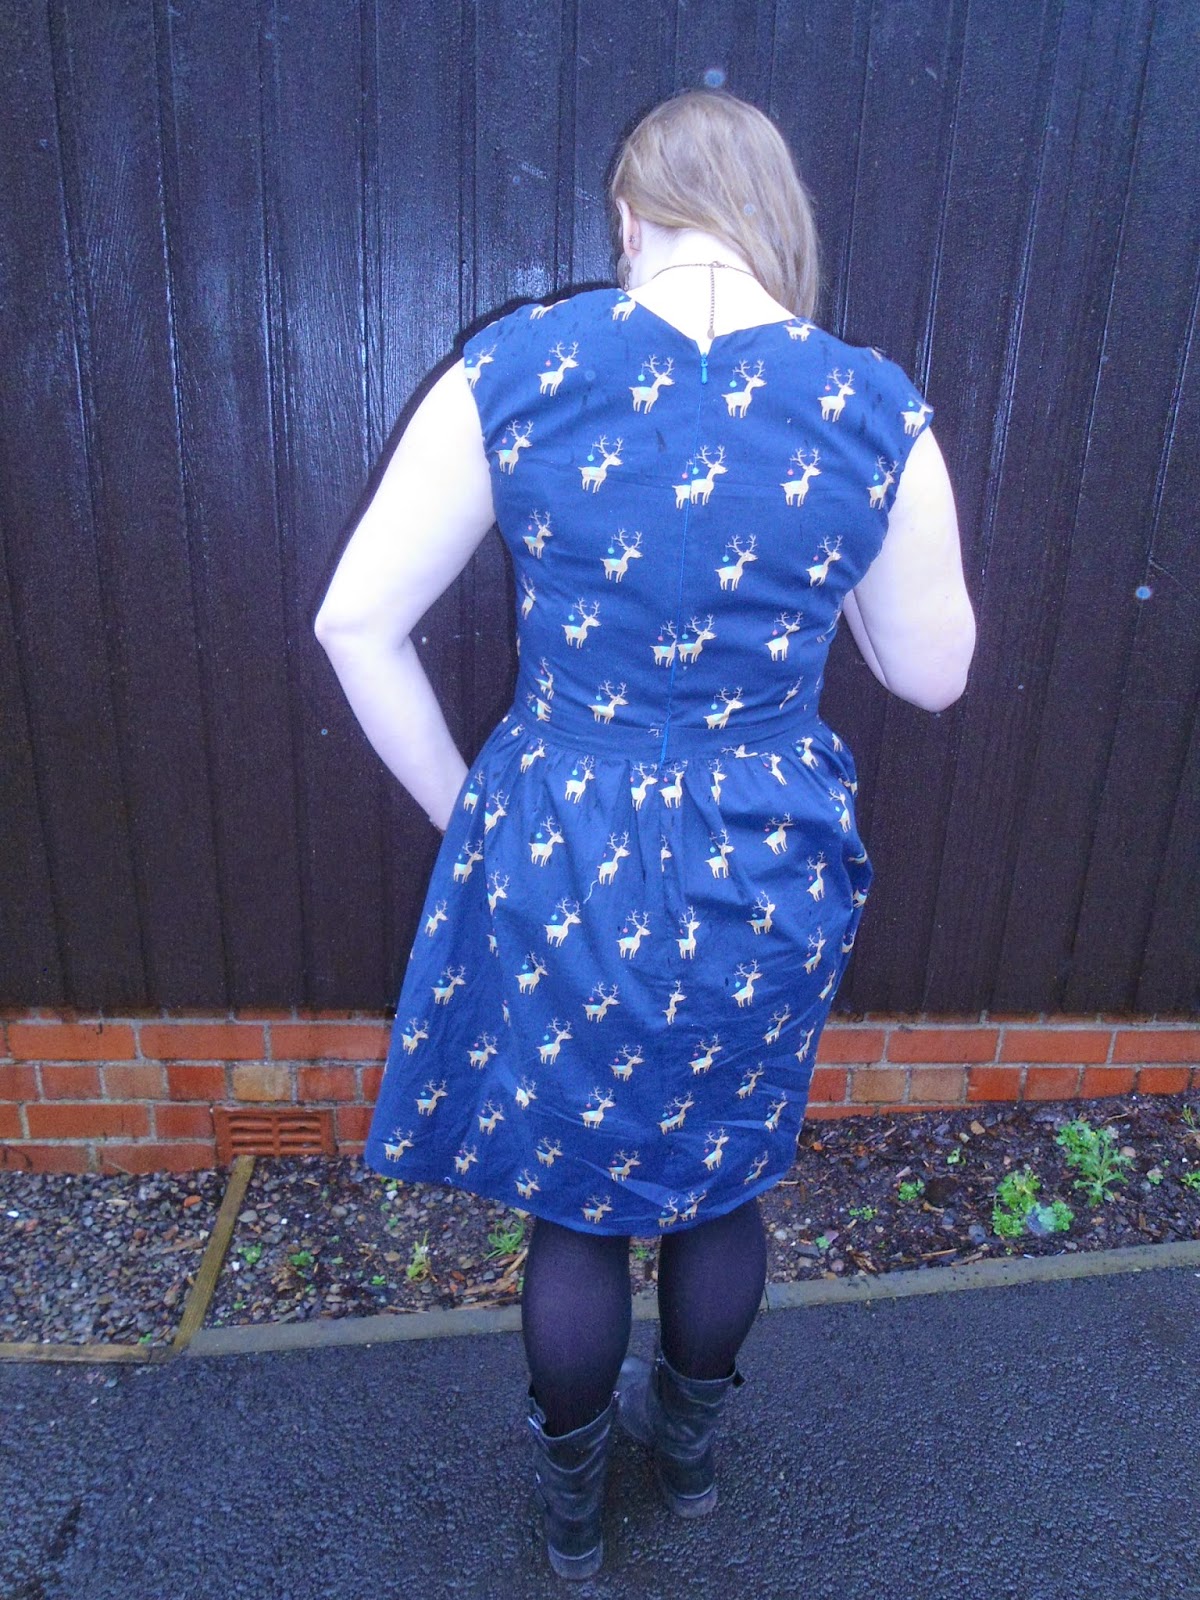
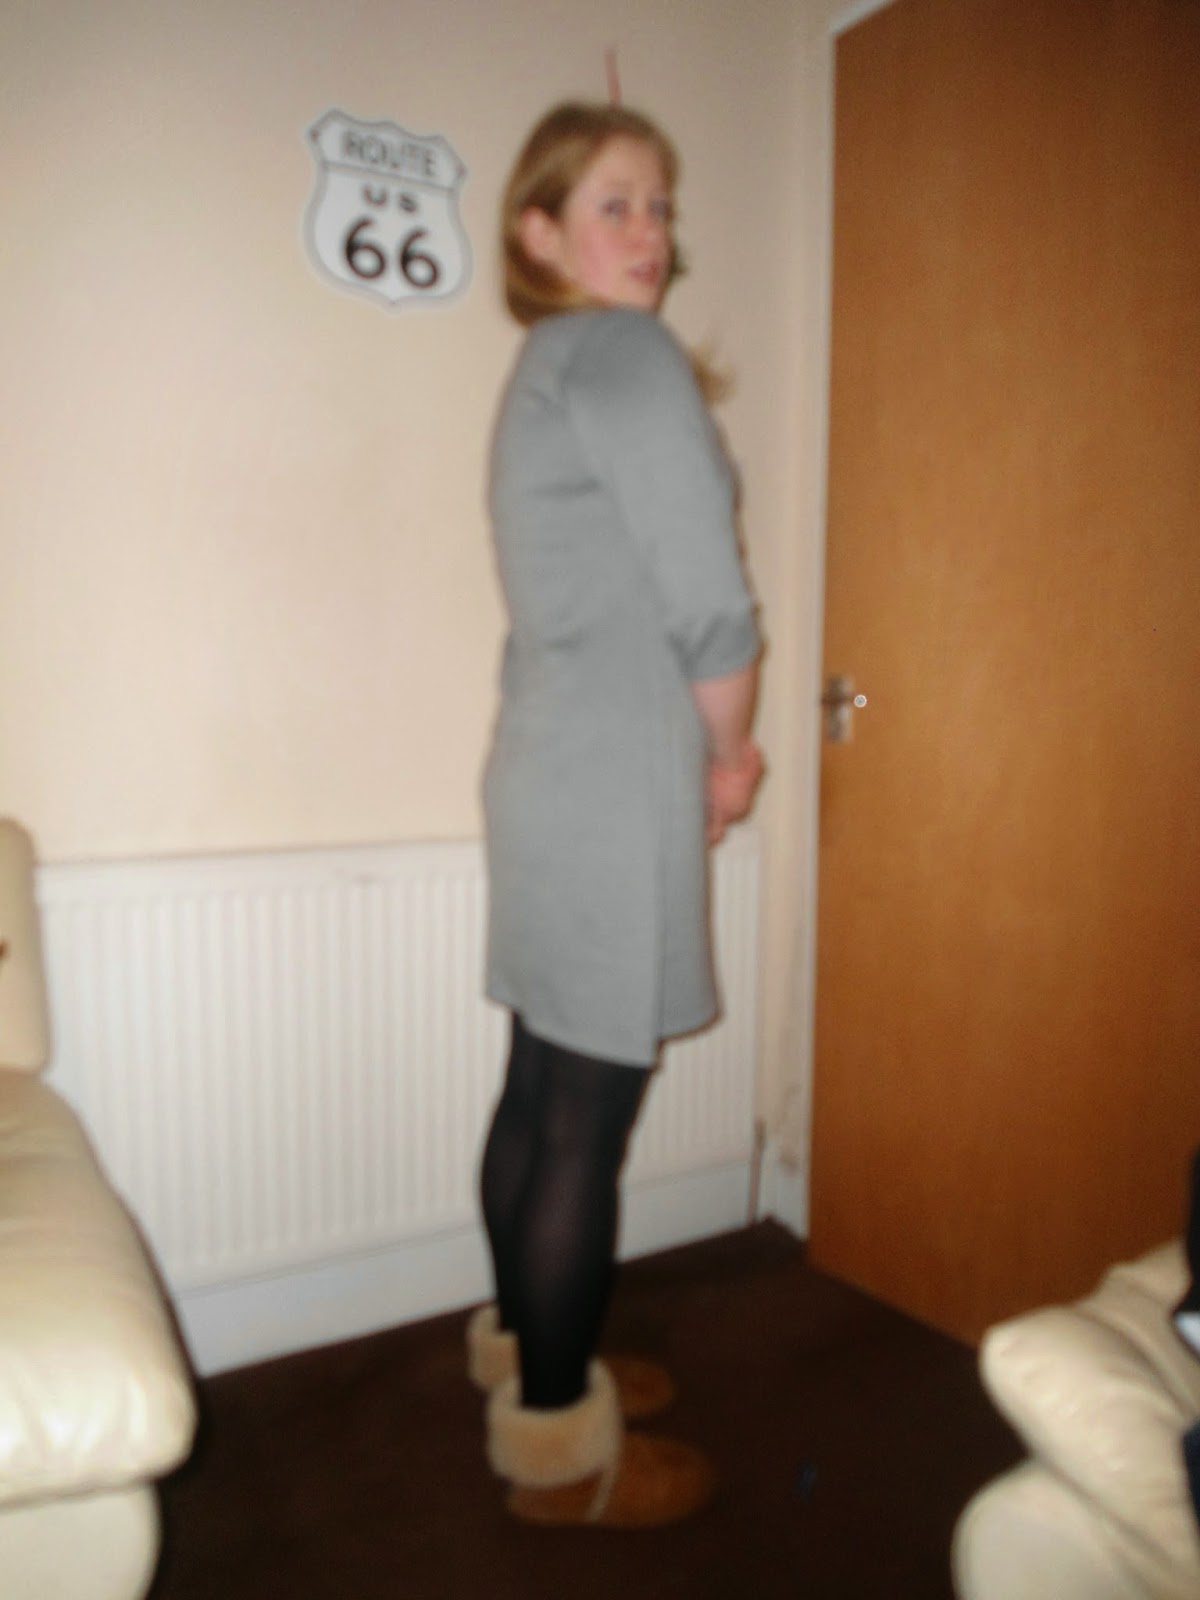
In terms of changes for the next time, I plan on removing 1 cm from the back length.  The bodice bunches a little however nothing compared to my coco so not such a drastic change. I love the sweetheart neckline and think it hits just at the right height.

I love a good christmas party dress especially now I can make my own  :-)

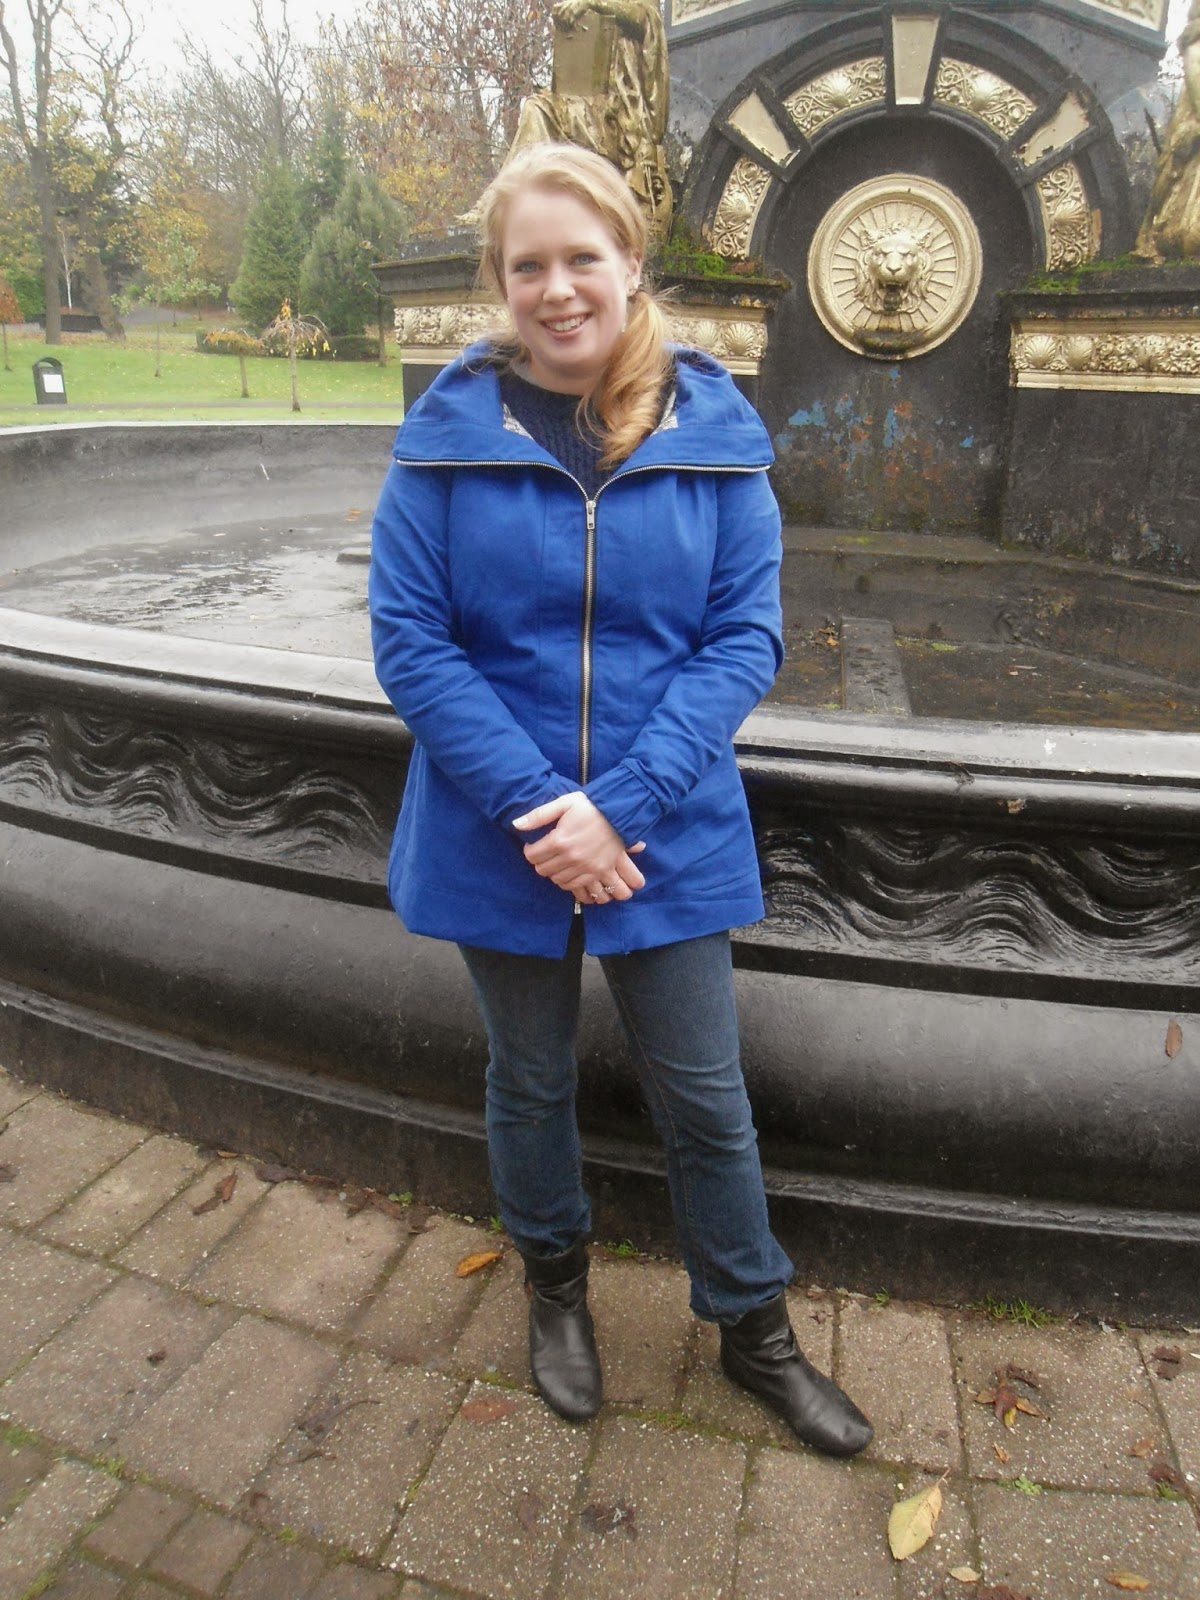
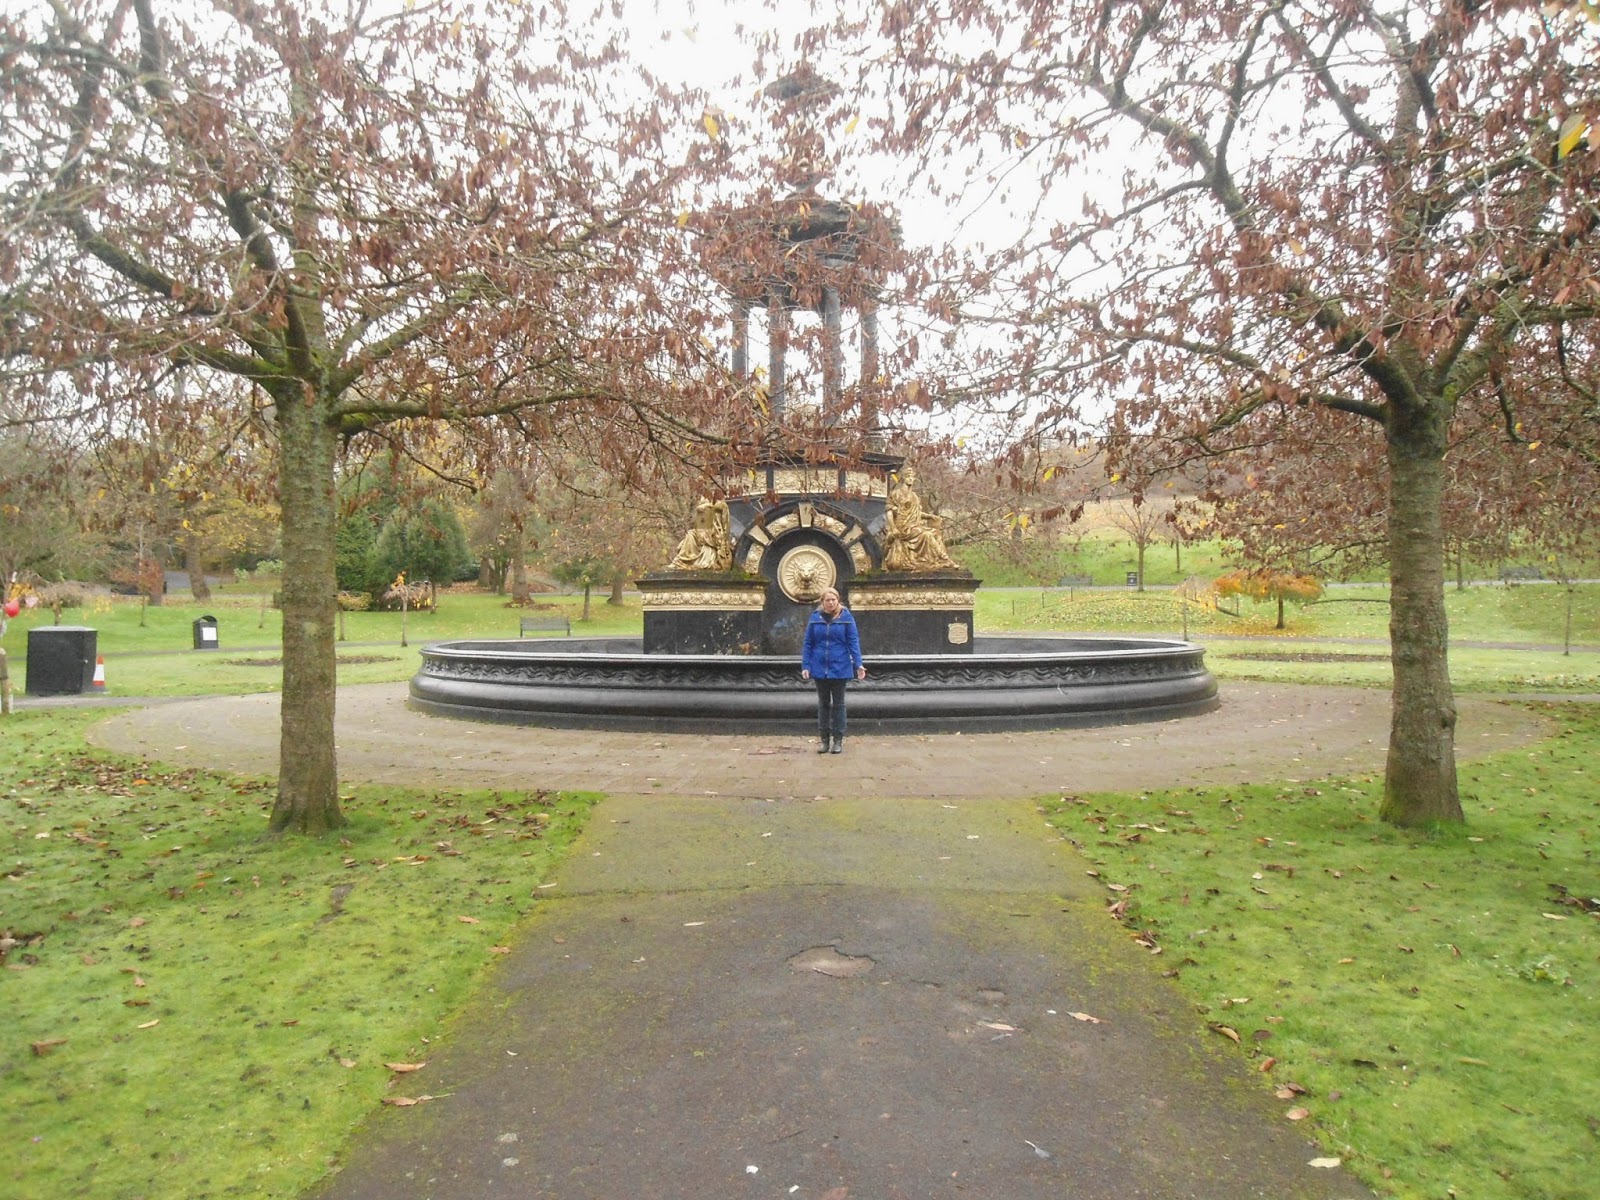
I hope everyone is having a great party season I went for my second Christmas dinner the other day - a Japanese restaurant in Glasgow's merchant city, last official trip into town completed! I'm  kind of glad that i'm avoiding town right now after such sad events yesterday - the only thing to take from this is that we as a city will get through this - we always do. People here have great community spirit and look out for each other no matter what.

Take care guys. Stay safe.
Jen xx

Friday 12 December 2014

A Completed Coco

To prepare for my impending trip to London I decided that I would make up a new Tilly and the Buttons Coco.


The Coco dress pattern turned out so much better while using a heavier ponte knit than the really drapey ponte that i used the last time. I liked the fabric however it most certainly was the wrong choice - that being said I have had a lot of wear out of it!

This time though, instead of cutting the size 5 and  taking it in I cut out the 4 straight off. This size seems to fit exactly how I would like it to in terms of ease. I omitted the pockets and cuffs - this dress had more structure than the last so I didn't need to add interest in form of the cuffs.

Another change which I made during the construction of this dress was to include a seam on the Centre back. As the pattern stands, you cut both front and back on the fold. In this case in an effort to minimise the fabric used and to try and squeeze in a skirt from the scraps I cut the back piece on the straight grain not on the fold adding 5/8 inch to the seam allowance on each side. I think this worked well. Using 60 " wide fabric I managed to get the front and rear pieces next to each other on the same width of the fabric. I never redrew the pattern piece though with the seam allowance in so I'll add this in to my pattern now that I know it works so well and saves a ton of fabric.


In making up this dress I realised that in actual fact when making any subsequent versions that i will have to shorten the back length as the back kept wrinkling due to the fact the waist as I had sewn it wanted to sit higher than it hit on the garment. I couldn't tell from the last version that this would be an issue.

In terms of the fabric used for this project, I used a flocked ponte knit - it came in about £7 /m from Remnent Kings. I was told at the time 'do not machine wash or teh flocking will come off' I totally failed to take heed, washed it anyway and this was the result. Hence my coc was constructed using the wrong side of the fabric as the outside. However I care not. I got a nice dress out of it :-)

This is what happens when you don't listen to washing instructions
So all in all a succesful project. I'm 100 % confident that next time i'll have a coco that chanel would be proud of ;-)

Have a good weekend guys -  I'm off to a friends for pre christmas drinks :-D. What is anyone else up to?

JCS xx

Monday 8 December 2014

Completed: Minoru Jacket

Hey Hey Hey y'all

I totally think I have a new favorite Me Made :-D

I've finally finished my Minoru coat :-D and just in the nick of time it would seem!!

The fabric I used for this jacket was a deep blue cotton drill from Mandors - it was quite cheap at about £6.99 /m and for the lining I used the silver version of the red paisley used here. This was slightly cheaper at about £5.99 /m.Based upon the instructions I bought about 3 m of each however next time I'll scrimp and buy less as I had enough leftovers to easily fit in my Delphine skirt. The zips for the jacket did work out a little more expensive than I would like however to be totally honest  itison had a promotion for mandors so I ended up with £20 off the total for the jacket :-D
We went across the road to take these photos - theresa huge park next to the motorway with a number of interesting features including this fountain

I didn't want to make a muslin for this because after the delay with the skirt project, I wanted my coat NOW!!! So using what was probably a bit of a foolhardy method of sizing I based the size to cut on the Robson Trench I made for my mum a while back. The majority of that was made up in a size 8 and as it was a little too tight I went for the size 10 and it fits (mostly) perfectly!
There is a litle excess fabric sitting just abouve the waistband

One thing that i have definately noticed this year and especially recently since I have paid more attention to fit, is that I seem to have a short back length (enquiries would pin the blame on the paternal side of my family!). This wasn't an adjustment I made for this coat and after wearing it a bit is definately one that ill be making in the future - not a huge adjustment maybe only a 1/2 an inch but enough for the waist to sit right.

I have to admit that i was a bit daunted about inserting the elastic into the waistband here but I shouldn't have worried. the instructions were really clear and the sewalong was there to reassure that all steps were followed correctly!  
This pic is totally an out take - I wasnt so aware that this was being taken!!

In terms of changes to the pattern, I added a lining to the hood and that's the extent of deviation. I remember seeing a post somewhere about adding a hood however didn't realise there was instructions in the sewalong until too late... the result was I folded the hood over like the instructions and just slipped the lining in underneath. Another change ill make the next time is shrinking the hood a little - pictorial evidence below!

One other change which I will make up the next time  is that ill add side seam pockets. i keep going to dip my hands in there and there's nothing :-( haha. I'll probibly just use the robson pockets as they work quite well for a jacket.

So all in all a great jacket that has received a number of compliments and even disbelief from some that I would venture into making a jacket. I really love this jacket and definately think it shows me how much I have improved over this time last year.

Thanks for reading and hope everyone has had a great weekend. I went to my gran's advent fair on saturday and ate my bodyweight in scrummy cake! Did anyone else do anything fun?

Take care
JCS xx

Tuesday 2 December 2014

Spoils of Goldhawk Road

Just a quick post today while i'm waiting for my next natural light photo op...

I thought that I would share some of the fabric which I picked up while in London last weekend. While this trip wasn't dedicated completely to fabric shopping I managed to squeeze in an hour before we somehow ended up spending all afternoon in Harrods ( the Christmas windows were epic and we did loose a good 40 mins to outside the shop....!)

While it is possible to obtain a large number of fabrics here in Glasgow I have never come across wax print cottons. That is not to say they don't exist however I just haven't found them... so without further ado:
All 4 wax prints
 I picked up 4 in total all 6 yards long and rather narrow.


This one said it was Kim Wax and is probably my favourite - no prizes for guessing what I'm planning on making with this one...

 Slightly larger pictures of the other 4:

 I really love the vibrant print of this one and think the blue and pink would make a great party dress.


I'm really looking forward to working with these cottons and hopefully will have used at least one by Christmas :-D
 As I said - just a quick post today. hope you guys are all well and enjoying the week :-)

Take care JCS xx