Monday 23 June 2014

Completed: Chataigne Shorts number 2.

So I promised that I had some completed items to share with you - and here's the first!


 A second pair of Chataigne shorts from Deer and Doe.

The fabric I used was a black pinstripe woven concoction I bought at Christmas in Remnant Kings  - im not entirely sure what type fabic it was but it loved to frey! - I used it for a waistcoat and had about 1.5 m left. There were a few fit alterations I made to these ones from my last pair and I think they turned out well. the first change from the last time was that i graded out a size for the waist, this fabric is less partial to stretching with heat and so unlike the wool version I need the extra room that the larger size provided. I also graded in the legs - i may have a larger waist but my legs don't seem to need the same room. In fact the legs can probibly be brought in a little bit further.

I left off the back pocket flaps (even though I sewed them both up)- I felt in this particular fabric that they didn't look quite right I think the weight of the material was all wrong and they just didn't add anything in this particular variation.


The invisible zipper decided it was going to play on this garment so I was happy with that (although I did sew one side back to font DOH!) haha.

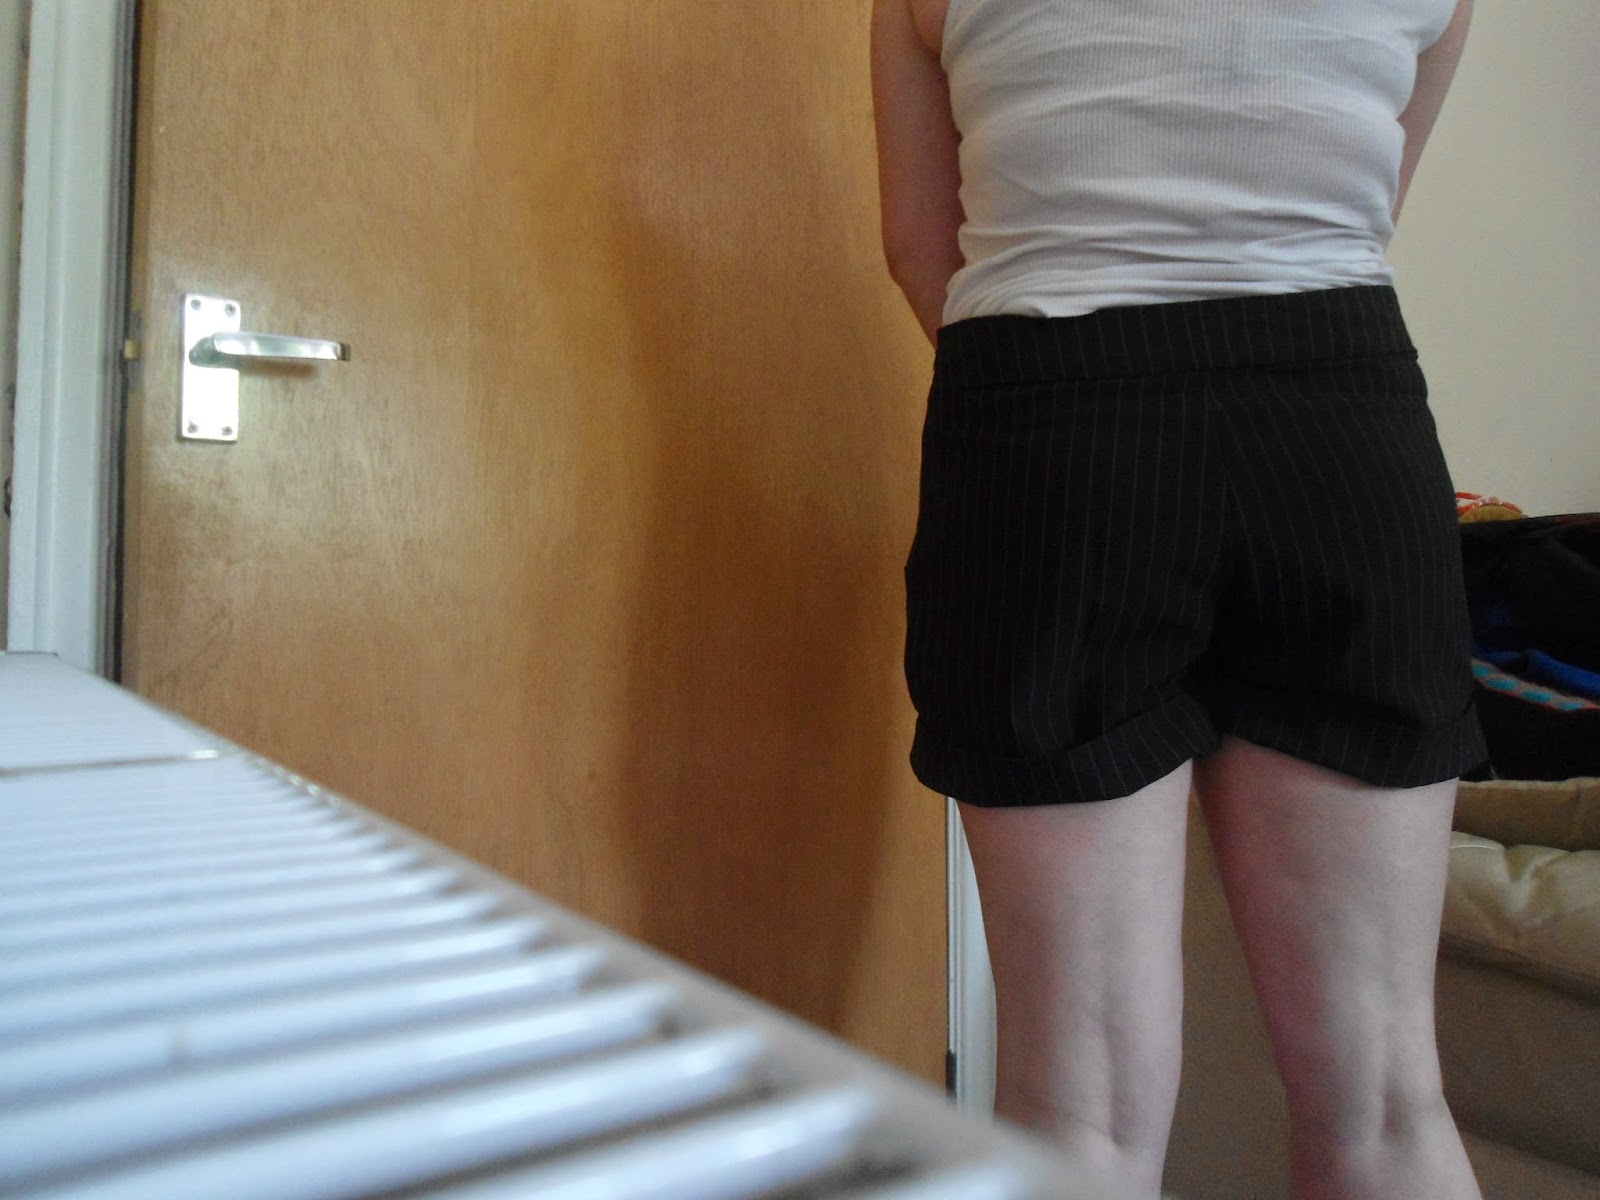
Woo! Waistband lines up :-D
And because i was only finishing edges inside the shorts I never changed the overlocker thread


I also slipstitched the waistband into place - not quite my neatest work but not bad either!

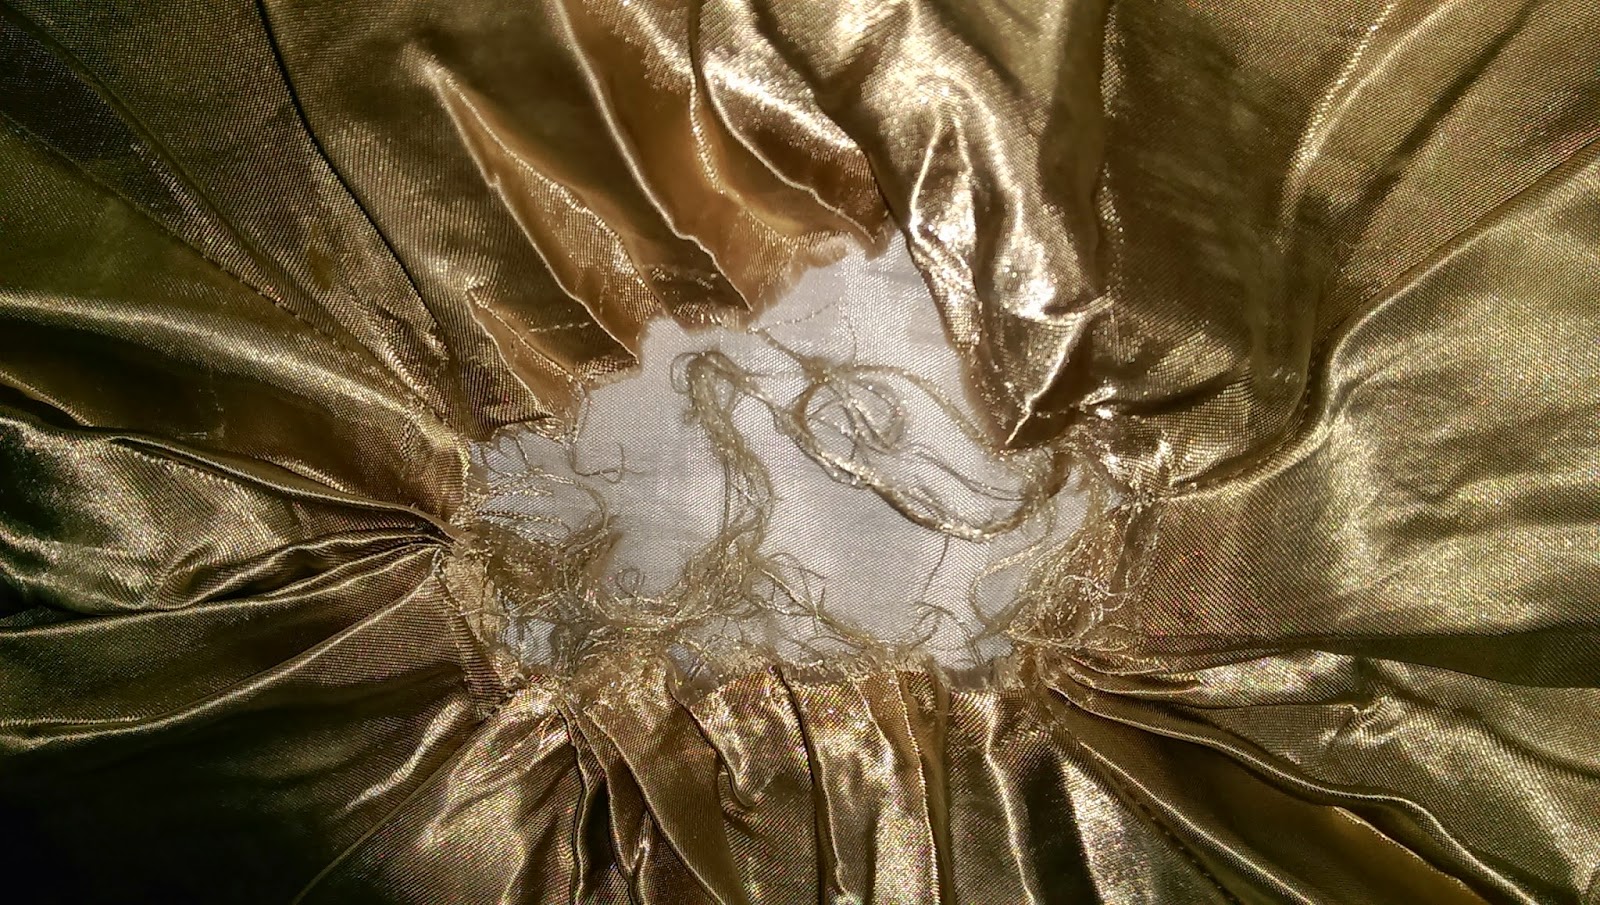
Squinty interfaced waistband


  The waistband is interfaced to within an inch of its life - I know it's probably not PC (I'm not caring!!) but i used all my scraps of black interfacing left from my Burda Waistcoat and made a patchwork effort on the inside. I do have a minor gripe that after a few tries to line up the point of the front waistband, it still doesn't *quite* match up - the fabric was a bit of a pain to work with so I can live with that! I'm definitely going to make these up for a third time - maybe in linen for casual summer wearing. this is probably/definitely my favourite pattern that I have made up :-).

I have a presentation of my work on Wednesday and I think these will make the perfect office attire! (with tights definately no bare legs!!)

Oh and have a look at how light it was outside at 4 am on the solstice the other night it was so pretty :-)

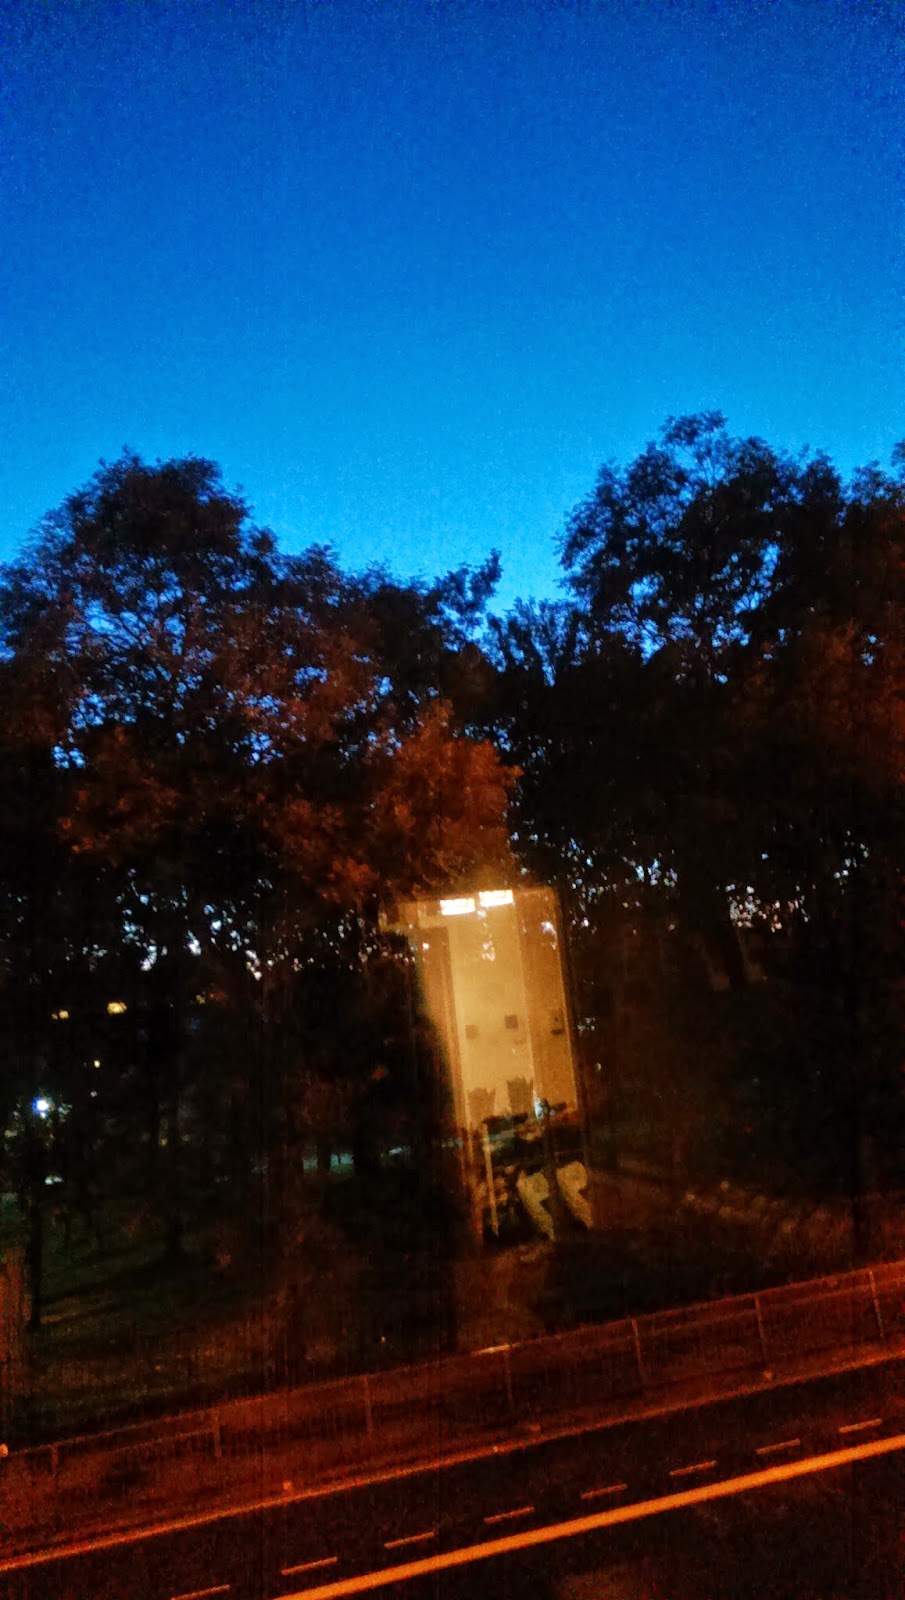
Looking east towards the park

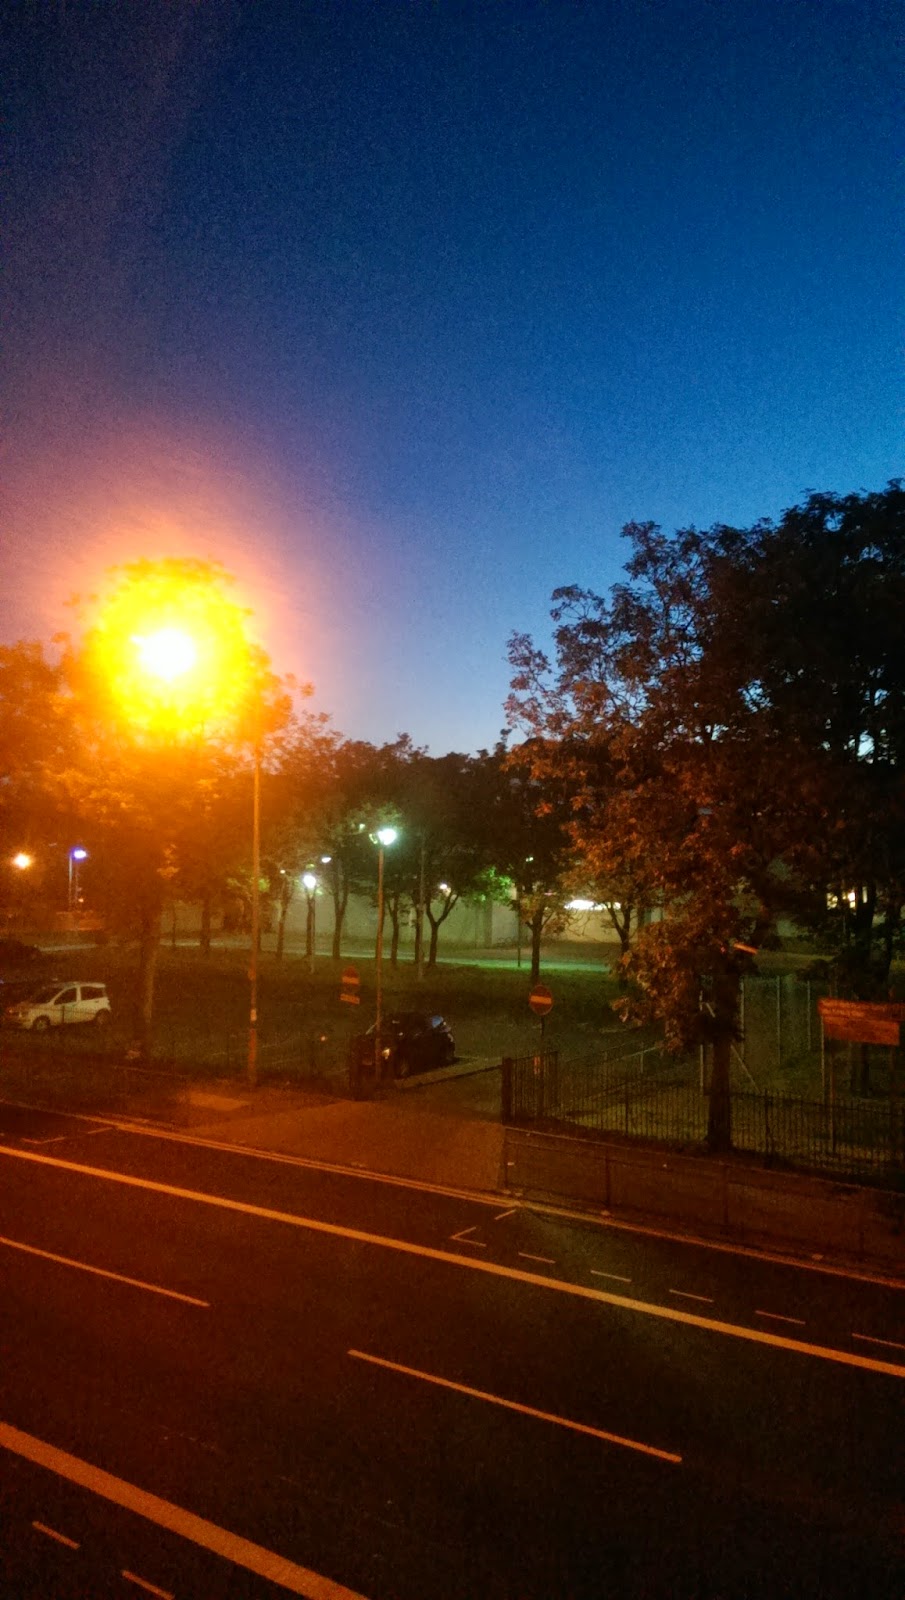
Looking north west towards the park and town


Have a good week folks

JCS

Friday 20 June 2014

A broken little curvy

So my machine is broken :-(  there's no two ways about it - I'm gutted! It would transpire that the timing has gone - the bobbin is not turning and the needle is not picking up the bobbin thread. After over an hour of changing needles, rethreading and trying new bobbins I had to resign myself to the fact that it is in need of repair.

I do have a few projects to share from pre breakage I'll hopefully get these up soonish! I finally finished that burda waistcoat and am pretty.damn.impressed. I just need my willing accomplice to model it...

Also does anyone have any experience with singer customer services? My machine was only purchased in October and was a Christmas gift - will I have to pay for a repair? How long can I expect it to be down for?

Hope you all have a lovely weekend folks :-)

JCS

Wednesday 4 June 2014

Pinwheel Cushion Cover

So in a break from dressmaking, I decided to upgrade a tired old cushion to make something a little nicer and not a drain on the eyes!


Ripped Cover as a result of a former career in student halls....
So this was originally a cheap cushion bought to cheer up my student flat many moons ago - the place was a dive and required some home comforts! The original fabric frayed really easily and in the process of unpicking probably reduced in size by at least a cm!

Having never bothered to fix the original tear this has gotten worse over the years :-(

The one good thing about the existing cover though was the presence of a good quality invisible zip!

The zip was still good!
This got saved so i could use it for the replacement cover. Also before i removed the cover and unpicked the seams i measured the seam allowance so when I made up the new one based upon the old measurements i didn't make it too small...
Checking the seam allowance so the final cover would fit.
I decided to keep to the original finishing technique so for the final make up i serged the edges, inserted the zip then sewed just inside the finished edges so nothreads would pull from the serged seam.


 So the final design was made up of materials from my stash - the purple is from my New Look 6144 dress and the white is from a bunch of fat quarters which im not sure they ever had a definate purpose.
the pattern isn't exactly how i envisioned it i didnt have enough of either colour to make one the entire background on both sides so I improvised a bit and dont think it turned out too badly.

Each of the pinwheels is made from a 6.5" square and each of the squares is then rotated one quarer wrt the previous one so it would give the efect of a rotating wheel. The inside of the cover is simply a piece of sheeting to line it and cover the raw edges - I was going to quilt the cover but the cushion was still quite good. On retrospect i should have quilted it. I may still do that at a future date....

I am pretty happy with the way the zip went in. It wasn't one of the rubbishy nylon ones which ever go in well - rather it was like a cotton tape so there wasnt much movement when it went in.

So I hope you like my little stop gap project - it was really quick to sew up and looks a million times better than its predecesor!

JCS