Tuesday 28 October 2014

Completed: Advent Calendar

Hello world;

Just a quick and easy make from me today - a quilted advent calendar. I really love making these things. I made up a whole pile last year but I felt that my dad was missing out as he was the only one without after last year production line efforts!


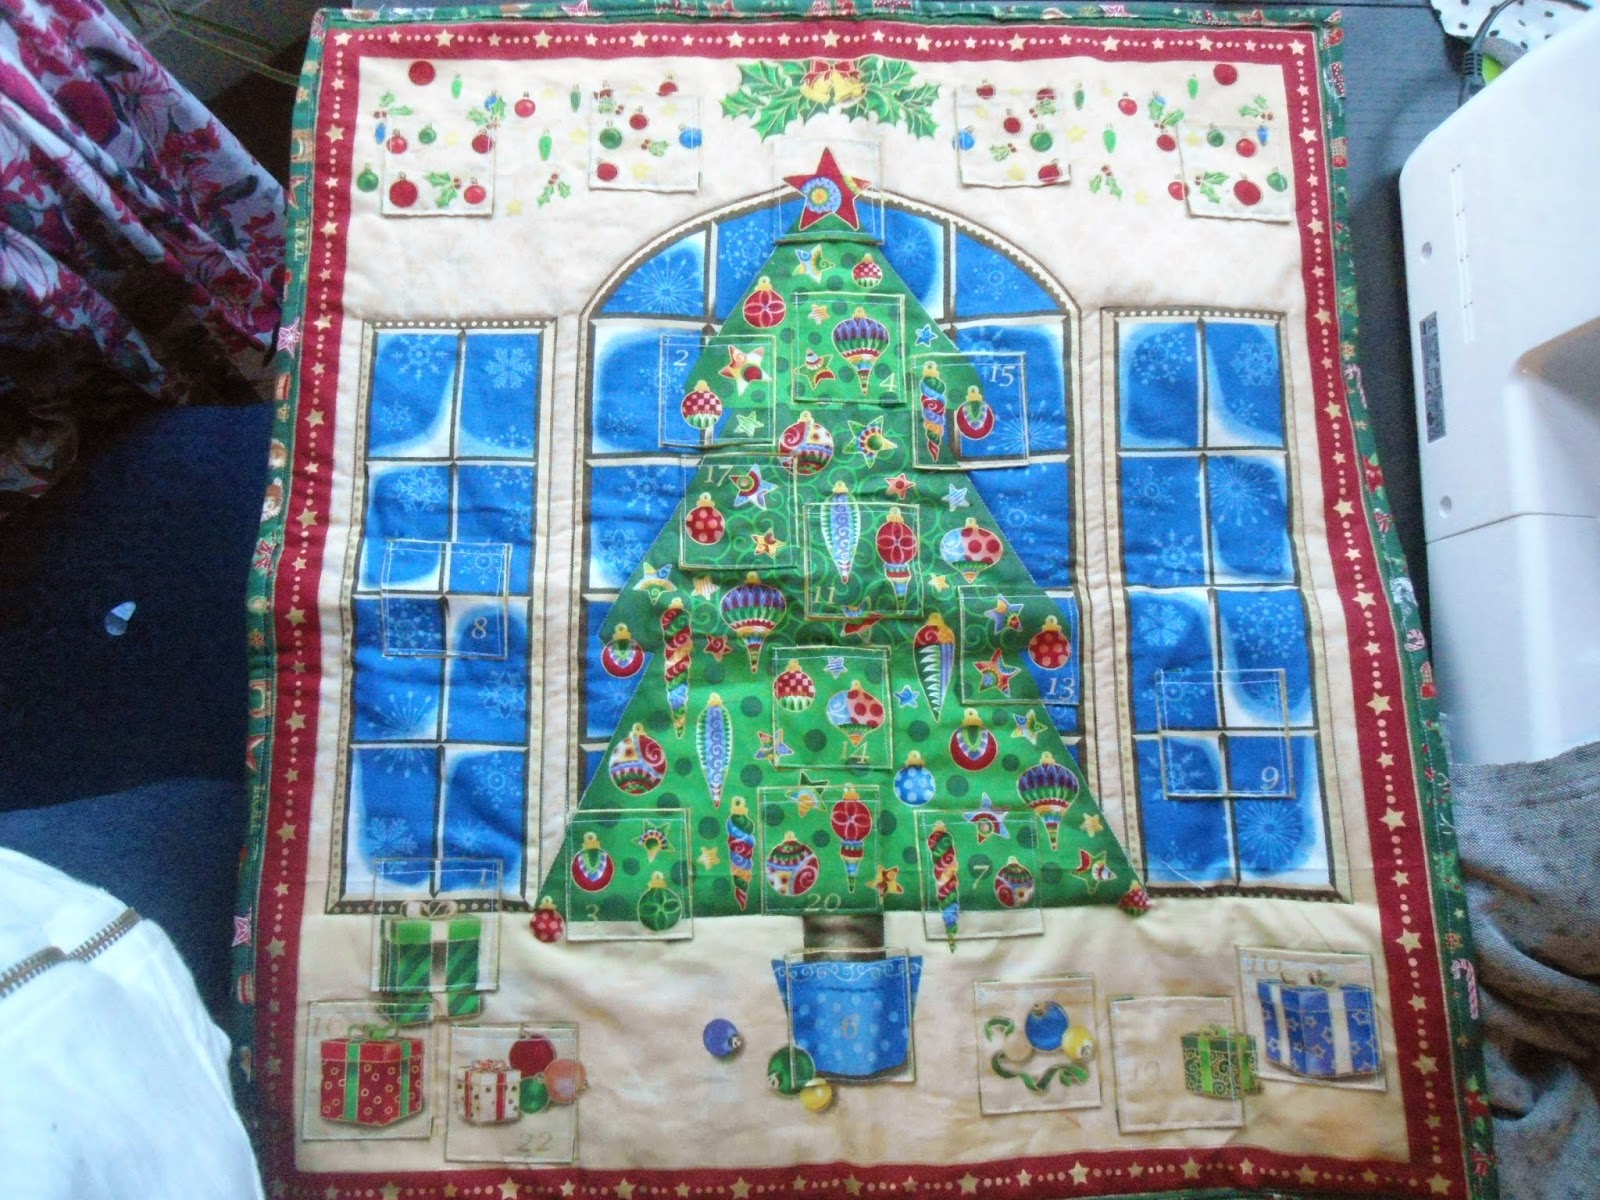
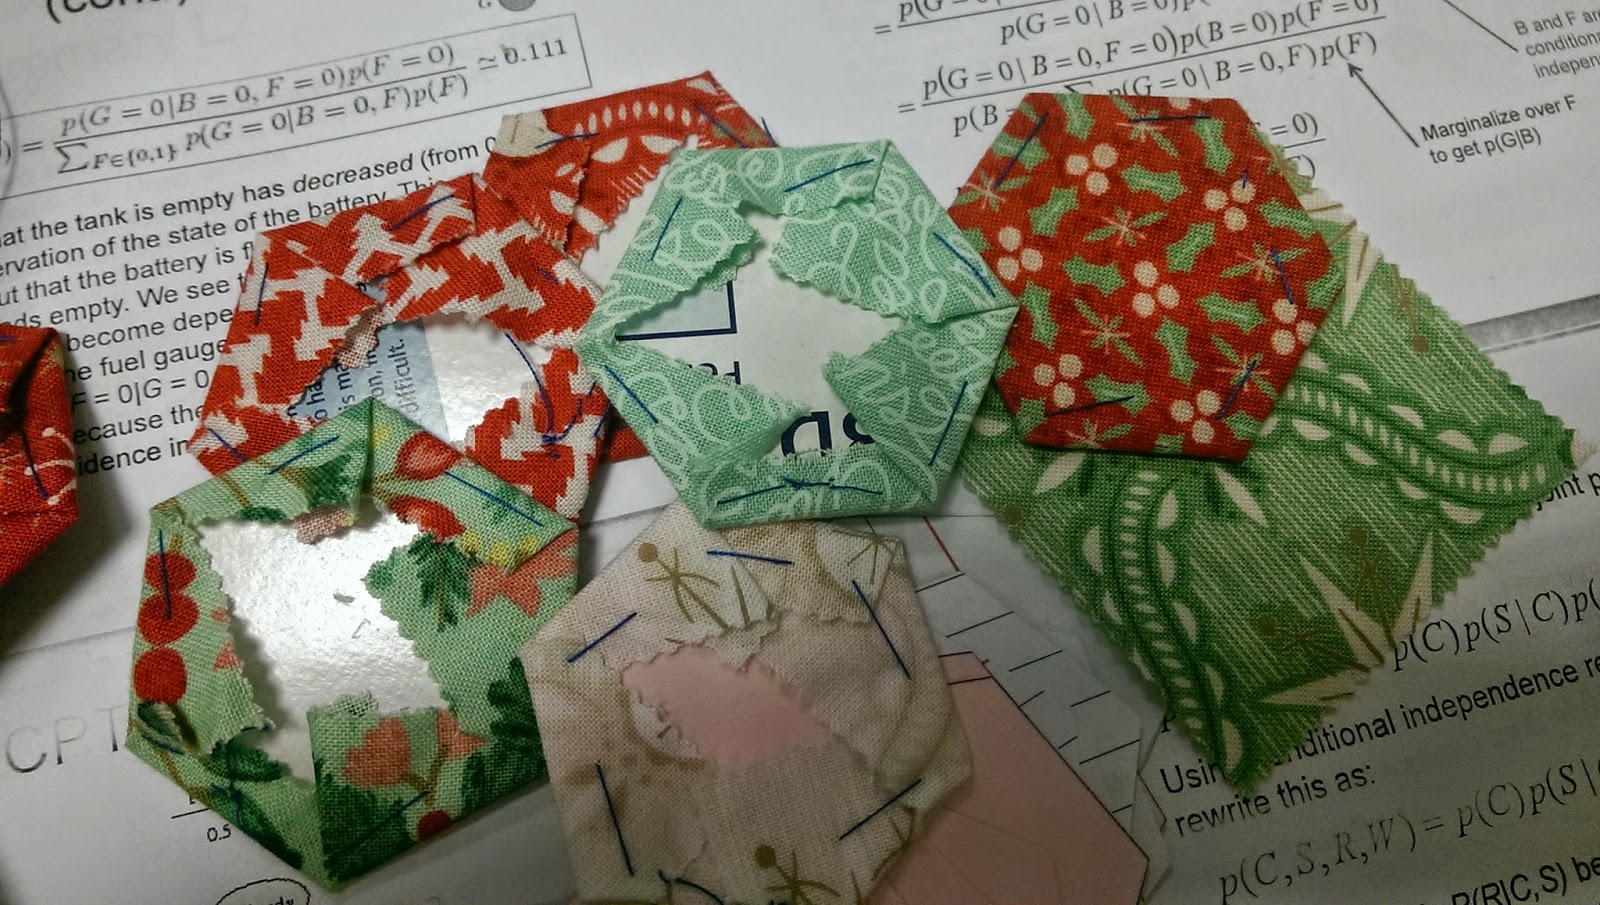
For this advent calendar you buy the panel which comes with a number of doors which you cut out and sew on yourself- I really love all the designs and it was really hard to choose which one I wanted so it was a proper 'close eyes and choose at random" effort!!

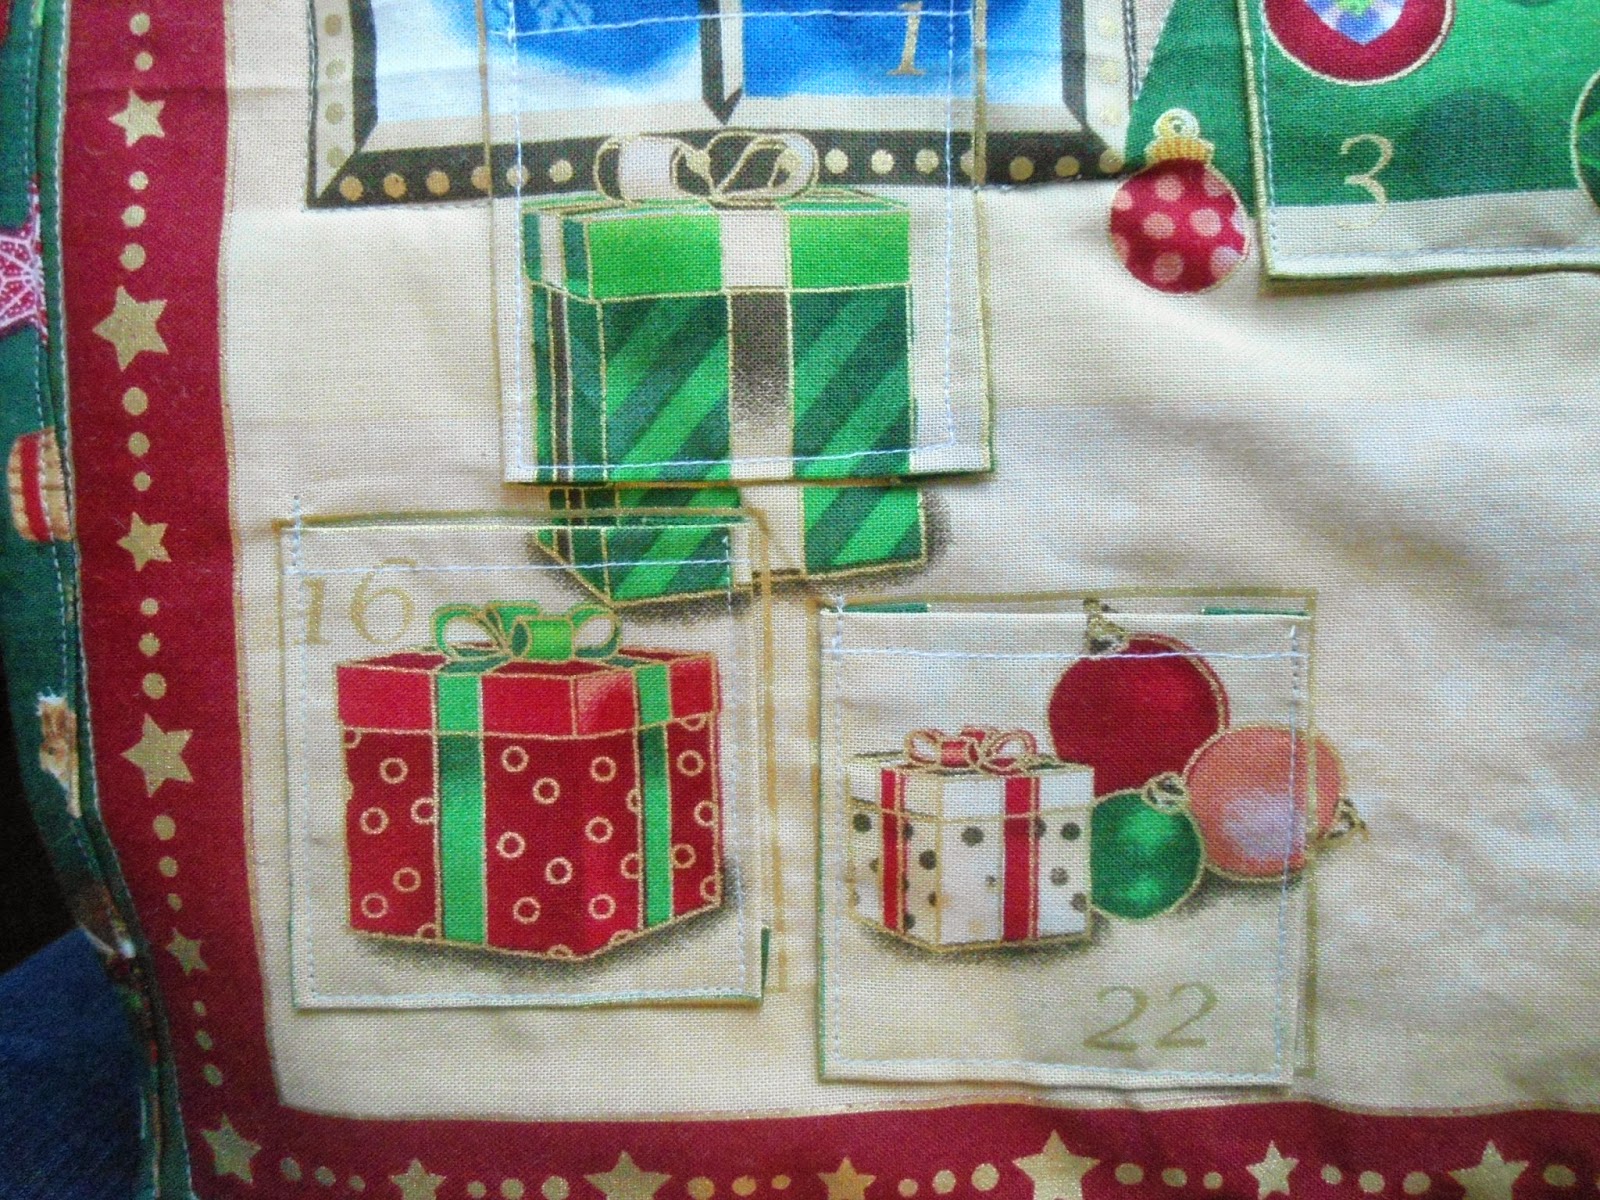
I think this was a great project too to see how my sewing has progressed over the course of the year:
The boxes are far less wonky than anything I put together last year.

 These boxes aren't so square (although they're not all that bad) however the quilting is definately neater around the window and the tree


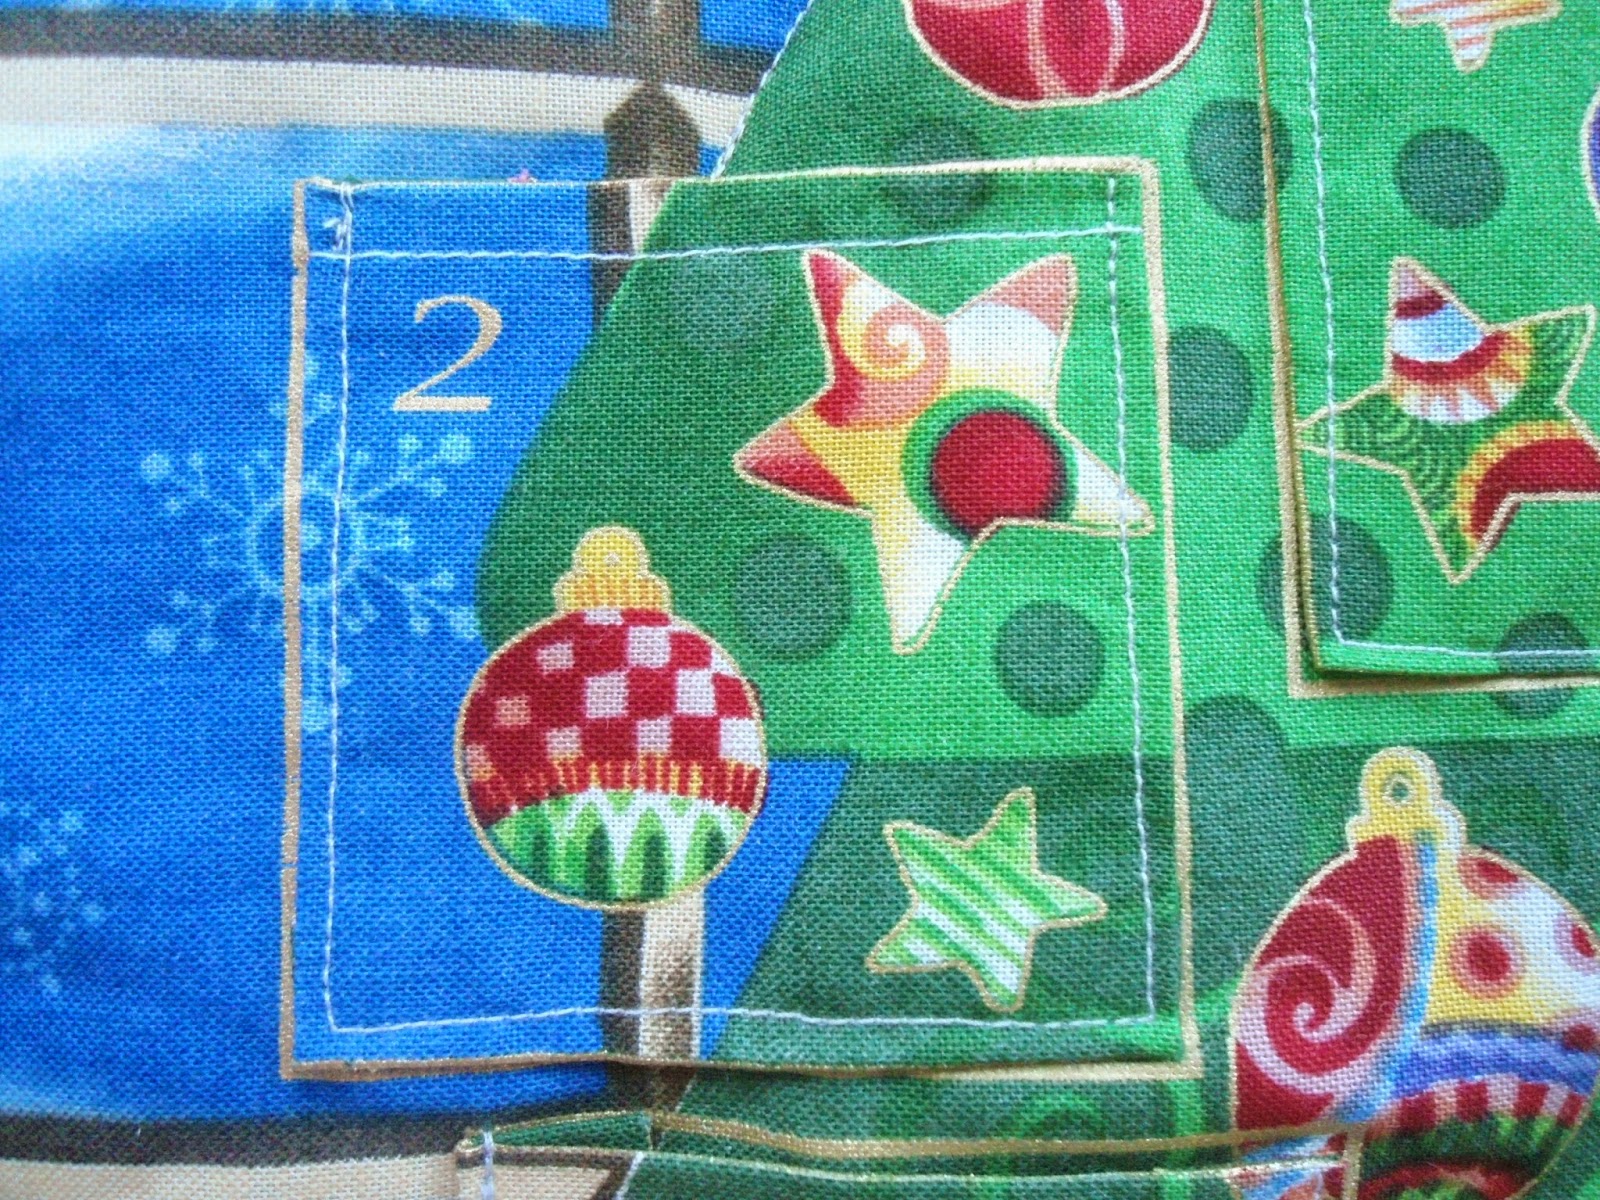
 I think the detail which goes into these panels is fantastic :-)

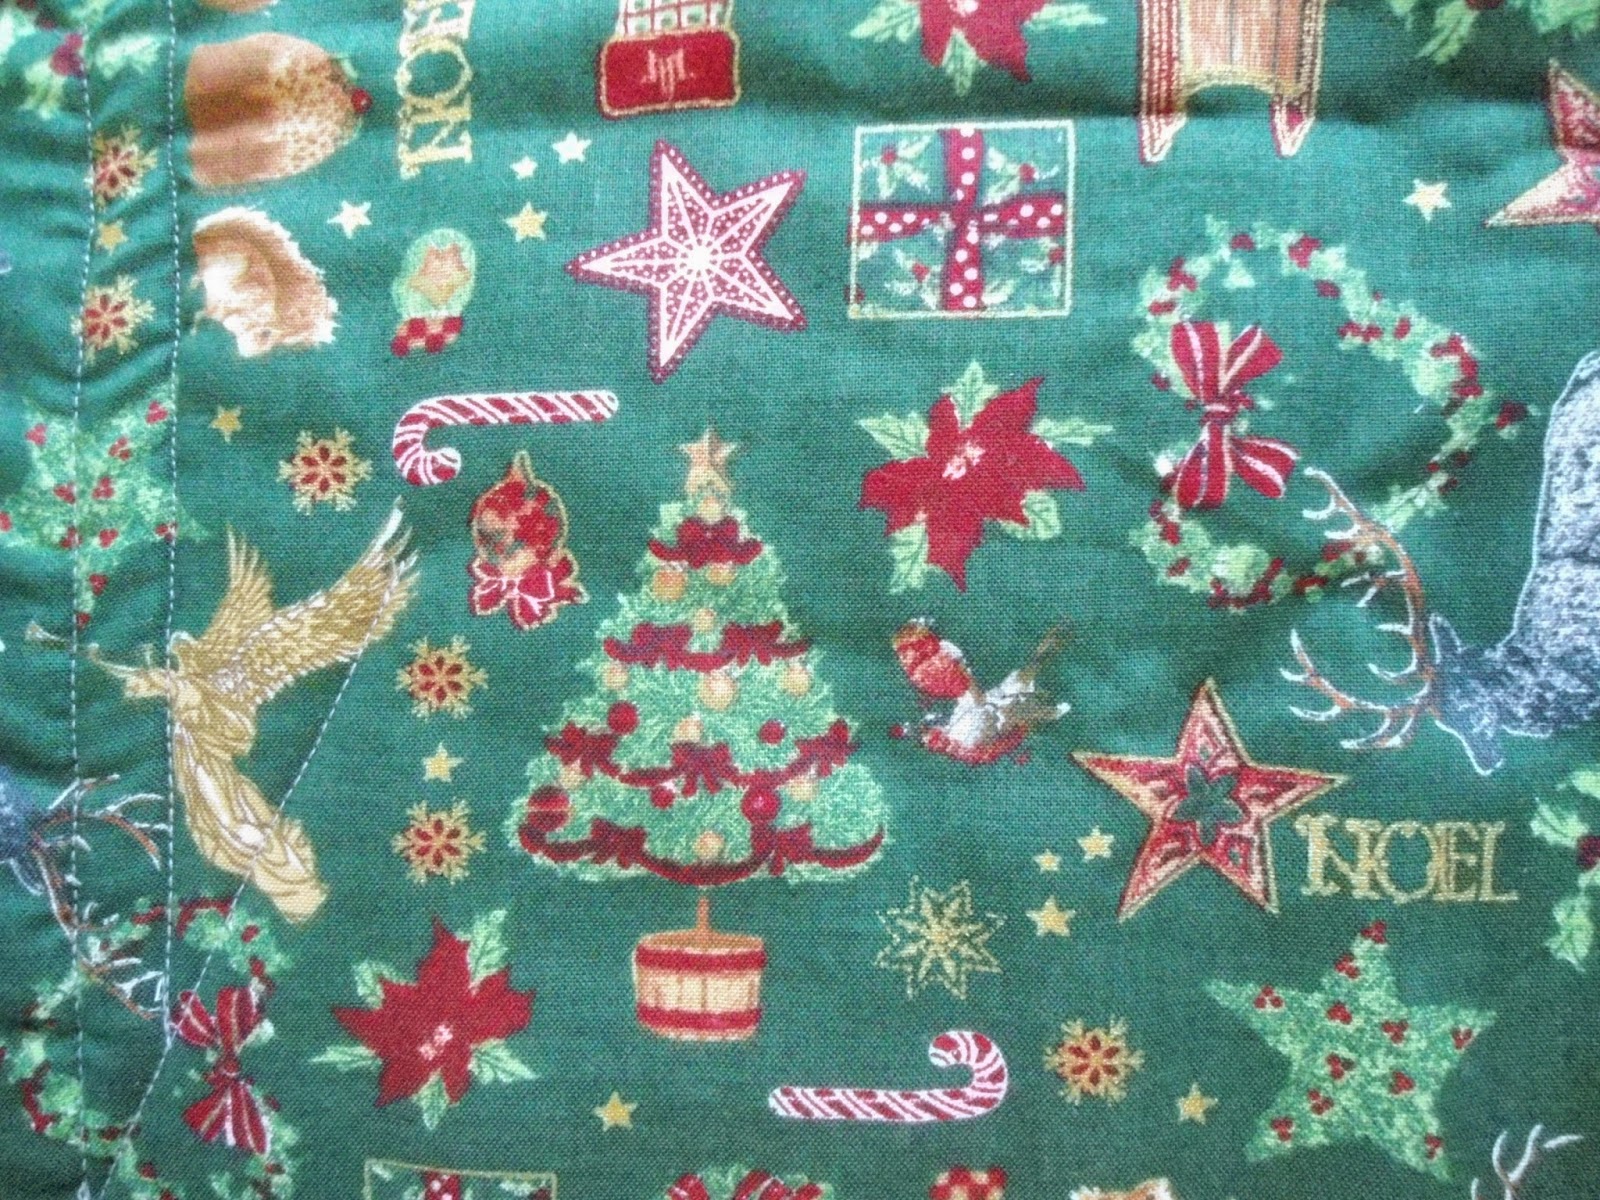
The only thing which was difficult for this particular panel was which lines to pik out and quilt? I decided to go with the windows adn the tree and the tree trunk...which you can see on the back of the quilted panel..

 I made a bit of a mistake when buying backing fabric for this so this was the second fabric I chose - which i think is good because I like this one better. The designs are brilliant - especially the stag which really stands out.

 I even have a little left over to use on another project

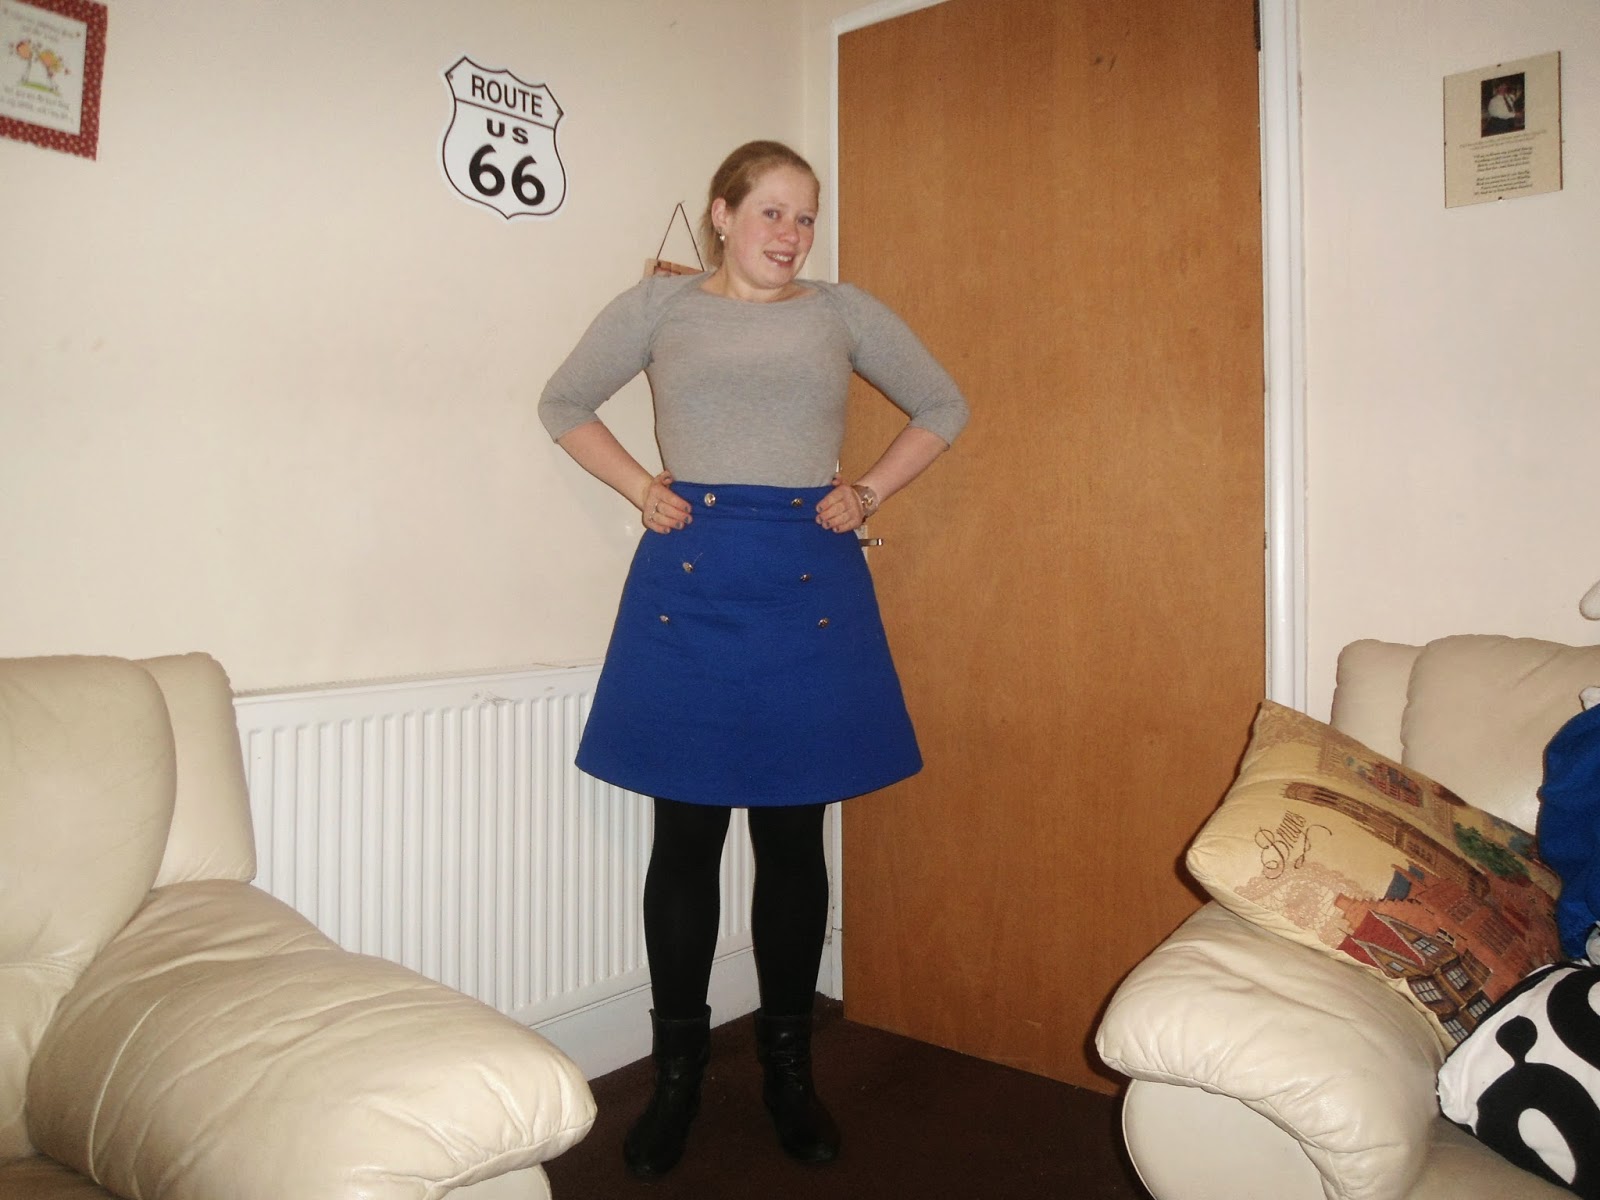
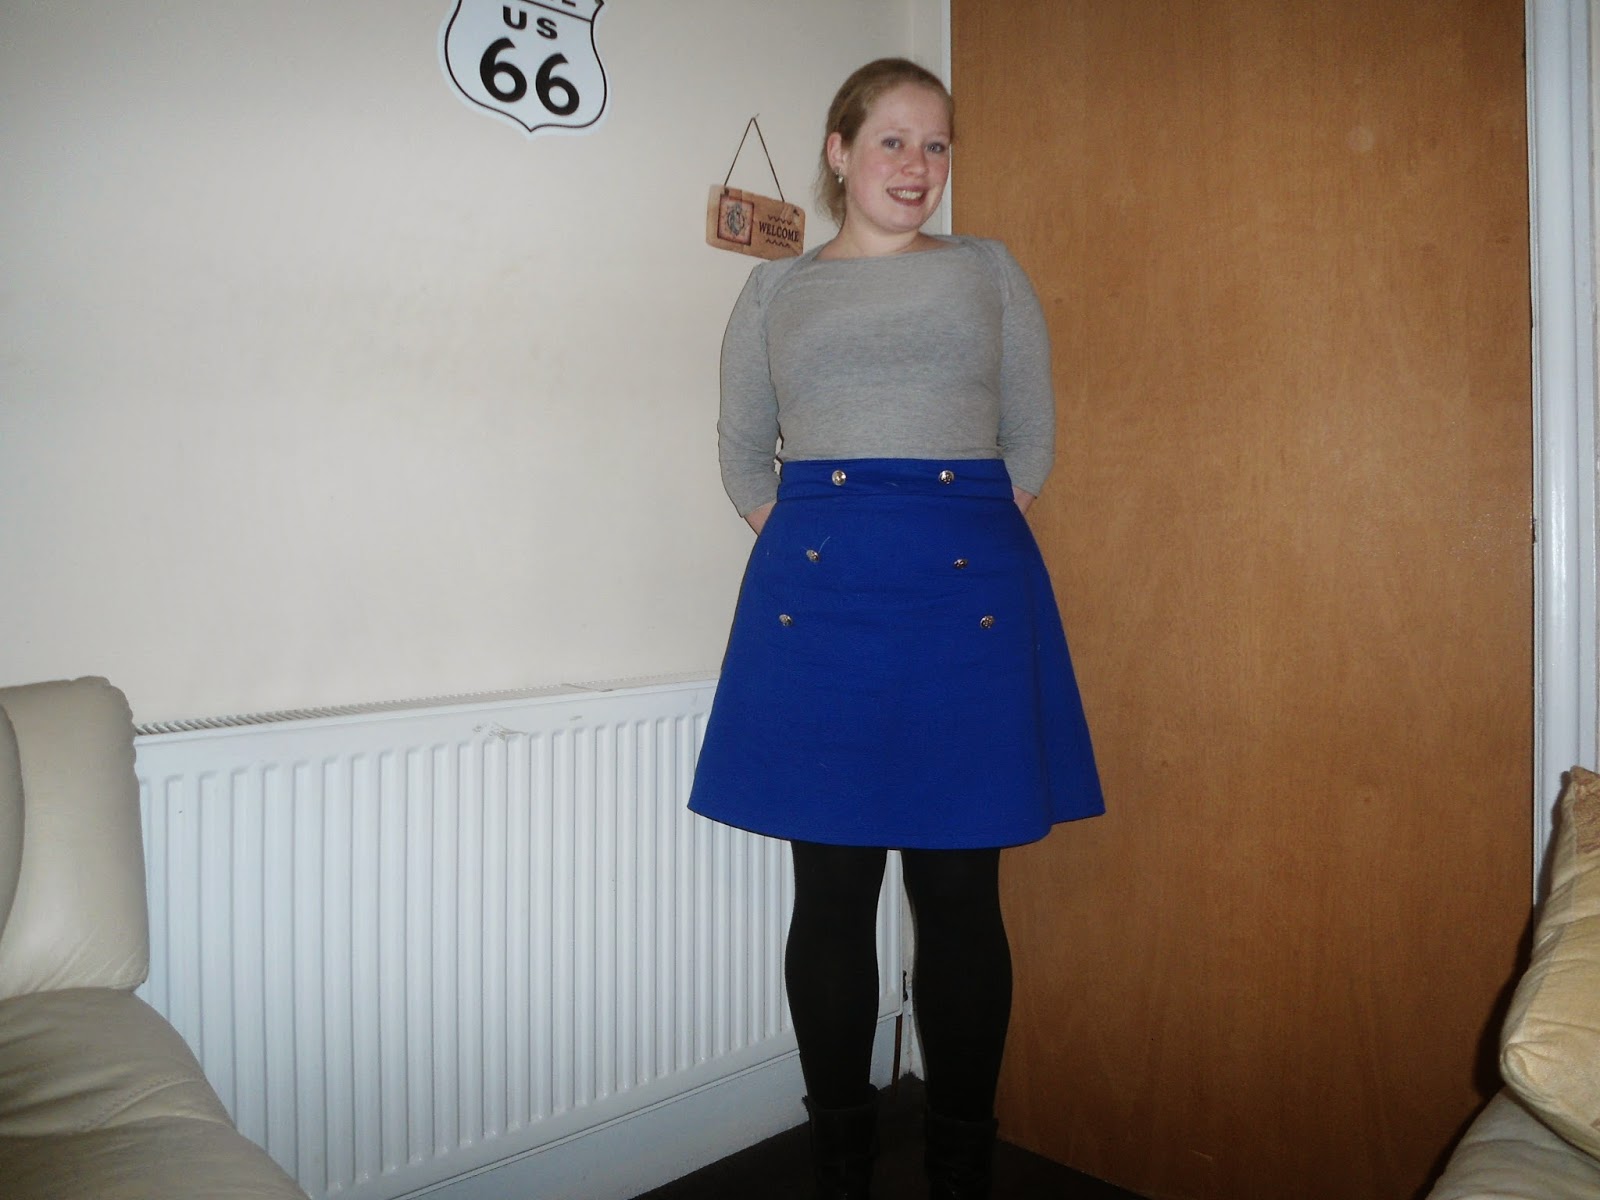
as I mentioned in my last post, this weekend I went to the hobbycrafts christmas fair - to be honest I was a bit disappointed with the offerings this year - I only came away woth 1.5 m of fabric plus another 3m which has been put away for me for christmas:

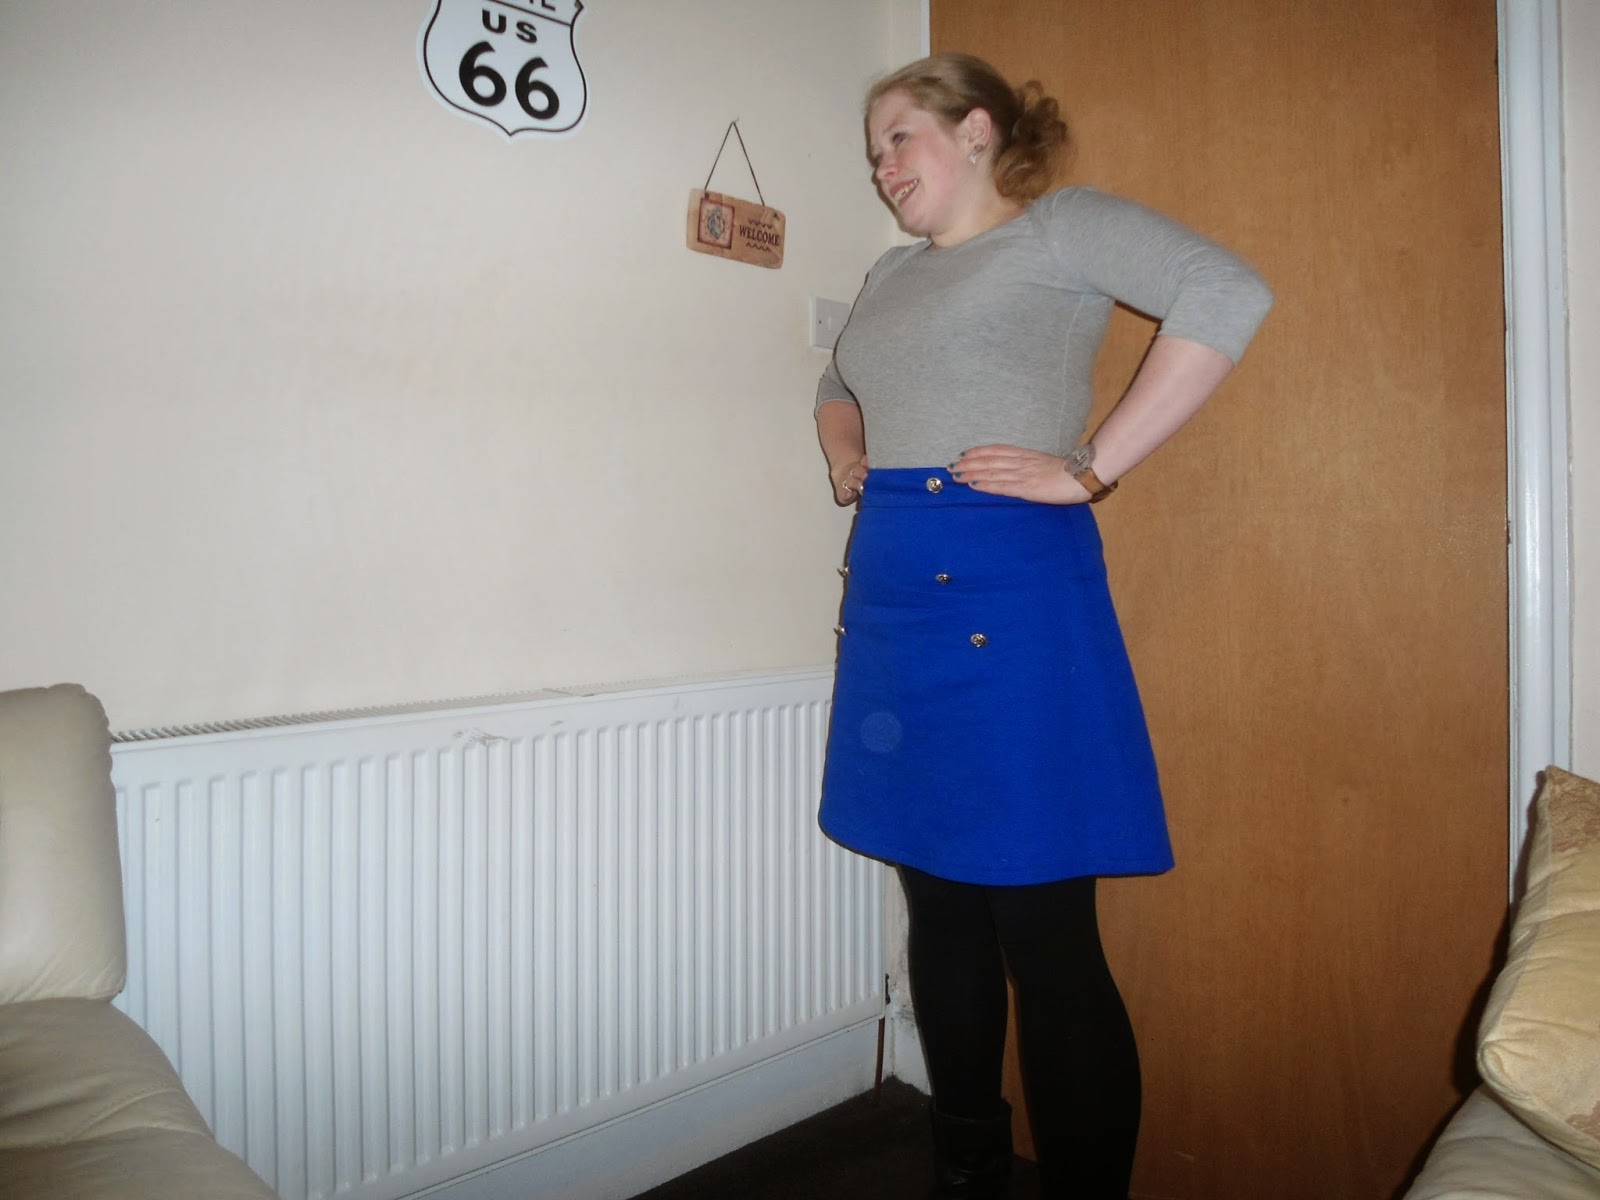
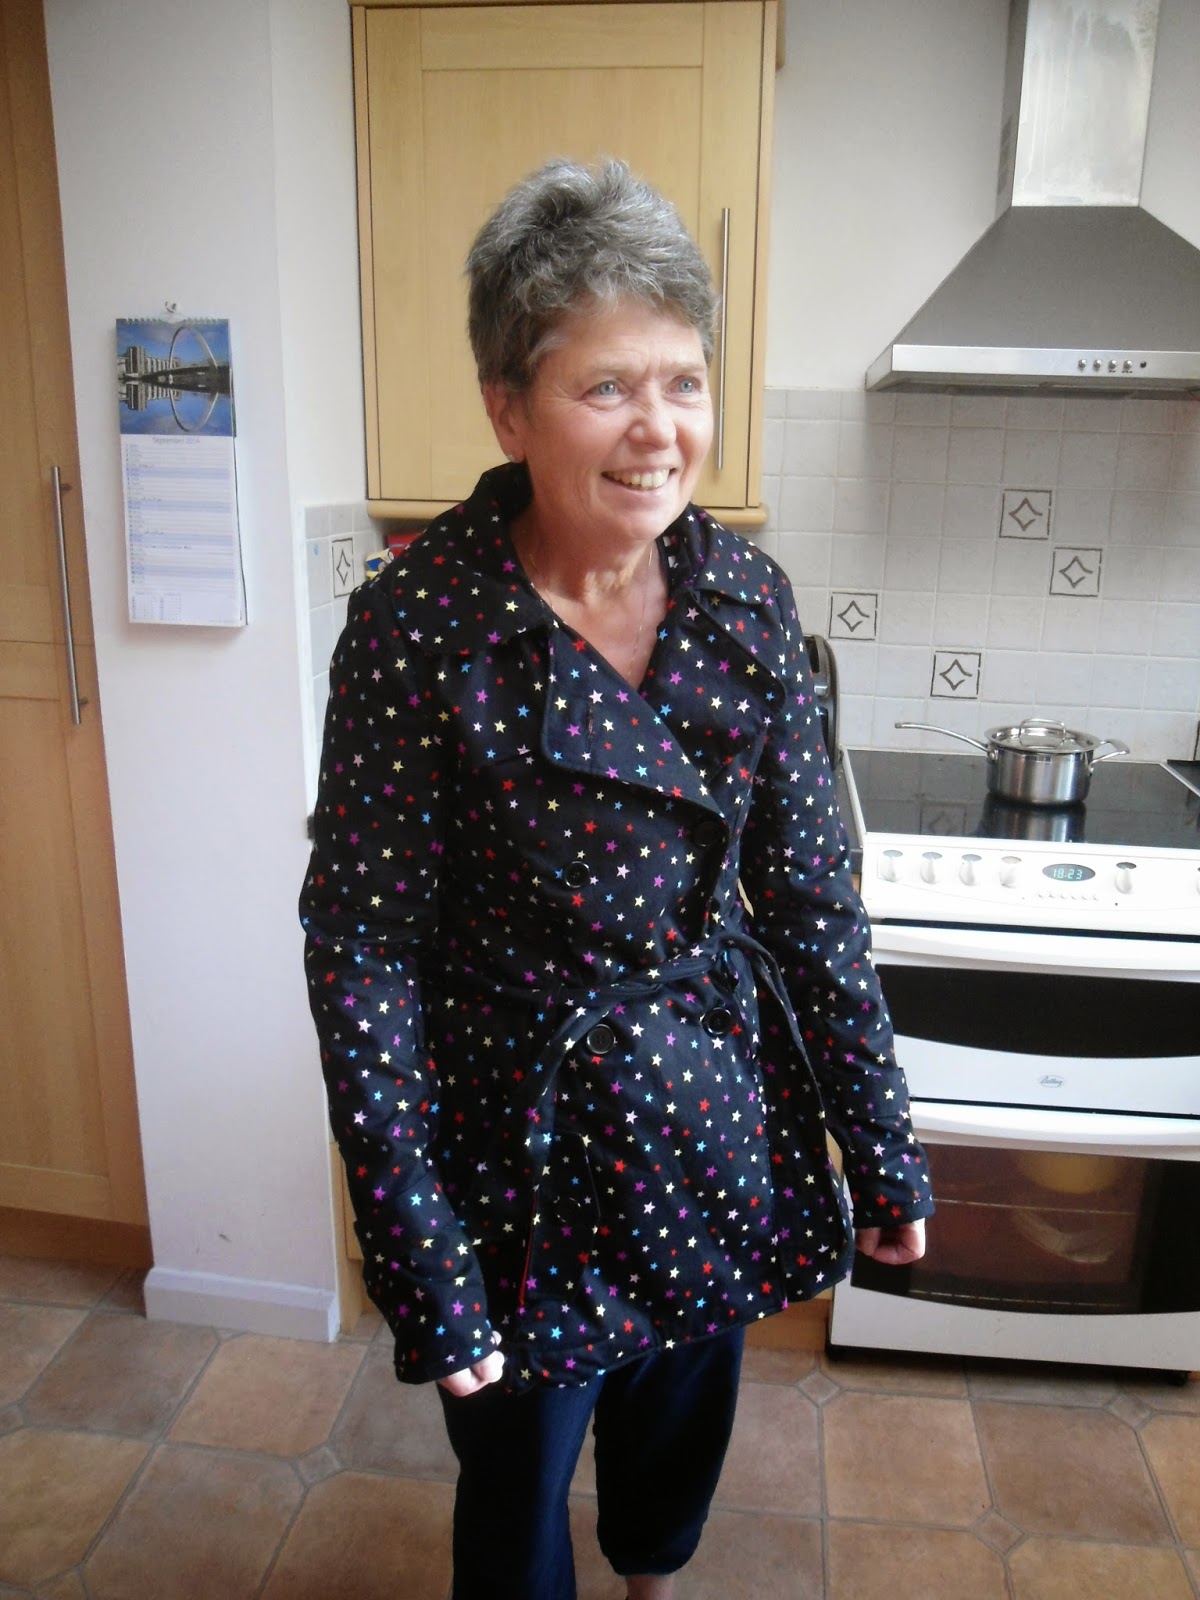
This is a poly viscose I picked up at the Remnant Kings stall (£6.99/m) - im not usually into this type of fabric but this one had a fantastic drape :-)


I also picked up an awesome pair of earrings at the Christmas crafts fair that was running in conjunction. I know they're not sewing related... but they're awesome

Has anyone else started sewing christmas gifts yet?

Have a good week all
JCS xx

Thursday 23 October 2014

Finished Burda 8186.

So I completed the instructionless (or so it seemed) Burda waistcoat! a while ago admittedly but it proved rather hard to get photographic evidence!!


 I only had one major disaster and a couple of minor points which I hope to improve upon for the next time I try them but overall I think this turned out well. What do you think?


 The material and buttons were purchased entirely from  Mandors and the shell is a heavy weight cotton twill and the lining is err lining material? It's non staticy and in any case it is the most awesome red paisley pattern and I want to line everything with it!! I did manage to restrain myself though and only line the waistcoat...


The main stumbling point for this pattern was how to interpret this pattern piece?! I wasn't entirely sure what was going on with the cut lines at the bottom - so made that part up! - I mean I made an educated guess.....

I decided thatoneline was a 'fold to' line and that produced ok results


How cool are these buttons!! We decided that from the outside the waistcoat looked nothing special so to give it a unique feel we trawled the buttons in the store and found the most unusual ones that could hold together the front adn create a diversion from the attempt at welt pockets. I think they look quite 'Alice in wonderland' esque.


I was so pleased that I managed to line up the button holes so well - me and the automagical button hole function aren't really the best of friends!

One feature that I like (and which was horrifically explained) was the pleat in the back of the lining I thought it made an interesting design feature.


The only thing I would change the next time construction wise would be to make the waistcoat a little longer. The John isnt exactly a giant in stature (about 5' 10) and it does come a little short. Admittedly this wasn't the best shirt to wear and I think he should have tucked it in but when I was getting photos from an unwilling and hungry other half I wasn't going to moan too much.
The waistcoat is a little rumpled after months stored in the bottom of the wardrobe
In other news, its the Christmas Stitches fair at the Glasgow SECC this weekend. I have held off on buying fabric for my Dahlia pattern which I bought the other night so that I can hopefully snap up a bargain :-)

Has anyone else tried this pattern?

JCS xx


Monday 20 October 2014

Hippity Hop another Blog Hop!

 So I have been nominated by +Amanda Wyatt for this next stop on the blog hop. Thanks for nominating me - here is my Hop.

Why do I write?
 There are a number of reasons that I write. firstly and most importantly for me I write because this is a topic of which i am passionate about. I love sewing and whereas I may not be the most technically gifted of seamstresses I certainly think that with every completed project I see an improvement upon the last. Another reason I write is because it sometimes helps to write things down and perform a brain dump before moving on to the next project - I mean like a debrief and assesment of my own learning outcomes (SORRY I'M A NINJANEER...) finally I write to share the things I have learned and the projects which I have completed in case that I may help or my experiences may be of use to others.
 What am I working on at the moment?

I'm working on a number of things right now - but the one which I feel is most appropriate for this spot is my first attempt at paper piecing - or more aptly cardboard piecing.

Pieced Hexes learn Bayes theorum...
Reduce Reuse Recycle...
 This project uses 1 inch regular hexes cut (mostly) from an old box for my insulin pen ends... the templates are covered in 25th and pine moda mini charms and im hoping to make this into a little wall hanging in time for Christmas :-)


 How does my blog differ form other sewing blogs?
 erm - i'm not sure really - I suppose the things which I often write about other than sewing are my adventures around the country - while not unique I suppose I offer a differing view from anyone else (see what I did there). Also I suppose that the blog is a bit different as I'm still trying to find my voice a bit and so posts differ a bit from time to time

How does my writing process work
  This is probably the least engineery of all my answers here - my writing process goes as follows
1. writedownallthefacts
2. add context and opinions
3. pictures - wait for a spell of daylight
4. assess? does this make sense? is there a logical order here?
5. Publish

ok maybe a little engineery in reflection but meh. Maybe that's another difference between my blog and others...?

So thanks for reading... I would like to nominate +Joe Zuchowicz for the next hop - he's in the midst of making a beautiful quilt for his daughter's christmas.

Take care guys - I hope to have the post originally planned for today up within the week :-)
JCS x

Claiming my blog on bloglovin

<a href="http://www.bloglovin.com/blog/12014999/?claim=633hcx7f6rc">Follow my blog with Bloglovin</a>

This is all. Just claiming my blog - nothing much to see here :-)

Monday 13 October 2014

A completed Delphine skirt and another Bronte

Does anyone ever have one of those projects where they wait ages for their pattern to arrive in international mail, spend hours carefully tracing off the paper pattern and then pinning those pieces to washed and pressed fabric and cut them out to perfection only to look at those leftover pieces of fabric and be like 'I know exactly what those scraps will be and I need to make it now'?!
Dark as soon as you get in from work - The benefit of Scottish Autumn

Well this was one of those projects.... Right in the middle of making my autumn jacket. But looking at the 90ish cm of royal blue drill laid out and ready to be cut and scanning over to Tilly's love at first stitch I knew what must be done!

I think I traced and cut the 4 pattern pieces in about 20 minutes which is good for me and had them pinned up and ready to go within the hour. The only thing stopping me from completing in one night was my lack of appropriate zipper.
I love how this skirt keeps its A frams shape so well!

The pattern calls for an invisible zipper however given the weight of the fabric I decided that it might not hold up all that well (i read that this was the case some where but cannot for the life of me remember where!!) so went for this statement zipper instead. I really like how in the instructions Tilly tells you to interface the fabric behind the zip to stop puckering - its not something I would have even considered.

I think the metal zipper looksquite good although it does distract quite nicely from the less than perfect waistband!

I took a trip to Mandors at lunch and picked up an 8" zip and 6 awesome anchor buttons. I also picked up some new to me interfacing - it is an iron on and heavy duty and apparently was used by Barbour. It feels really good too and has a nice smooth and structured non iron side. In the end I think it may have been a little heavy as the waistband stands so upright and is really rigid. While I was here I also picked up some 100 % cotton jersey - coz you know, you have to have something to go with the skirt right?!

There's not much left to say about this top - the jersey was a little heavier than the last two versions and I cut the 12 as opposed to the 14 this time. I also fixed the tension problems on my overlocker - last time I somehow managed to thread it with the presser foot down ??? oops!
*Outtakes*

Also this is the only long (3/4) sleeved top I own, I've been lurking the cozy looking wool jerseys that seem to be arriving in the shops so I might make up another version. I kind of used the pattern for the sleeve length but cut them off when i thought they looked long enough. Not the most technical method ever but i am really loving the length of these sleeves. 

So the total outlay for this skirt was about £8.50 the buttons were £0.95 each but totally worth the anchor pattern and the rest was for the zip - I'm not counting the fabric or interfacing coz they were bought for the jacket. The top also came in a little more expensive at £11.99/m for the jersey.
I think I'm going to go back and get some more of these buttons!

So there you have it - does anyone else ever have an inspired make like this?

Have a good week folks

JCS xx

Saturday 4 October 2014

Completed! A Robson Coat

Hello blogging world!I feel like I've been away ages! So today I would like to share with you a make which I finished up at the end of August but has remained unblogged due to lack of photos... After a summer where I did not feel like sewing a black trench coat - my mum's Robson Trench is finally complete!

Starry Robson Coat


I must admit that I am rather jealous and totally wanted to keep it for myself :D
So here was my brief:
a trench coat
with buttons (NO ZIP)
lightweight to wear in the spring/summer/autumn
showerproof
no hood
shoulders that were broad to help getting it on and off.

I totally reckon I nailed it :-). See my mum has issues with her motor skills and has no depth perception making zips an imposibility and coats with narrow shoulders a right royal pain. My mum is about a size smaller than me in measurements, so i made up a size 10 in the shoulders and a size 8 in the sleeves and in the waist. I think the sizing worked out ok


The fabric as usual was bought in mandors back in May - that's how long this has been in the pipelie for! I think it took us about 40 minutes to pick something that she liked and wasn't tooo expensive. As it was only a 45" fabric the instructions suggested 6m. so we didn't really want to go much above £8/m - it ended up at £6.99 so bargain!! The fabric is a lightweight cotton poplin and the lining a plain polycotton which I bought in Norman Cummings on a trip to Linlithgow. Annoyingly there was a repair in the outer shell fabric which I hadn't noticed until it was all cut out so one of the pieces needed recutting.

I cut off about 19cm (7 1/2 inches) off the bottom to make it more summer appropriate and less of a faff too. (Length is also a problem when it becomes a trip hazard...)
The storm flap at the back ended up a bit squint...oops!

So the instructions call for you to bind all your seams with bias binding however I decided to see what effect french seams would have - next time ill be sticking to instructions as these turned out too bulky. As a result half the seams are french and half of them are bound... makes for an interesting design feature!
Using the shell as binding makes a good target for the arms!

One of my only problems I had while making this coat is that i forgot to put the notches onto my traced pieces - to be honest this is the main reason that this took so long to finish. I think i set them in about 5 times *next time trace ALL markings* but once I was happy it only took about an hour to attach the binding to the sleeves and all the other little things that remained.
that button looks awful!

So lessons learned for next time then - (I do have a version of this lined up for me but it's not my main everyday autumn jacket.) cut a straight size 10, do not french seam, mark all notches, check fabric before cutting, add back on the bottom section of coat. I'm not entirely happy with my sewing process this time but I am happy with the end result , and that's the main thing right?

Has anyone else got any jacket patterns that they would recommend? Its getting to that time where I can't leave home without one!

I hope everyone is enjoying their weekend :-)

JCS xx