Tuesday 24 February 2015

Completed: By Hand London Anna Dress

Back in April last year I backed By Hand London's kickstarter campaign and the other weekend while I felt really ill with my kidney infection I got the best delivery ever: a box full of patterns pins and fabric! This lifted my mood no end as I have been itching to try some of their patterns since last year when I backed them!

Before I got the delivery I had in my mind that I wanted to try the Elizalex dress first, however on a complete whim I picked the Anna pattern out of the box and traced it all out.

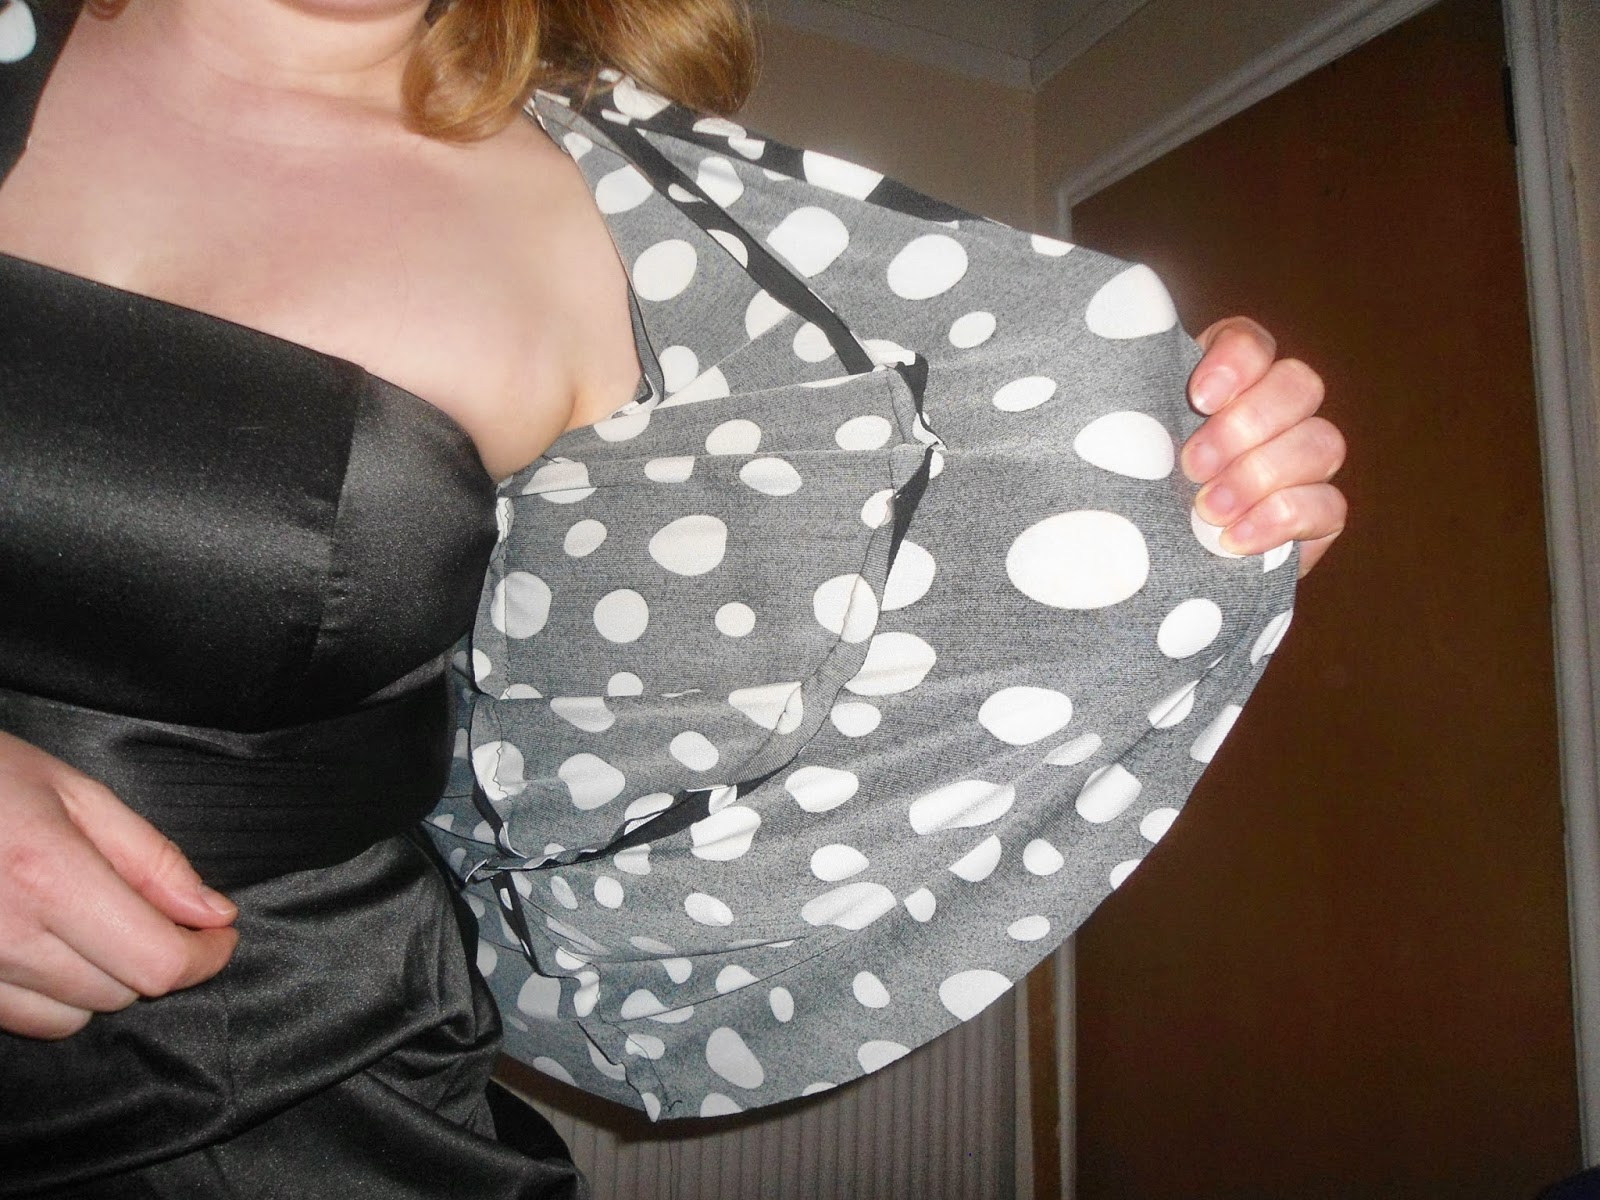
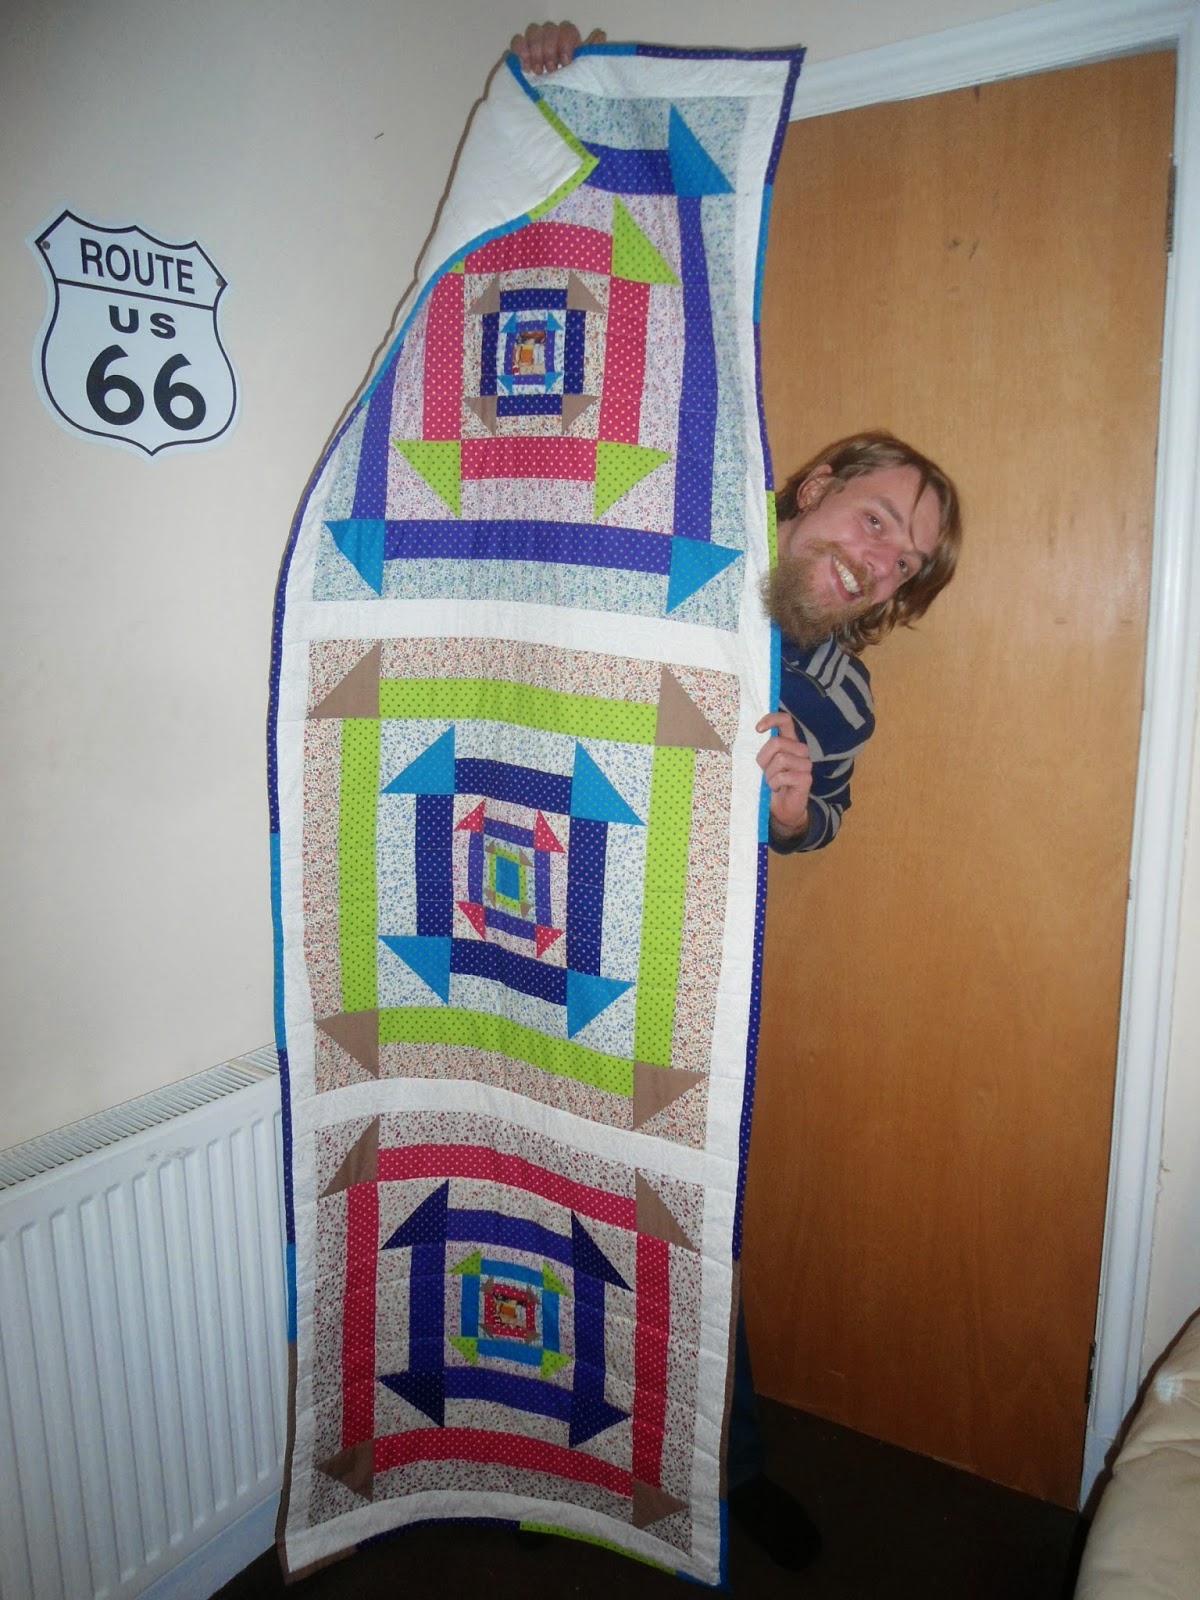
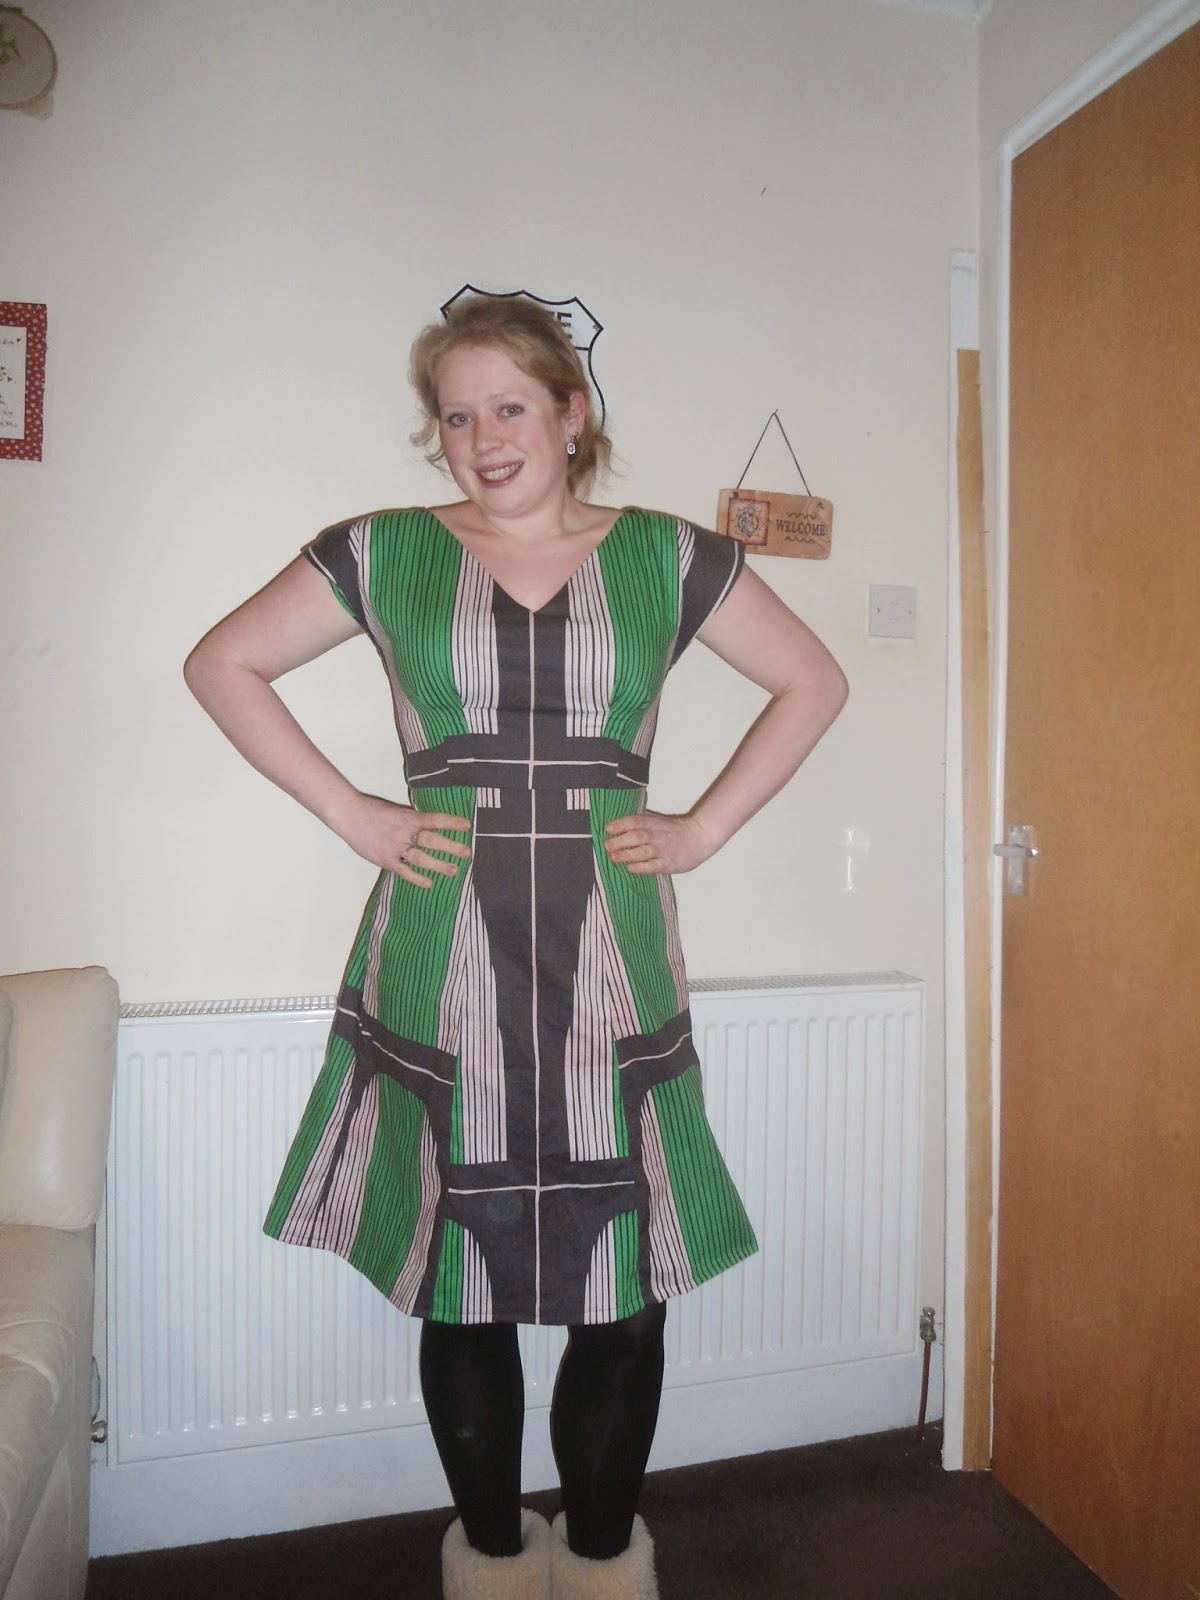
Lets talk about the fabric. I picked up this 3 m length of lightweight cotton from a recent trip to Ikea for the pricely sum of £10. The pink parts of the pattern were white before the prewash however a red top somehow made it into the same wash cycle...

Strange sporran esque print!


Due to my measurements I sit just above the finished sizes for a UK 14/ US 10 -so because this is the size I cut for my Kim muslin (and intended on using 1/2 inch seams however managed to use the full 5/8 seam) this is the size that I cut here too. I notionally glanced through the sewalong for the dress and spied that there was a lined version of the dress. I'm not hugely keen on facings so opted for the V-necked lined version of the dress.

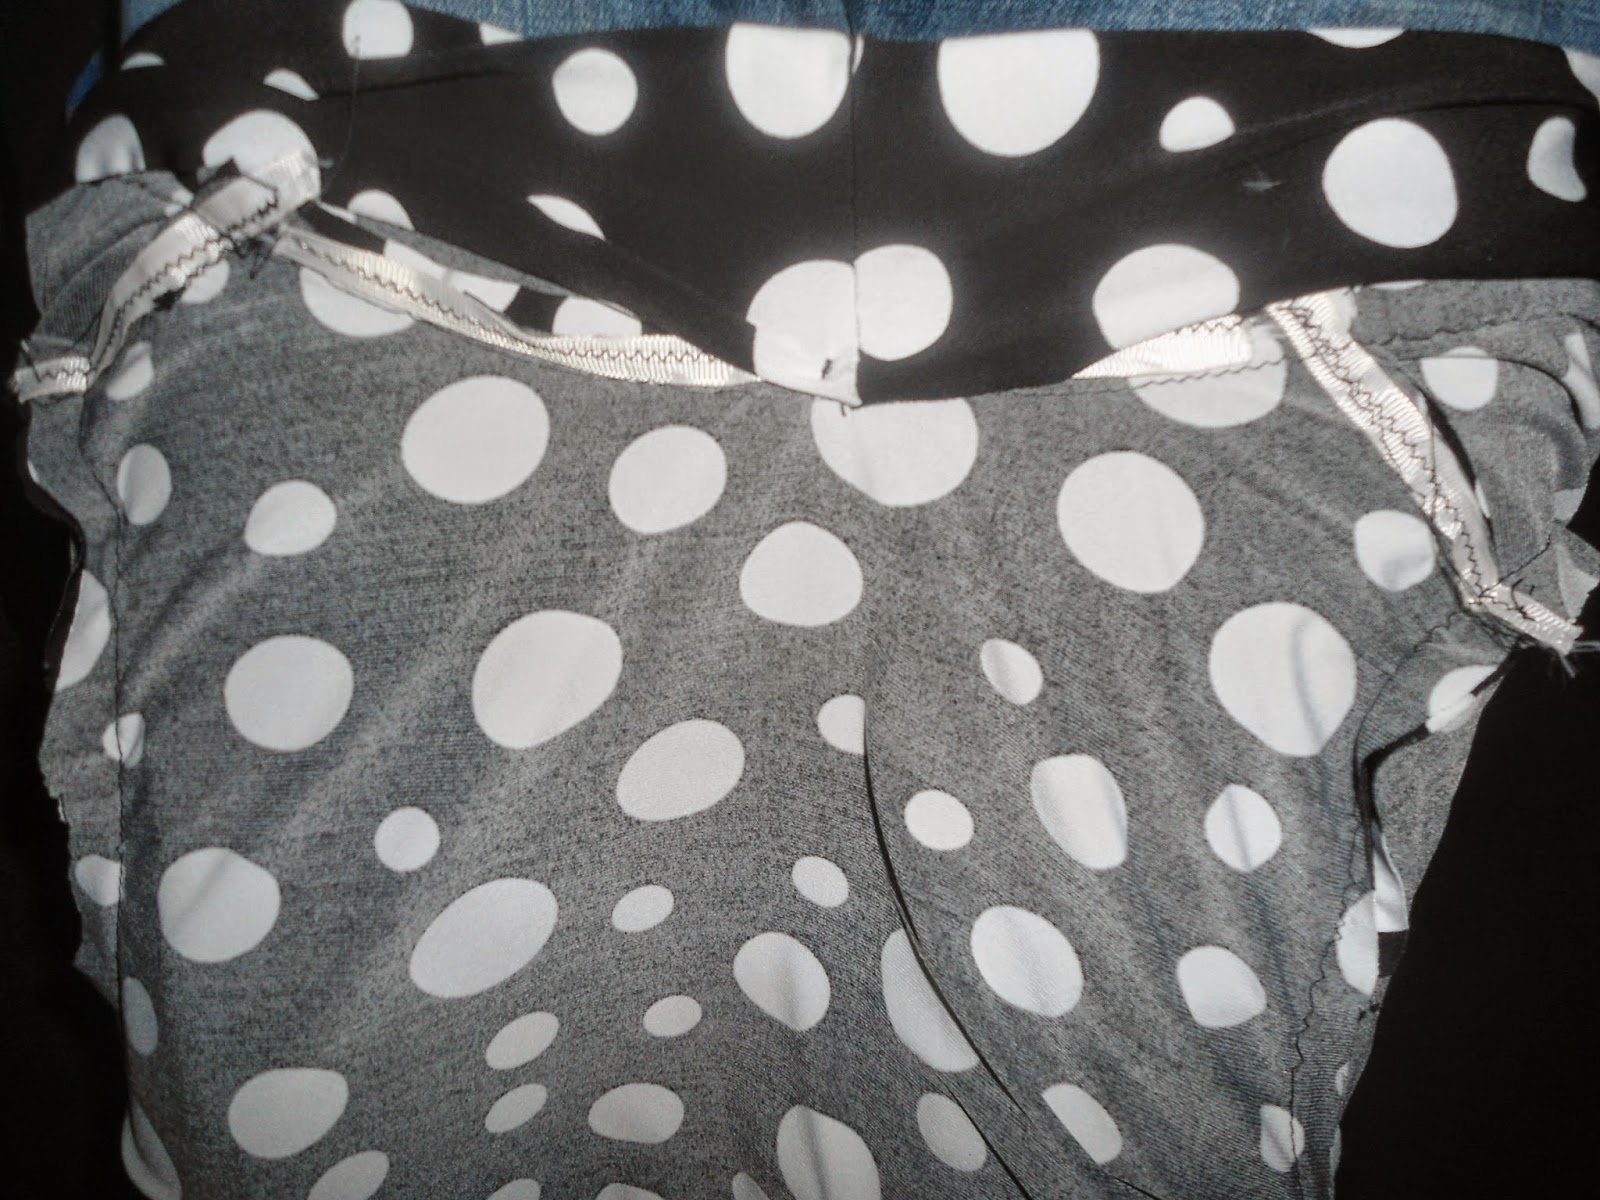
The pin showing where the zip lies.

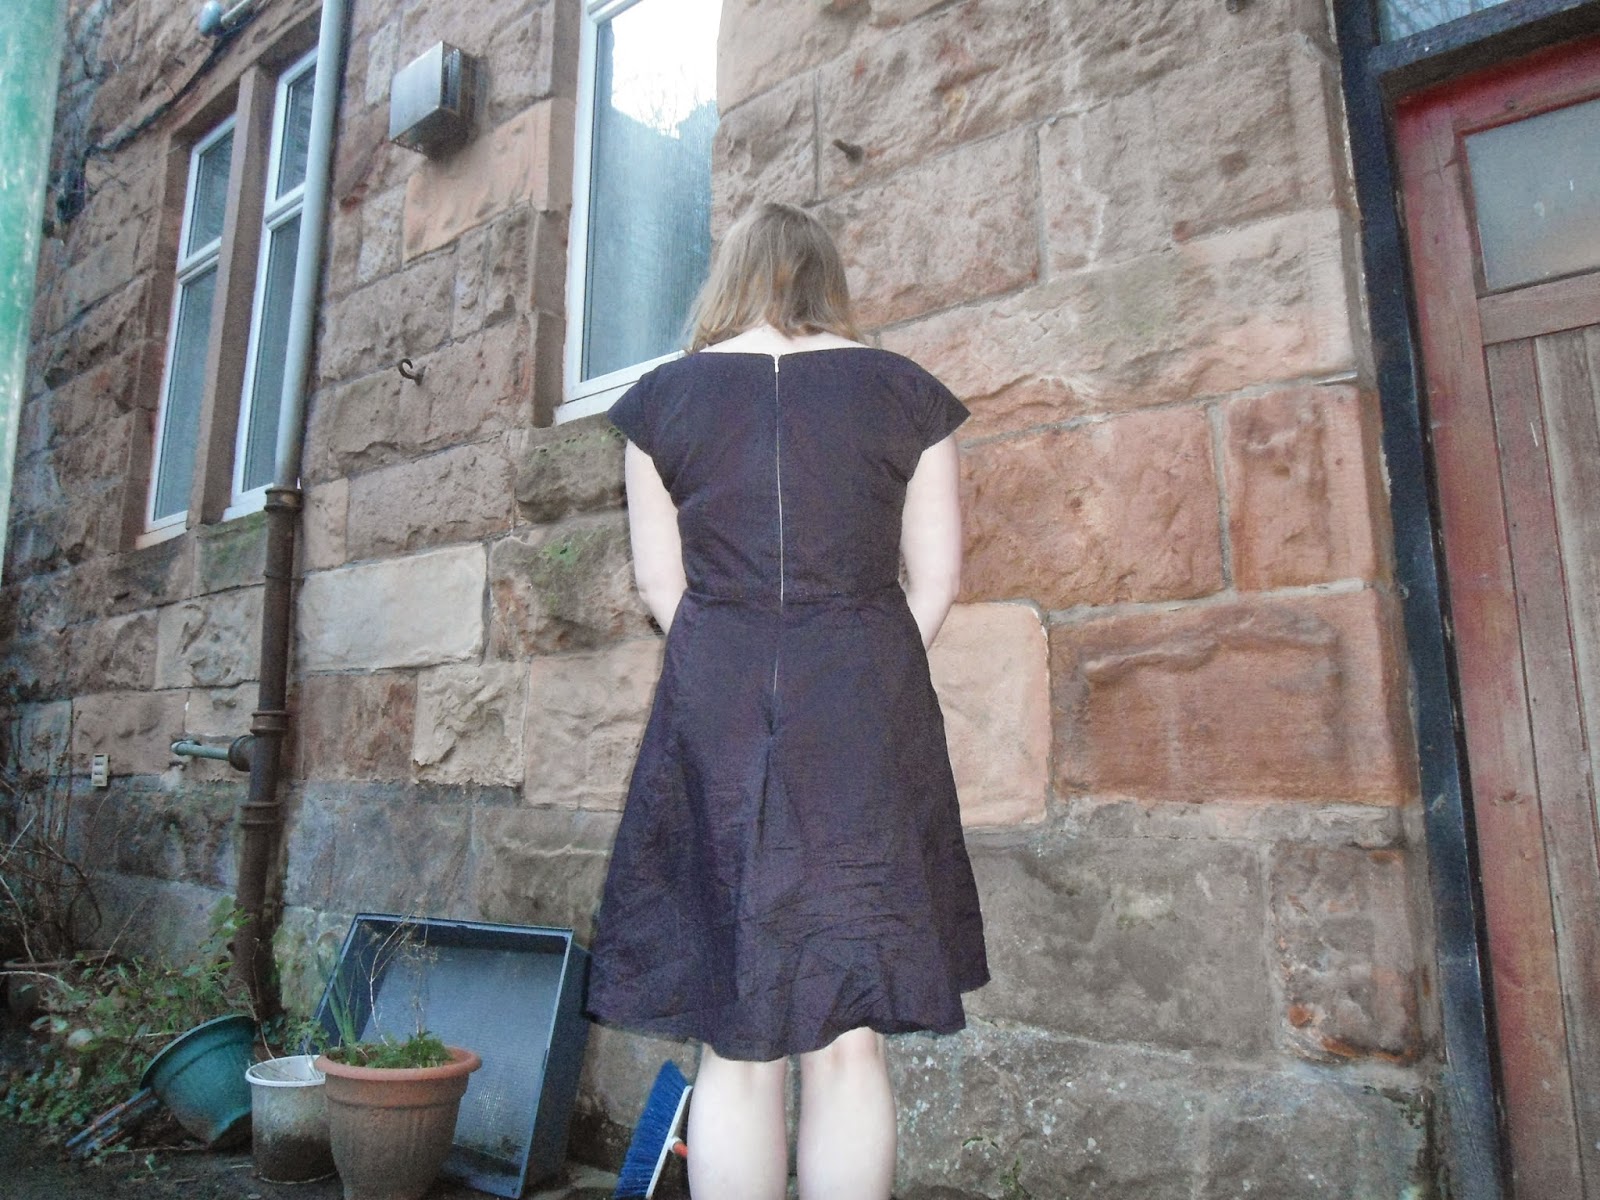
In a bold move, I inserted the zip without really checking if i would require to take the neckline in, however as it is an alteration I make on every garment I brass necked it and took the back neck in by 1.5 inches on either side and the results were perfect!
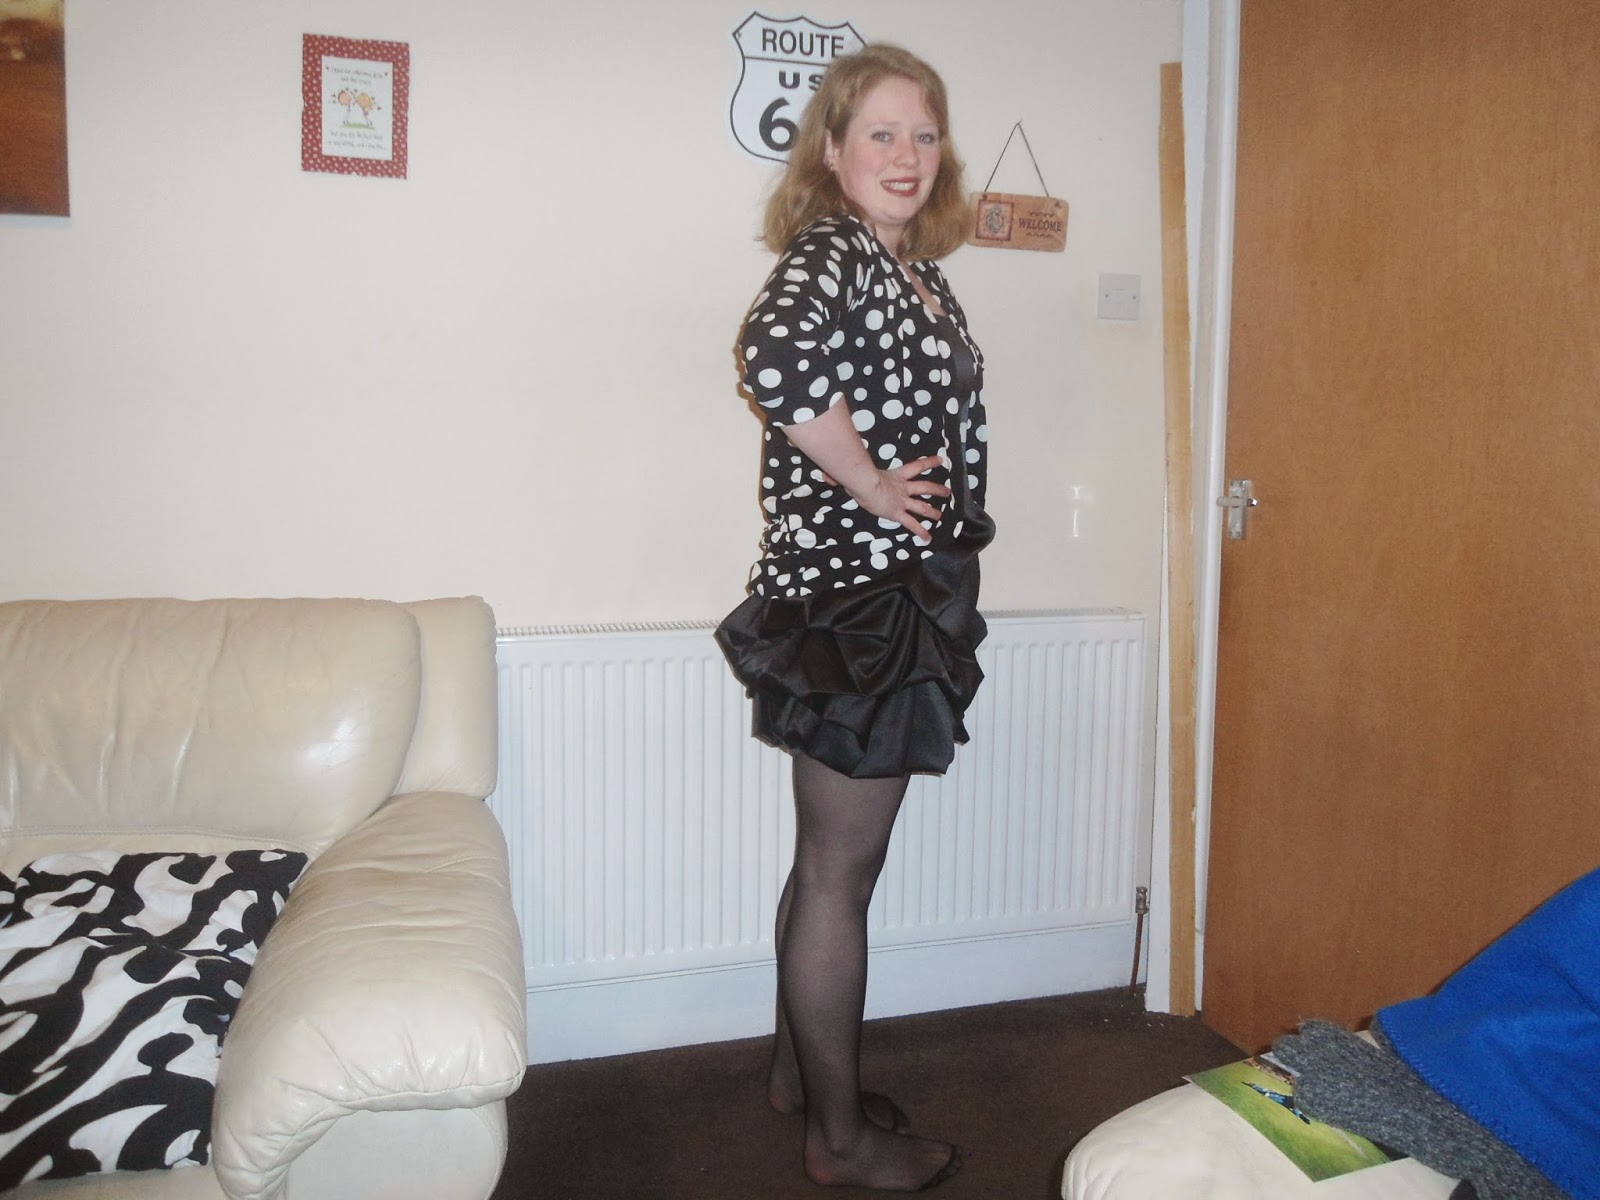
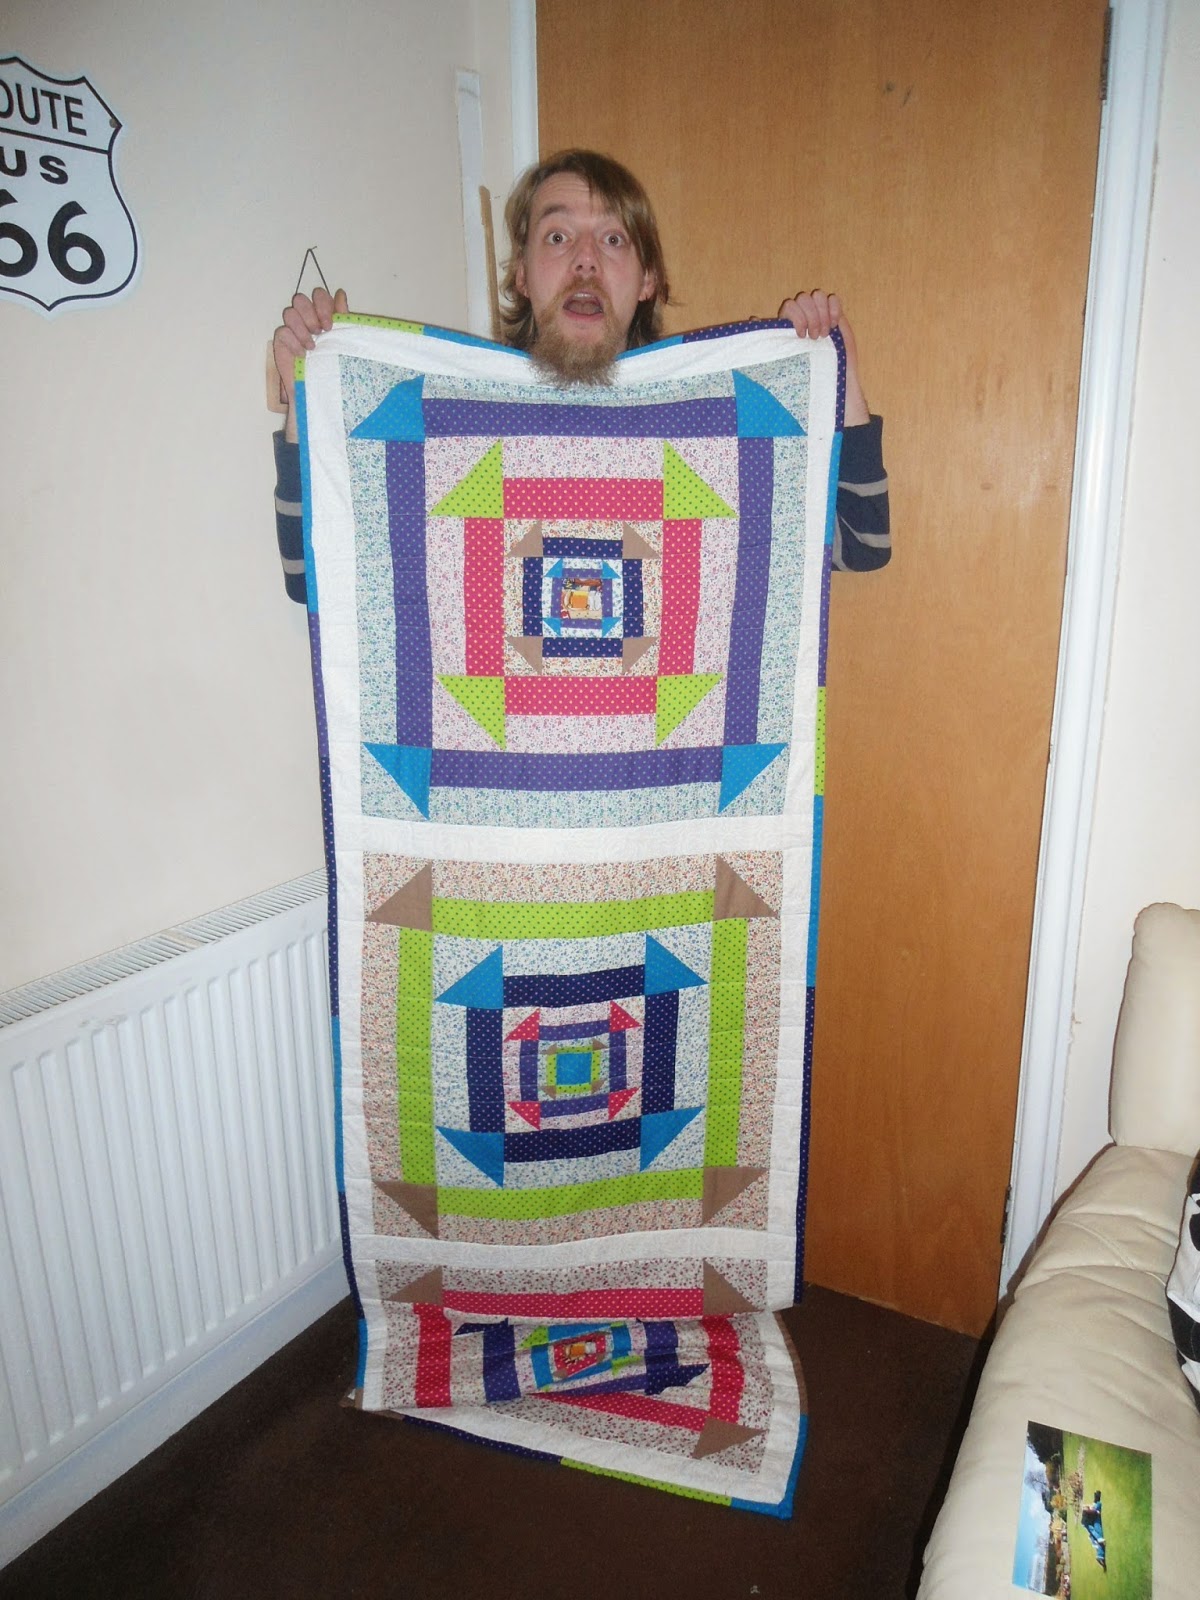
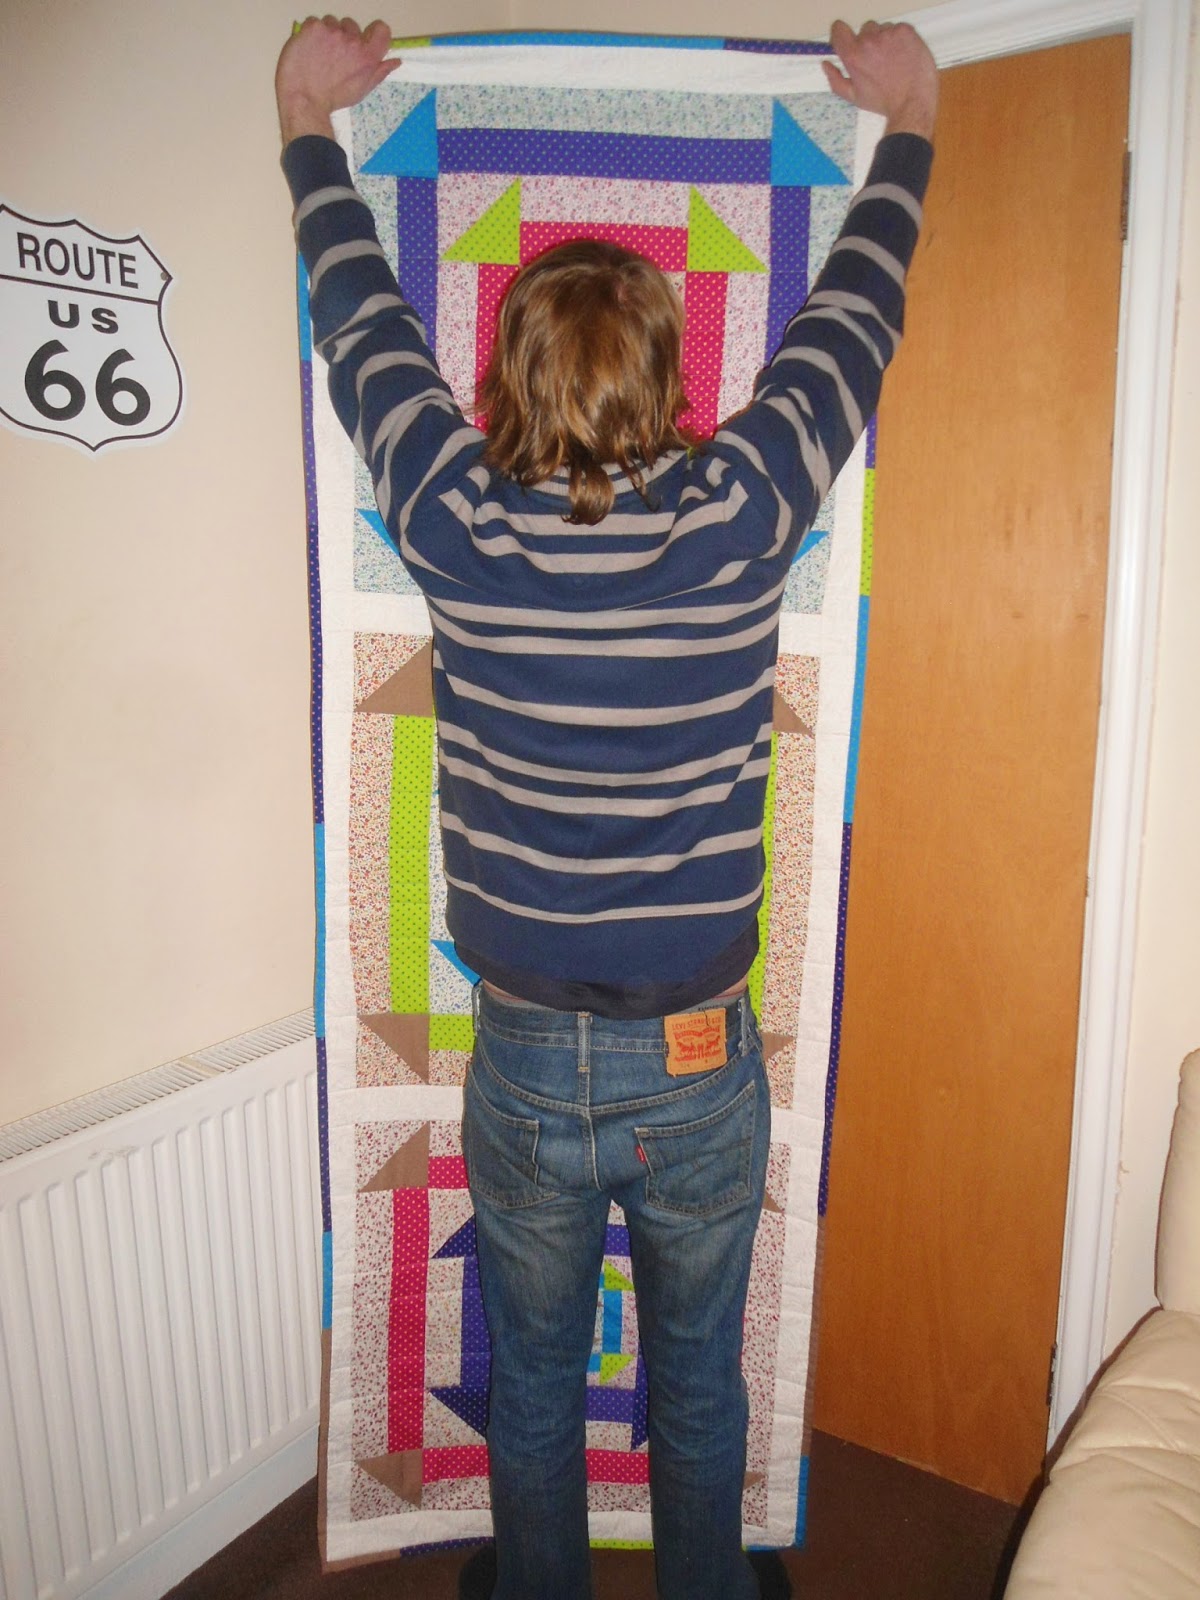
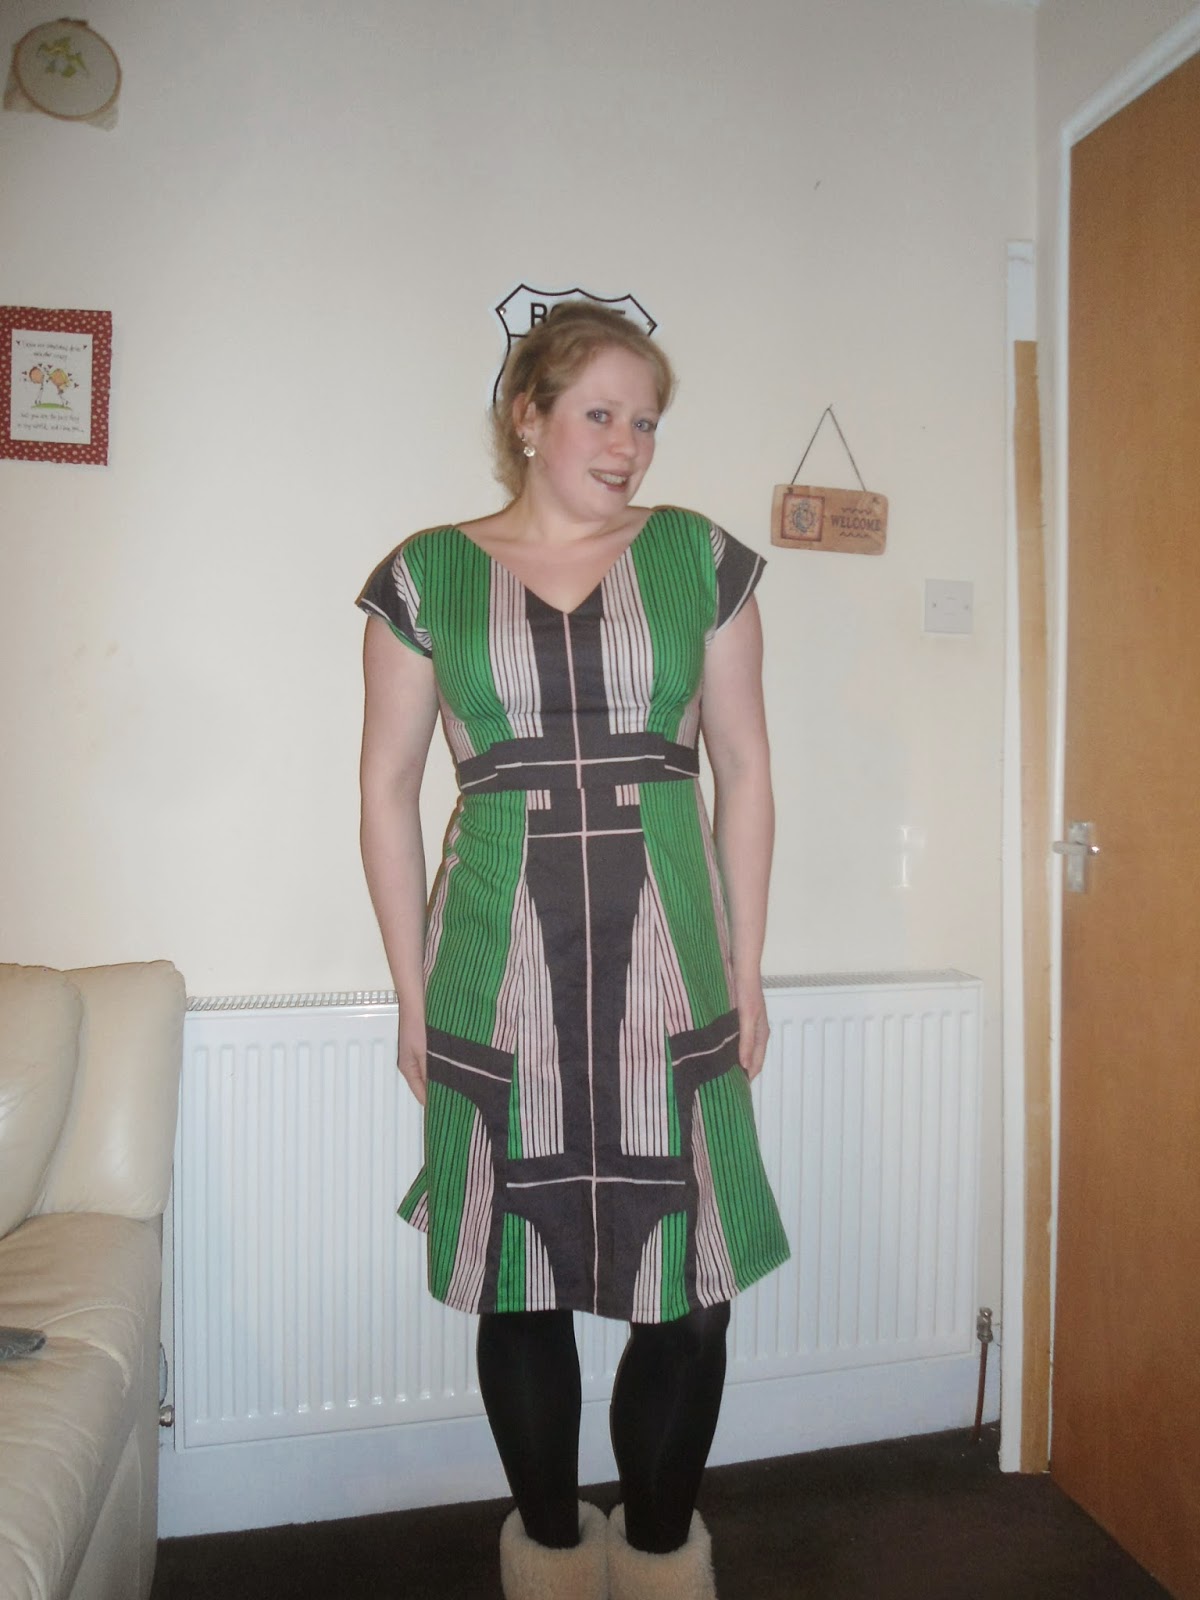
If you can get past the print the fit is really great
 I really must admit. I get the hype. Before I was a little skeptical over the BHL Anna and weather I actually liked it but this dress is so flattering and the fit is so good straight off the pattern sheets. This dress was initially only going to be a muslin however it initially fit so well I couldn't see it go to waste and there marks the start of the Dylon drama!

I  had a right headache with this fabric and where to place the print, I'm not 100 % sold on the print either. One of the main problems was that lining up wrong on the CF skirt would have left me with a sporran.... I tried a few different placements with the different pattern pieces as I didn't have enough of it to properly match the print. In fact in the end I loved the print so much I went and bought Dylon.

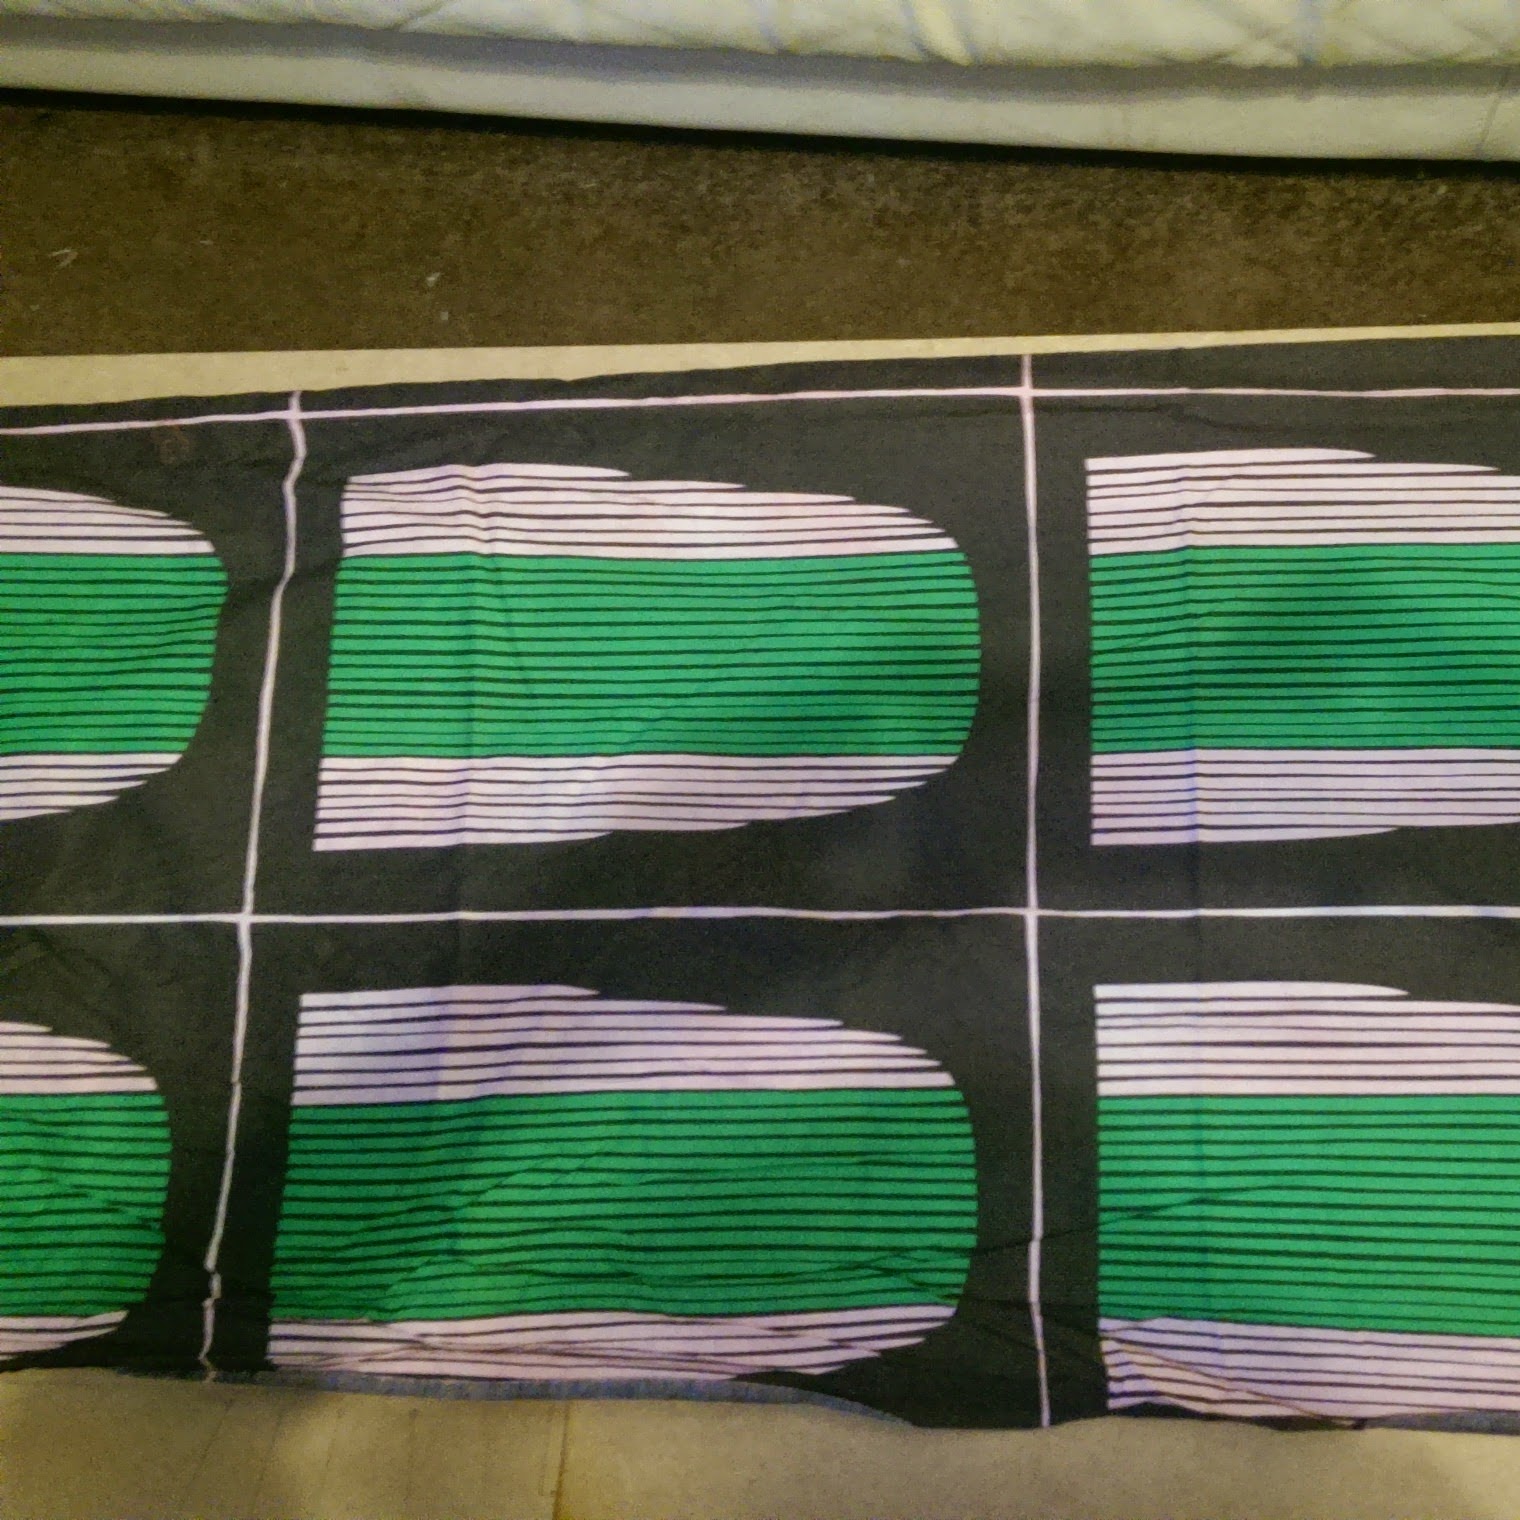
 Print hell this was! The placement and just the overall pattern of the fabric looked plain bad.
No gapey nackline :-D

I realised that because it was a big print with multiple colours that the dye may not take well so tried bleaching it. After two rounds of bleaching the colour of the dress was no different apart from a few faded patches and I had read that bleaching destroys the fibres of the fabric :-(.

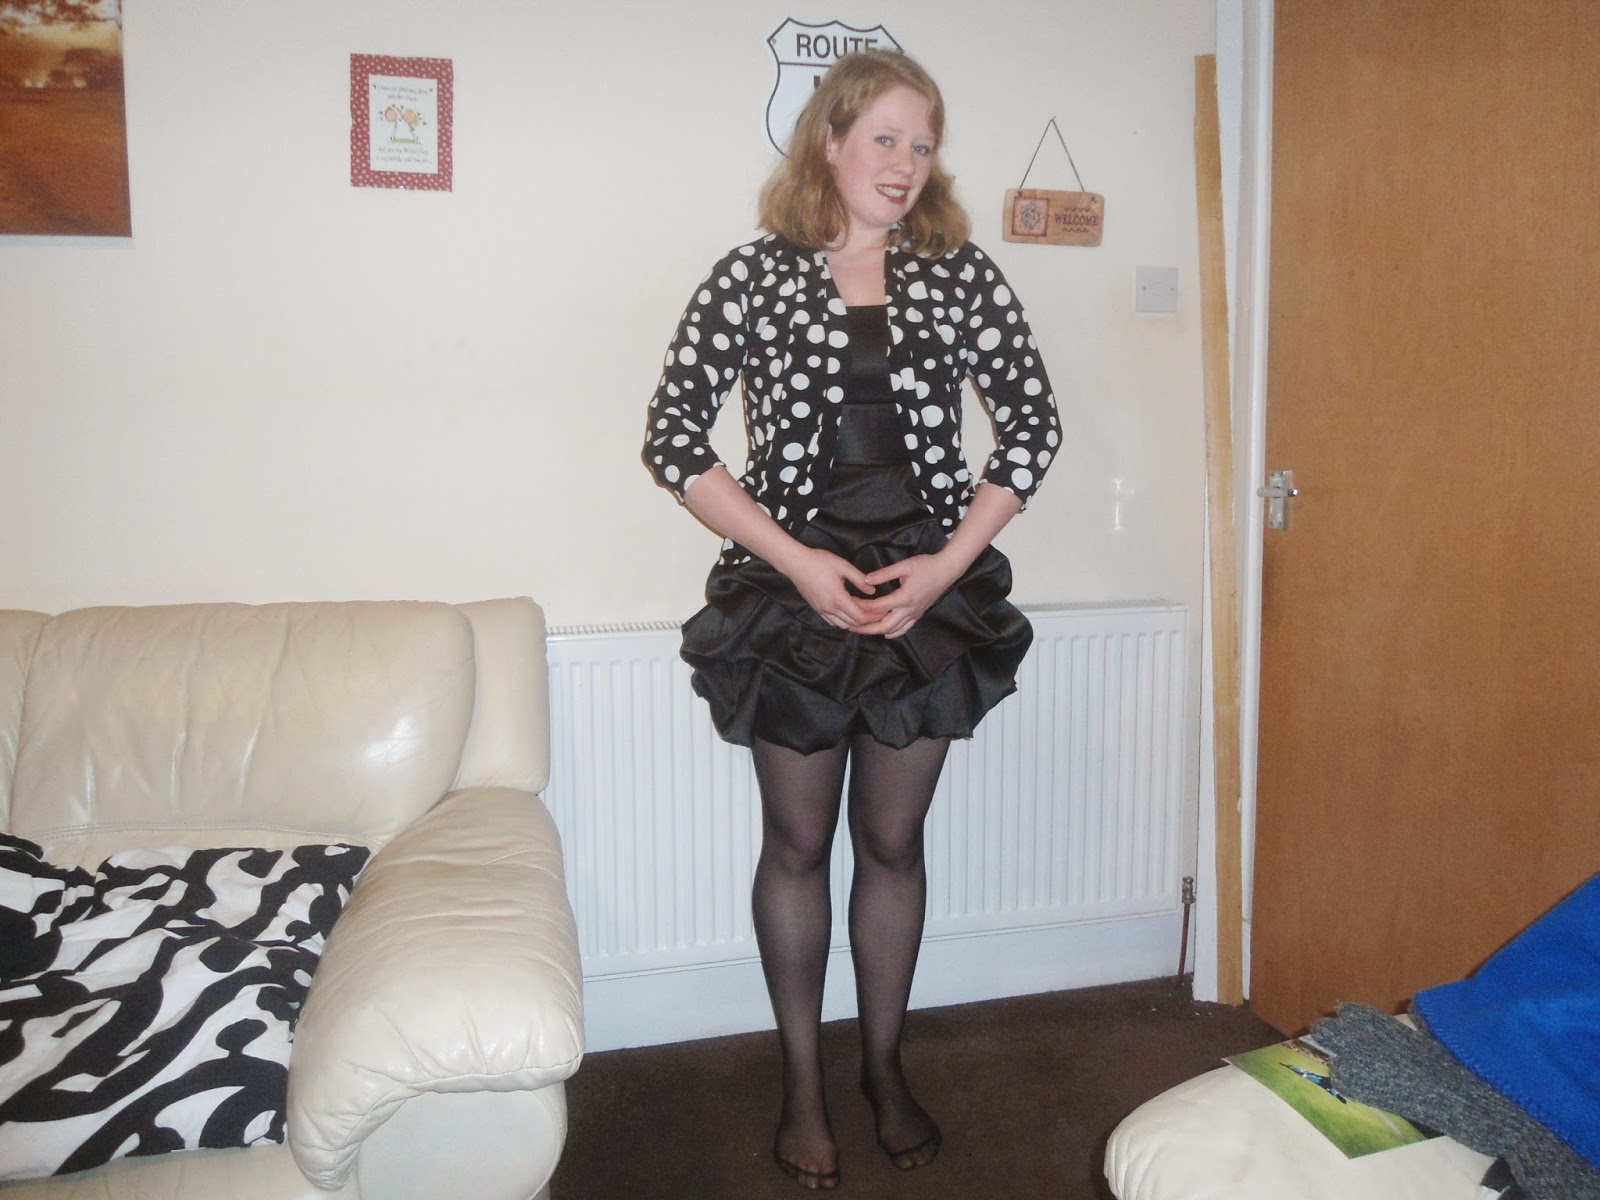
However 2 dyes later I have a wearable dress! I finished a little early today so I tried to get some photos in what was left of the light...


I only realised that this has been ongoing for so long when I saw the photos and had had an interim haircut...


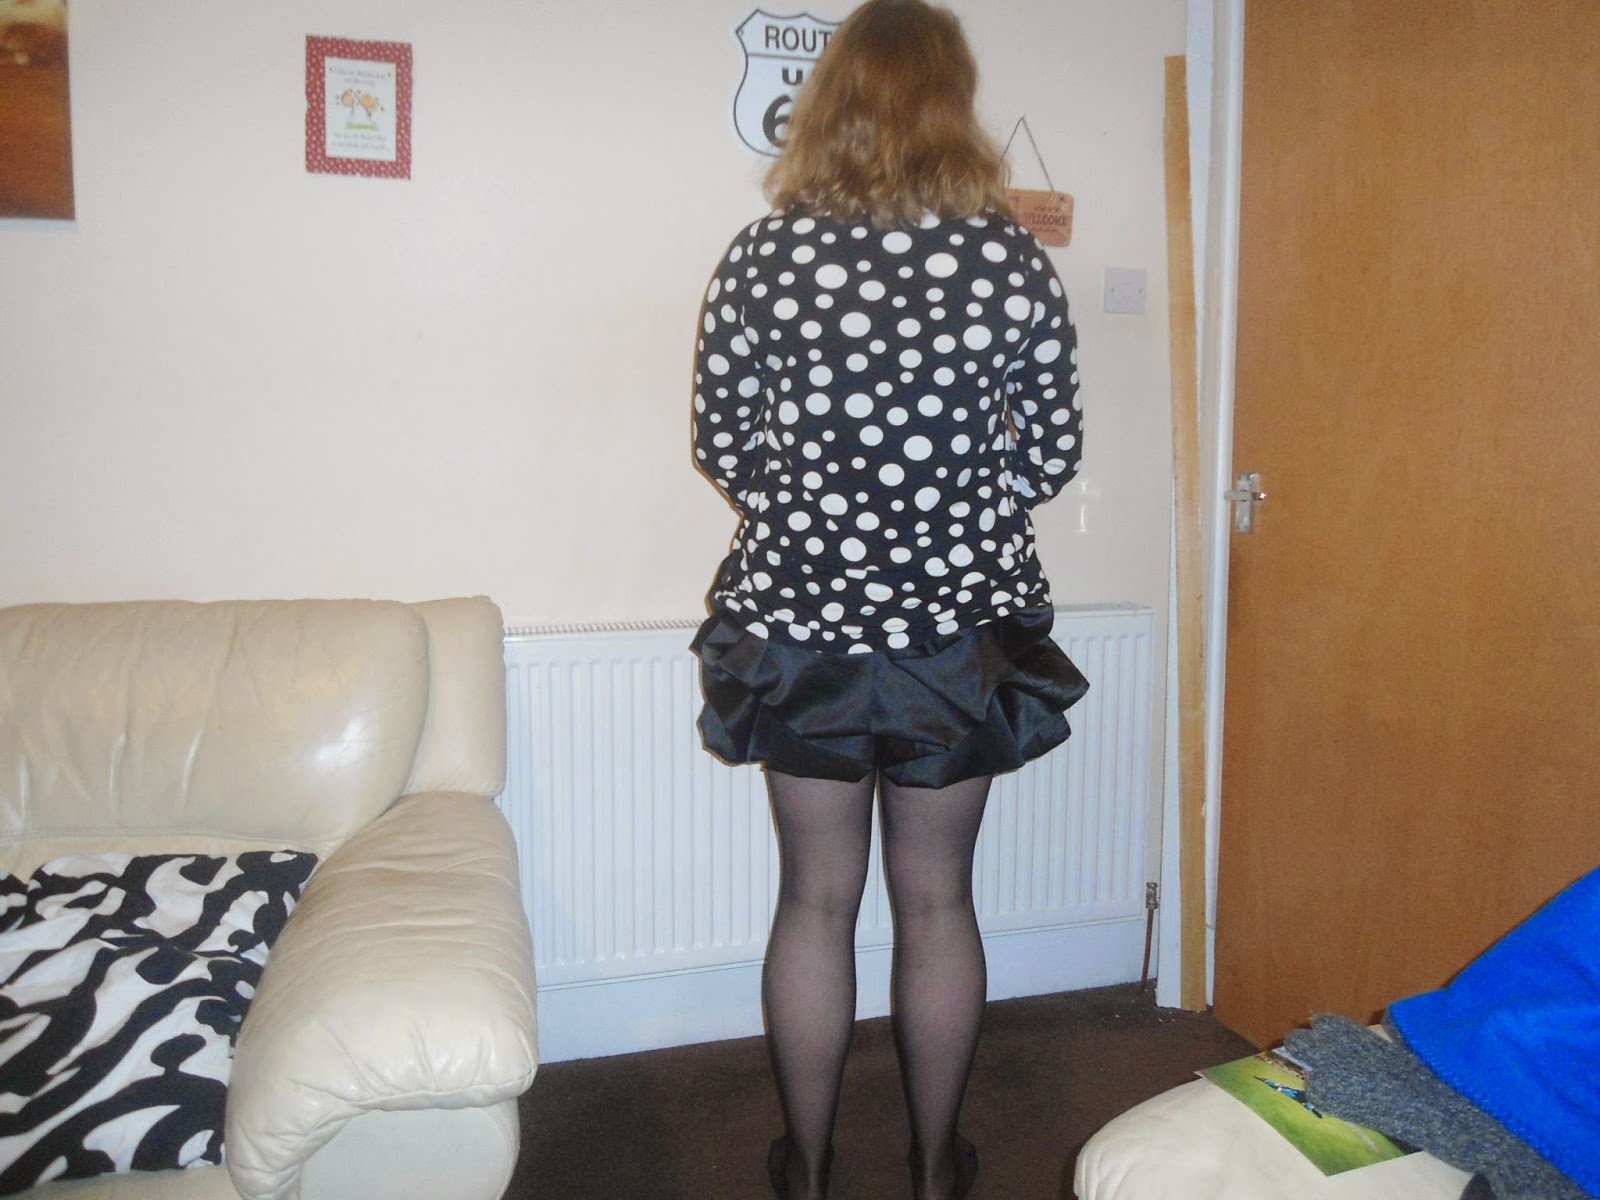
An outtake - I think someone came in the close at this point!
I must admit there are a few thngs I would tweak on this dress however nothing ~major. If I make this dress up again I definately will have to take some length out of the skirt - I cut out about an inch after I tried it on and even then took a huge hem. In addition I think i will also take an inch out of the waist - i prefer a slightly more snug fit. The final alteration I will make is to omit the sporran print fabric. I much prefer the black...

Has anyone else made up the Anna with the lining? I really prefer linings over facings I think the finish is so much neater.

Have a good week folks :-)

Jen xx

Monday 16 February 2015

Completed: A Julia Cardigan

I had the house to myself last week while John was away up north with work. This left me with a little bit of time to make up my most recent item: A Julia Cardigan!


I picked up the pattern with one of the pattern parcels last year and recently I have seen a few cropping up over the internets. This got me thinking - I picked up a load of John Kaldor Jersey in the sale last month in Mandors  (At only £4.99 / m it was rude to leave it on the shelf...) and had been looking for something other than another Bronte to make it up into! The fabric is really light and drapey and proved a bit of a nightmare to work with!!


So based upon the sizing charts and my measurements, I made the cardigan up in a size L. I  made up the version with 3/4 sleeves and the unlined collar. This was definitely the right size to make. I think it fits well and is certainly the size I would want this type of garment to be. The only change that I would make in subsequent versions is to taper in the cuffs a little and shorten the sleeves so they hit at exactly my elbow to save me always houking them up.


Reading through the instructions I never noticed anything about stabilising the shoulders or neckline - this worried me slightly as I recently had to chuck out a holy jumper which had stretched out all over the shop and I reckon this was coz there was nothing to keep it in shape. So I went over the full neckline and shoulders with some ribbon. Will this work? - Time will tell.

Ribbon all around neckline and stitch to hold collar in place
I had a few problems sewing this up - not because of pattern pieces or instructions but with my machine. It clearly didn't like the fabric and the threads kept bunching up on the underside. I was using a ball point needle and stitch length of 2.5 - my guess is that this was a problem with the tension? It really didn't like the tension on auto and it seemed to work a bit better when I cranked this up to around 6- does anyone have any ideas?


I'm now going to let you all in on a sneeky seecret. I didn't finish a single seam OR hem it. The reason? These edges are going nowhere and I didn't want to fight any more with my machine than I had to. The only thing which I added for finishings sake was a few stitches over the centre top back seam. I put a few stitches over the seam here to stop the neck rolling back on itself and exposing the insides. I actually investigated the insides of a dress which I own with an overlay of the same type of jersey. None of these seams were finished either so clearly this is a proven technique!

The seams are going nowhere so I didn't want to overlock in red...

I like the results. I have worn the cardi a lot this weekend - it works well for the office and isn't overly warm or bulky and can be worn quite successfully under my new awesome (not me made) leather jacket - win!!

So an easy make hindered by my machines distaste for this fabric. I have around another metre of this fabric left however am a bit reluctant to use it until I've worked the issues with my machine.

Have a good week guys!

Jen xx

Saturday 7 February 2015

Completed:Nested Churn Dash Quilt

Right after Christmas when we were travelling I made a pledge to both John and myself that I would finish up all my part completed projects before even assembling another pdf file (Simplicity 2442 totally doesn't count!!). This resulted in me finding three unfinished projects that have taken priority over the last week. I'd like to talk about the first of these - my nested churn dash bed runner.


In april last year, quilt jane released the nested churndash pattern and announced a sew along for June. This is when the project started!


The fabrics that I used were two fat quarter packs from hobbycraft. This polkadot version and this flower print. Both were picked up in the sale - I think around £6.50 each.


The first mistake I made with this project is that I pre-washed the cotton. This resulted in 12 very contorted fat quarters - whereas I like the crinkled effect when the quilt has it's first wash I did not enjoy having to steam the unsewn fabric back into something that looked like rectangles! Another negative point for this fabric was that both prints were horrifically off grain.

No matter.

What I would say helped significantly was a super sharp rotary cutter. I don't buy into the branded blade refils - I got an unbranded set of two universal blades on ebay for only £4. I would also really recommend having a quilting ruler that was long enough to cut the required strip lengths. I only have a 6.5" square and felt a bit disadvantaged through having to continually move the ruler to measure. It's not the most accurate!

For the most part all of the points matched quite well. There were certainly a few affected through lack of appropriate measurement tools though! I made up the most part of this quilt before making up the Ohio Star Quilt posted here. So the points improved as I progressed.
The points of this section of quilt lined up really well

This section lined up terribly and im disappointed in myself that I never unpicked and reset this section

I decided to try fussy-cutting as another technique to try. I have a fair few scraps left over from my Oktoberfest dress so used one of the beer tankards as the central focus. I'm not actually sure that I like this fabric as the central square however I'm glad I tried the technique. I want to use this for a quilt I have planned for later this year and glad that it works like I expected.


In terms of the backing for this project, I took a kind of lazy approach that after all the other hard work that I input I am a little disappointed in. I used a really cheap (£3.99/m) thin cotton for the backing fabric, whereas there is nothing wrong with the cotton itself I shouldn't have been so cheap and bought more. Always buy more. The cotton was just the right width when doubled over that it exactly matched the width of the top and no more.  I reckoned pressing the fabric in half and then laying down the quilt sandwich would work out. I forgot how much the basted quilt shifts when quilting. Lesson learned. I will never scrimp on fabric again.

This photo give a sense of scale of the finished quilt.
For the binding of teh quilt I made up bias binding out of the remaining scraps of the polkadot material. There was far more of the light blue fabric than the others so tried to place these evenly throughout the quilt. I cut the binding into two inch strips which were then folded into 1/4 inch thick binding. I then used the french binding method to attach it, hand stitching the back into place.

My willing assistant became less willing after only one or two pictures!

So all in all I really like how this quilt turned out.  I think my quilting skills are certainly improving and I can see the improvement with each new piece I make. The one thing that I really think makes the biggest difference is accuracy - the next quilt will be measured to absolute perfection!!
Things descended quickly...

Hope you're all having a great weekend folks - we were out celebrating a friends viva success last night so having a really quiet day today!!
I then gave up :'-)

Jen xx