Showing posts with label 2015. Show all posts

Monday, 28 September 2015

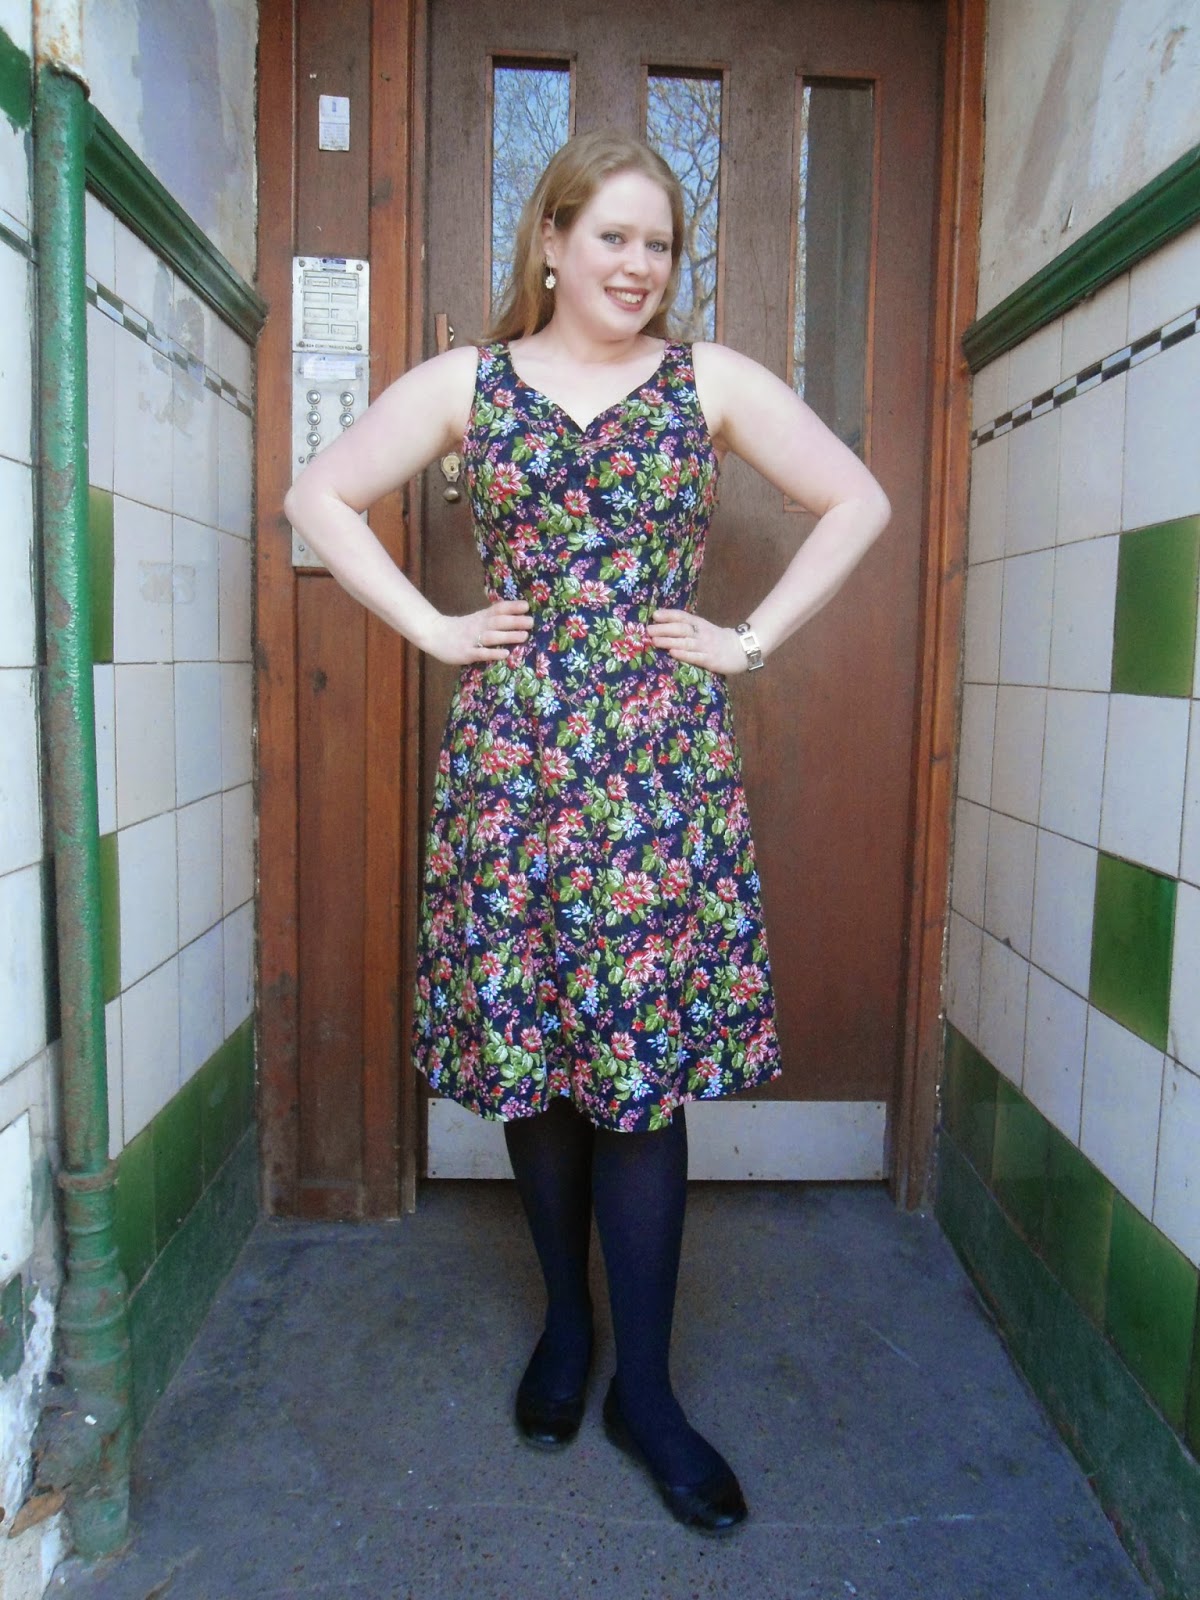
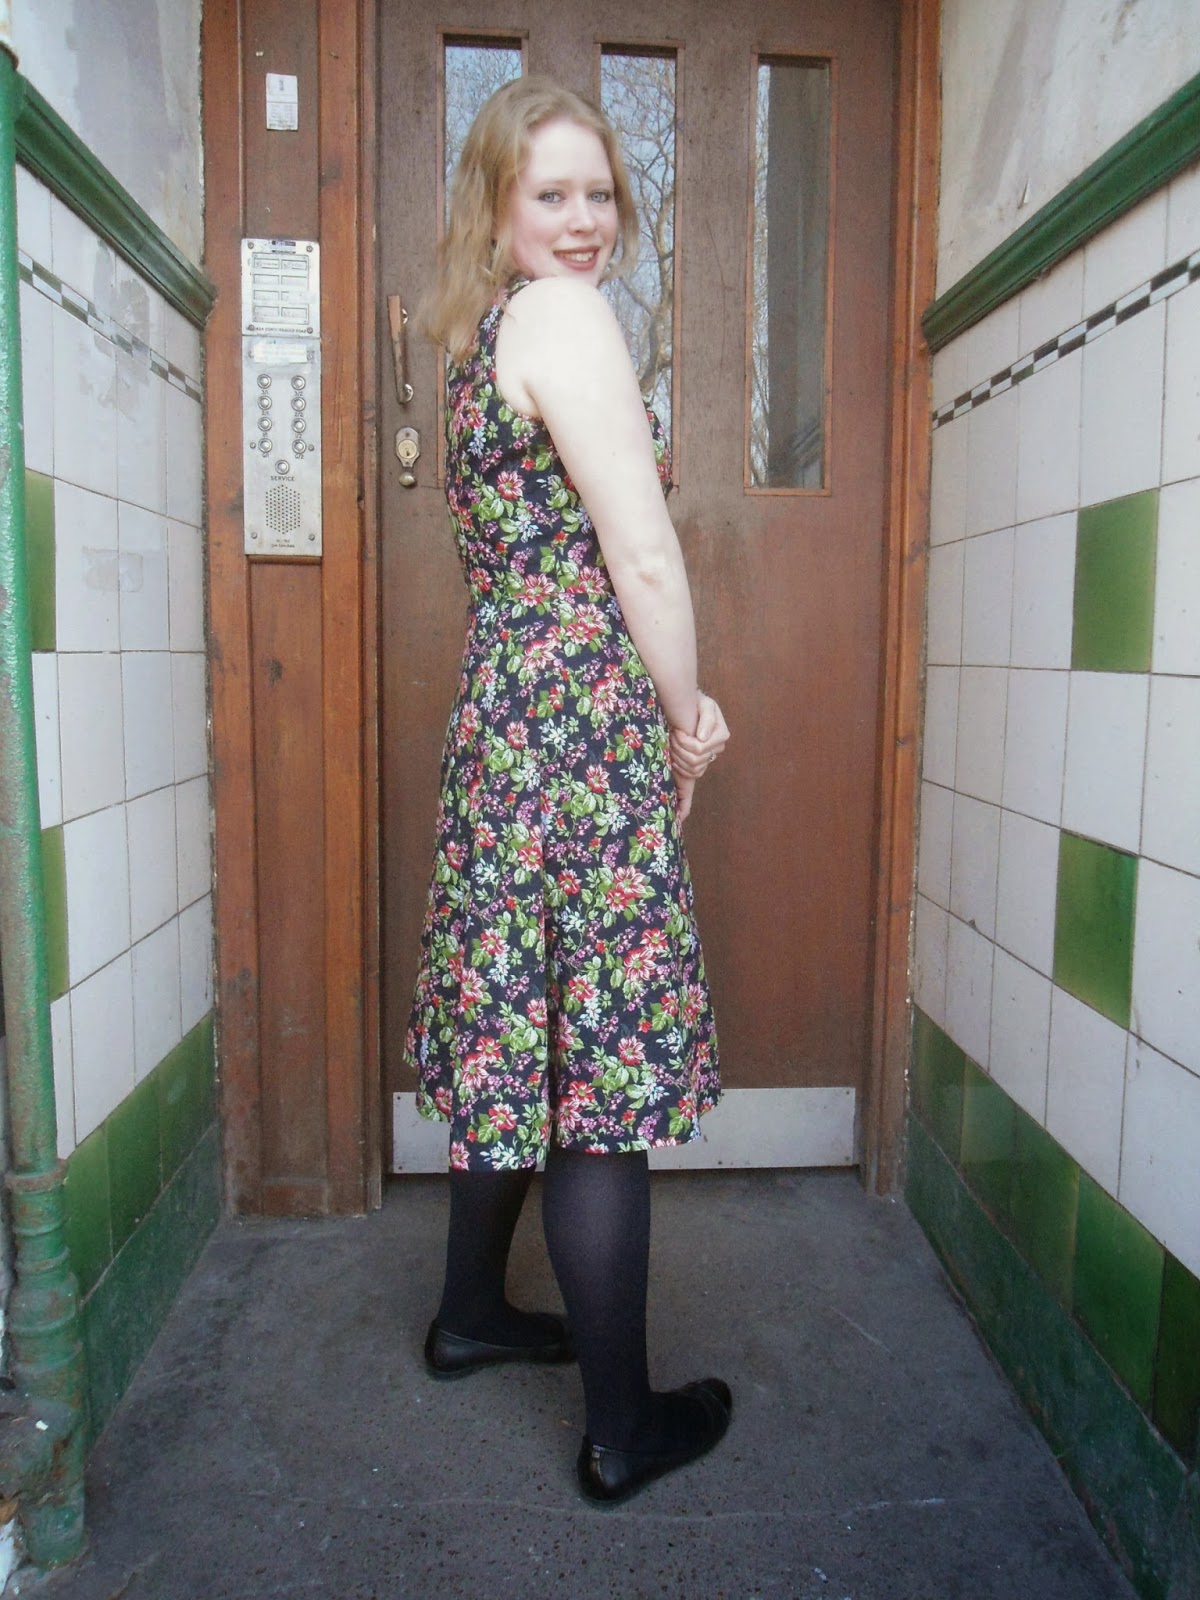
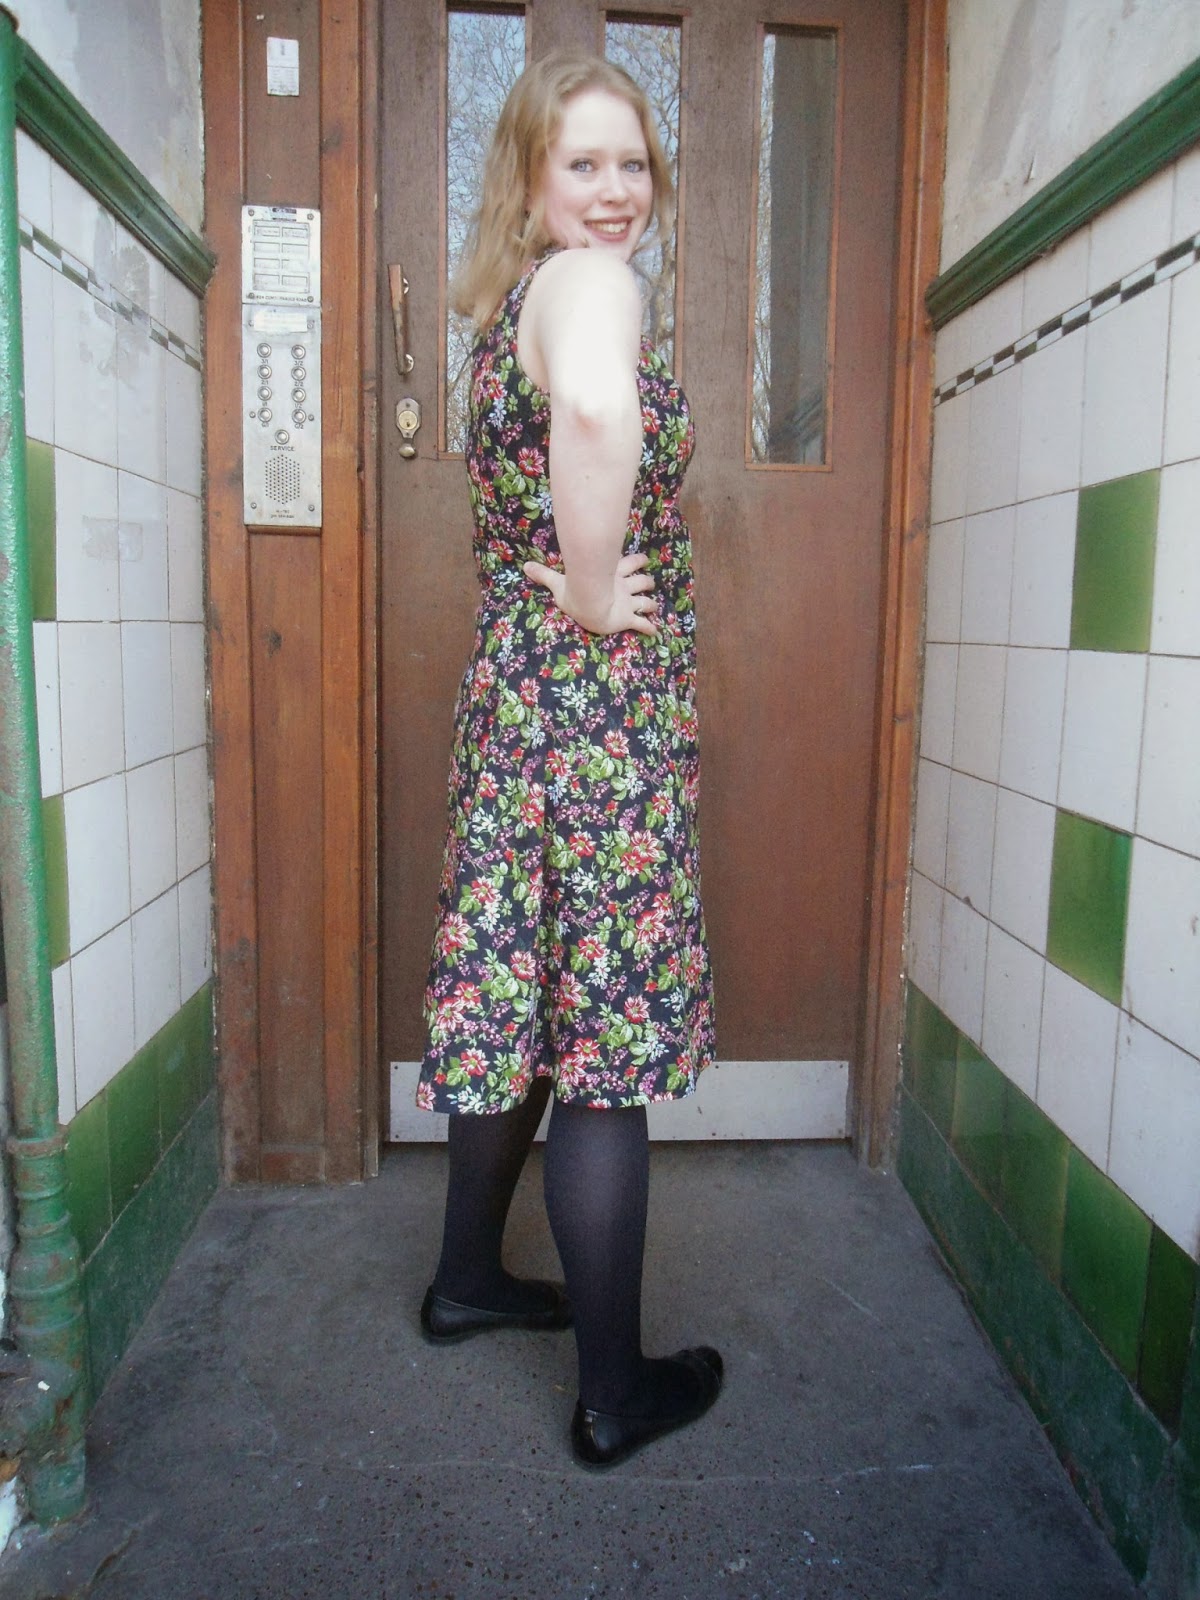
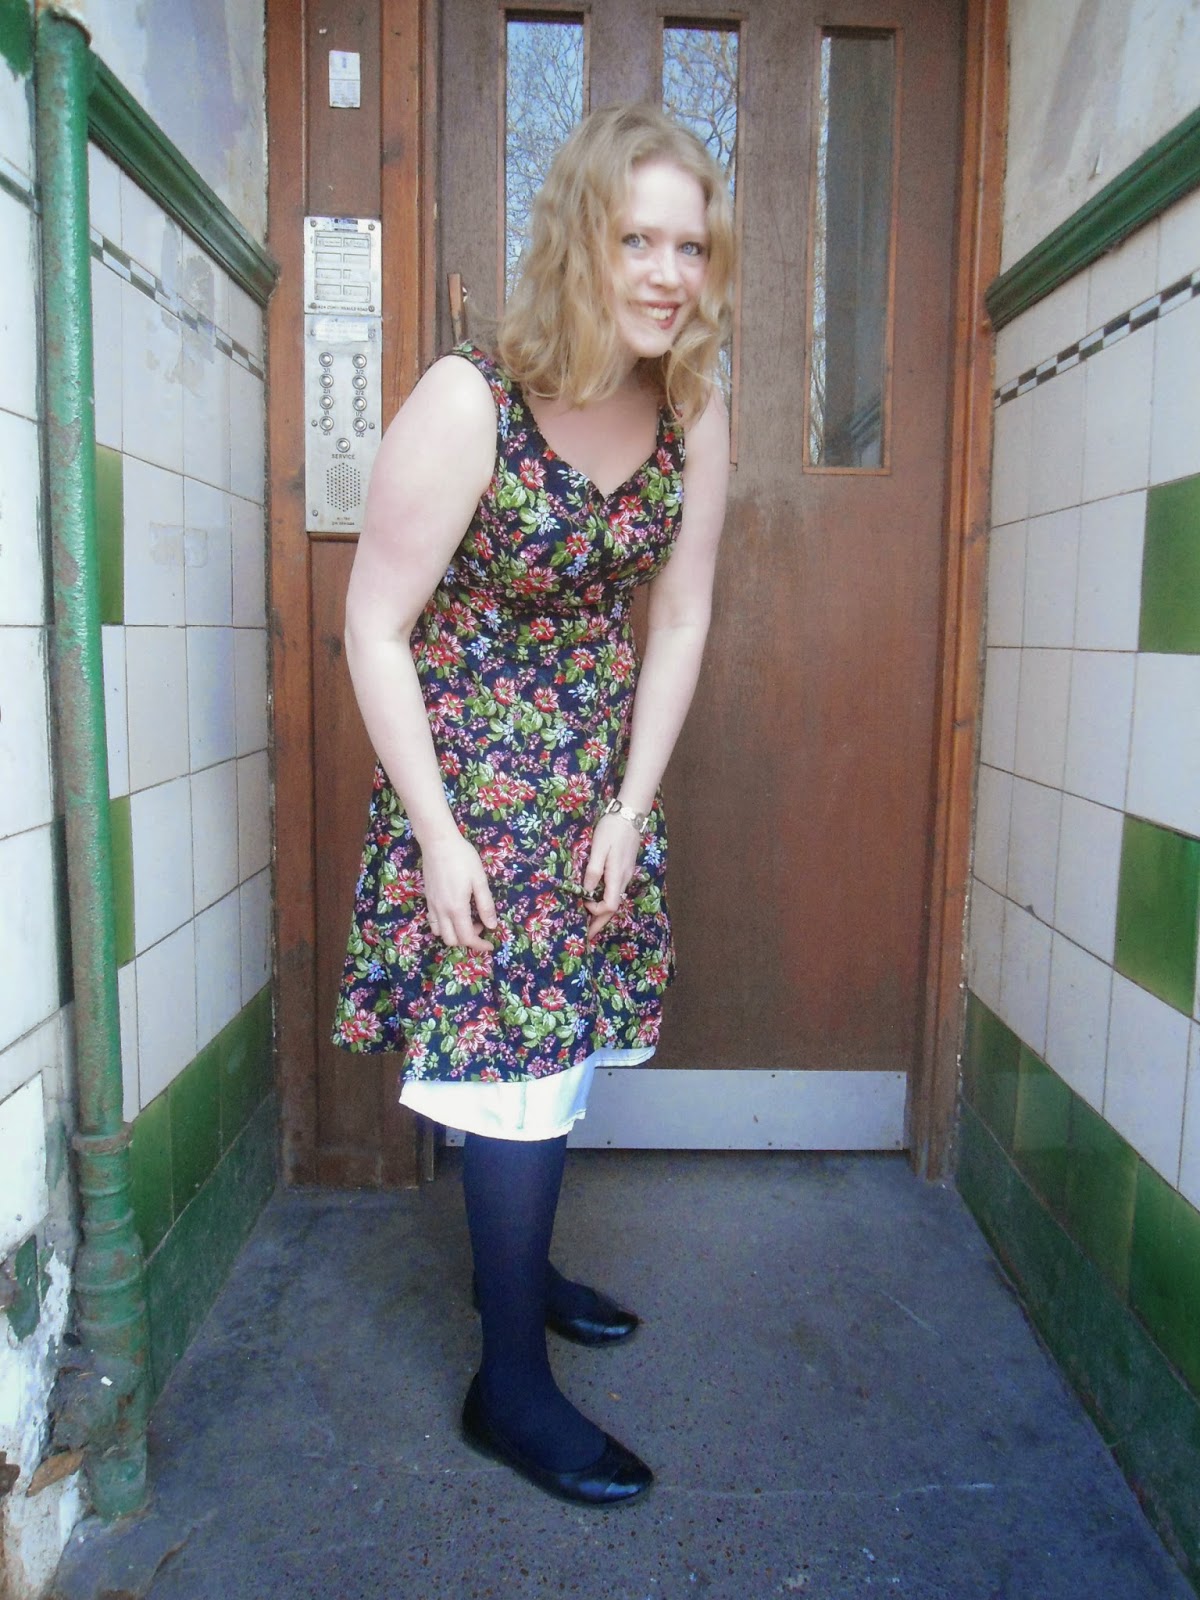
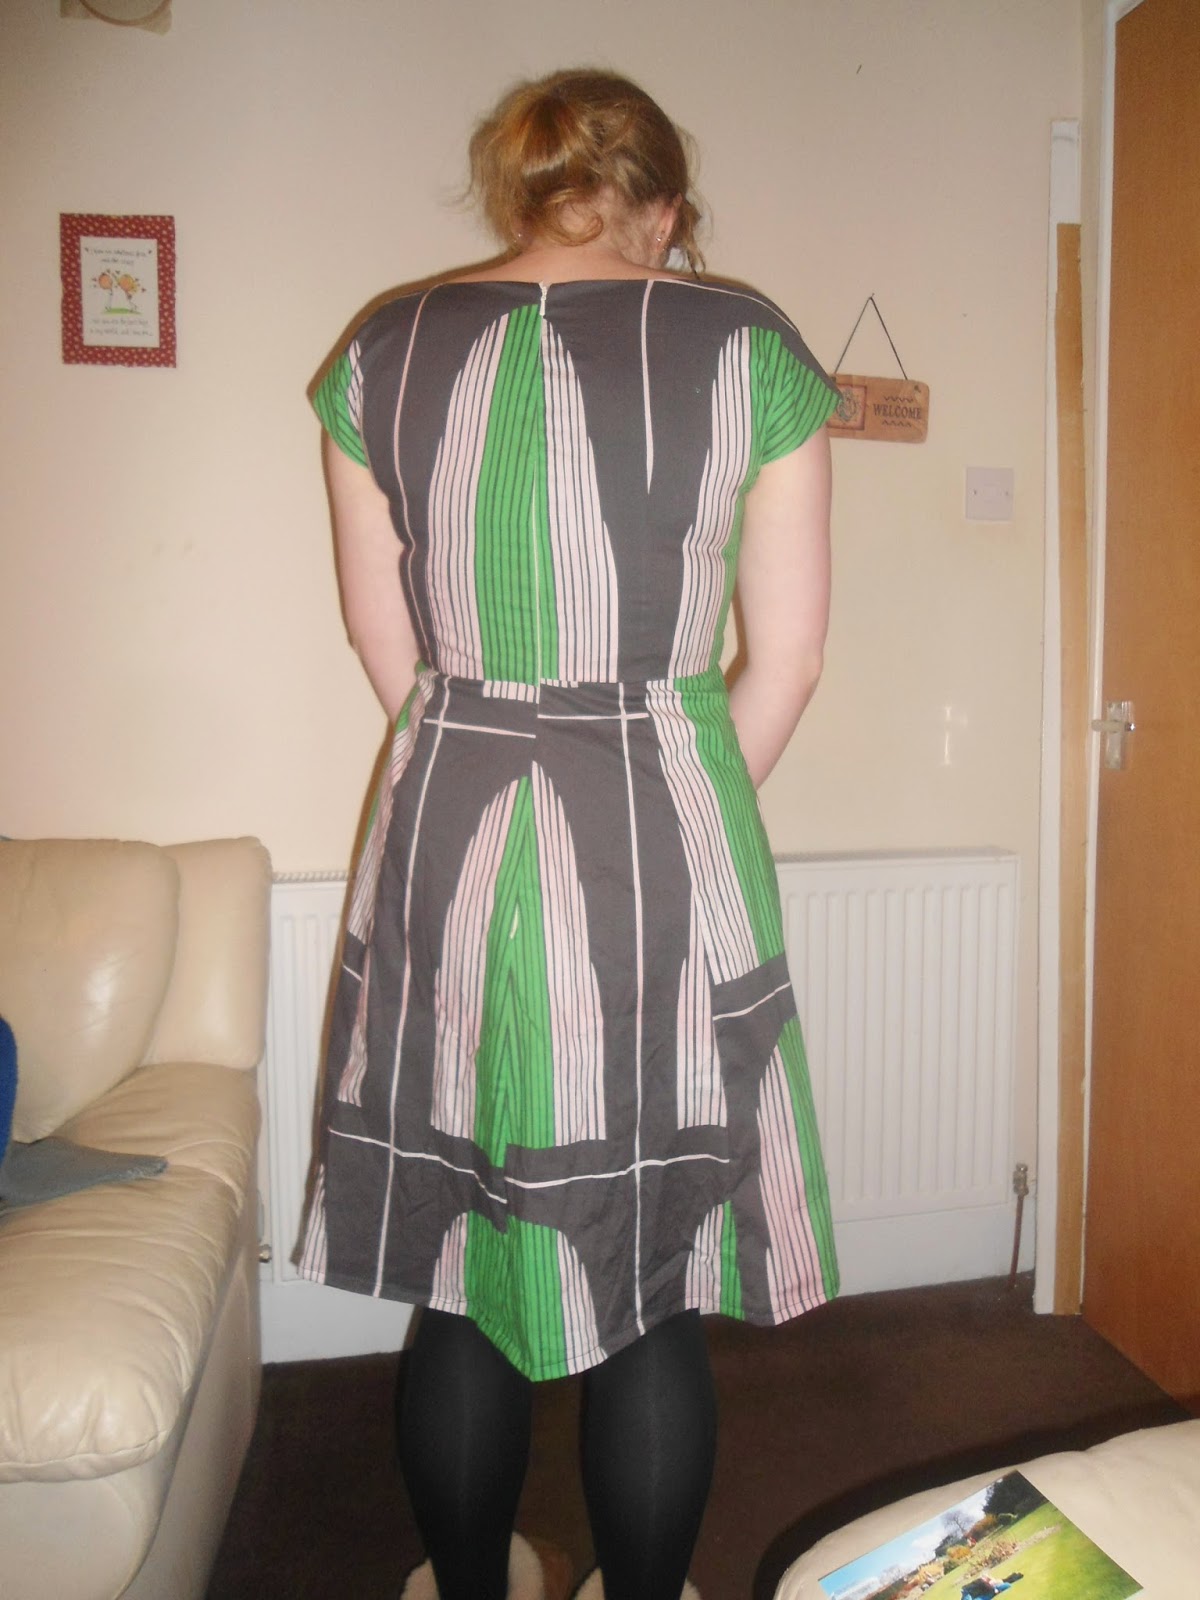
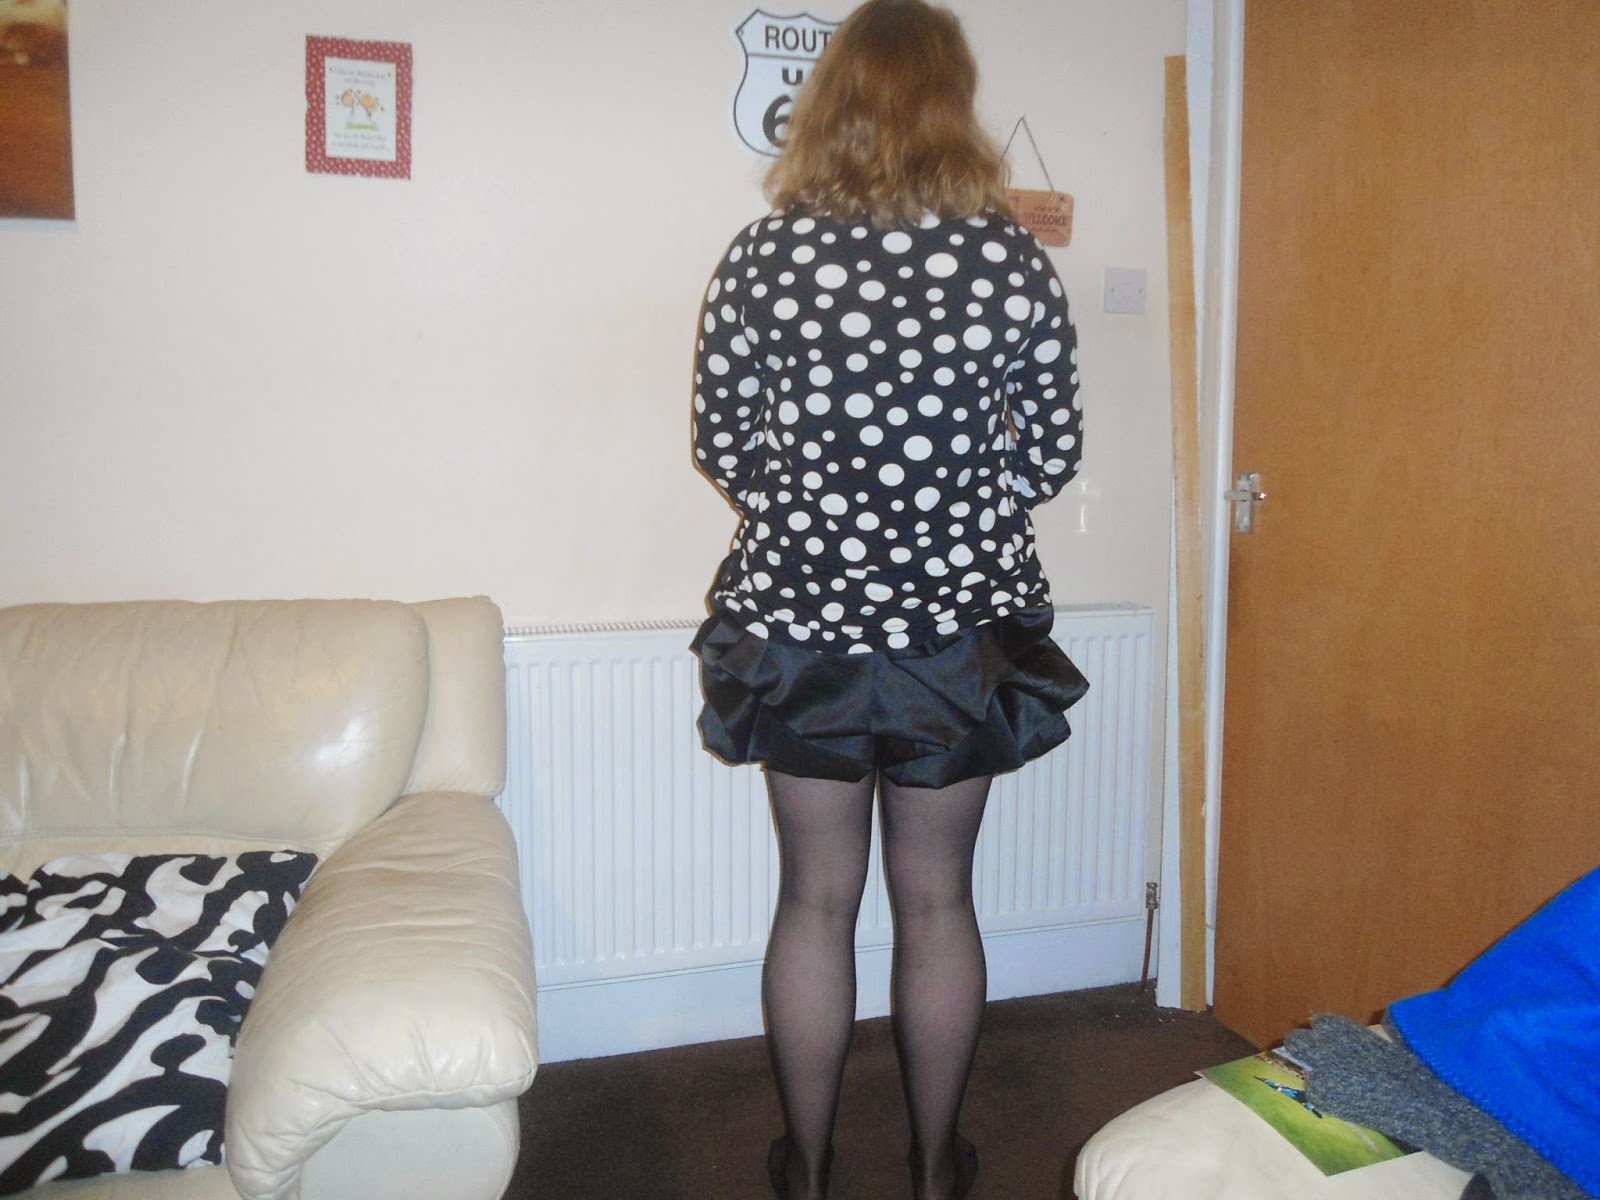
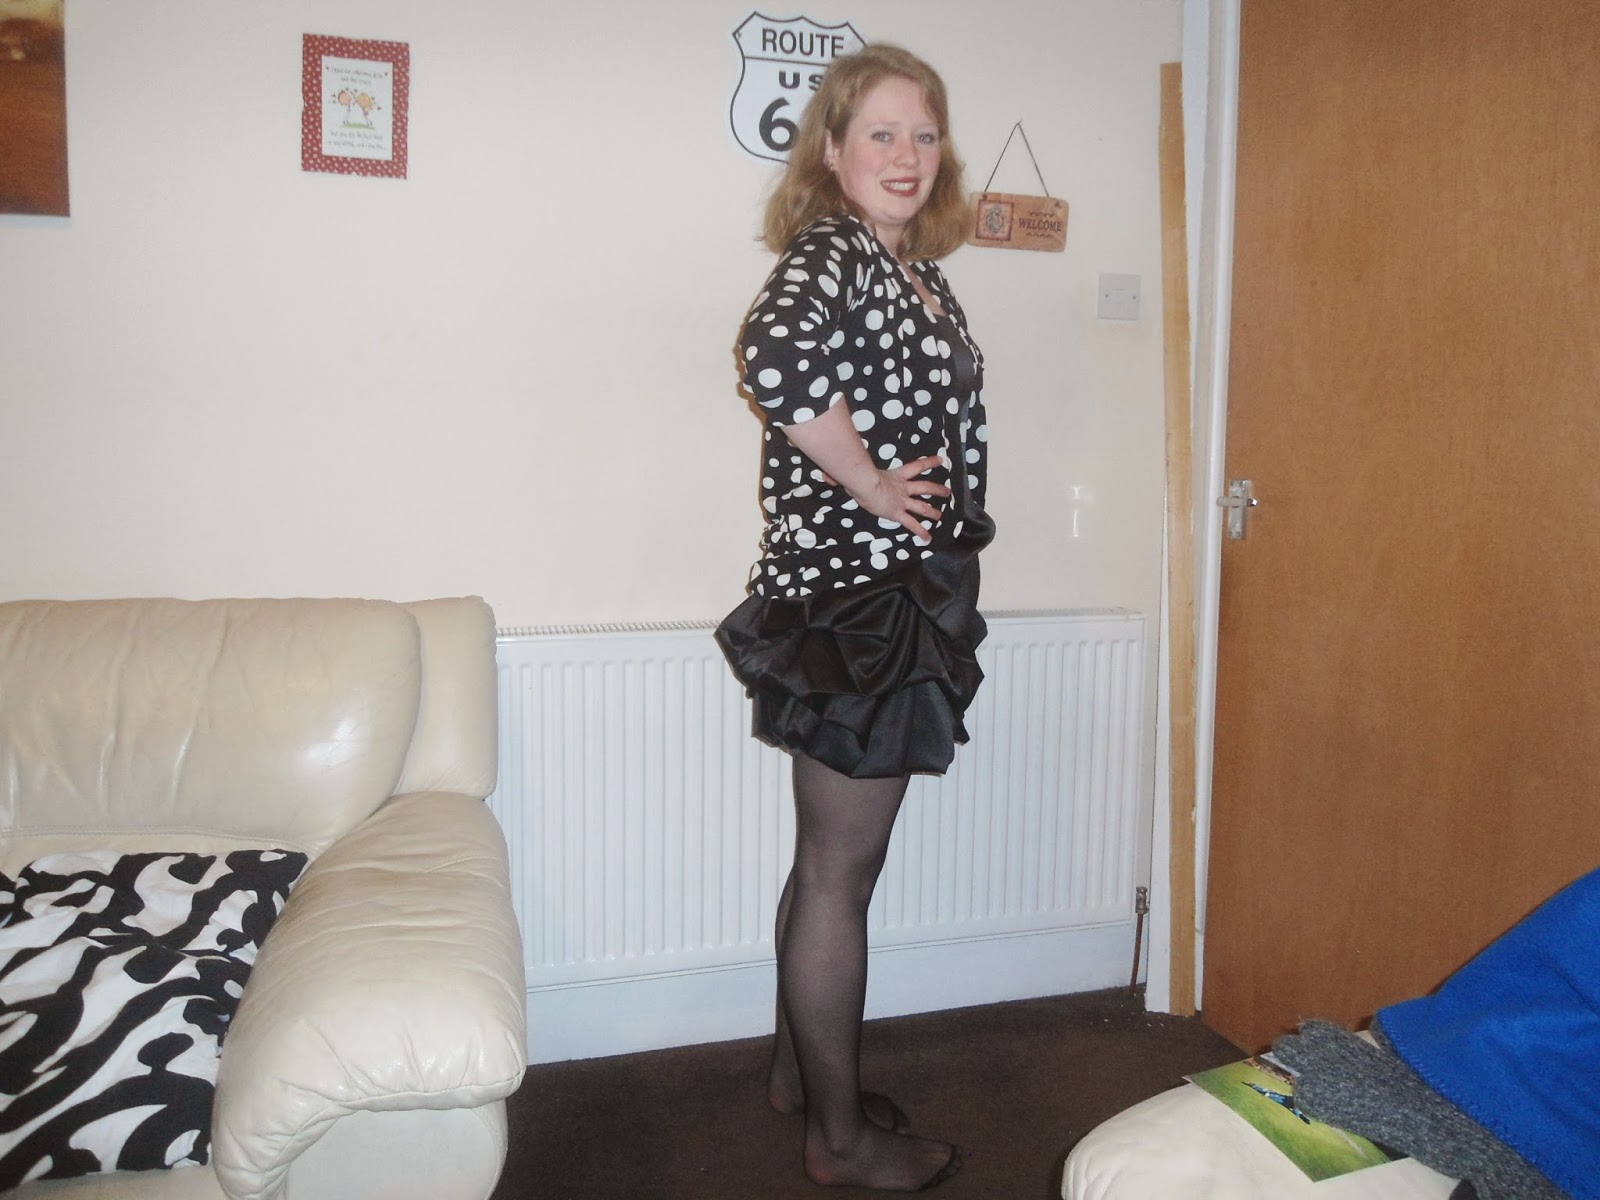
A Shiny New Completed Garment! - Gather Kits Mortmain

Finally a completed garment that's not a Granville shirt! This month has been busy busy busy and i'm not quite sure where it went to be honest the last few days weeks I think I must have been in some kind of time warp!

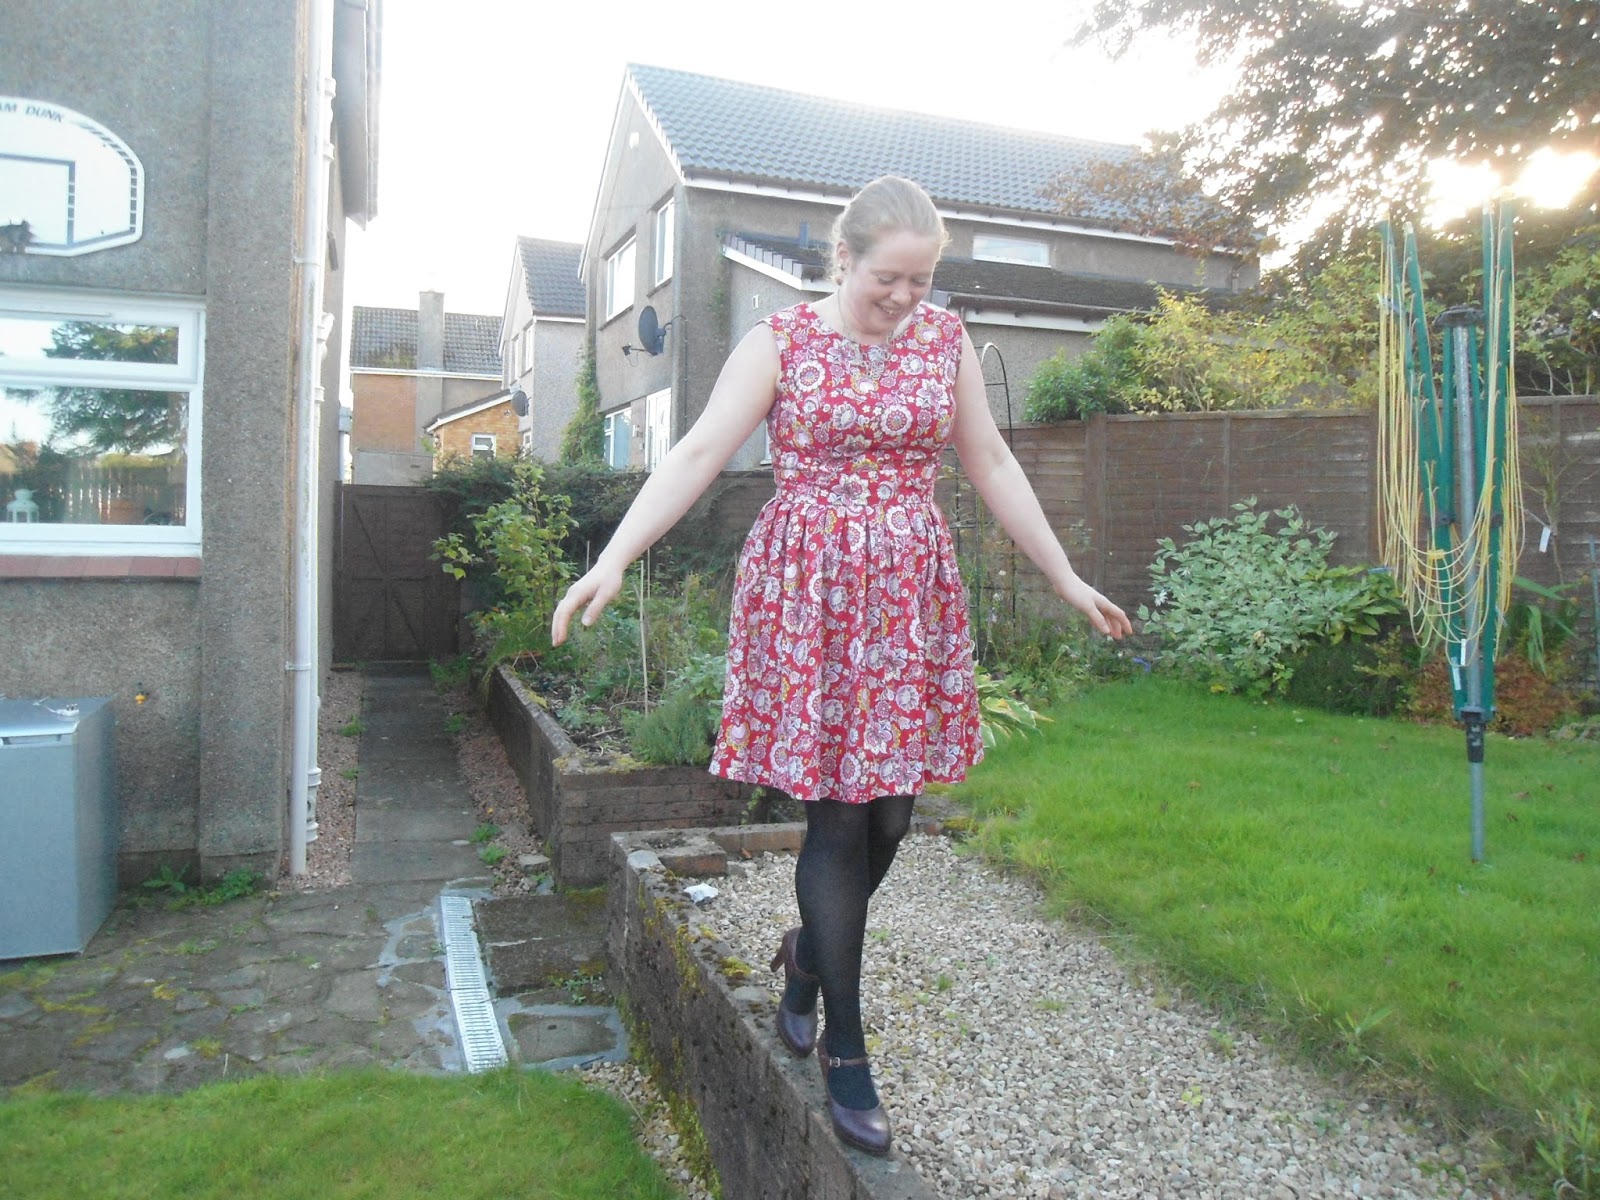
 
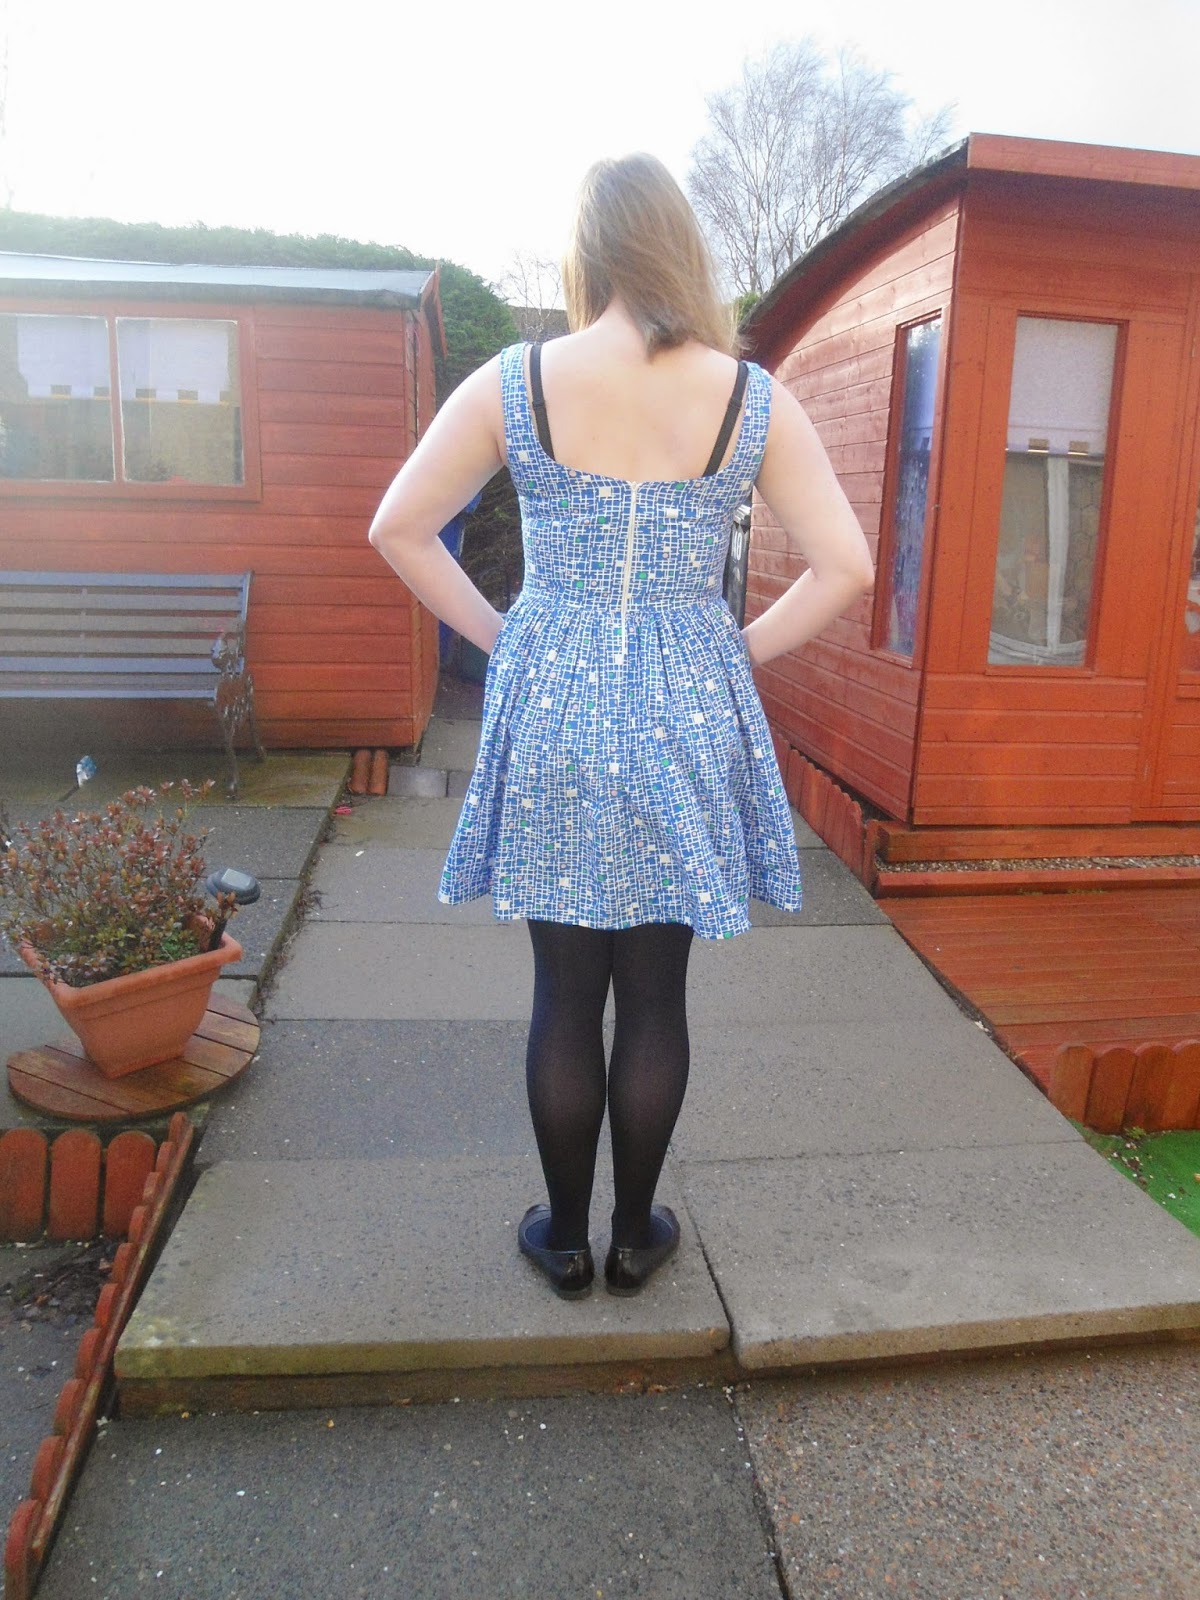
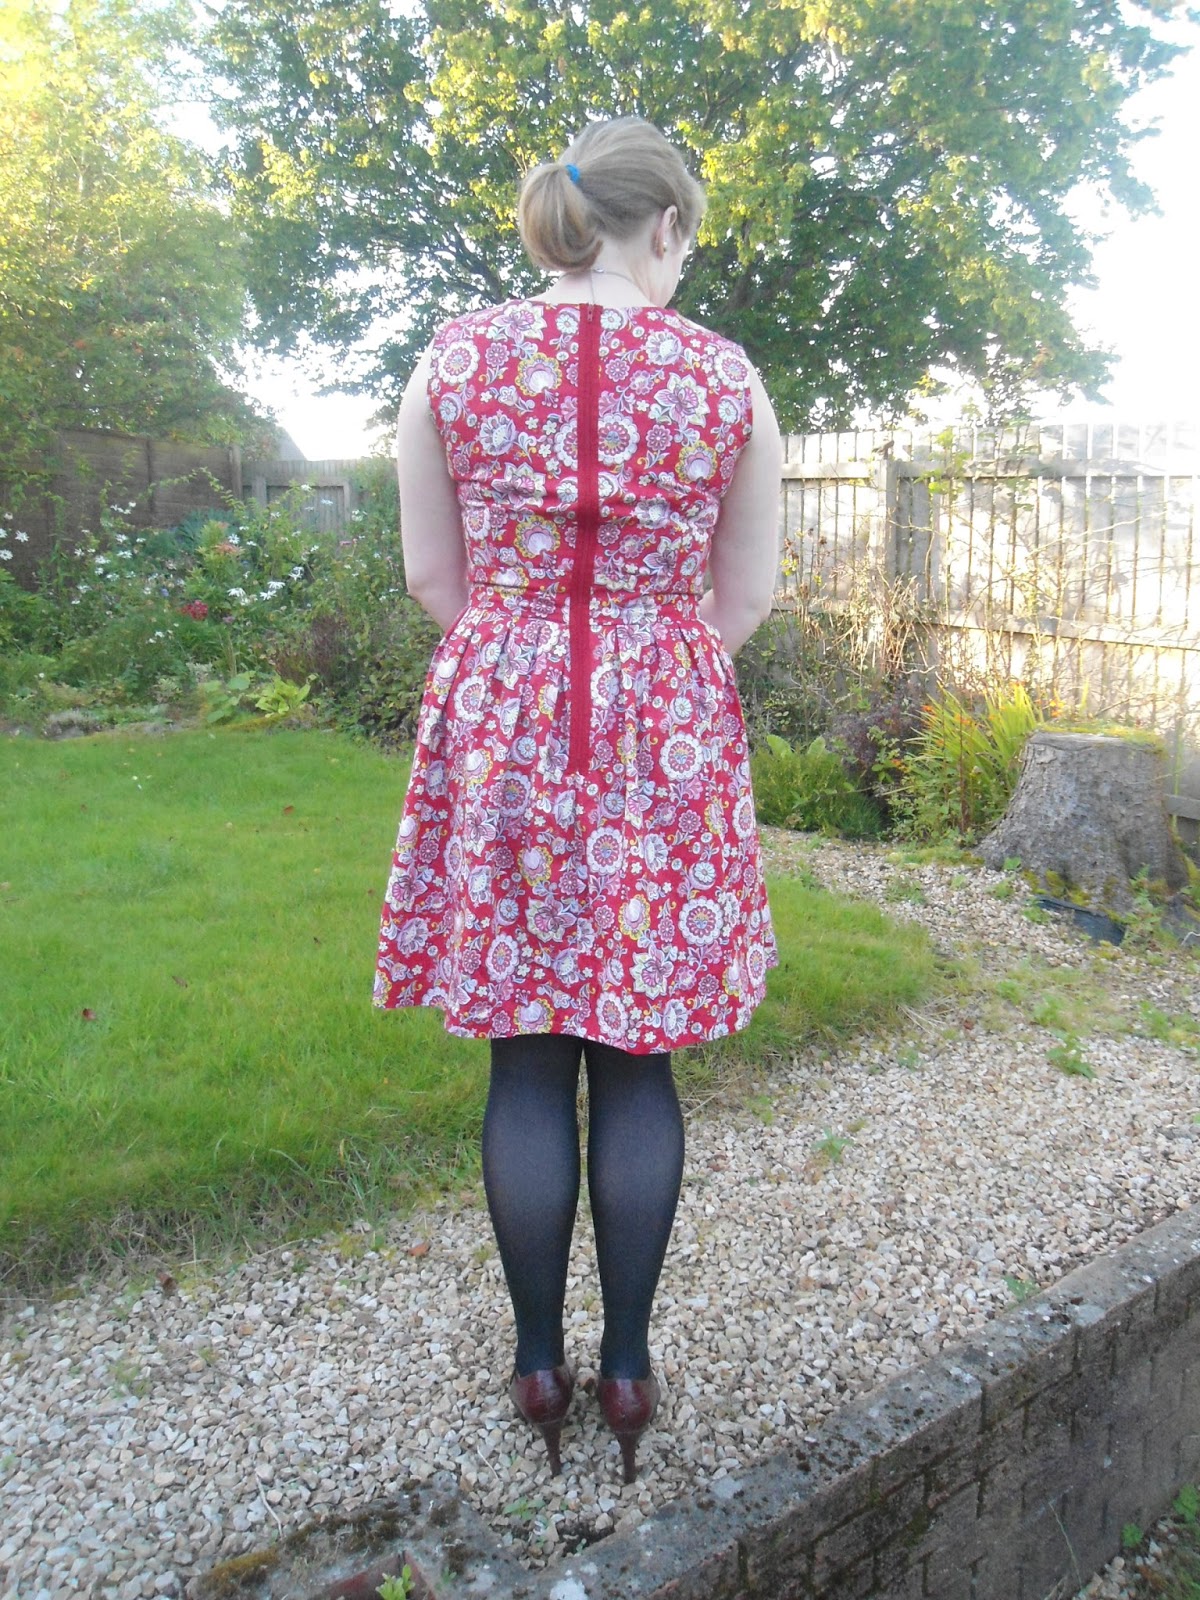
We were invited to the wedding of our friends down in Dumfries on Saturday and of course that needed a new dress! I wanted a pattern that I had made before so that I wasn't going into this task completely blind and also wanted a dress that could be worn after the wedding for general wearing so knew that I didn't want something too fancy or too dull.
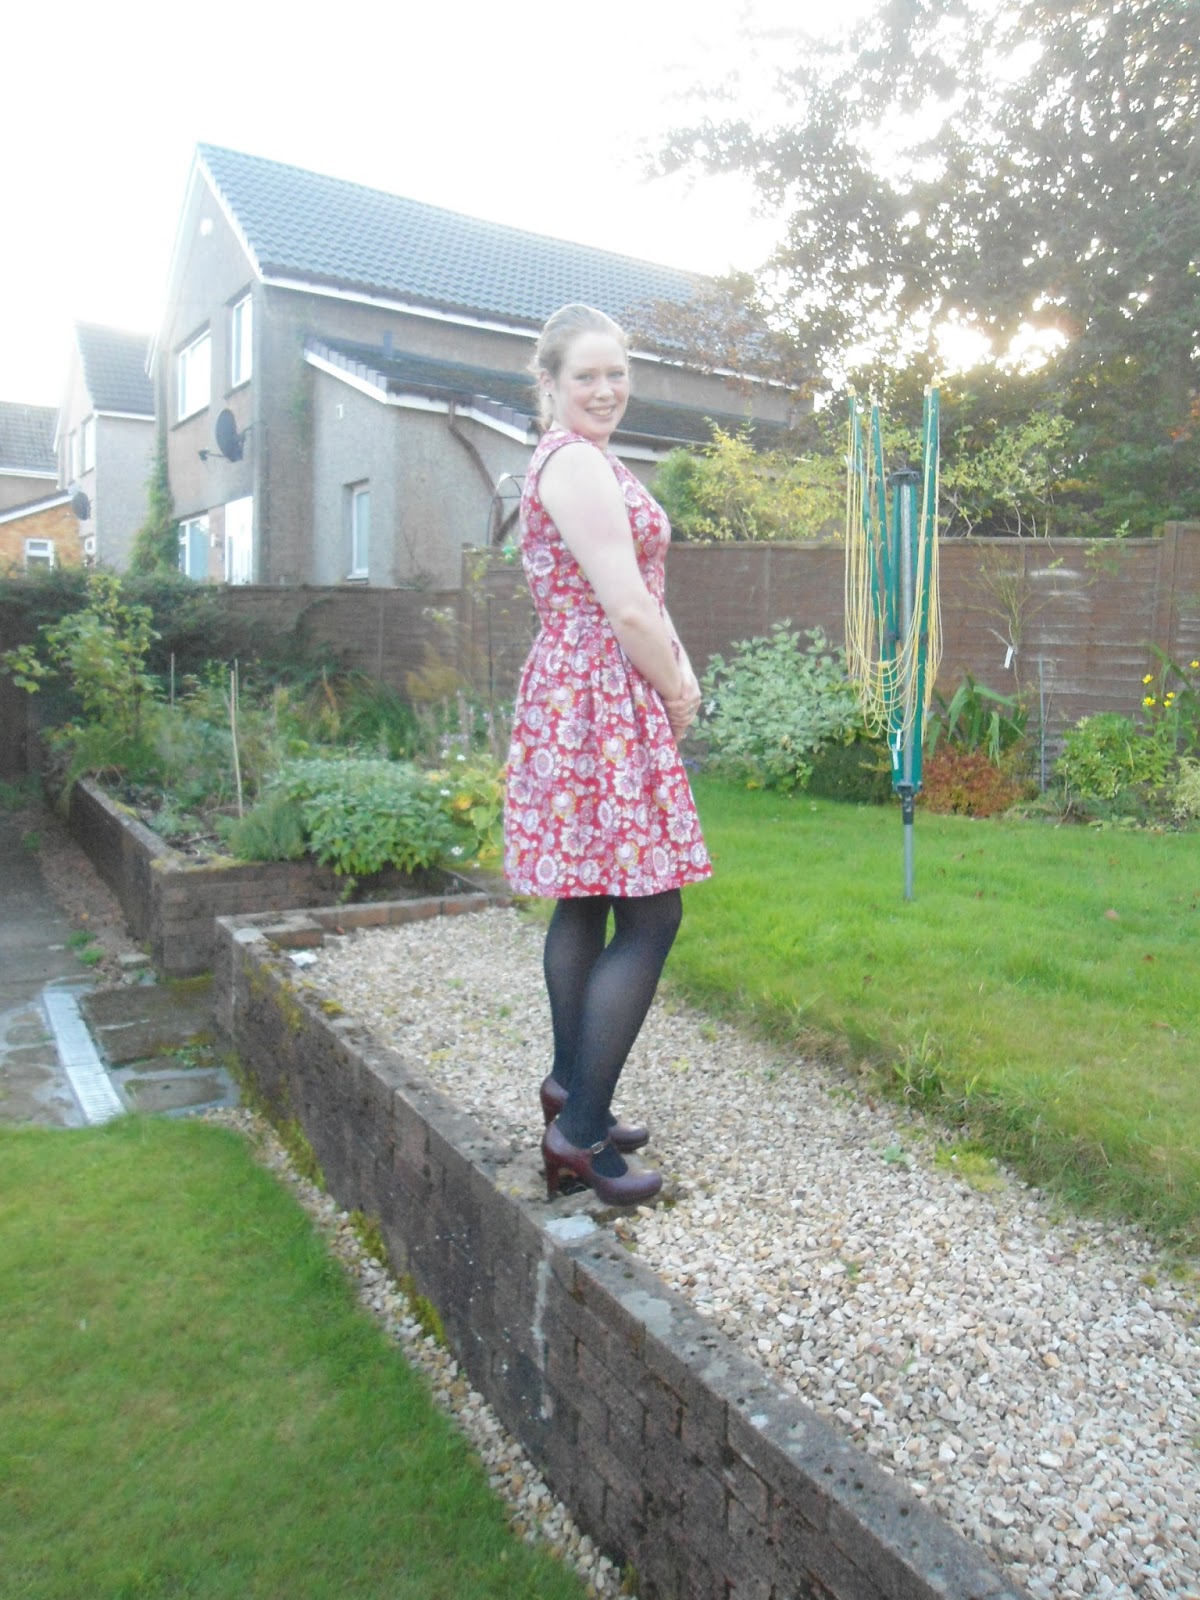
Thankfully my rearranging of the house has unearthed most of my patterns and the mortmain dress was fairly near the top - perfect! Then quite out of the blue, Amanda at the sewcial studio contacted me to see if there was some fabric that I would like from her range at her studios new premises.
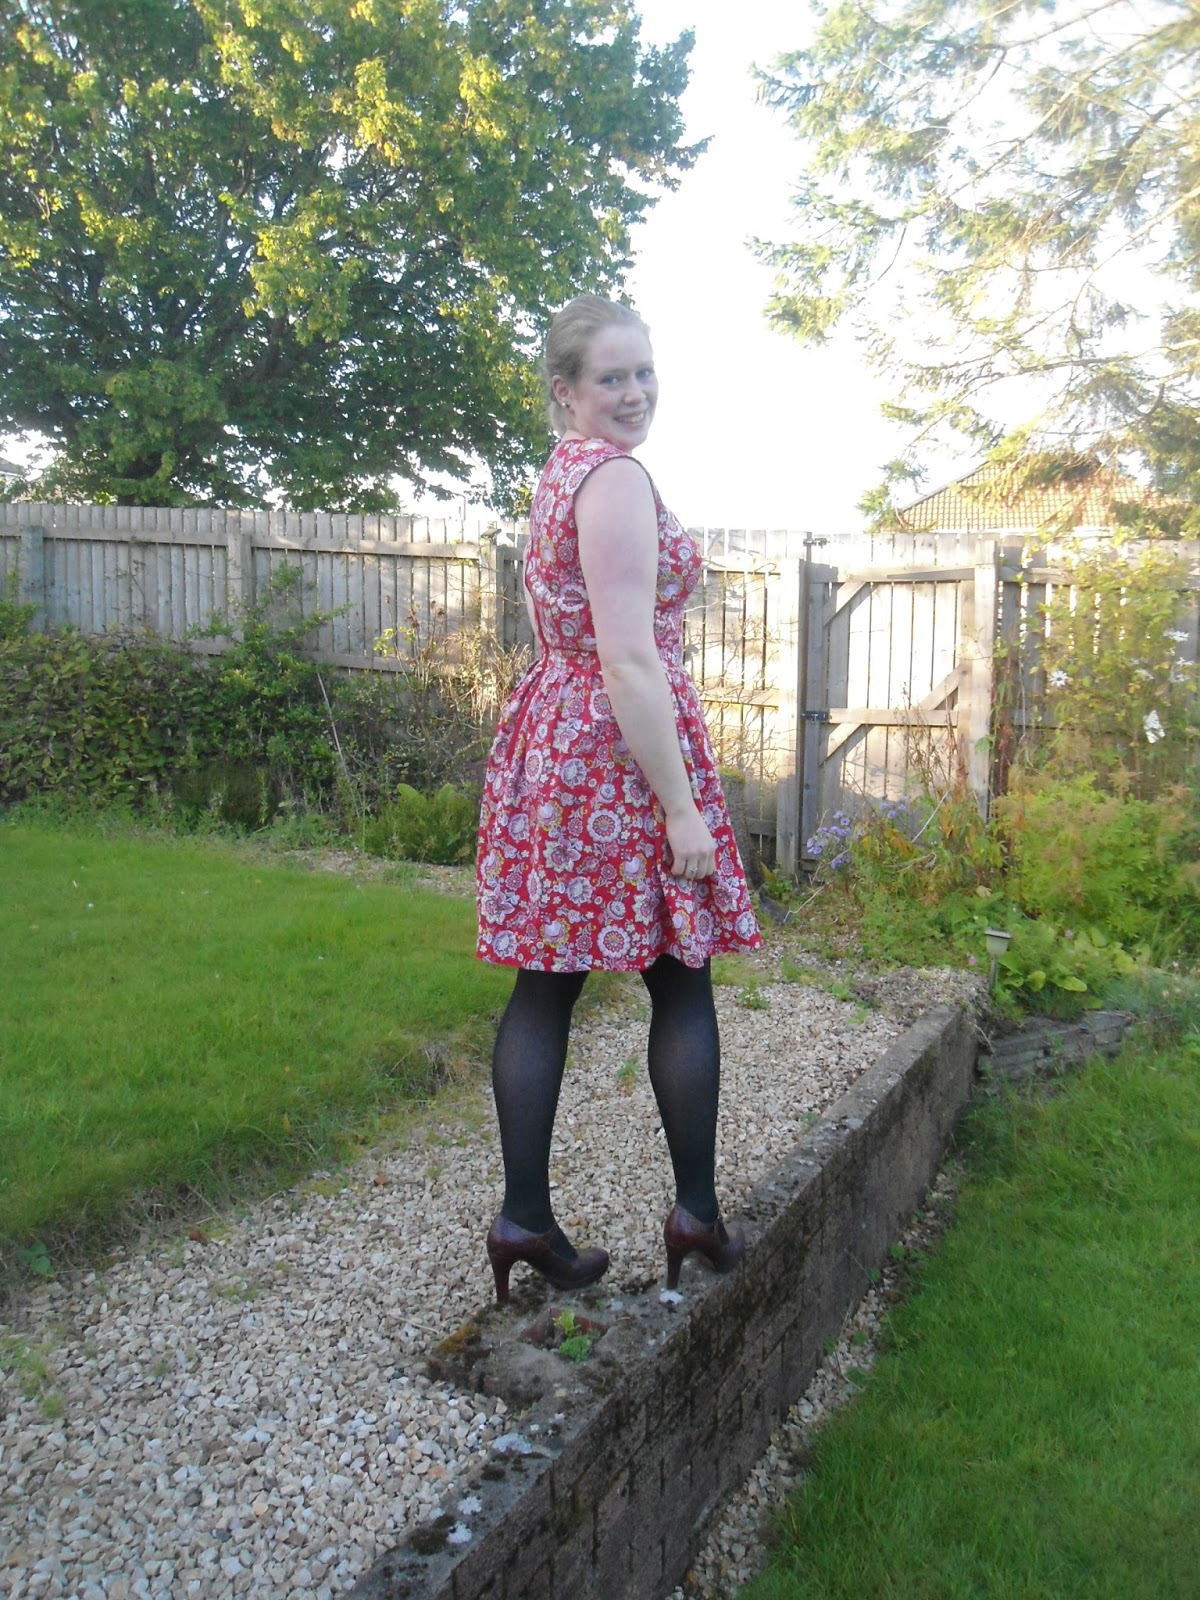
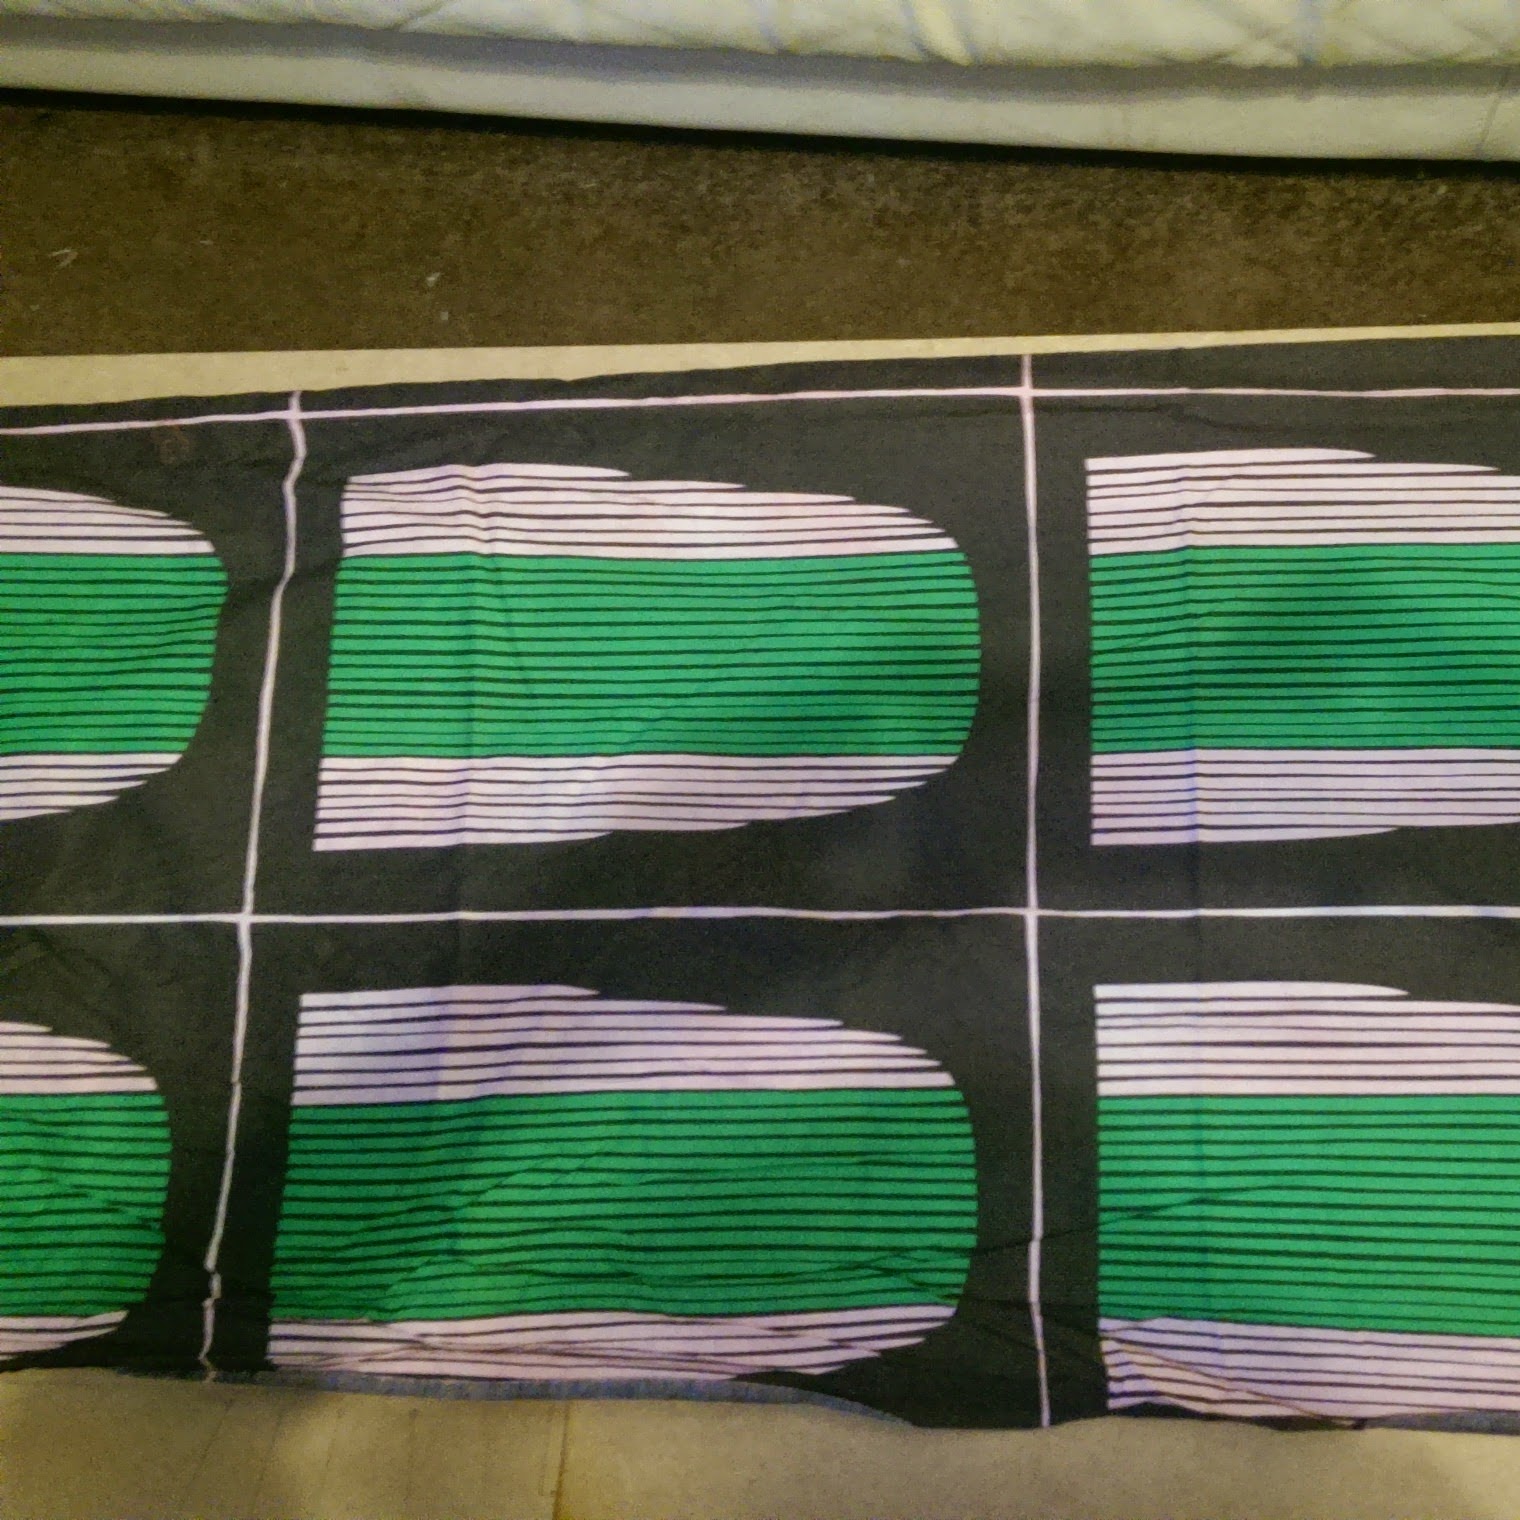
The fabric which I chose was a beautiful red printed Josephine Kimberling cotton which is rather heavier than expected however as the weather sudenly turned cold today that is no bad thing! The fabric almost feels like a flannel, but not quite. The fabric is still available on her site here.
The sewcial studio is based in Tamworth in Staffordshire, England. I don't profess to be an expert in English geography however (there seem to be a number of geocaches around and) it is really near the M6 and a number of rail stations so really easy to get to their workshops if you so wish. They are currently running a number of lampshade and finding your way about your sewing machine and overlocker workshops. I* also have it on good authority that mid november they are holding advent calendar workshops :-)

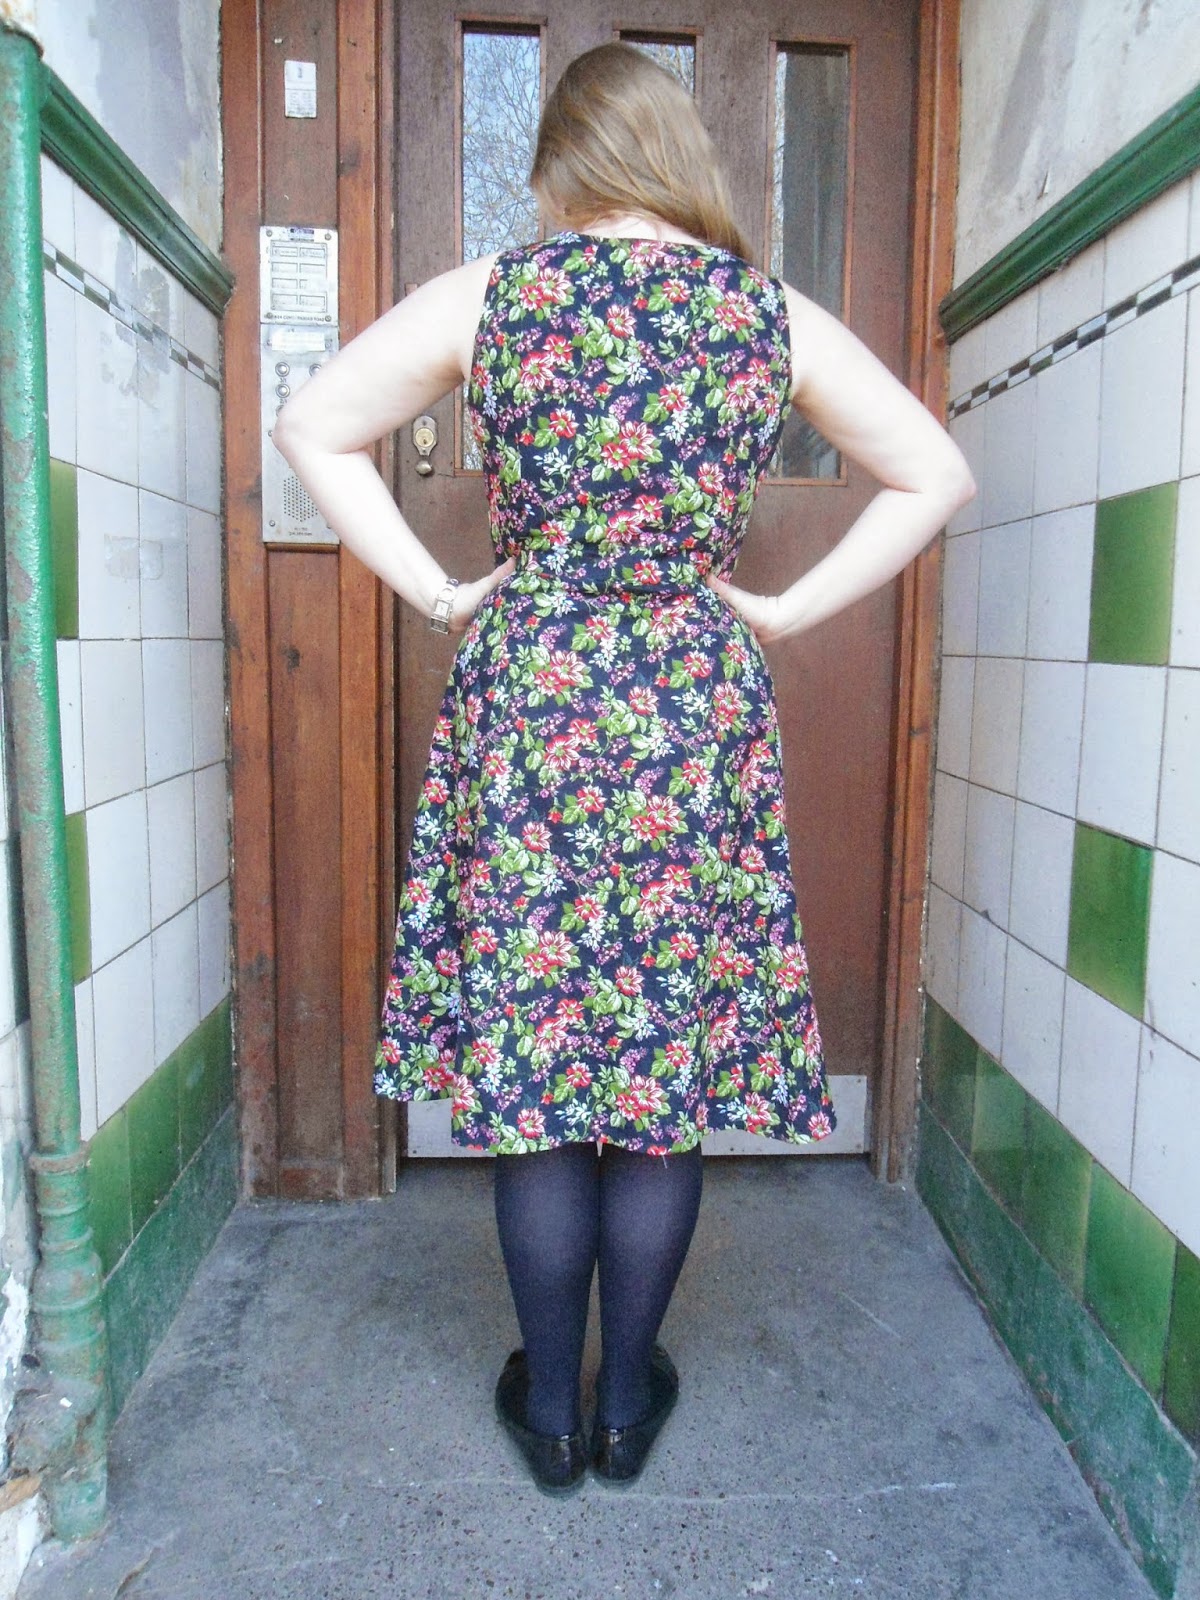
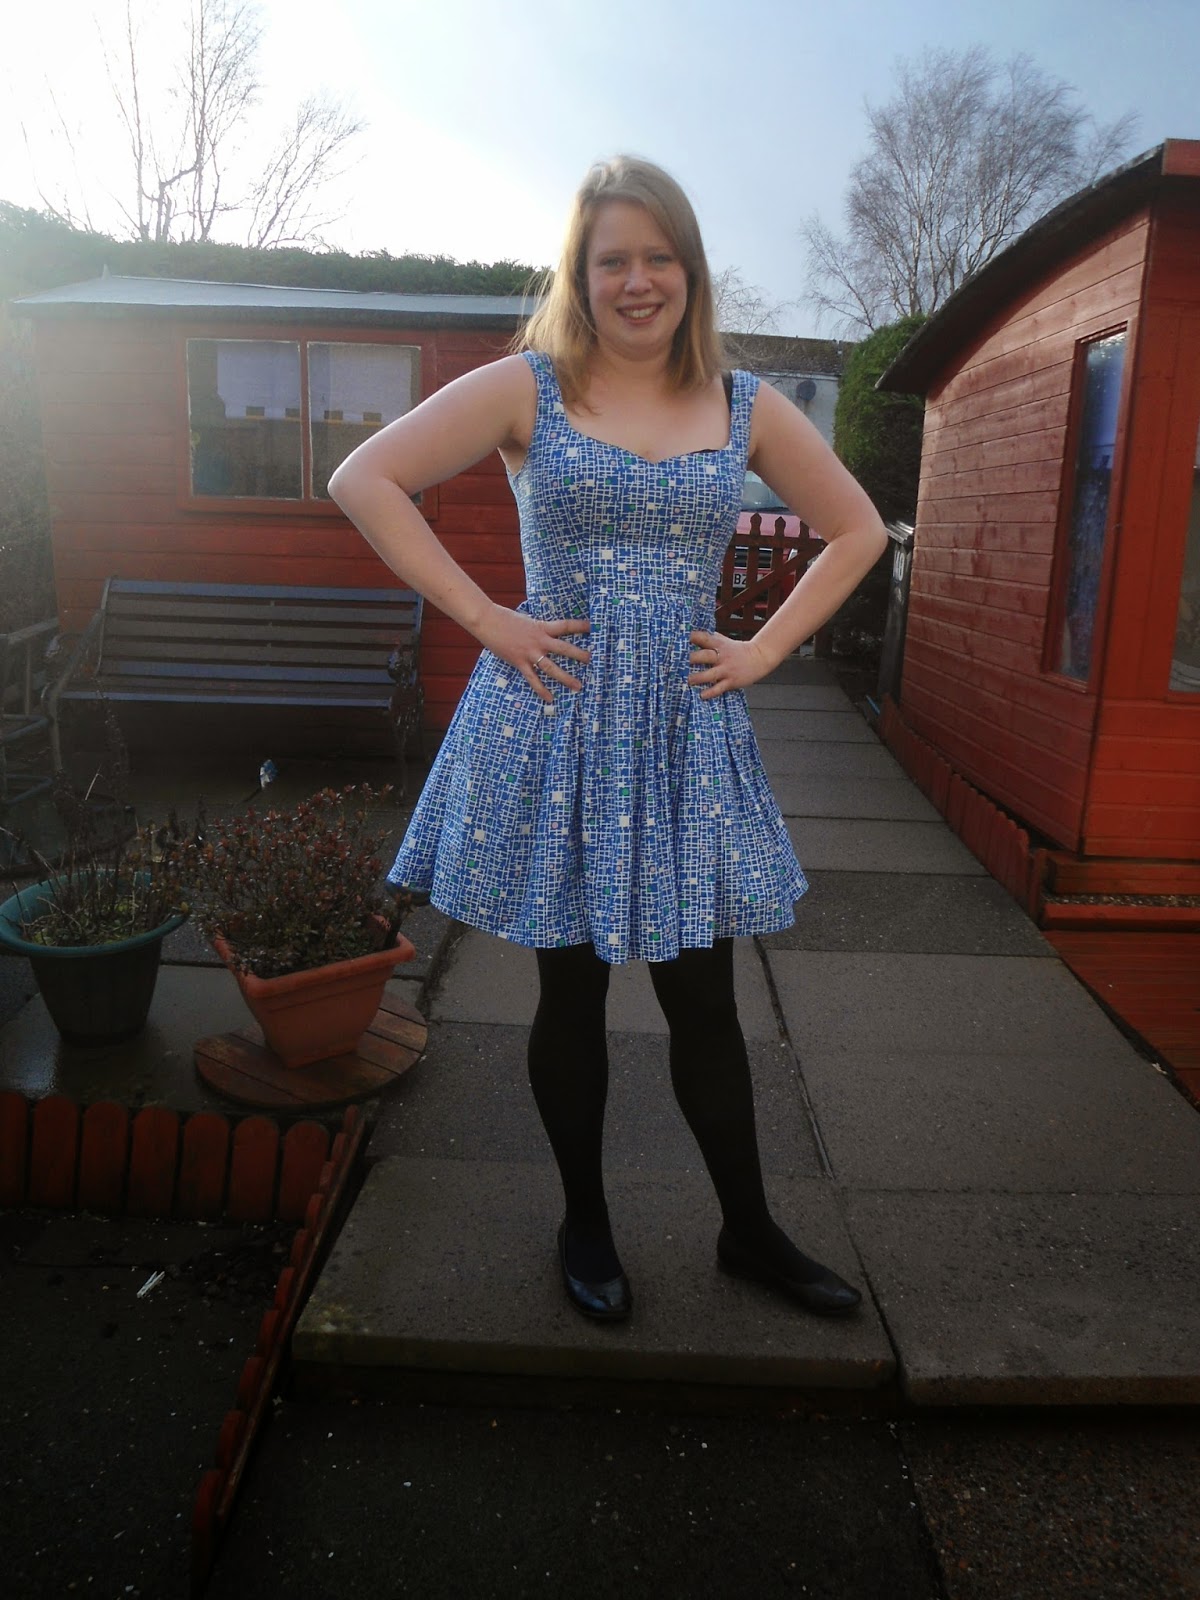
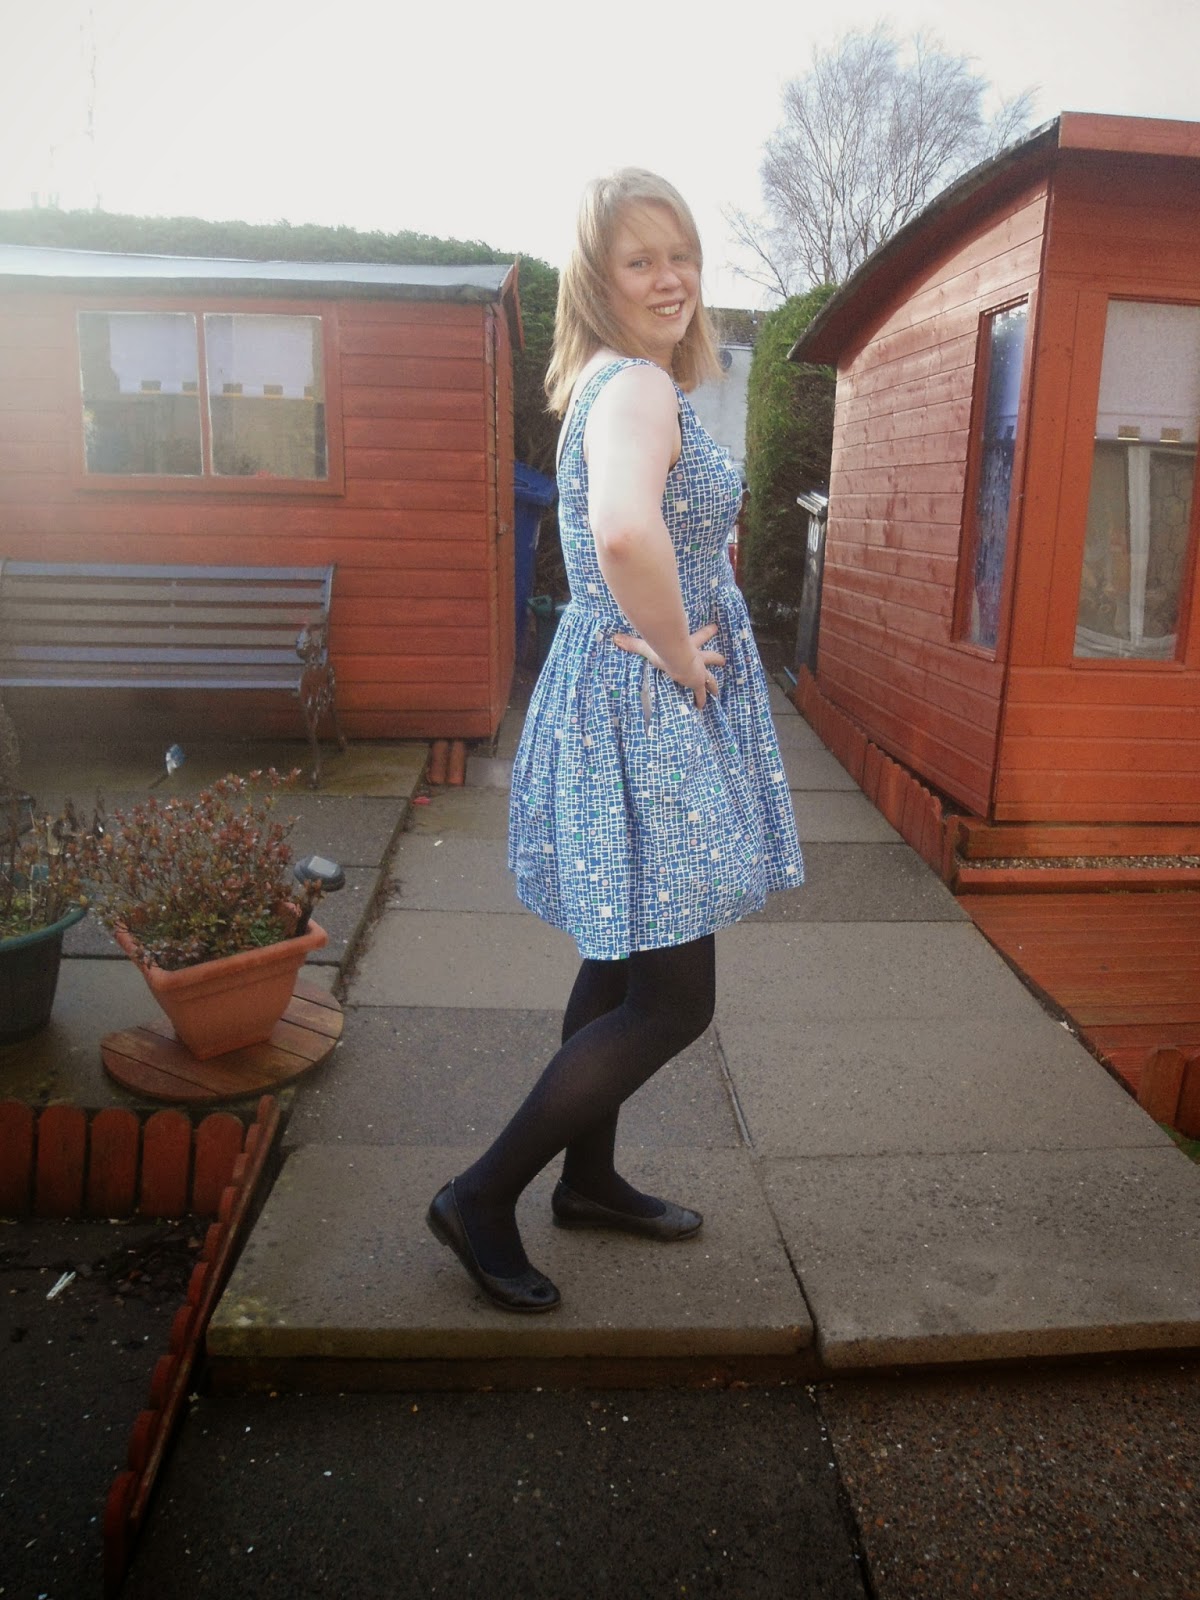
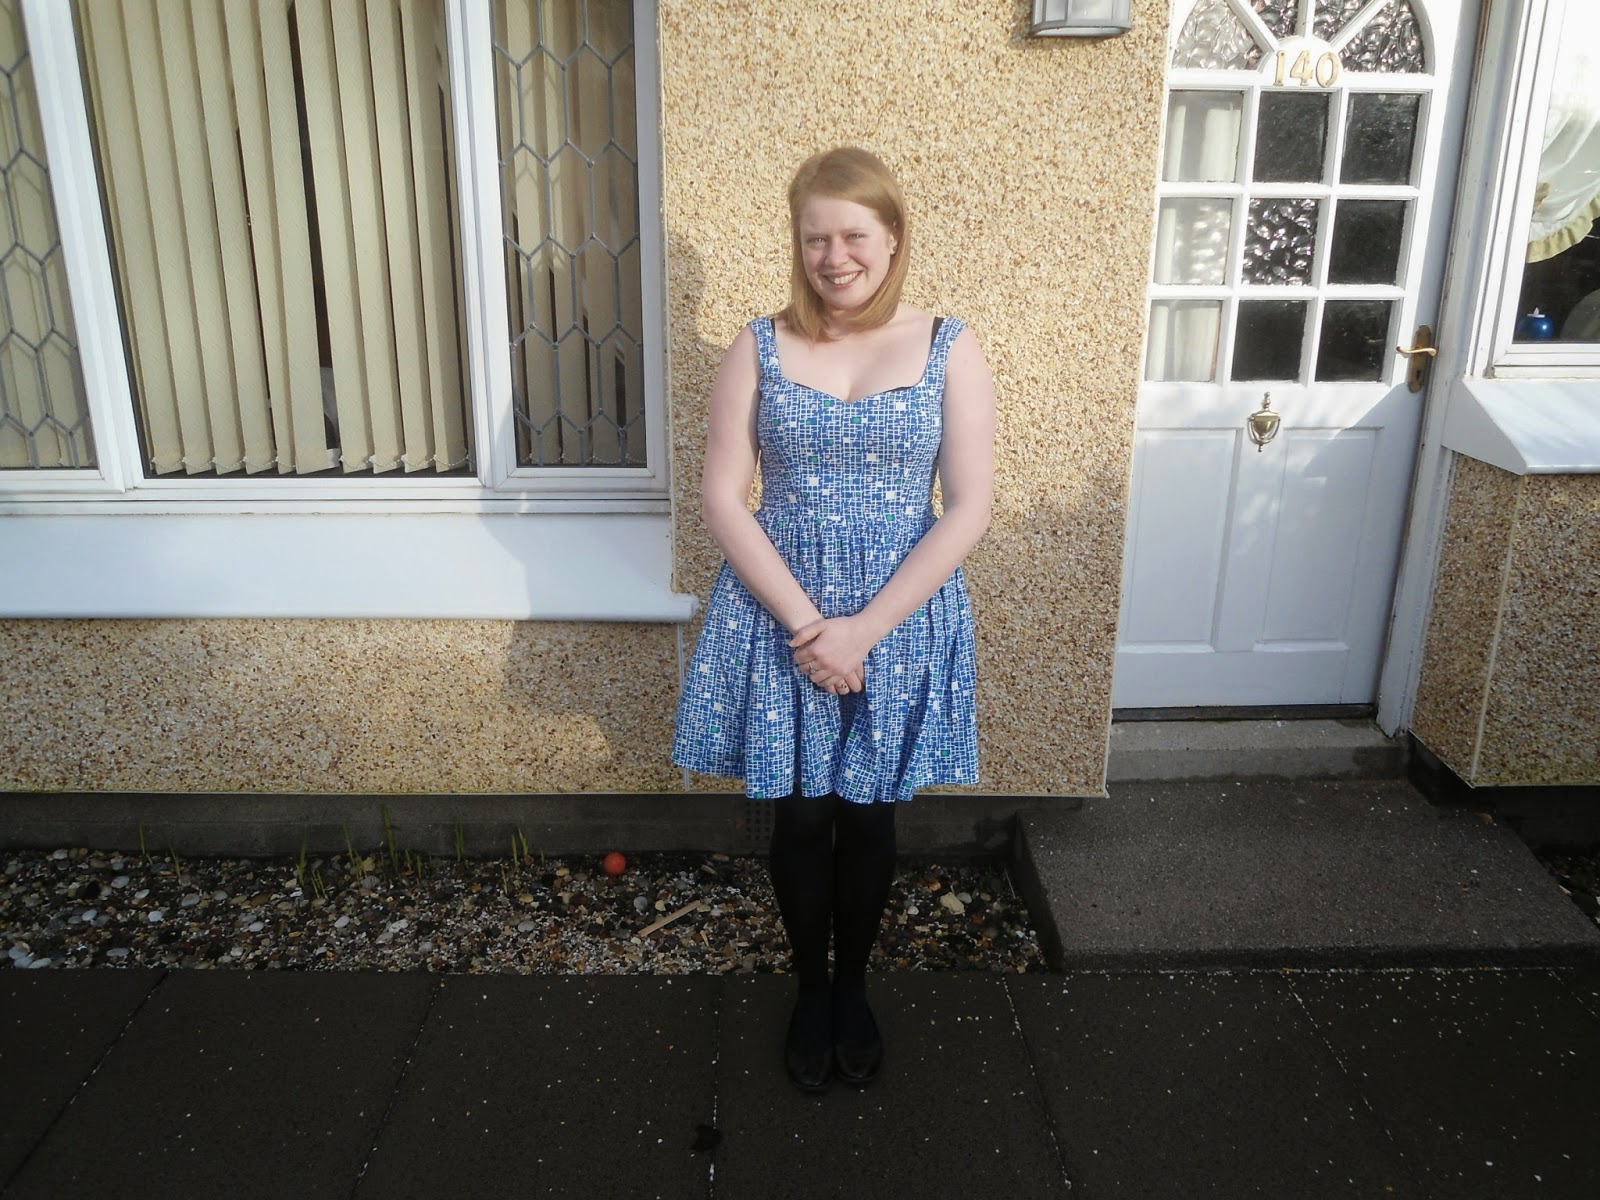
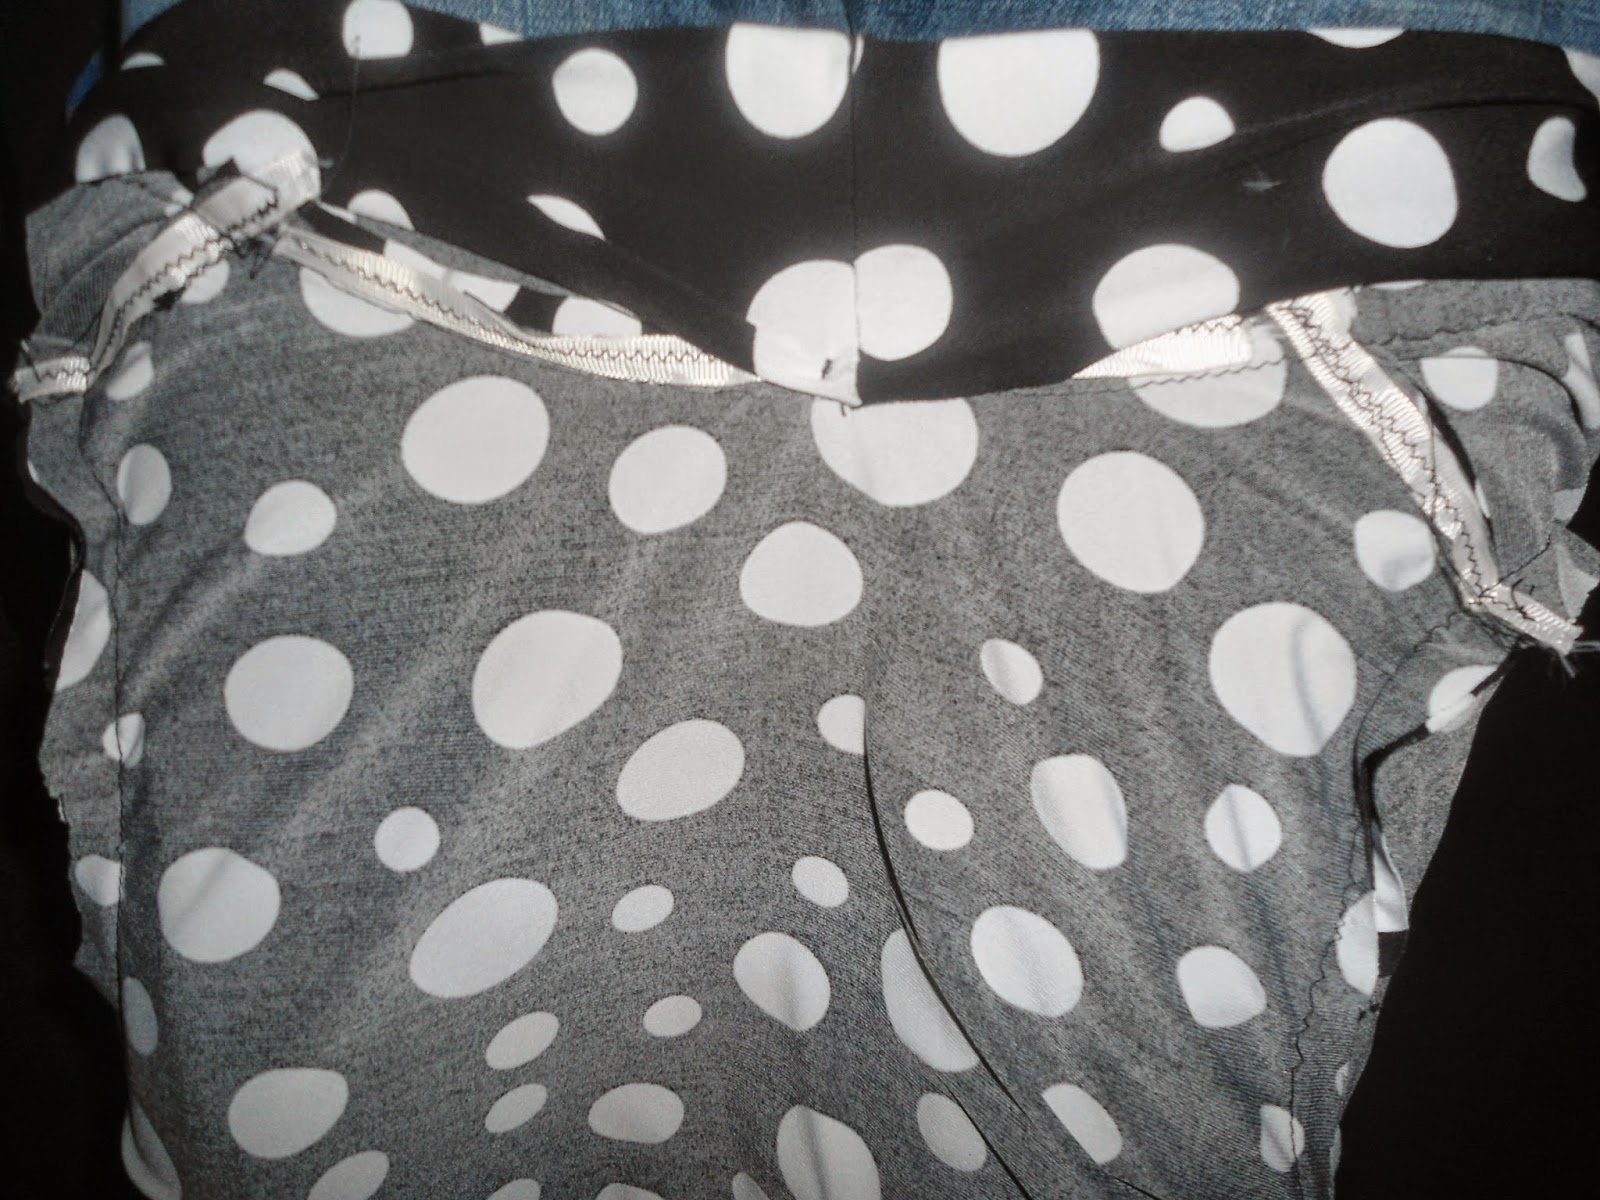
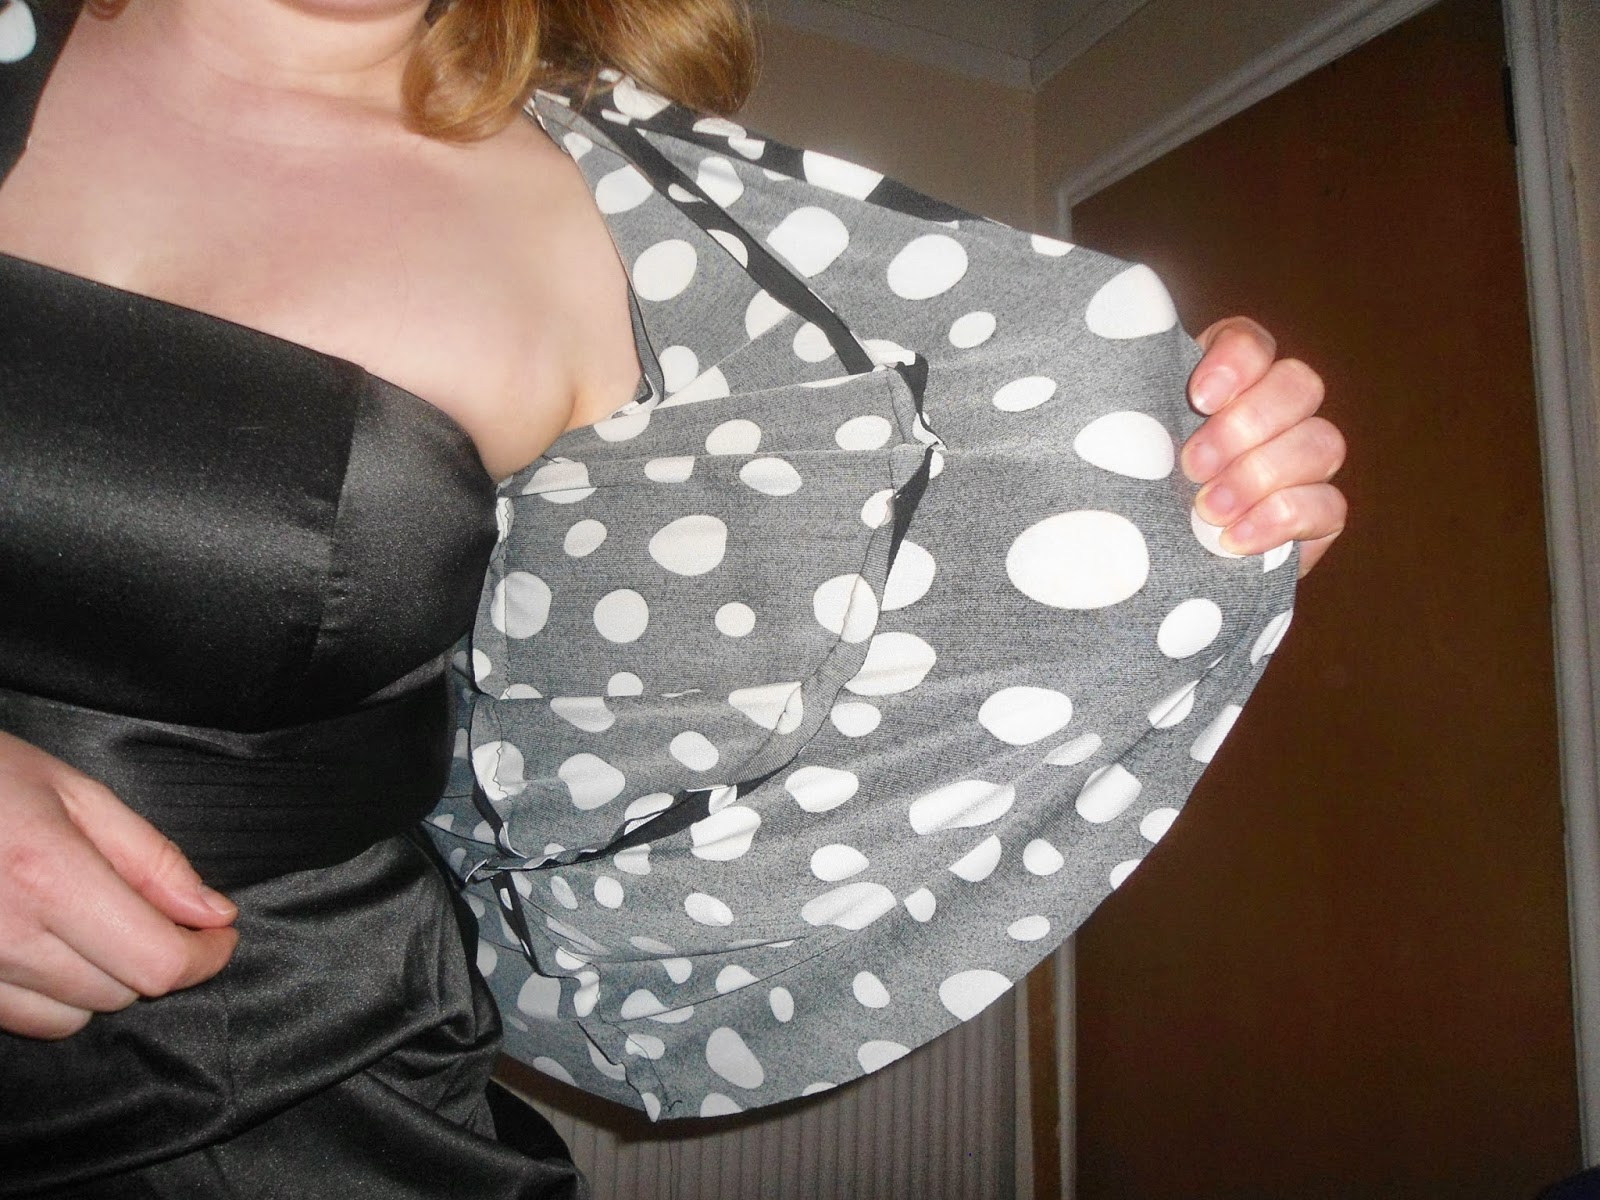
So to the dress. I performed my now standard FBA and found that the fit was almost spot on. Two small problems were that the darts are TOO DAMN LONG. I should have realised when I was sewing them up that they would be having a pointy party right up there on my chest but oh well. The other issue I had was the fact that I forgot to account for that sway back adjustment that I always make. Theres not a huge amount of extra length but enough to make it noticeable. The skirt again was winged - 24 pleats were made each about 3.5 cm in width. some were slightly more some were slightly less and by slightly I mean like a mm! I used the full width of the fabric for the skirt and cut to around 60 cm this length is a touch too long but ill not make the mistake of omitting seam and he allowances again. the finished skirt length ended just where I wanted it to.
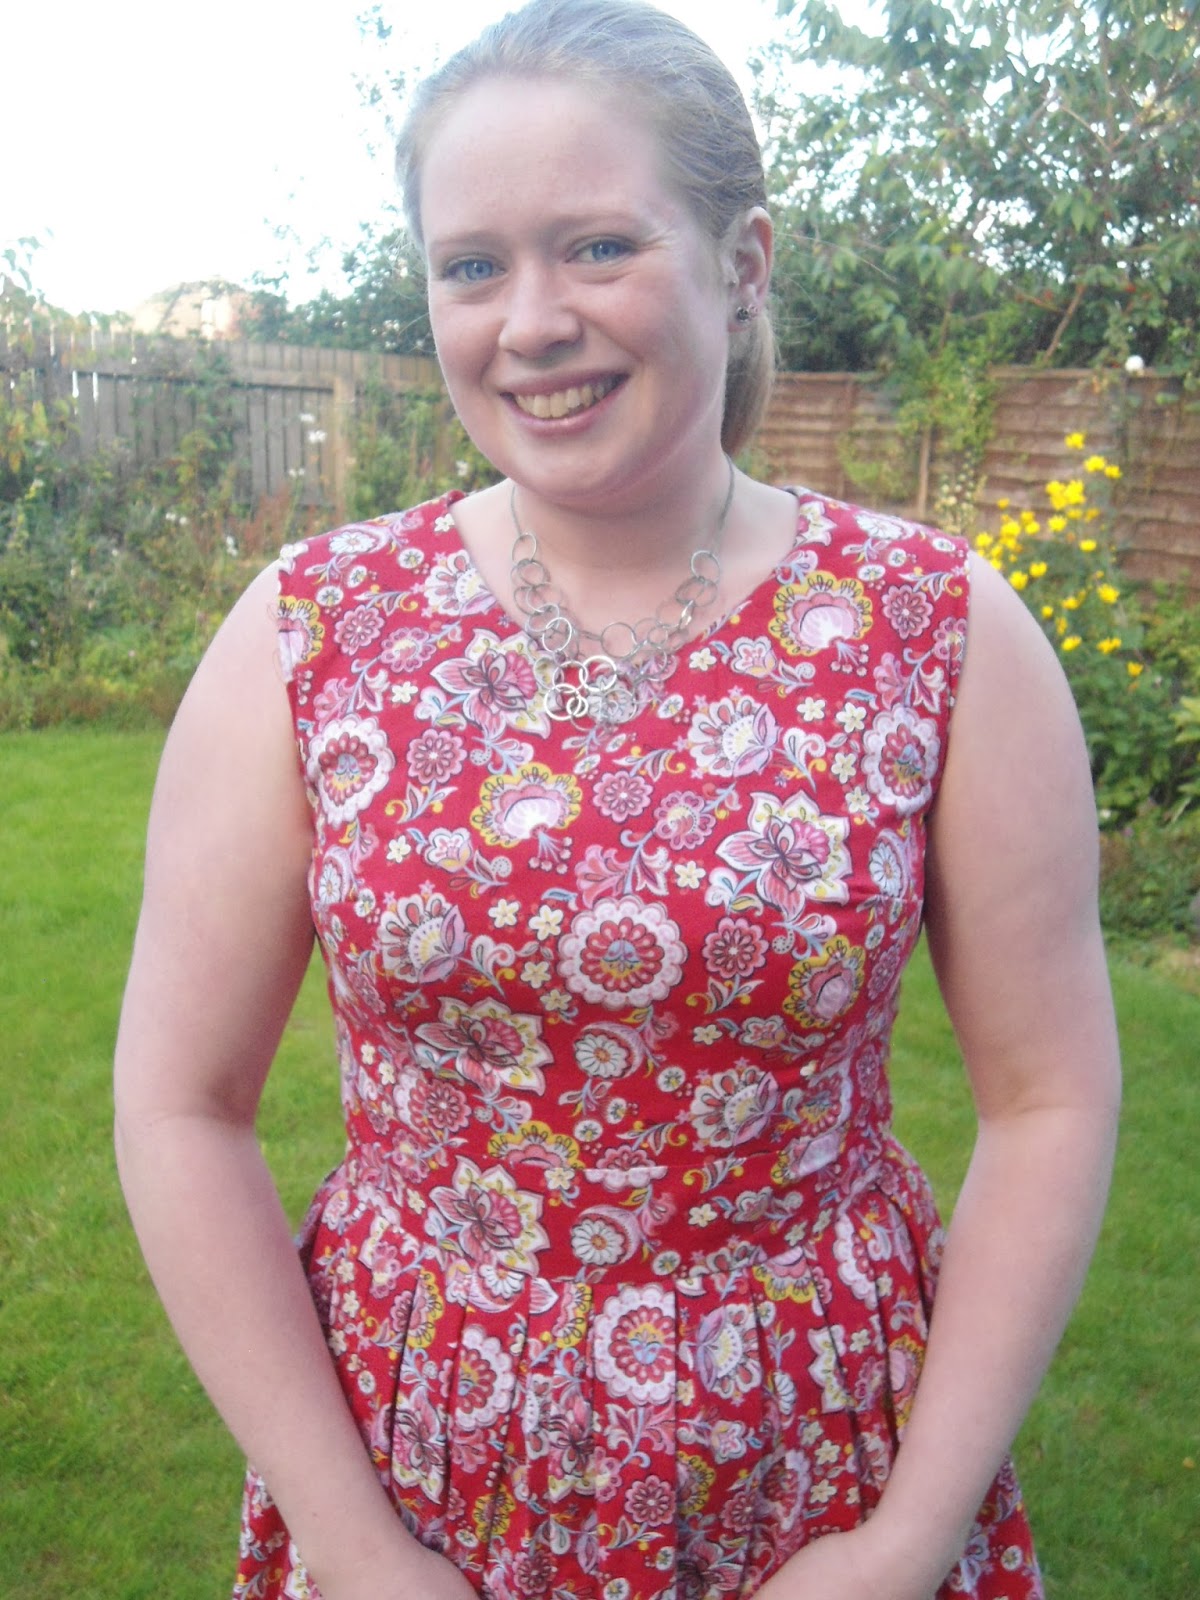
So all in all a really nice dress IMO and Thanks so much Amanda for letting me try your fabric :-). Also the grand operning of the new store was yesterday adn it seemed like a great time was had by all!

Take Care all

Jen xx


Thursday, 9 April 2015

Completed: New Look 6020

Hola!
After declaring that I had not much time for sewing, my production seemed to take an upturn! This dress came together relatively quickly once I had a spare few hours to actually sew it! I even managed to get my overlocker overlocking properly again - somehow the left needle thread had worked its way out of the tension disks :-s. oh well sorted it now is :-)


So with both of my machines fully working, making up this dress from scratch was actually a fairly painless experience :-D. Fairly. I want to make a dress for my cousins wedding at the end of June and have decided to use this pattern and make the necessary changes over a number of wearable muslins before making up the final version in some lovely red crepe I bought in Edinburgh fabrics. I'll share each iteration as I learn to get a perfect fit on this one.

The fabric was a 45" wide cotton from Mandors. I realised at the last minute that I didn't actually have any fabric that was appropriate for a first run of the dress so spent ages lurking all the new bolts which have recently appeared. I felt the flowers on this print stood out more than a regular floral.


This pattern called for facings and as I really dislike facings I decided that I would try and fully line this dress - skirt and all.

Partial fail on the white lining here...
For this I just made up two identical dresses. I had to think a bit about the construction order a little but it went together OK. I attached both dresses at the zip and then pressed the other armhole and neckline under by 5/8" and top stitched. Not the neatest finishing ever but the print hides it a bit. Next time round I am going to finish the armholes with a bias binding facing - much less lazy and a far better finish. I might actually just finish this version with a binding. Maybe. I altered the other half's jeans the other night and it wasn't actually all that bad...

I ended up with a fair amount of gape all around the neckline - I think this is something to do with both my requirement for a narrow shoulder adjustment and the fact it may have stretched while under construction as well as I get the inkling that I cut the size too big. (oh well that's why I didn't cut straight into my crepe....) So in the back I added two darts - which turned out a little too narrow and   took out 3/4" length out of the shoulders; on the front I am debating some front darts. I have already taken a wedge out the back paper pattern piece for my next run. Finally I removed quarter of an inch from the back length with another quarter inch marked onto the pattern pieces for next time.
I had no idea how to expression an extreme close up...

One thing that I liked about the dress is it is more like a tea dress than other styles I have tried. This dress sits under my knee and it took a while but I think i'm used to it! I'm kind of feeling the length right now however will no doubt loose some of it for version 2. Or lengthen it the jury is out on full length, I do love a maxi however the wedding is in the South of England....

I  also wore this as my birthday dress the other week (imperfections and all and as a result I'm almost set on trying the size down) - so that is item #2 off my 2015 plan scored off! yay!

Hope your all sewing up a storm :-)

Jen xx
Saturday, 21 March 2015

Kompleted: Kim Sewalong Dress

Sorry for the title I couldn't resist.
 

I was sewing along with the Kim sewalong over at the BHL blog and today I would like to share my finished Kim. I actually have two copies of this pattern. I wasn't expecting the Kim dress as part of my kickstarter bundle, so when I saw it on pre-sale I snapped it up. I think something about their decision to stop printing the Georgia dress meant that they substituted Kim. No matter. Whatever happens the spare one will not go to waste!
I Totally added pockets to this dress! - A variation on the emery pockets, sewn into the waistline

The fabric for this dress was bought in the sale at John Lewis and is a Hemingway design which is 100 % cotton and cost around £5 /m I can't remember the exact price (I saw it subsequently in another fabric store for about £12/m so bargain!!). I bought 2 m of this fabric and used only about 1.5 m. I then cut the rest into lots of varying sized squares which I plan on using within a quilt. The other remnants have been set aside for another (still secret) project ;-). I love it when this happens as then it seems like the next project is free!

I made up a muslin of this dress using the wrap skirt around Christmas however was never too happy with the resultant fit. I transferred a few changes onto the pattern pieces however I think I still require more :-(. The muslin was mostly OK - from a few days wear I assessed that the back neckline needed a little more taking in and the straps were a little too long.

Take 2 has resulted in a dress which fitted pretty good until it came to my bust - I removed a wedge the first time which left a still gaping back so then returned and removed a little more. The dress was now an inch too narrow! I unpicked the zip and it now sits on the very edge of the fabric so I'll need to remember this if I make it up again. The tops of the straps were sewn with a 3/4" seam allowance which meant the outcome was a little snug around the back of my shoulder so maybe next time I'll drop the armseye a little? They are however the correct length now. So there's that. I think the sweetheart needs a little bit of a raise too - this isn't an unusual bra for me so the fact you can see the top of the bra suggests that this needs raising a touch. nothing major though.

The straps of this dress are still sitting too wide on my shoulders so thats another reason why you get a great view of my bra. What I'm thinking if I make version 3 is to take some width out of the CF side seams and then add it back in to the side seam of the SF piece. Another method I'm toying with is to try a narrow shoulder adjustment - however I'm not 100 % convinced that this will fix the issue as the base of the arms is still very wide. Does anyone have any thoughts on this?

One other change that I'm toying with making is to make a small sway back adjustment. This adjustment makes sense as taking the length out of the straps has lifted the waistline so that it now sits on my natural waist however seems to dip by the time the seam hits the middle of my back and bags out a little. another slight disclaimer: I made a slight error in cutting my skirt fabric - I measured the length from my waist to my knee and cut this length. Completely omitting seam allowances and hem allowances. Ooops!! So its a Kim Mini really....

So I'm mostly happy :-D however it seems that by the time the fit is 'just so' this will no longer be the Kim dress :-p. This is still very much a wearable dress although I am a bit annoyed at the zip  - it seems to line up ok at the seams however as I always find when I buy poorer quality John Lewis zips I can never get the zip invisible. *Jennifer learn from this*!!!


Did anyone else been taking part in the Kim Sew Along?

Have a good weekend all :-) (I'm currently waiting for my parents to get up so we can go on some advnture in Glasgow somewhere!)

JCS xx

Tuesday, 24 February 2015

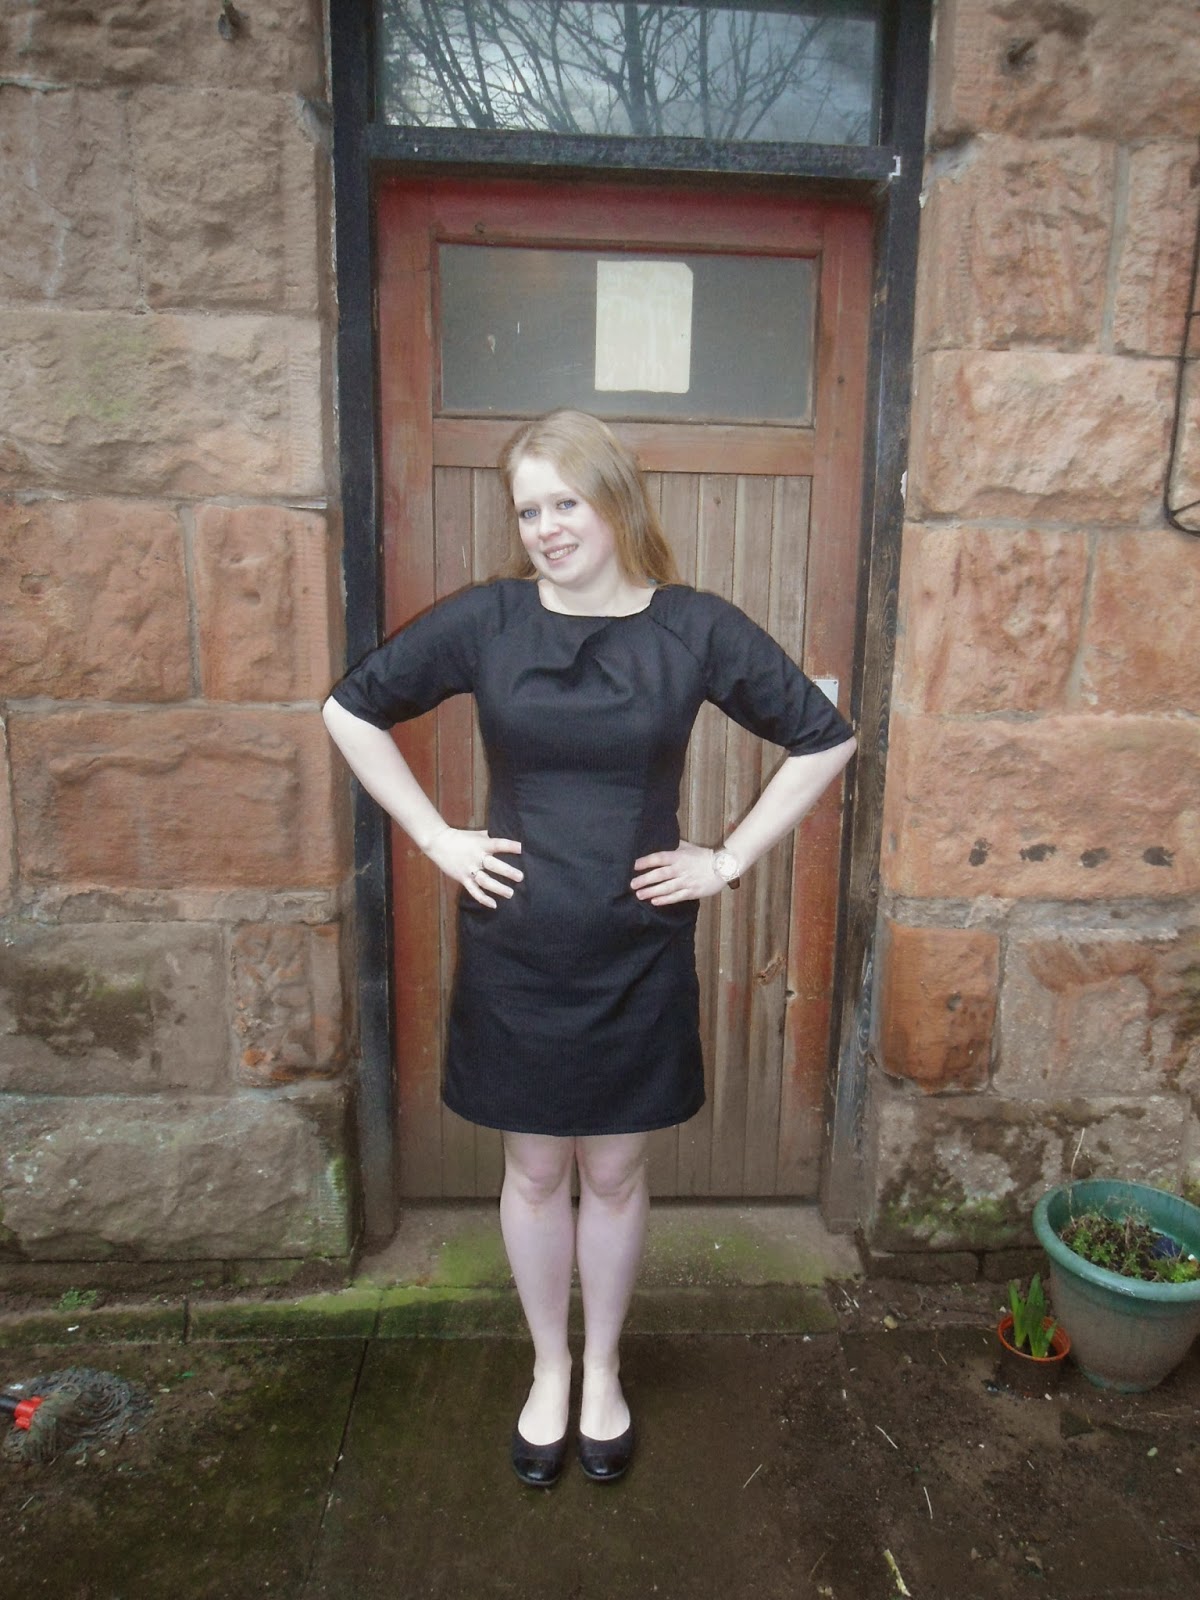
Completed: By Hand London Anna Dress

Back in April last year I backed By Hand London's kickstarter campaign and the other weekend while I felt really ill with my kidney infection I got the best delivery ever: a box full of patterns pins and fabric! This lifted my mood no end as I have been itching to try some of their patterns since last year when I backed them!

Before I got the delivery I had in my mind that I wanted to try the Elizalex dress first, however on a complete whim I picked the Anna pattern out of the box and traced it all out.

Lets talk about the fabric. I picked up this 3 m length of lightweight cotton from a recent trip to Ikea for the pricely sum of £10. The pink parts of the pattern were white before the prewash however a red top somehow made it into the same wash cycle...

Strange sporran esque print!


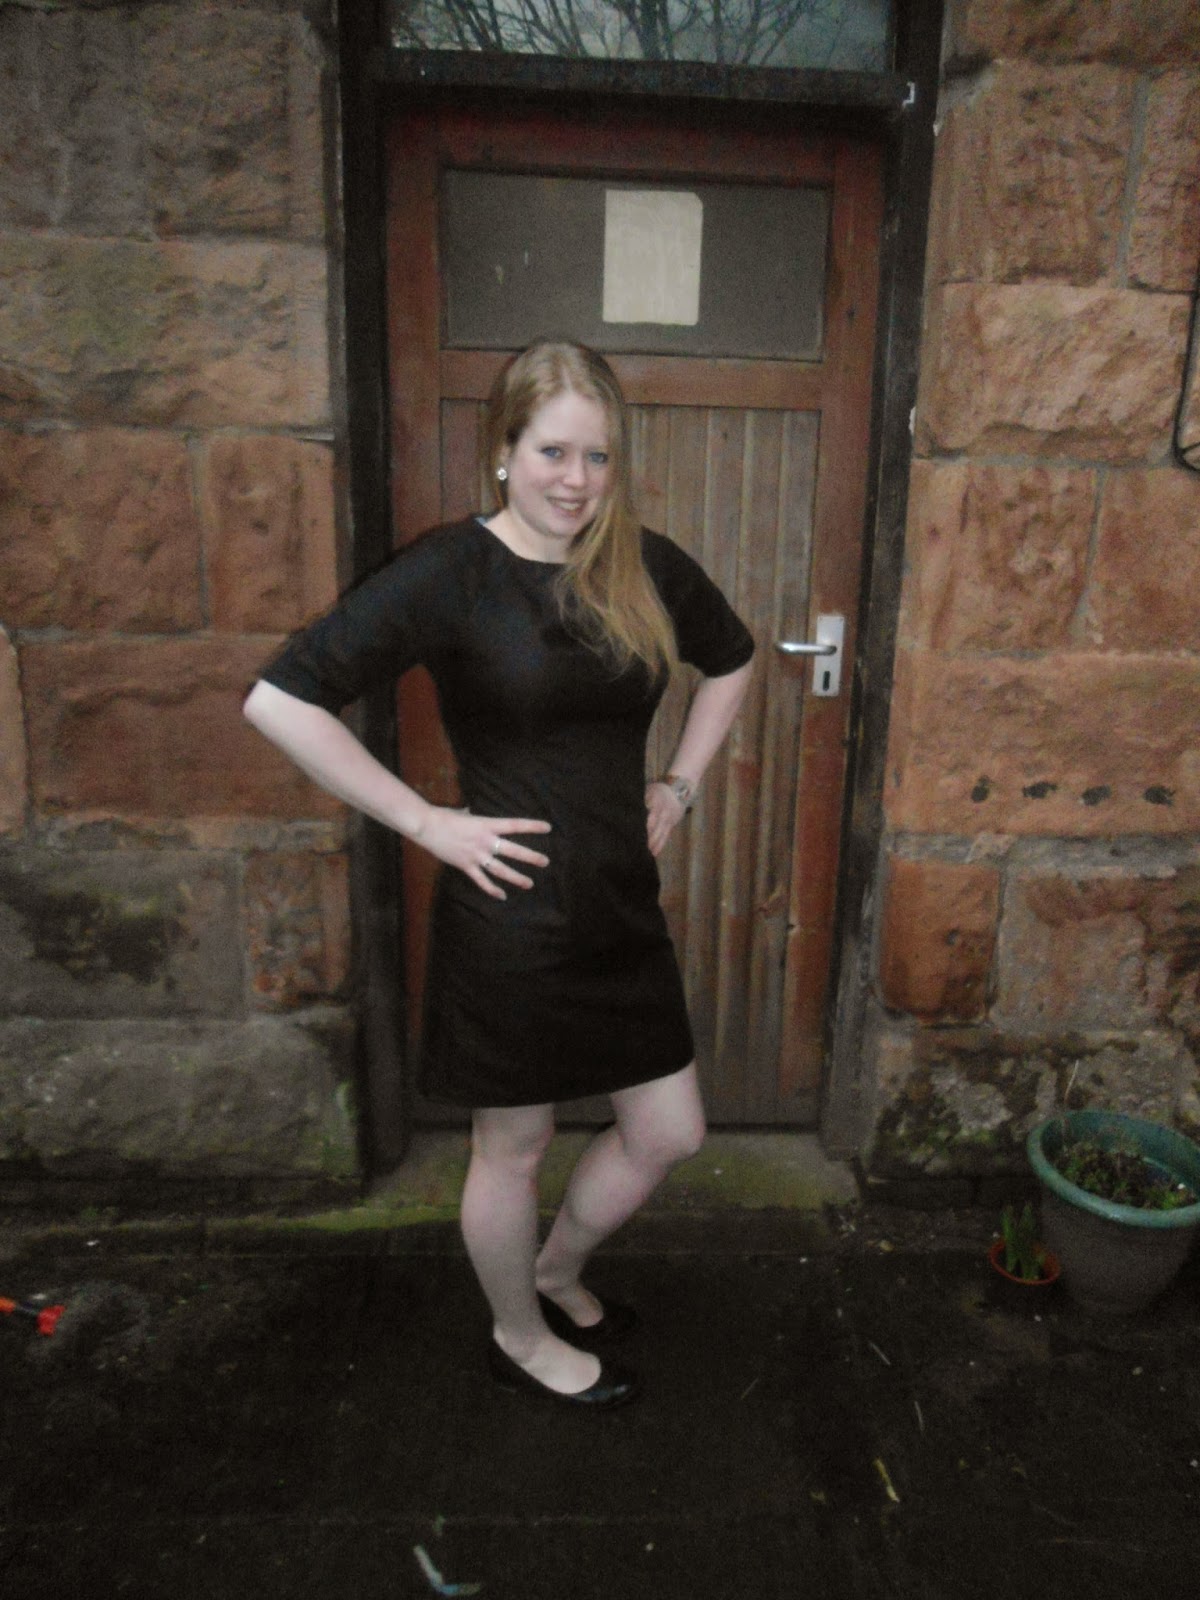
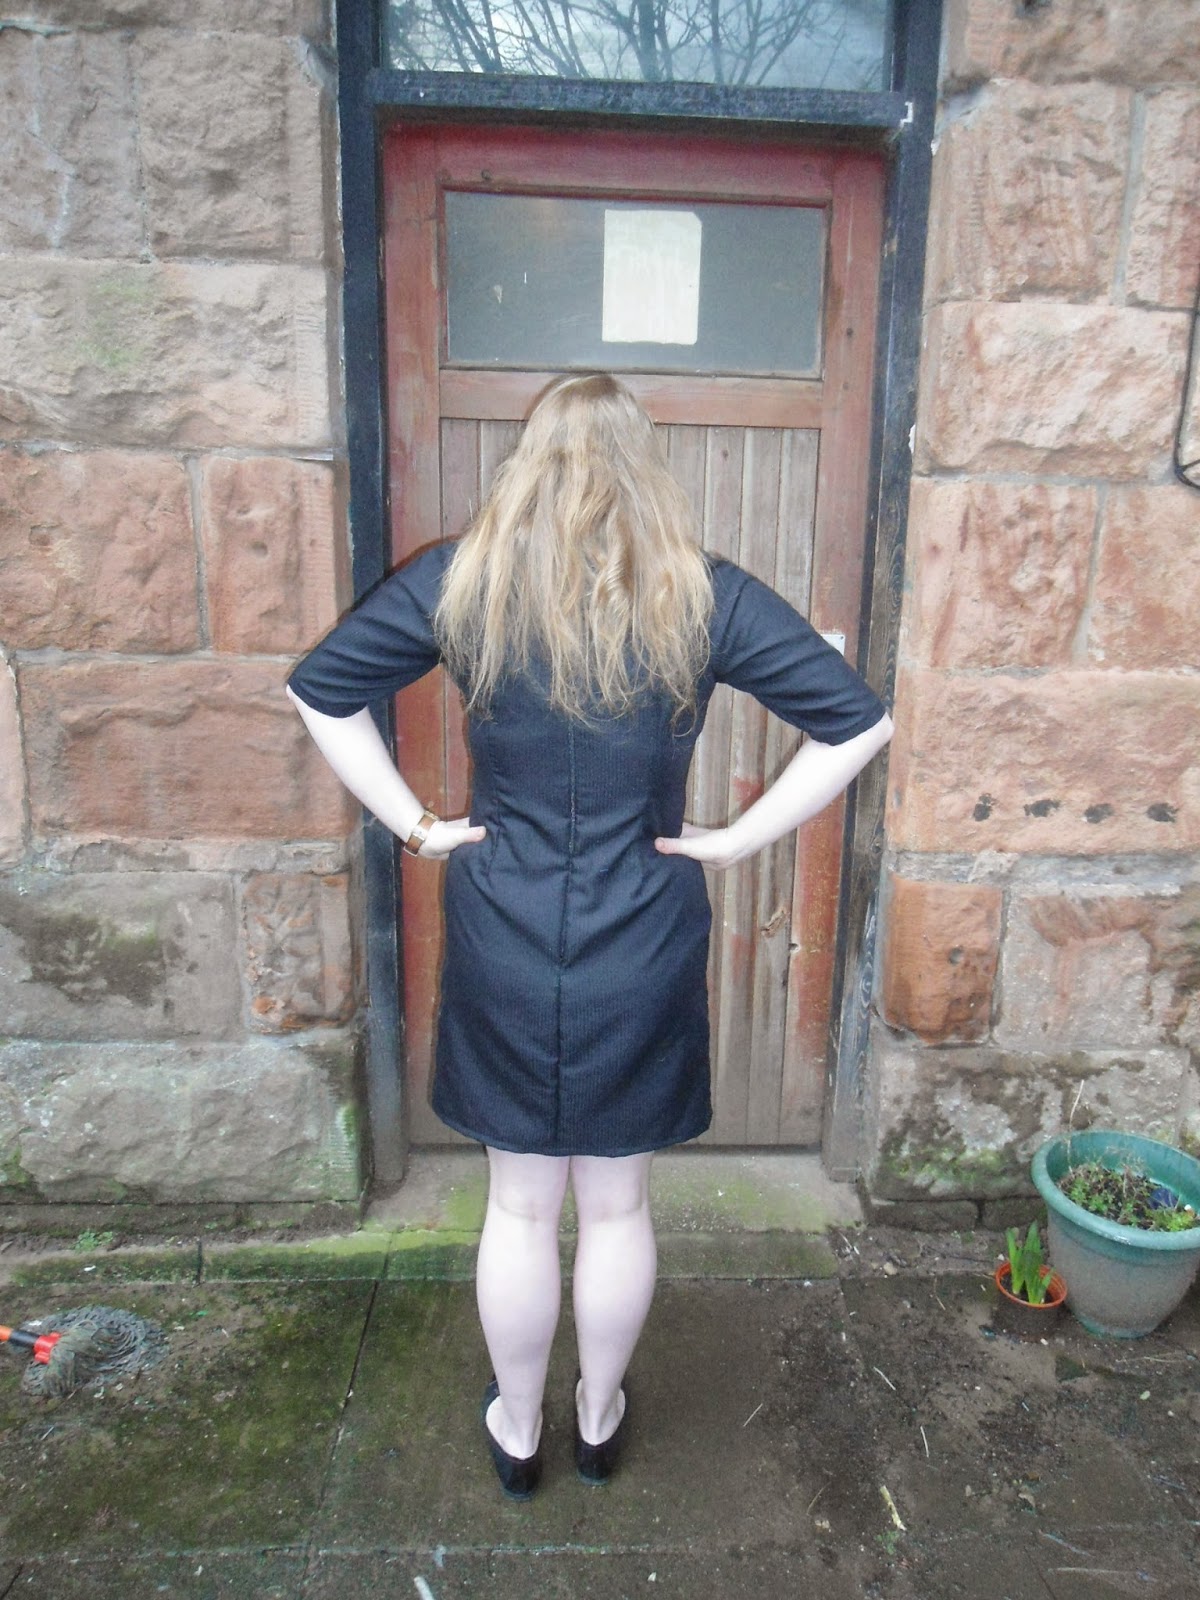
Due to my measurements I sit just above the finished sizes for a UK 14/ US 10 -so because this is the size I cut for my Kim muslin (and intended on using 1/2 inch seams however managed to use the full 5/8 seam) this is the size that I cut here too. I notionally glanced through the sewalong for the dress and spied that there was a lined version of the dress. I'm not hugely keen on facings so opted for the V-necked lined version of the dress.

The pin showing where the zip lies.

In a bold move, I inserted the zip without really checking if i would require to take the neckline in, however as it is an alteration I make on every garment I brass necked it and took the back neck in by 1.5 inches on either side and the results were perfect!
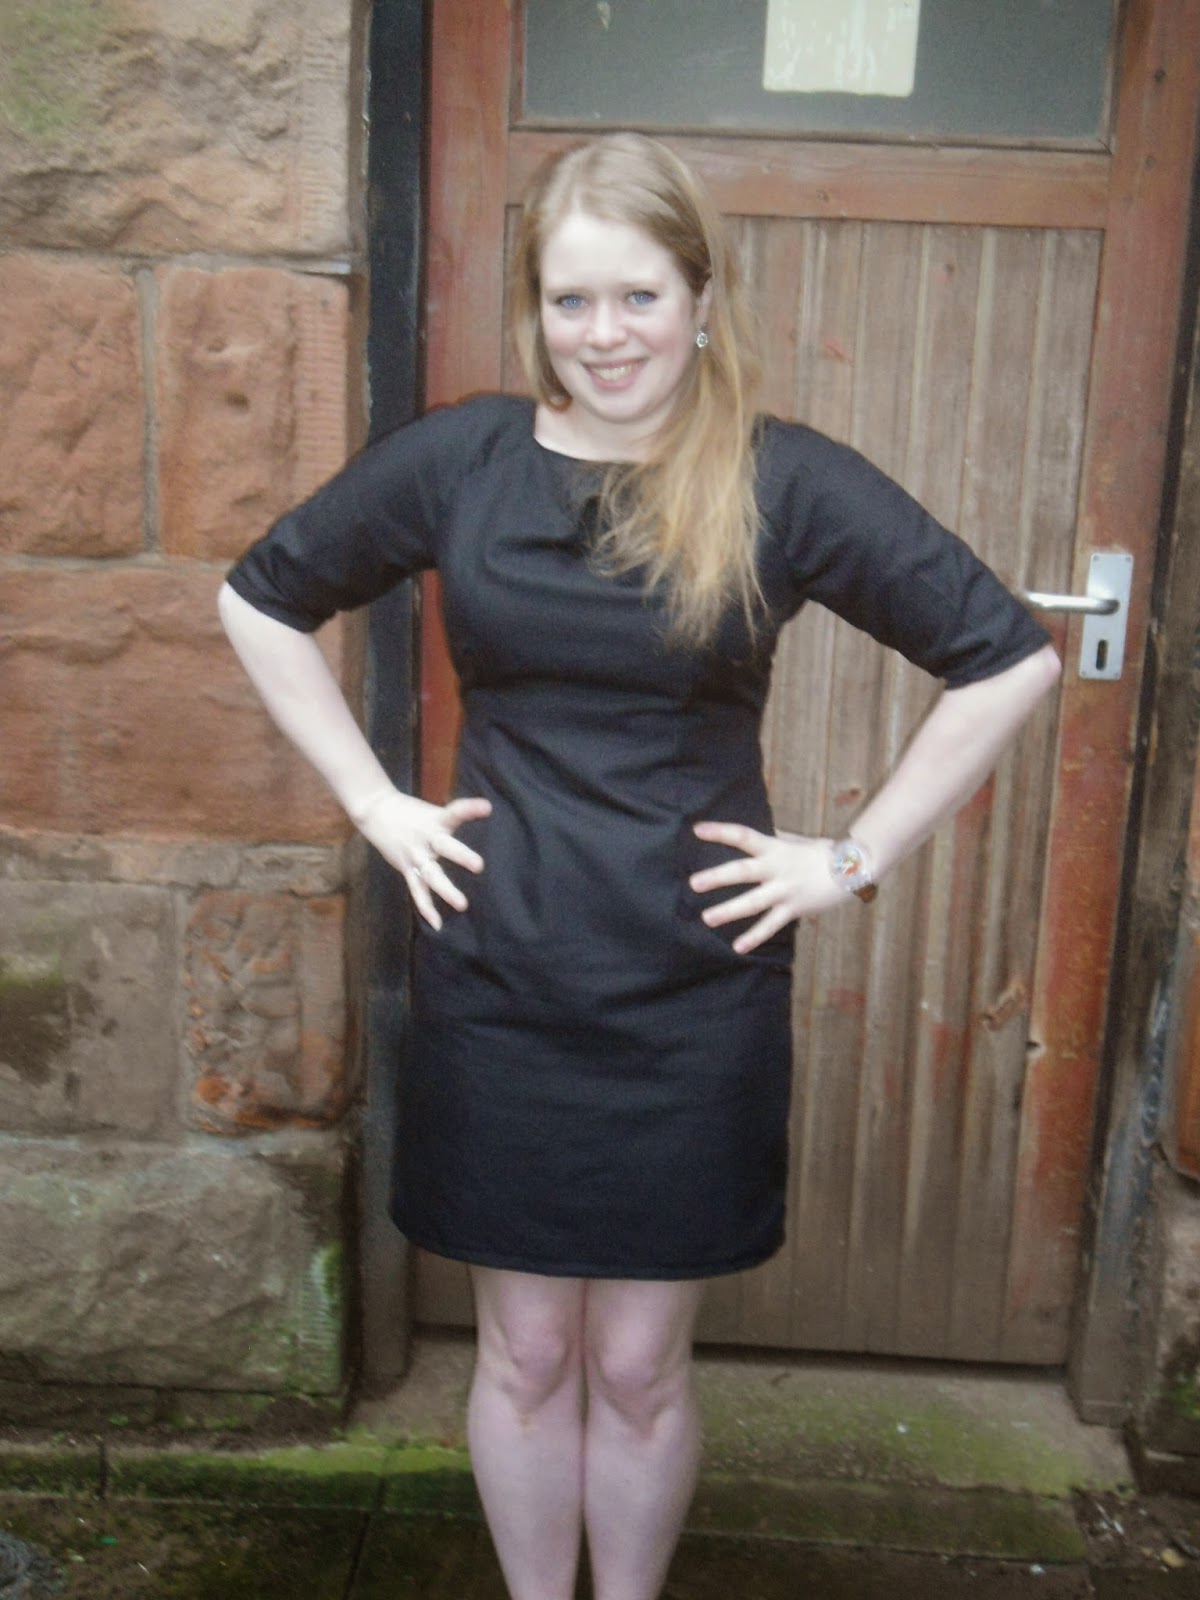
If you can get past the print the fit is really great
 I really must admit. I get the hype. Before I was a little skeptical over the BHL Anna and weather I actually liked it but this dress is so flattering and the fit is so good straight off the pattern sheets. This dress was initially only going to be a muslin however it initially fit so well I couldn't see it go to waste and there marks the start of the Dylon drama!

I  had a right headache with this fabric and where to place the print, I'm not 100 % sold on the print either. One of the main problems was that lining up wrong on the CF skirt would have left me with a sporran.... I tried a few different placements with the different pattern pieces as I didn't have enough of it to properly match the print. In fact in the end I loved the print so much I went and bought Dylon.

 Print hell this was! The placement and just the overall pattern of the fabric looked plain bad.
No gapey nackline :-D

I realised that because it was a big print with multiple colours that the dye may not take well so tried bleaching it. After two rounds of bleaching the colour of the dress was no different apart from a few faded patches and I had read that bleaching destroys the fibres of the fabric :-(.

However 2 dyes later I have a wearable dress! I finished a little early today so I tried to get some photos in what was left of the light...


I only realised that this has been ongoing for so long when I saw the photos and had had an interim haircut...


An outtake - I think someone came in the close at this point!
I must admit there are a few thngs I would tweak on this dress however nothing ~major. If I make this dress up again I definately will have to take some length out of the skirt - I cut out about an inch after I tried it on and even then took a huge hem. In addition I think i will also take an inch out of the waist - i prefer a slightly more snug fit. The final alteration I will make is to omit the sporran print fabric. I much prefer the black...

Has anyone else made up the Anna with the lining? I really prefer linings over facings I think the finish is so much neater.

Have a good week folks :-)

Jen xx
Monday, 16 February 2015

Completed: A Julia Cardigan

I had the house to myself last week while John was away up north with work. This left me with a little bit of time to make up my most recent item: A Julia Cardigan!


I picked up the pattern with one of the pattern parcels last year and recently I have seen a few cropping up over the internets. This got me thinking - I picked up a load of John Kaldor Jersey in the sale last month in Mandors  (At only £4.99 / m it was rude to leave it on the shelf...) and had been looking for something other than another Bronte to make it up into! The fabric is really light and drapey and proved a bit of a nightmare to work with!!


So based upon the sizing charts and my measurements, I made the cardigan up in a size L. I  made up the version with 3/4 sleeves and the unlined collar. This was definitely the right size to make. I think it fits well and is certainly the size I would want this type of garment to be. The only change that I would make in subsequent versions is to taper in the cuffs a little and shorten the sleeves so they hit at exactly my elbow to save me always houking them up.


Reading through the instructions I never noticed anything about stabilising the shoulders or neckline - this worried me slightly as I recently had to chuck out a holy jumper which had stretched out all over the shop and I reckon this was coz there was nothing to keep it in shape. So I went over the full neckline and shoulders with some ribbon. Will this work? - Time will tell.

Ribbon all around neckline and stitch to hold collar in place
I had a few problems sewing this up - not because of pattern pieces or instructions but with my machine. It clearly didn't like the fabric and the threads kept bunching up on the underside. I was using a ball point needle and stitch length of 2.5 - my guess is that this was a problem with the tension? It really didn't like the tension on auto and it seemed to work a bit better when I cranked this up to around 6- does anyone have any ideas?


I'm now going to let you all in on a sneeky seecret. I didn't finish a single seam OR hem it. The reason? These edges are going nowhere and I didn't want to fight any more with my machine than I had to. The only thing which I added for finishings sake was a few stitches over the centre top back seam. I put a few stitches over the seam here to stop the neck rolling back on itself and exposing the insides. I actually investigated the insides of a dress which I own with an overlay of the same type of jersey. None of these seams were finished either so clearly this is a proven technique!

The seams are going nowhere so I didn't want to overlock in red...

I like the results. I have worn the cardi a lot this weekend - it works well for the office and isn't overly warm or bulky and can be worn quite successfully under my new awesome (not me made) leather jacket - win!!

So an easy make hindered by my machines distaste for this fabric. I have around another metre of this fabric left however am a bit reluctant to use it until I've worked the issues with my machine.

Have a good week guys!

Jen xx
Wednesday, 28 January 2015

Completed New Look 6144

You may remember that I made this pattern up about a year ago and the whole construction was riddled with errors as well as a considerable amount of head fuck. All in all this dress took me around 3 weeks to complete.
New Look 6144

So I thought that with another years worth of sewing experience under my belt I would try again!

I had to rake through my previous posts to determine what size I made the last time however they didn't really allude to much. Matching the old pieces against the pattern tissue, I had cut a 12. This time I cut a 14 and removed 1.5 cm of length from the waist and 1 inch from the hem and here's the results.

The fabric I used was a really nice Herringbone 59 inch poly cotton which I picked up from Mandors for £5.99 / m. the pattern suggested 1.6 m but I read the yard requirements like a dufus and now have an extra 60 cm of fabric which I have no idea what to do with! Any ideas? In any case it handles really well and didn't shrink much in the wash/dry.
Close up to see the slight stripe in the fabric

To add a fun twist to the pattern I decided to use some scraps of this snowman fabric for both the front and back facing.I would have a picture, but you know - if the garment I made am having a full blown war with ever surfaces on the blog, I'll link back!

The two half of the Raglan sleeves when laid out adjacent show how deep the dart of the dahlias sleeves should have been.
One thing which became really apparent while preparing the pattern pieces was the extent of the problem in the raglan sleeve of the dahlia. The curve at the top of the sleeve is significant and would make a deep dart in the 1 piece dahlia sleeve. The sleeve problem of Dahlia is one of the reasons I decided to revisit this pattern. I remember these sleeves coming together really easily and couldn't remember how they were constructed. It seems that the sleeves do work well in two piece, I may redraft the sleeves for dahlia based on these and try that one again.

The length of this dress is better too - I don't think I removed too much from the hem length this time
One of the changes I made to the dress was to remove the kickpleat from the back skirt. I ended up removing it the last time and this time after a fewdays wear i'm still not sure that i'm missing it? I think the next time I also need to remove a further inch fron the waist but the current adjustment means the dress sits almost right this was also revealed through a day's wear.
I don't know what happened when sewing the back - it seems to be pulling down?

So all in I think this dress worked OK. I'm not so happy with the pulling at the back or beneath the pleat at the front neckline I think this might need a slight FBA? The back neckline needs brought in a little as per my usual adjustment, but I can live with the back not being perfect. In contrast this dress took me about 8-9 hours including tracing, pinning and cutting as well as using tailors tacks to mark the darts compared with the previous 3 week marathon!

I'm still recovering from a kidney infection that absolutely flored me all of last weekend and the beginning of this week so for me the weekend can't come soon enough - on that note enjoy the rest of the week and heres to a great weekend!

Jen xx

Sunday, 18 January 2015

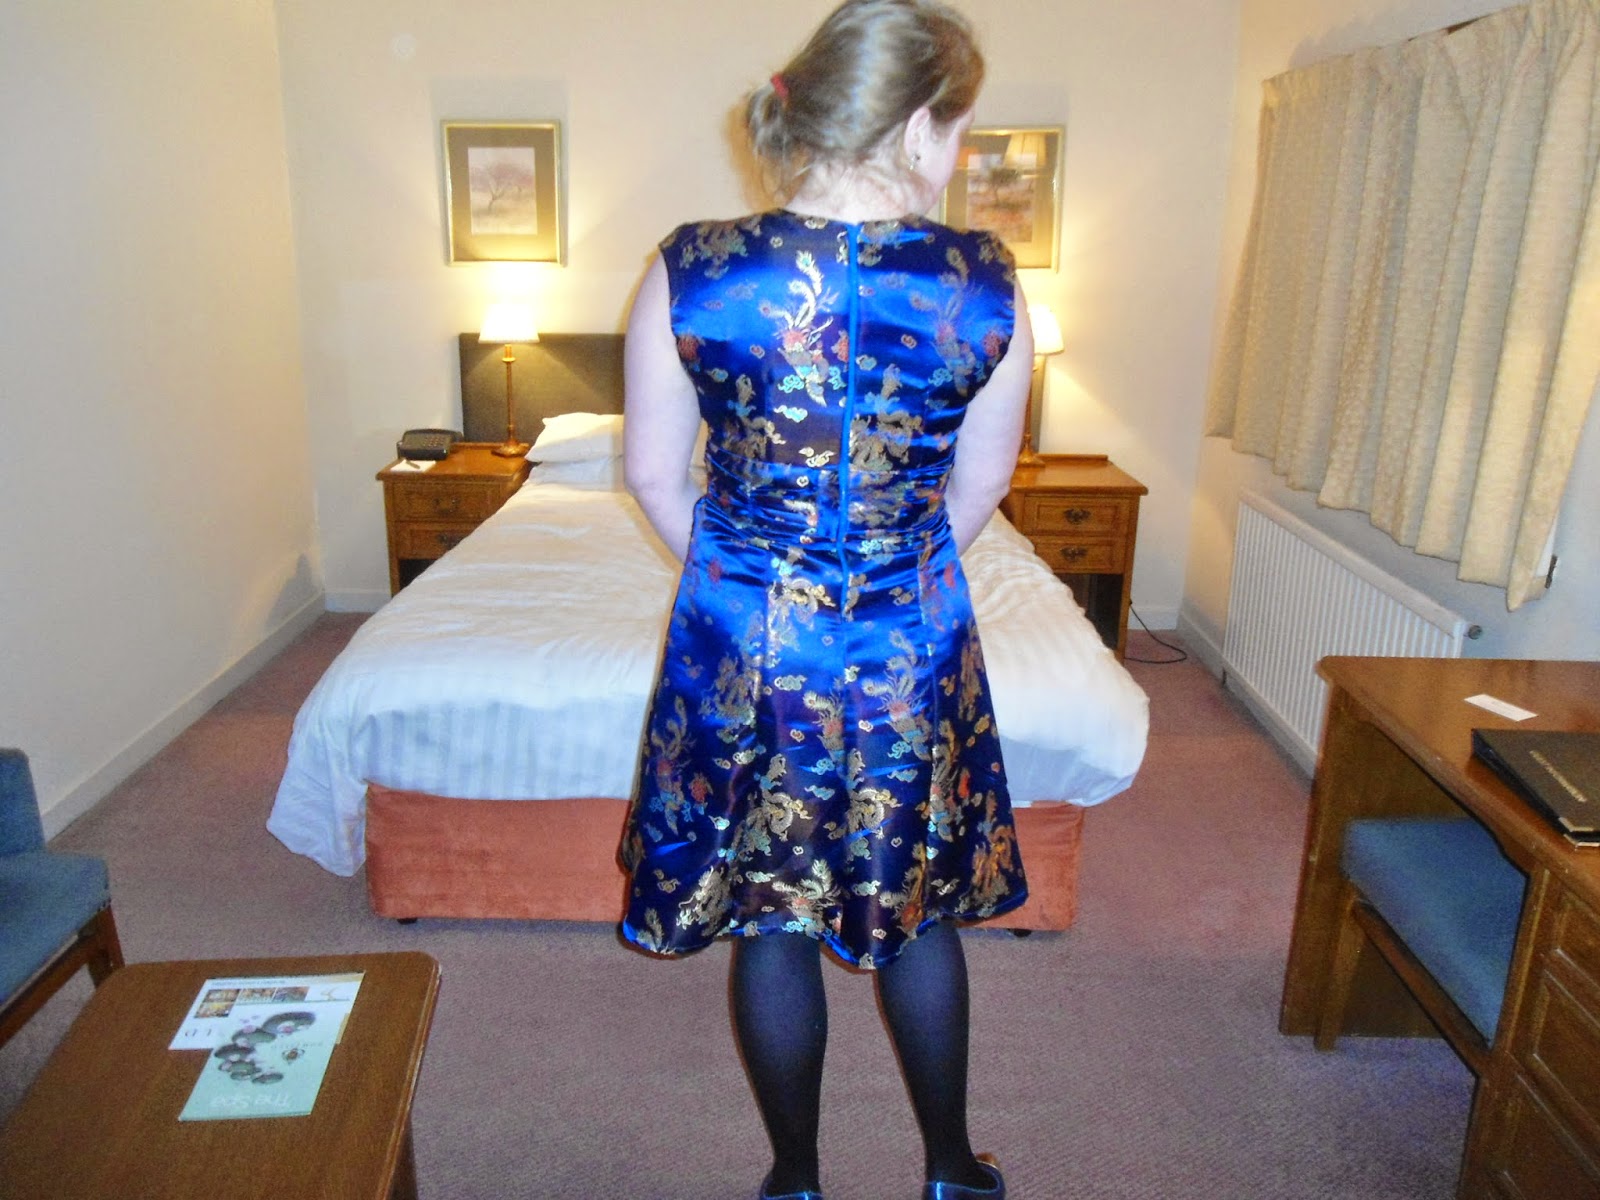
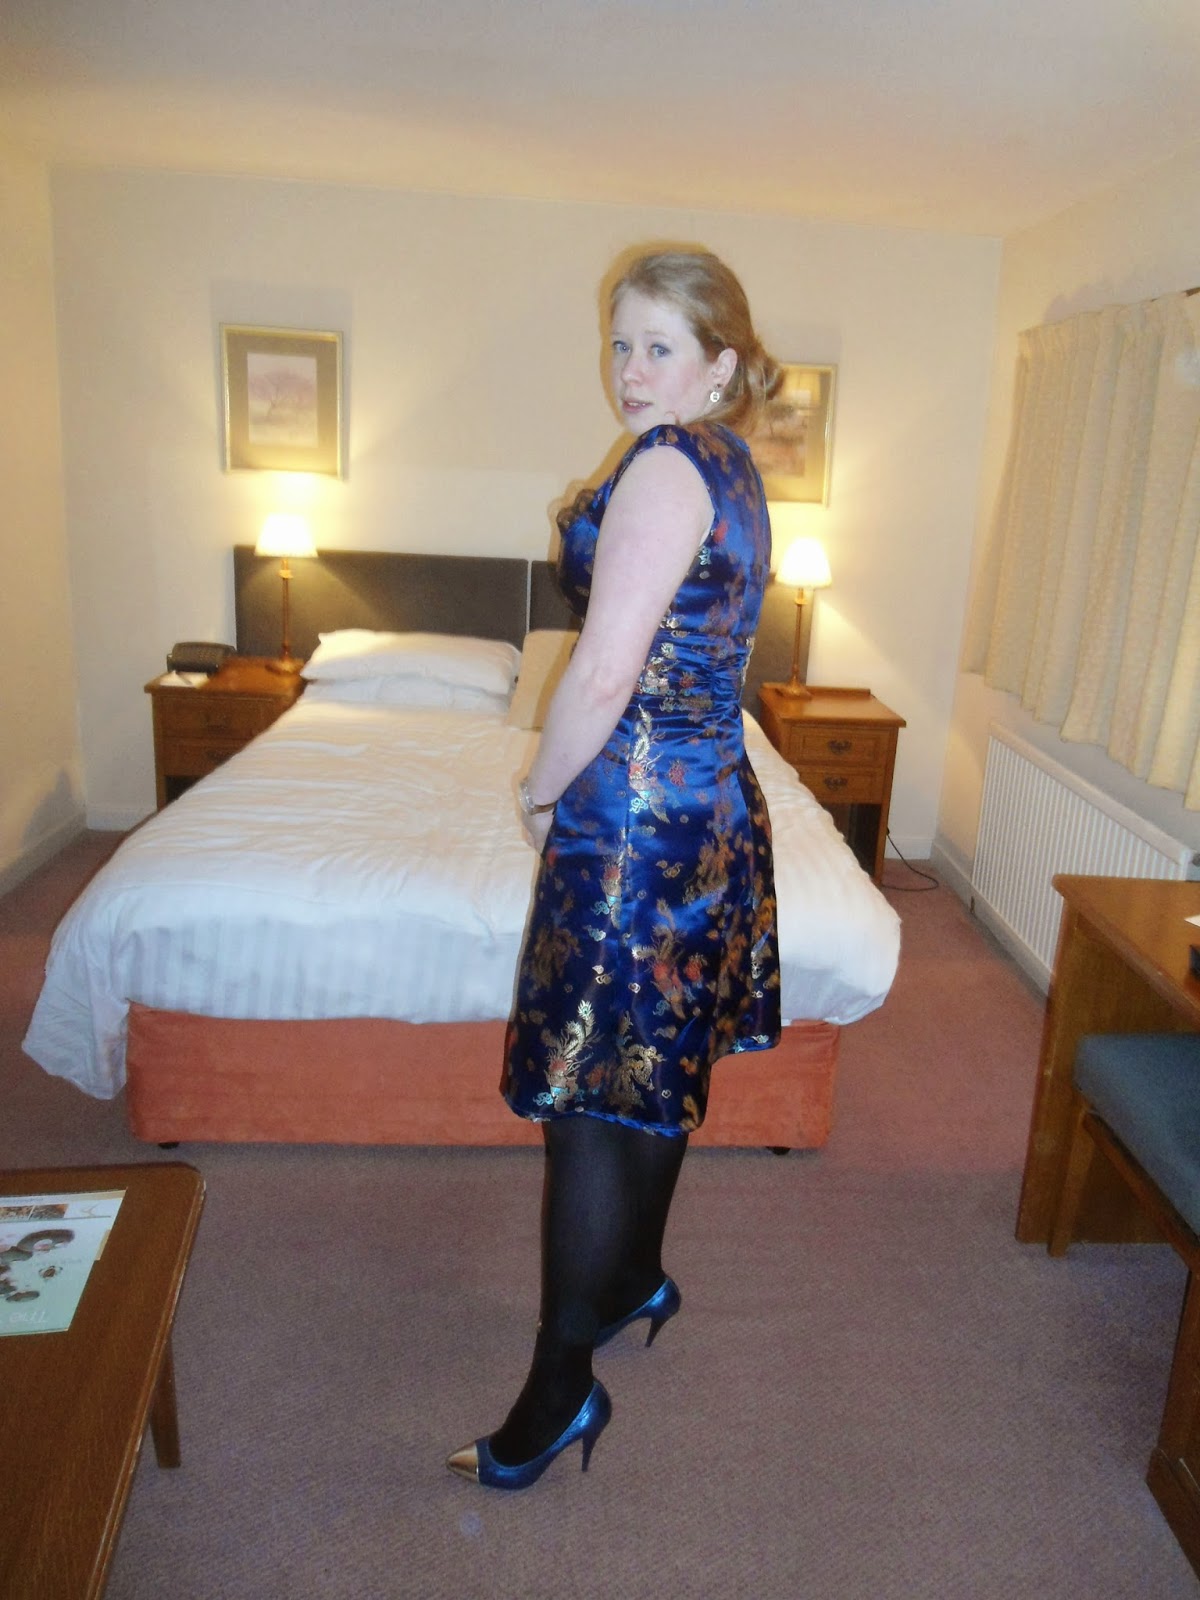
Completed: Simplicity 2442

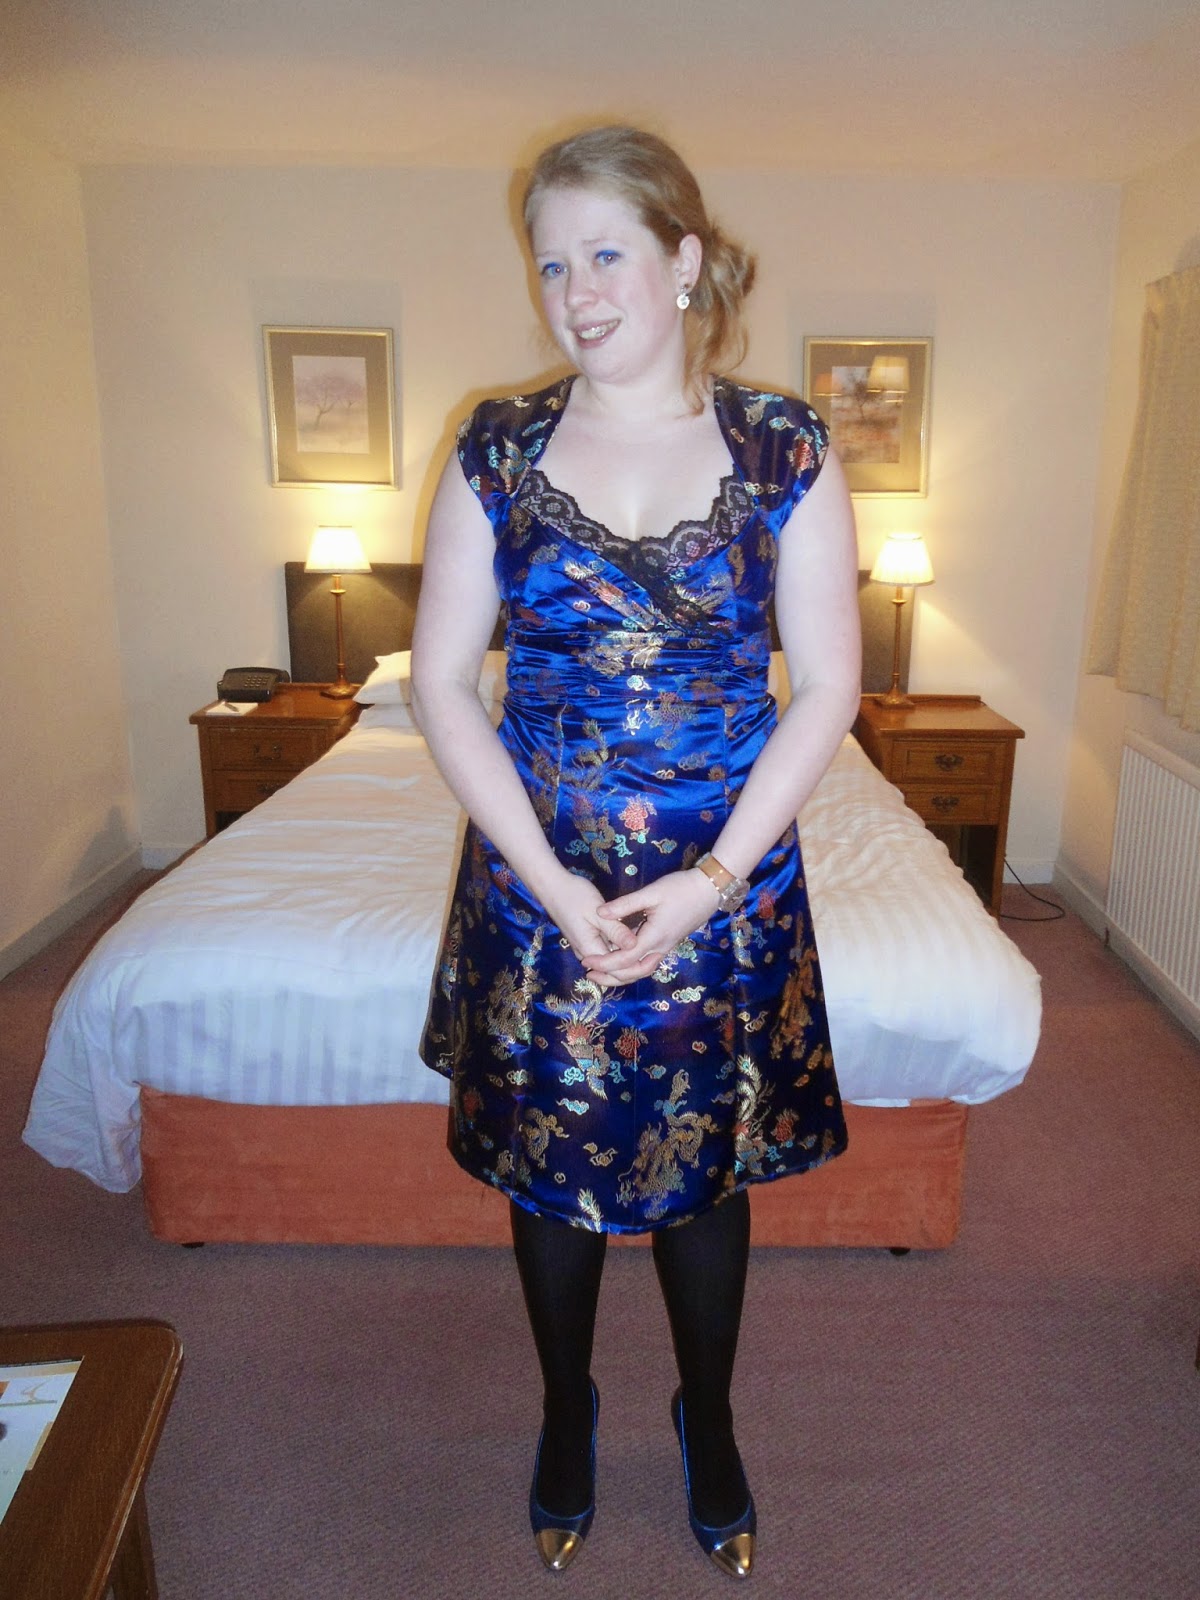
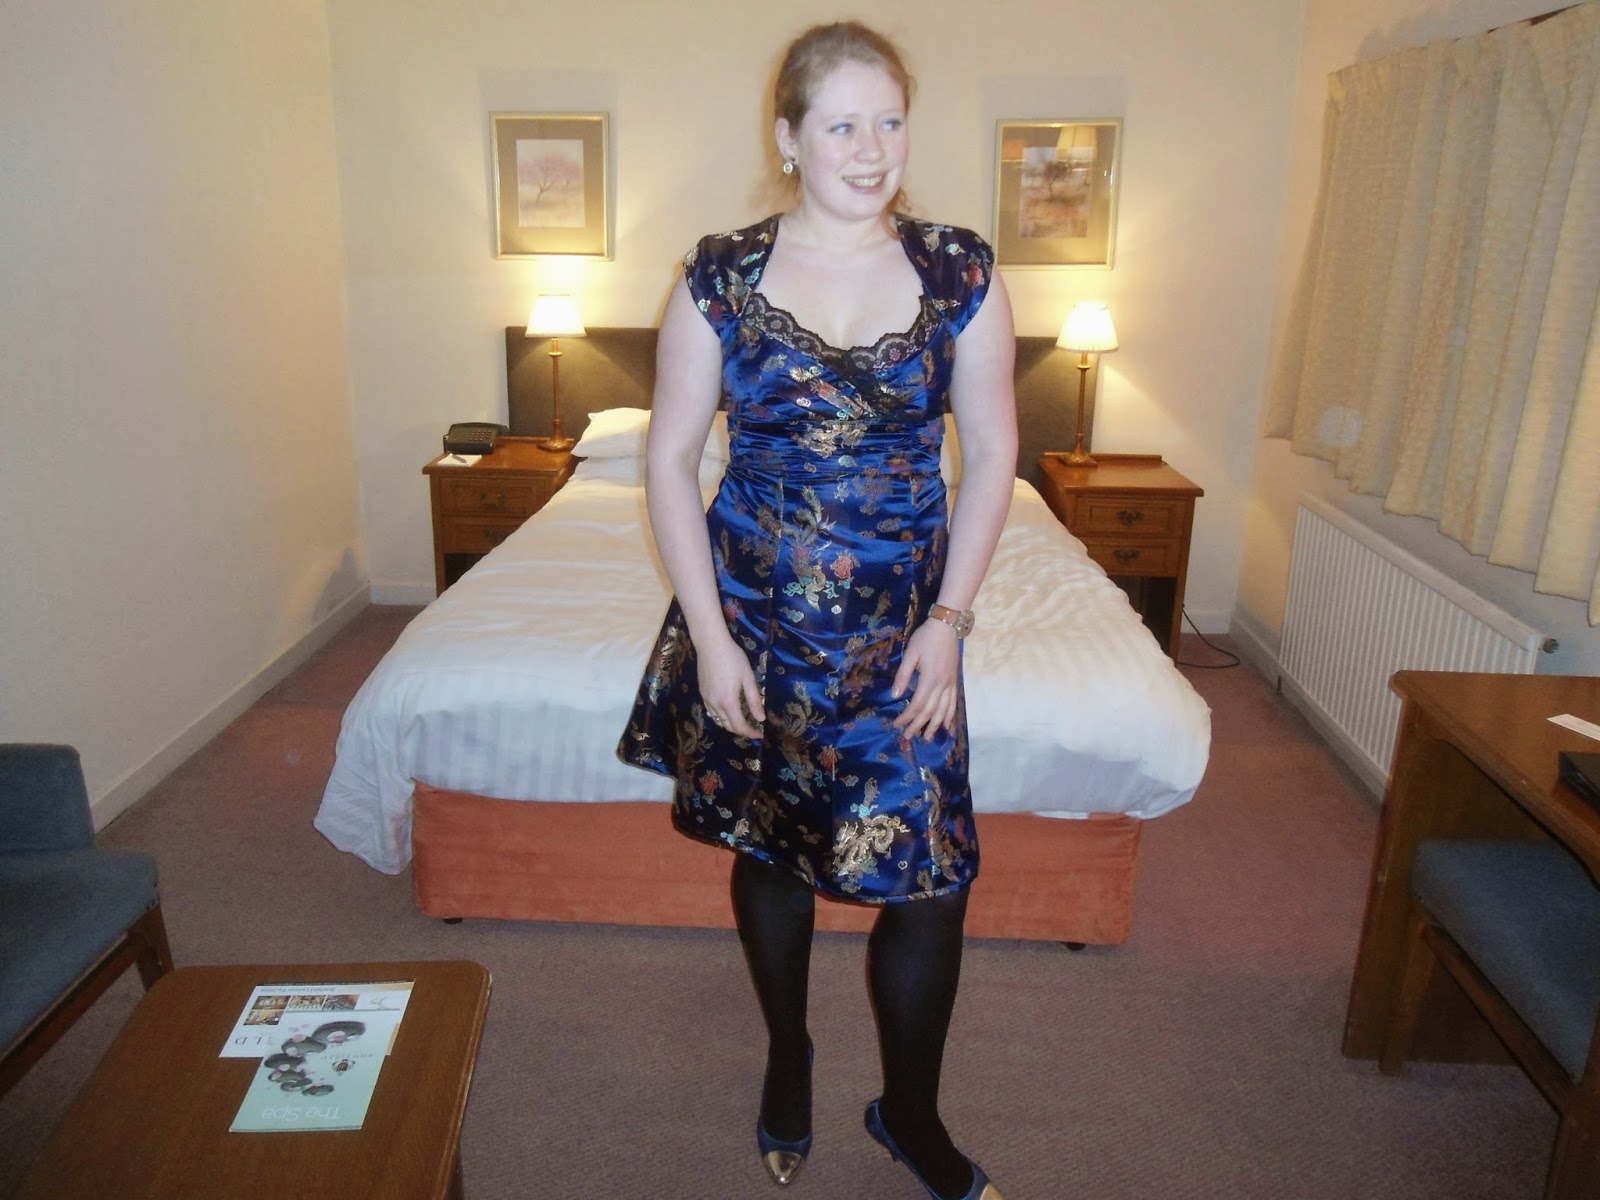
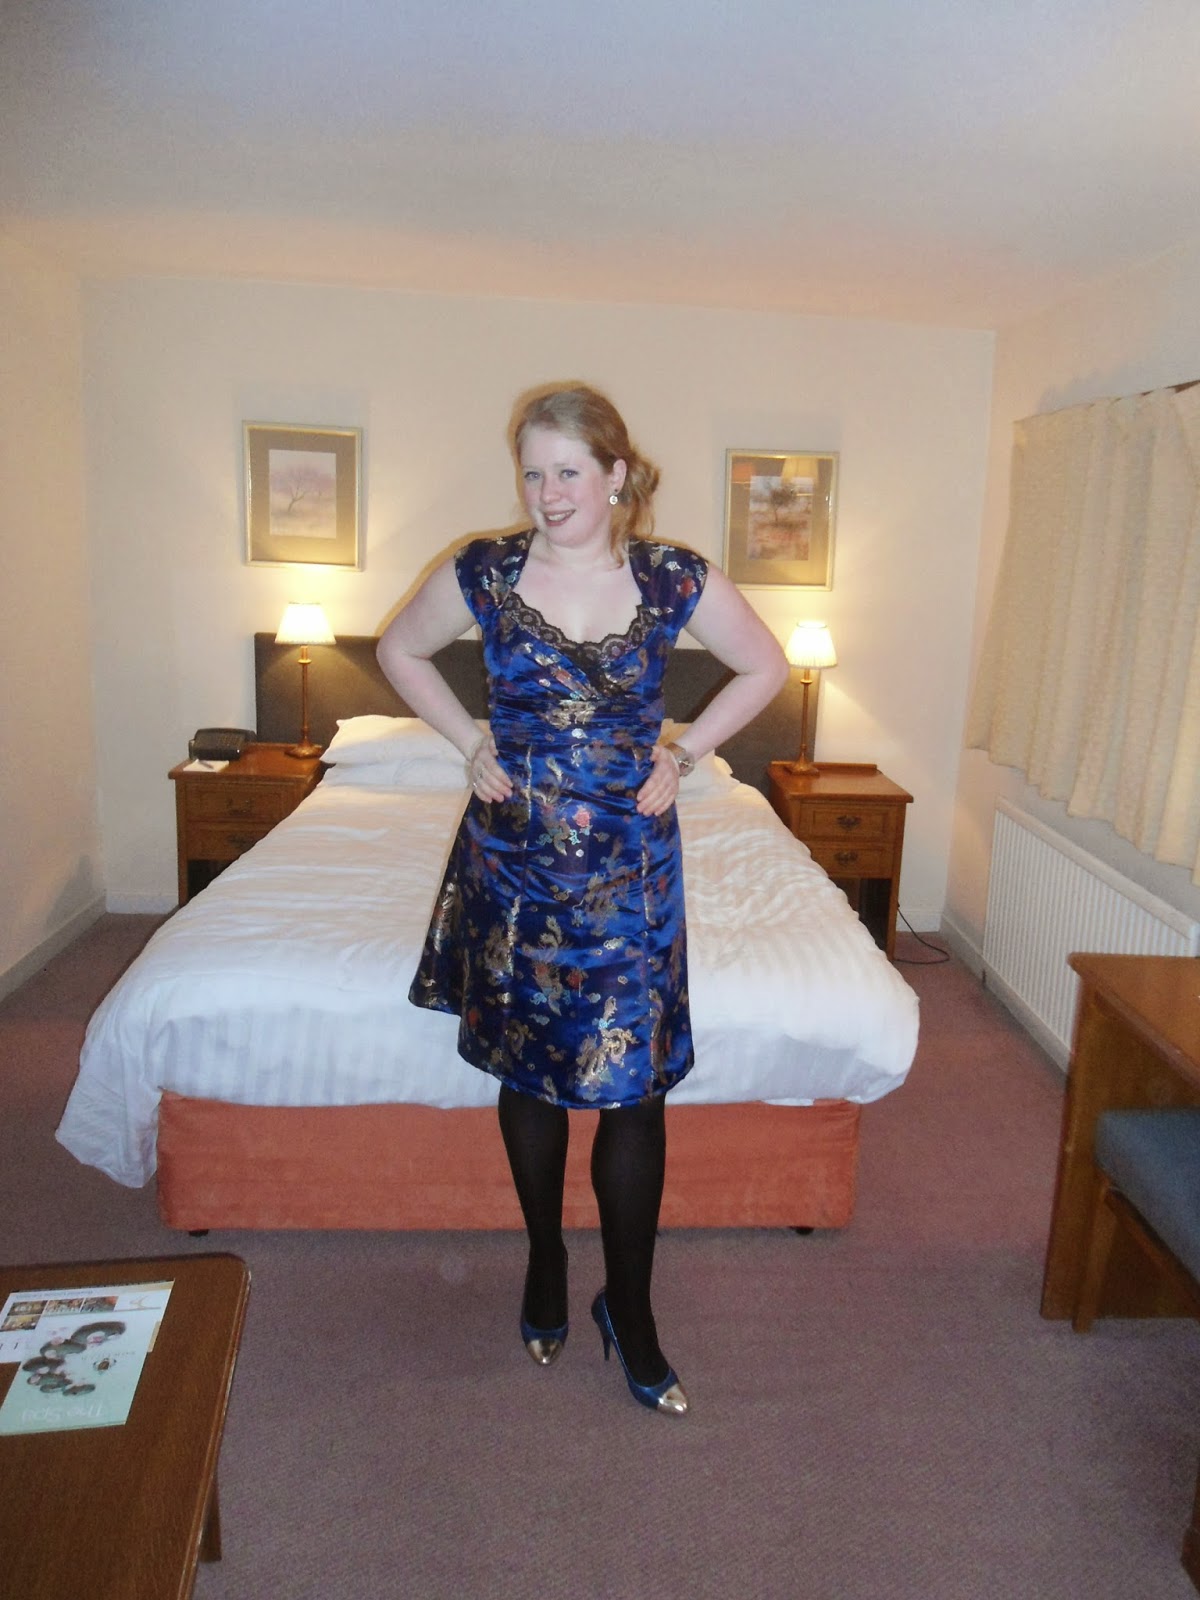
Finally, a finished garment made entirely in 2015! This is my take on Simplicity 2442.
Simplicity 2442 to match my shoes

We were invited by John's aunt to her 60th Birthday party in a fancy country club near Howwood, Renfrewshire. Whereas I have a few things I could have worn I reckoned that my skills were good enough now that I wanted to try and make something myself. Plus I wanted a dress to match my shoes :-)

I made this dress up in View B cutting out a size 12. Stupidly I didn't read the fabric requirements right and forgot about the lining. So instead of 2.2 m of fabric and .7 m of lining for the 45" width I only bought 3 m of 36" brocade from remnant kings. It was on sale so was about £5.20 a metre. it's similar to but not the same as this. There were a few panicked hours when I thought i may have to return to the shop to buy another half metre, but thankfully things worked out.

Making use of someone elses heating bill! We spent the afternoon in the hotel
Then there was the issue that the midriff section came in about 3 inches too narrow so extra fabric had to be added. I don't reckon that you can really notice though, and no one commented last night that there were strange seamlines on the back waist!

In terms of constrution, this dress took all week. I traced off all the pattern pieces Monday and Tuesday and eventually started sewing on Wednesday. I eventually finished up on Saturday afternoon around 2:30. We left shortly after 3!


I like the fact that simplicity patterns seem to have a narrower back than most other pattern companies so i didnt need any adjustments there. Had I had a little longer to make the dress I would have muslind first to check on any back length adjustment however as time was of the essence I didn't and I did. Fortunately when it was sitting where it should it added really nicely to the ruching on the midriff.

The instructions provided for this make were a little shoddy to say the least! So if you do make this dress beware leave extra 'comprehension' time! I'm not sure I followed all exactly as stated but the outside turned out ok! The instructions also leave it a little messy around the zip insertion so if I were to ever make this up again I would change that.
The Elliot Dress

Finally, after making up teh full dress it was apparent that it was VERY low cut! This is why I have a lace detailing in the front to give a little extra coverage. I quite like the lace and think it actually adds to the finished dress.

So hope everyone had a great weekend we got some sad news that one of John's school friends sadly passed away on Saturday night after a long battle with cancer. So in a small act of rememberance I named this dress in his memoryadn wil be donating a small sum to the people who helped in his final months.

Rest in Peace Calum Elliot 1988 - 2015

Jen x

Monday, 12 January 2015

Sewing Plans 2015

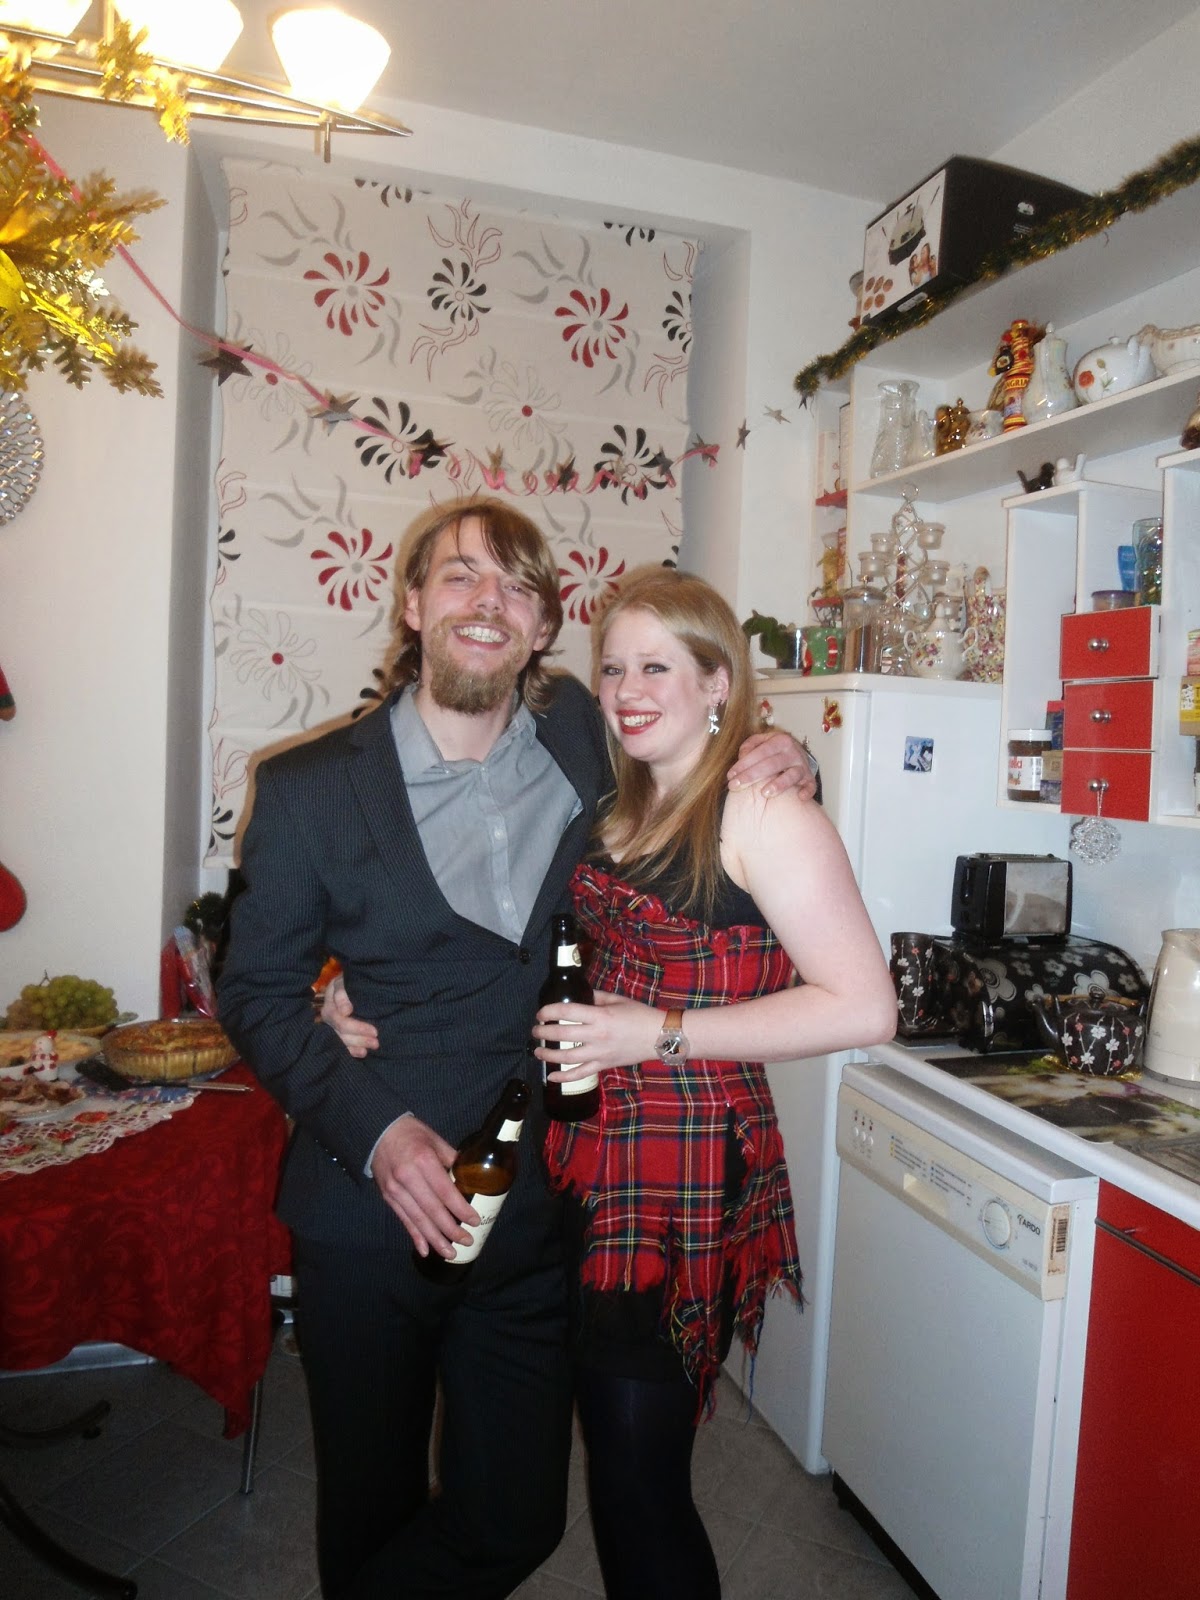
So its January the 12th and my sewing machine is still sitting neglected on the table. I have cut out a full pattern though so i'm hoping i'll get to relax tonight with a bit of sewing and have a brand new garment for Saturday night. We're off to a 60th so what better excuse to make a new dress? I'm going down a slightly different route from normal so i'll let you all know how it turns out. Over the weekend I dug up the rest of our new year photos and found some good ones! This is one of my favourites:


Needless to say I felt like a princess in this! I found myself with serious wardrobe envy and managed to borrow steal the most awesome Arabian handmade dress ever for an impromptu photo shoot. I also got a great one of the two of us:


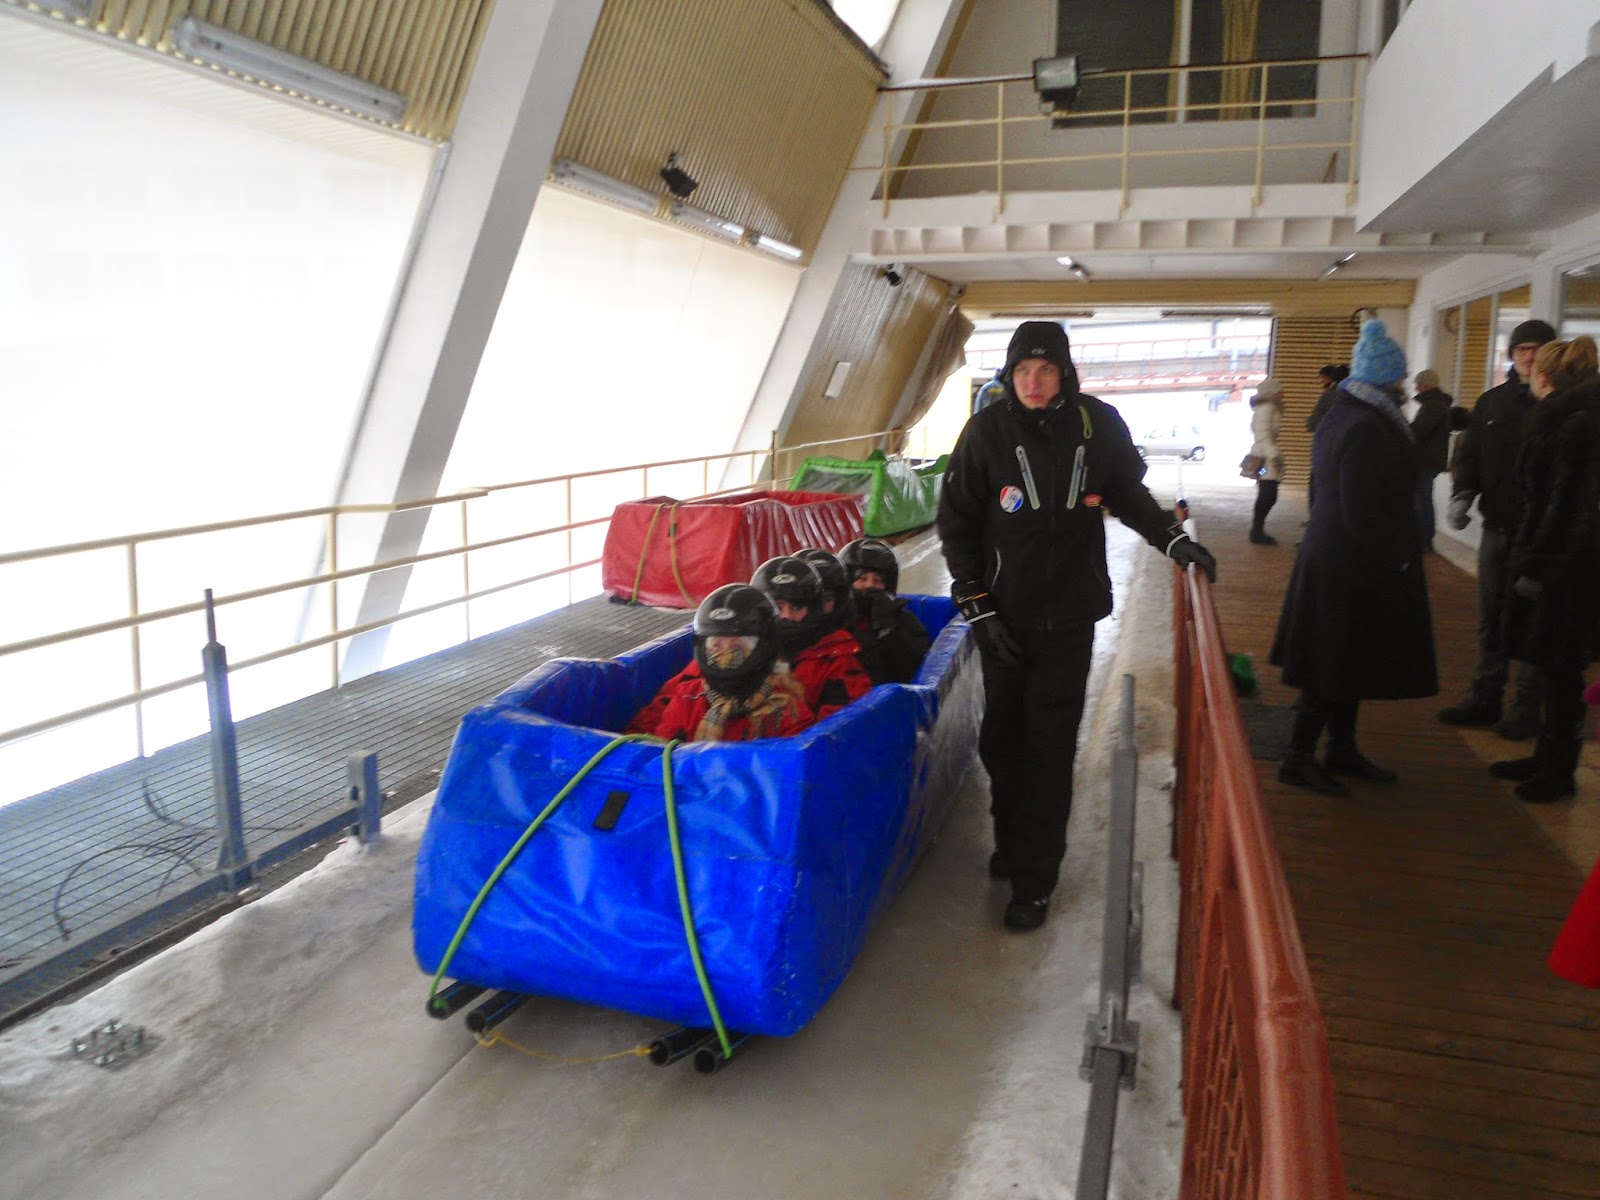
I also found the evidence of our bobsleding:


But suffice to say you didn't come here to read about my holiday right? So after a very productive 2014 in which I learned a whole bunch of new skills and tackled a whole host of garments including 3 jackets - what are my plans for 2015?

1. A new jacket for spring!

http://jennifercatherineshaw.blogspot.com/2014/10/completed-robson-coat.html
After tackling the Robson for my mum last year I am going to take learned skills and make a second for myself. I have bought the fabric already, I just need to trace off the larger size and check on any other alterations.

2. My birthday dress! No idea of the style yet, but we got free tickets to the football. So a warm one which will be pub appropriate before afterwards :-D Is the end of March too late in the year for a sweater dress? Can one have too many tartan dresses? This will be a Scotland friendly and the ideas are needing seriously narrowed!

3. We might be having some friends over in May. What better way to dress the guest room than with a handmade quilt? I'm not sure yet if I'll just make the air bed guest happy or if I will tackle our king sized bed!

4. Festival gear. We are off to a Rory Gallacher tribute festival (also in May).

https://patternparcel.com/
Click image for source
I got the concert tee in the perfect pattern parcel last year so this could come in handy :-). I will wait a while before buying fabric though, hopefully some lighter jersey fabrics will be in the stores by then!

5. A swimsuit :-D (Potentially also festival gear :-p)

Source
 I assembled the bombshell pattern at some point last year but then somehow it got shunted off the top of the pile. I can't imagine that anyone has ever had this problem. ahem.

6. My final target, trousers!

source
Source

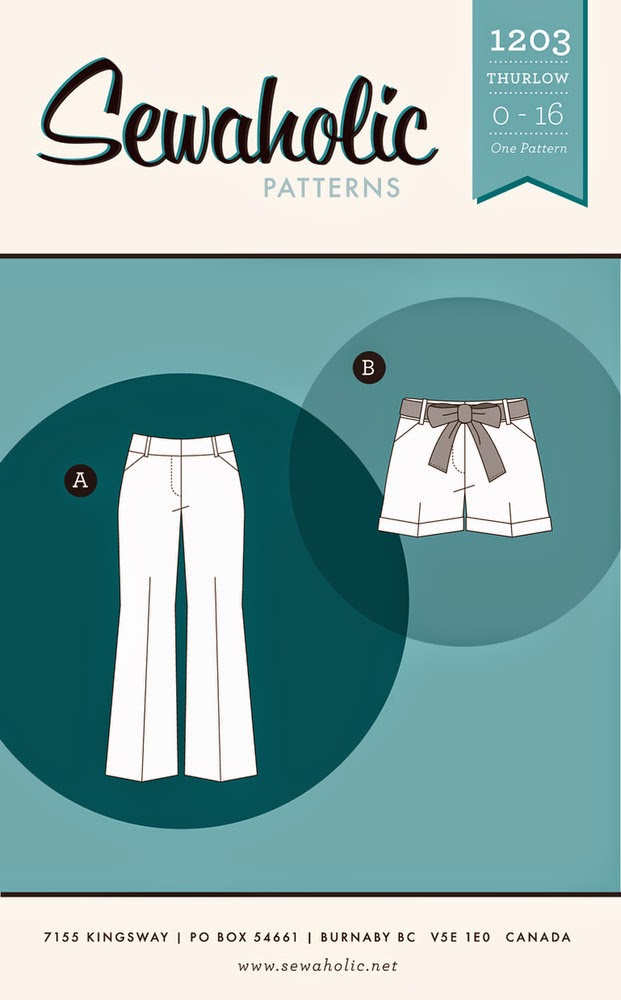
I bought the Thurlows in the PDF sale before Christmas. They have been partially cut out. This will be my first fly fastening as well as first trouser experiment. I'm expecting a number of muslins for this.

So there we go. I don't think this is too ambitious, and purposefully only set a few targets however only time will tell!

I love reading posts with peoples plans - please leave a link in the comments if you have written such a post

Jen x