In april last year, quilt jane released the nested churndash pattern and announced a sew along for June. This is when the project started!
The fabrics that I used were two fat quarter packs from hobbycraft. This polkadot version and this flower print. Both were picked up in the sale - I think around £6.50 each.
The first mistake I made with this project is that I pre-washed the cotton. This resulted in 12 very contorted fat quarters - whereas I like the crinkled effect when the quilt has it's first wash I did not enjoy having to steam the unsewn fabric back into something that looked like rectangles! Another negative point for this fabric was that both prints were horrifically off grain.
No matter.
What I would say helped significantly was a super sharp rotary cutter. I don't buy into the branded blade refils - I got an unbranded set of two universal blades on ebay for only £4. I would also really recommend having a quilting ruler that was long enough to cut the required strip lengths. I only have a 6.5" square and felt a bit disadvantaged through having to continually move the ruler to measure. It's not the most accurate!
For the most part all of the points matched quite well. There were certainly a few affected through lack of appropriate measurement tools though! I made up the most part of this quilt before making up the Ohio Star Quilt posted here. So the points improved as I progressed.
 |
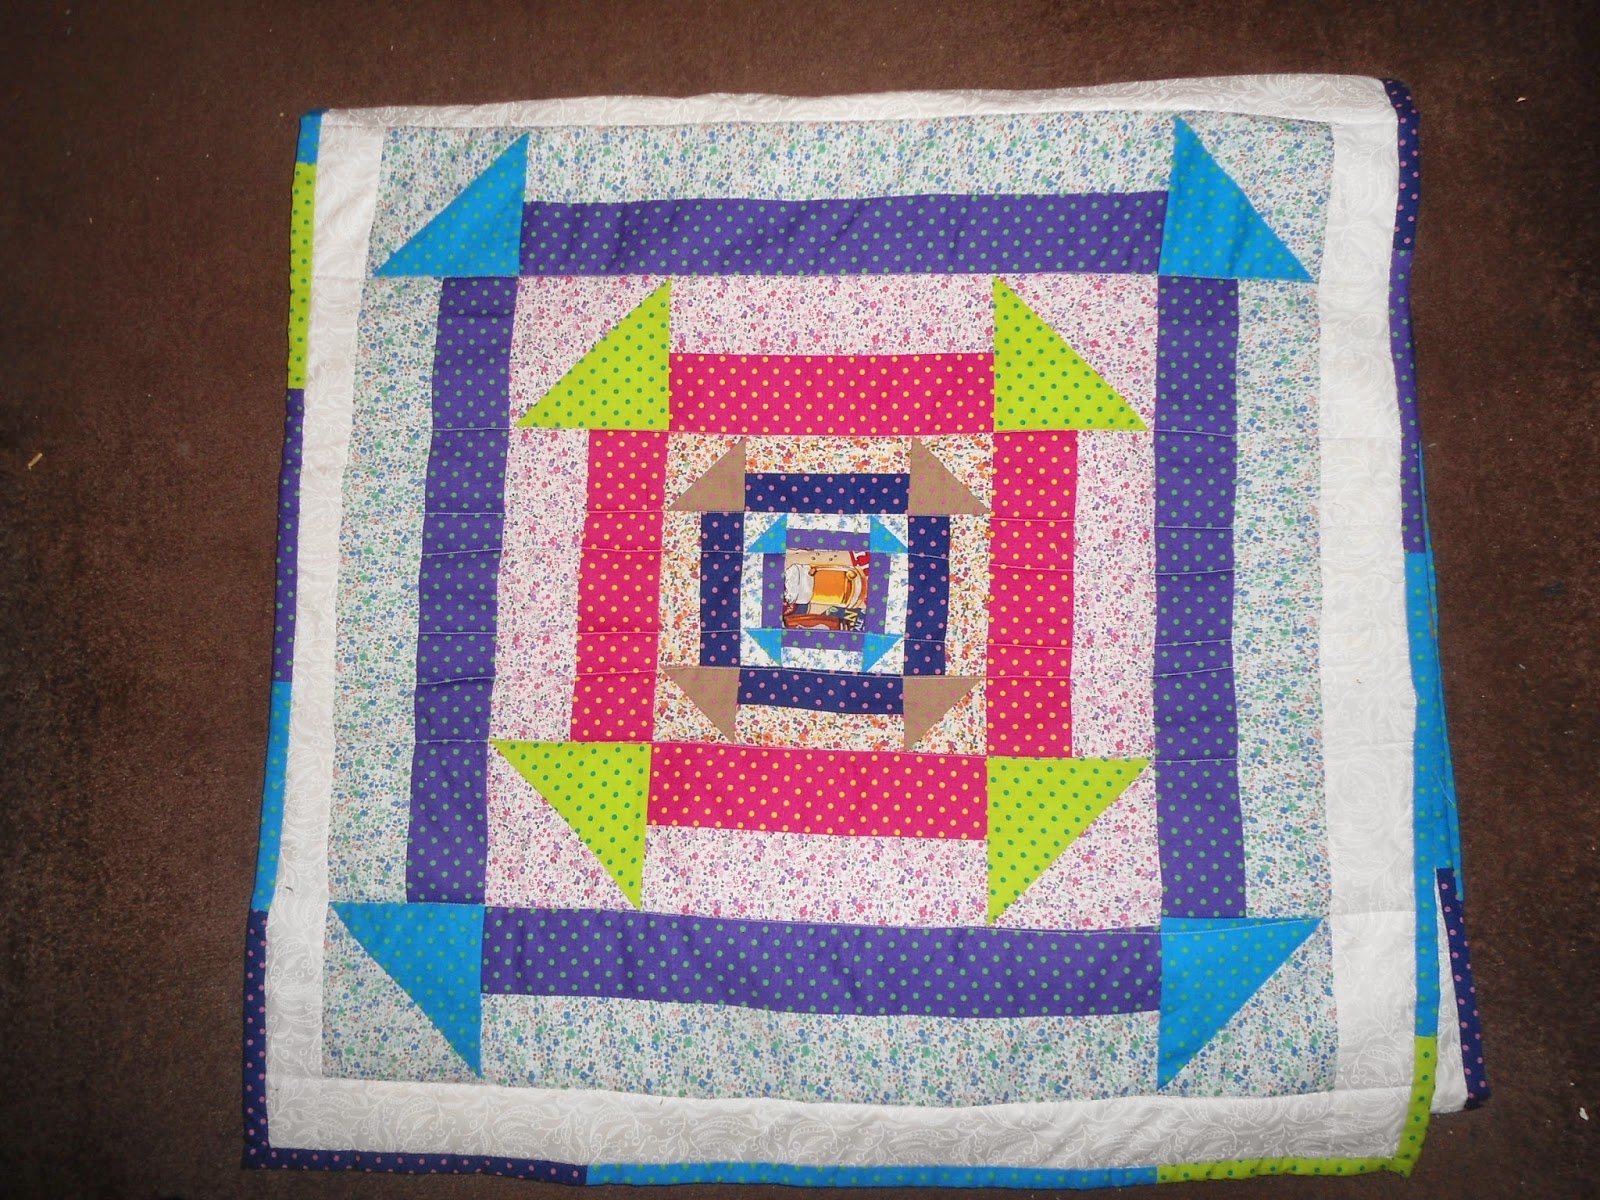
| The points of this section of quilt lined up really well |
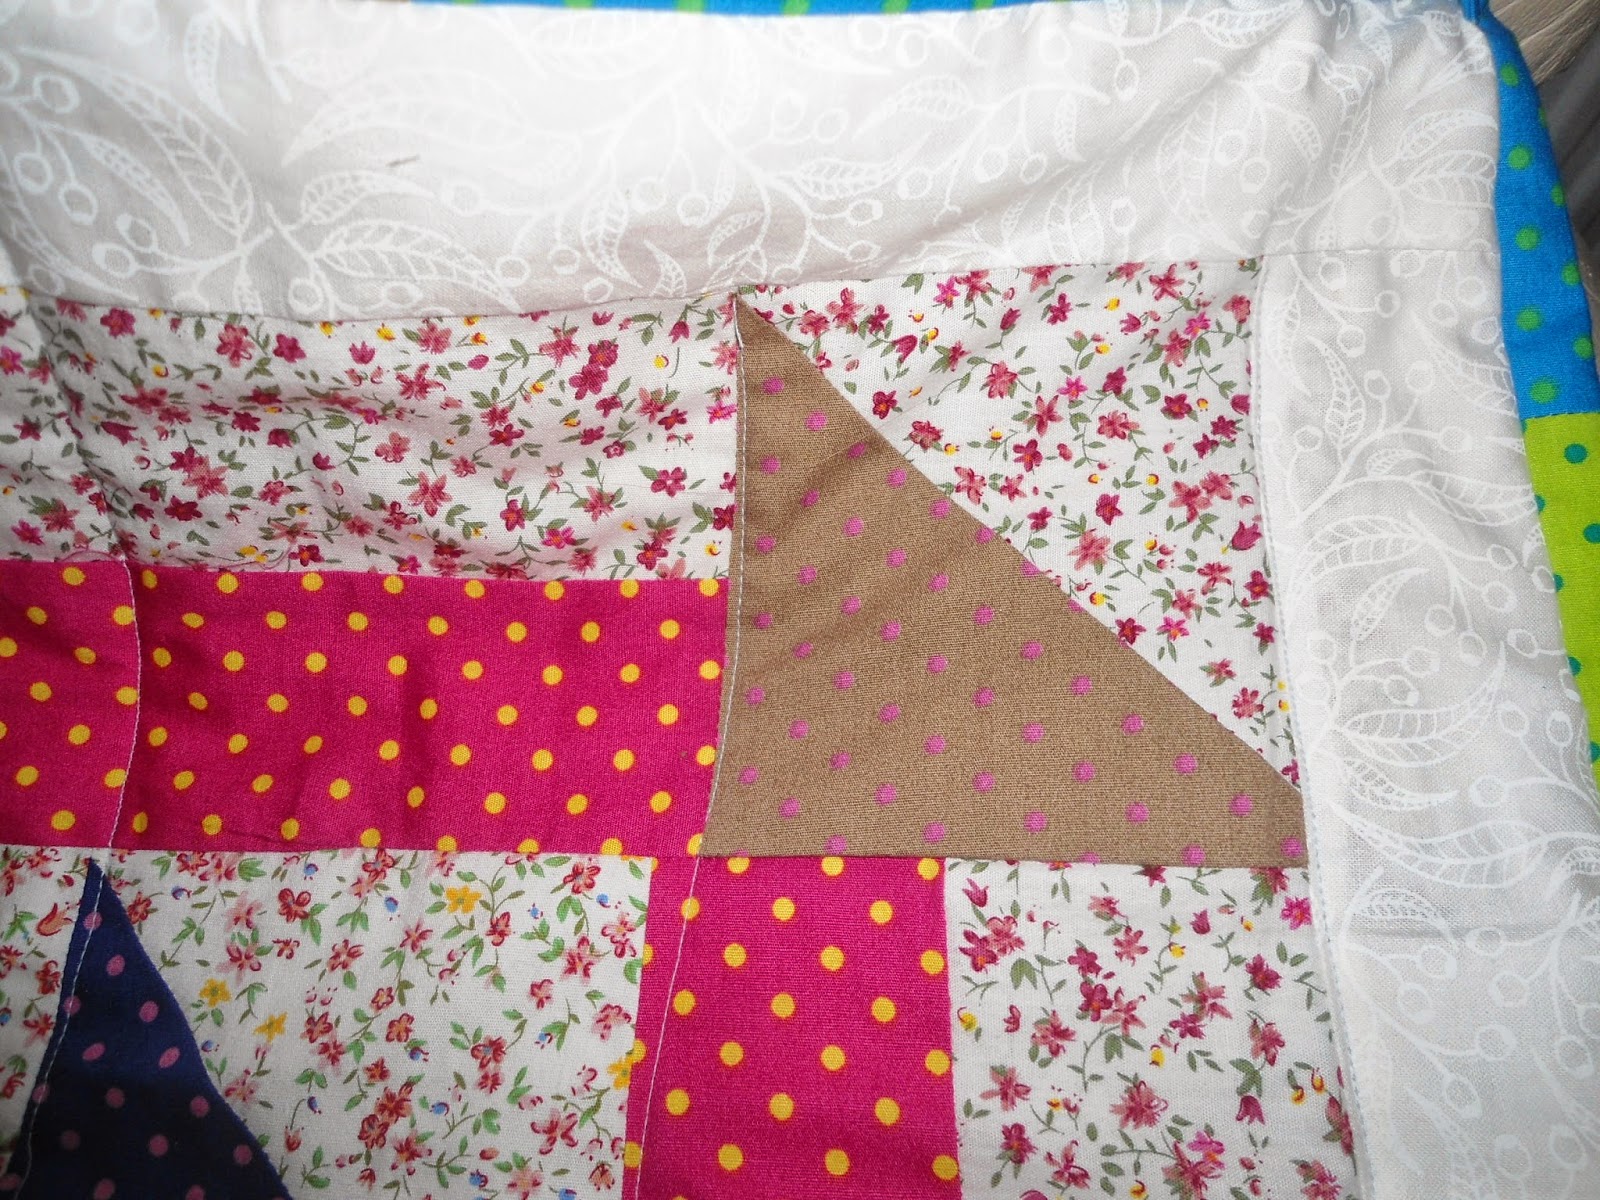 |
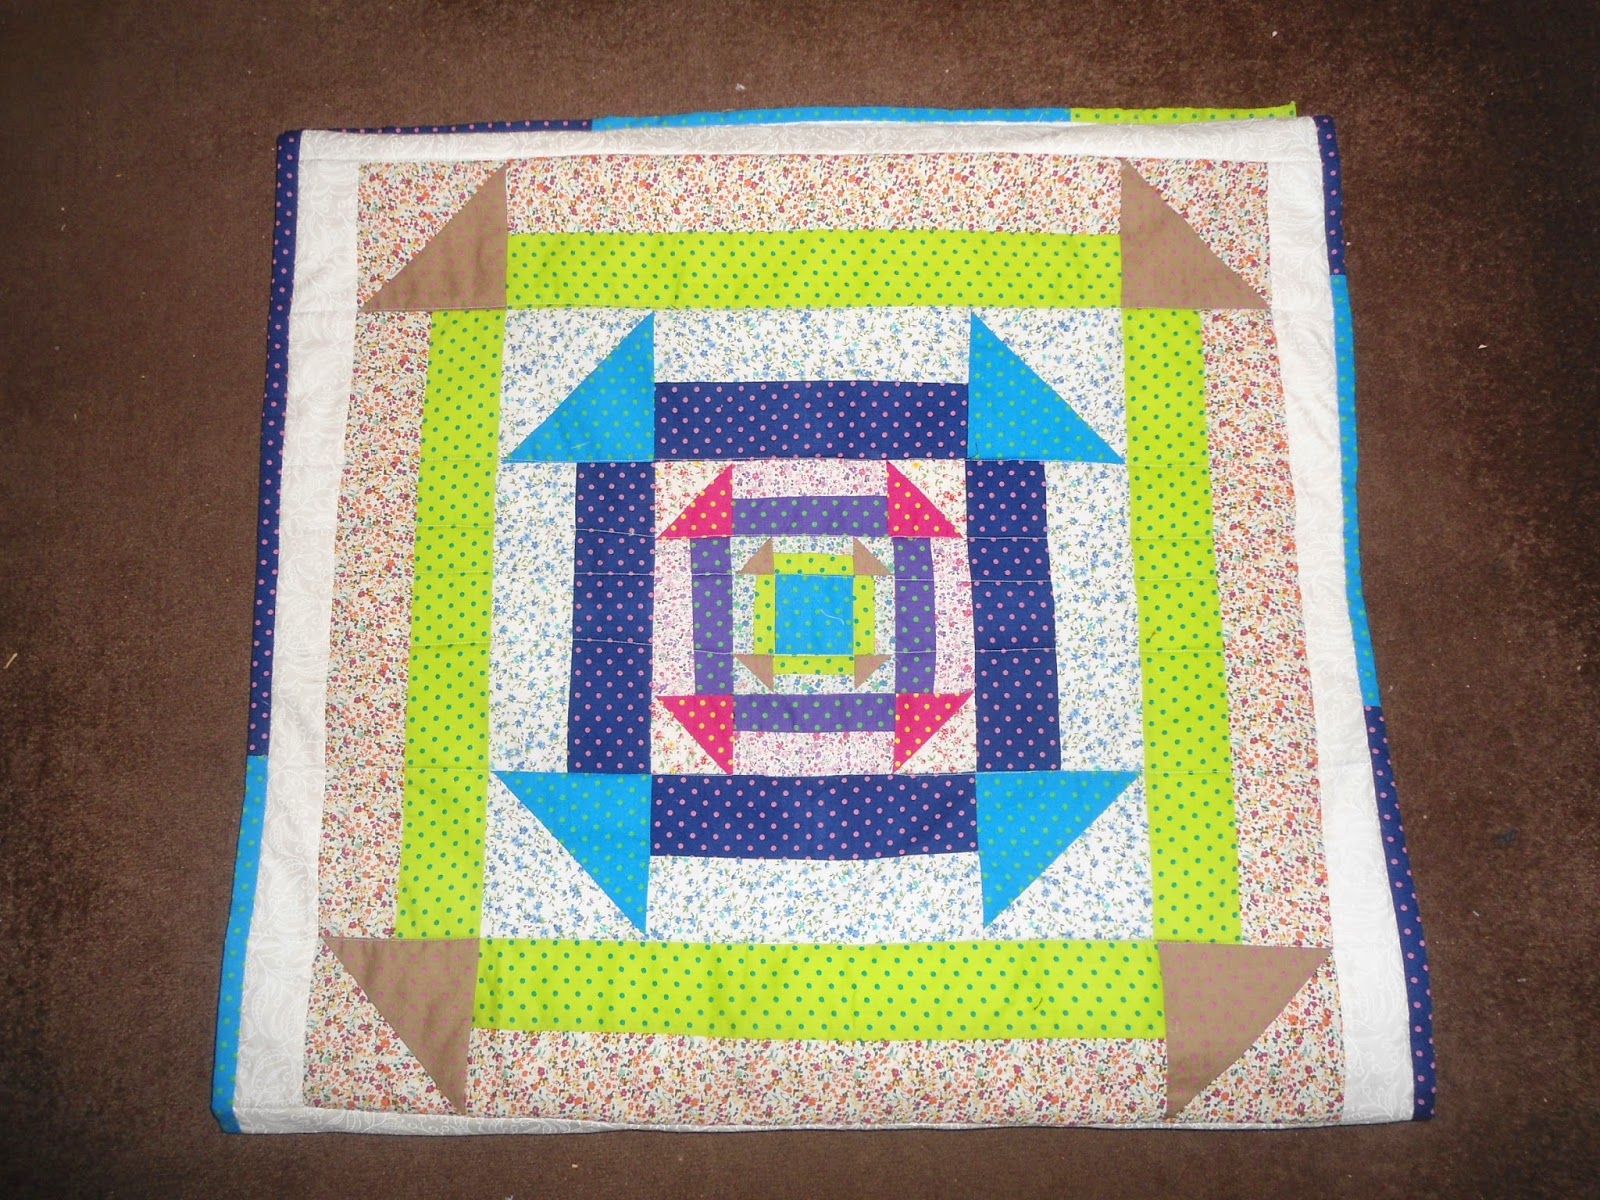
| This section lined up terribly and im disappointed in myself that I never unpicked and reset this section |
I decided to try fussy-cutting as another technique to try. I have a fair few scraps left over from my Oktoberfest dress so used one of the beer tankards as the central focus. I'm not actually sure that I like this fabric as the central square however I'm glad I tried the technique. I want to use this for a quilt I have planned for later this year and glad that it works like I expected.
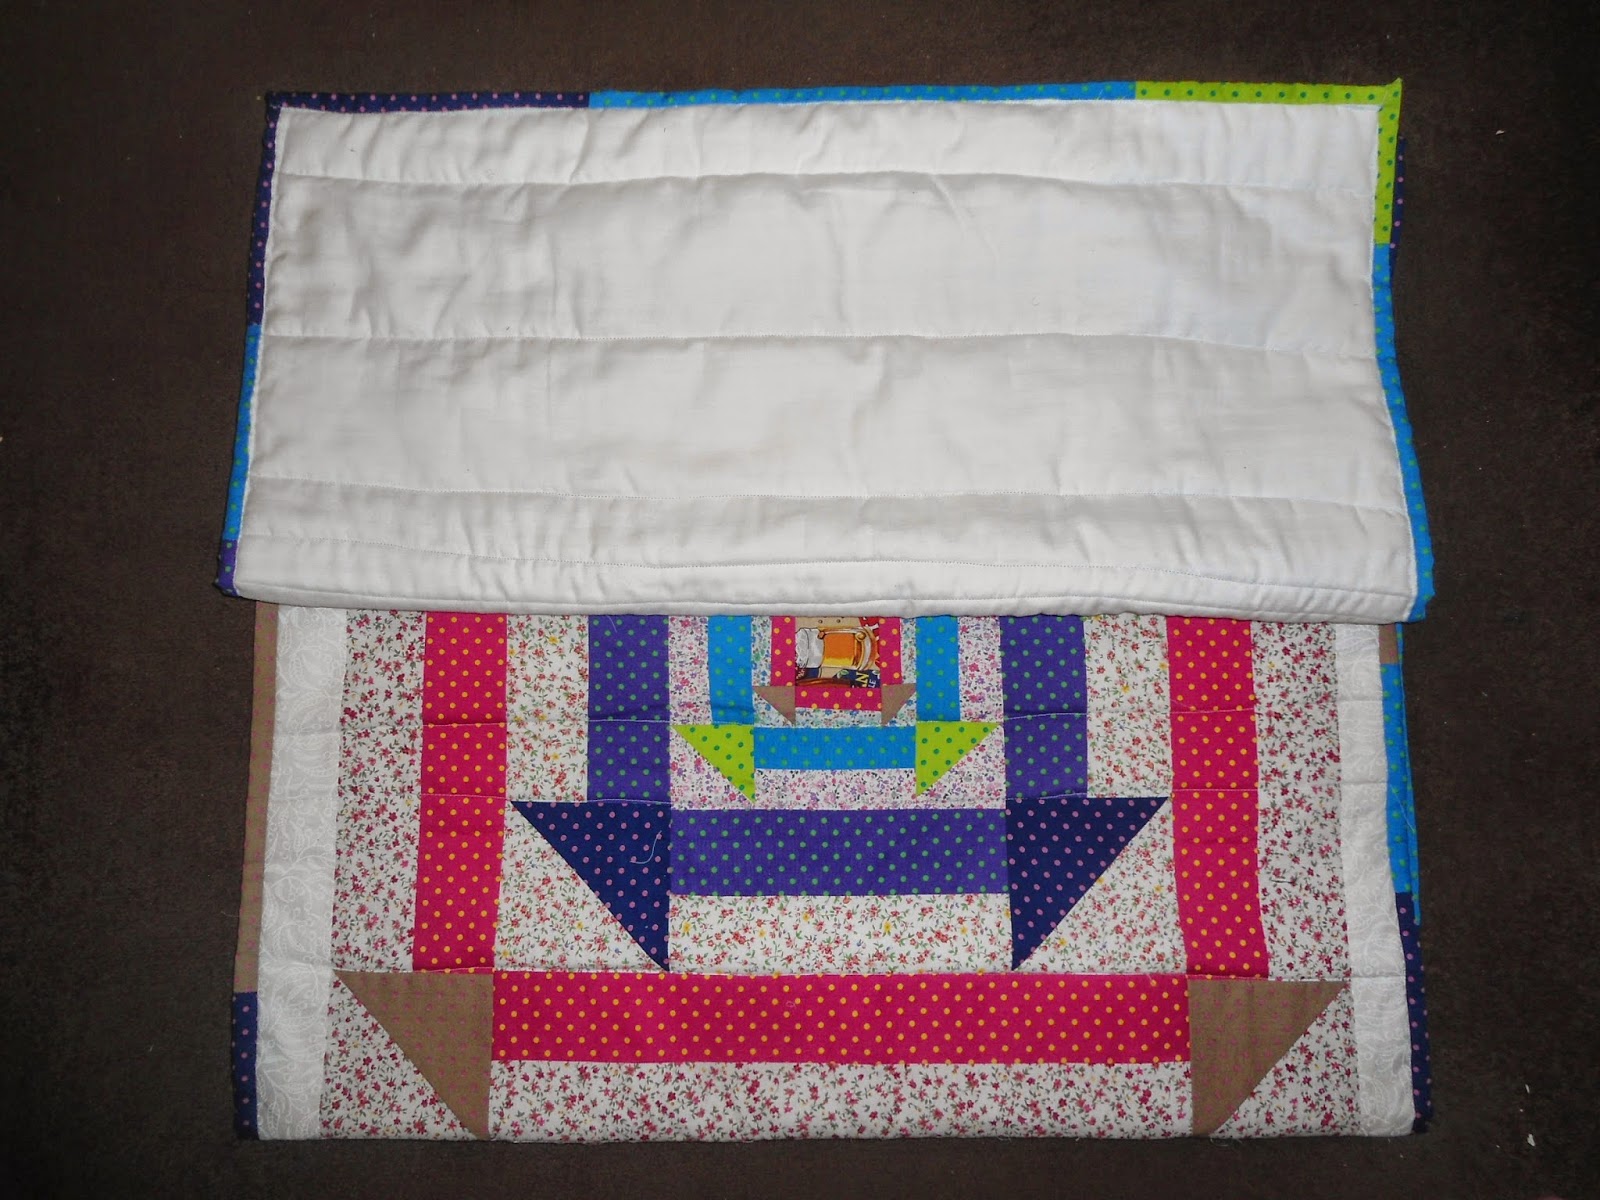
In terms of the backing for this project, I took a kind of lazy approach that after all the other hard work that I input I am a little disappointed in. I used a really cheap (£3.99/m) thin cotton for the backing fabric, whereas there is nothing wrong with the cotton itself I shouldn't have been so cheap and bought more. Always buy more. The cotton was just the right width when doubled over that it exactly matched the width of the top and no more. I reckoned pressing the fabric in half and then laying down the quilt sandwich would work out. I forgot how much the basted quilt shifts when quilting. Lesson learned. I will never scrimp on fabric again.
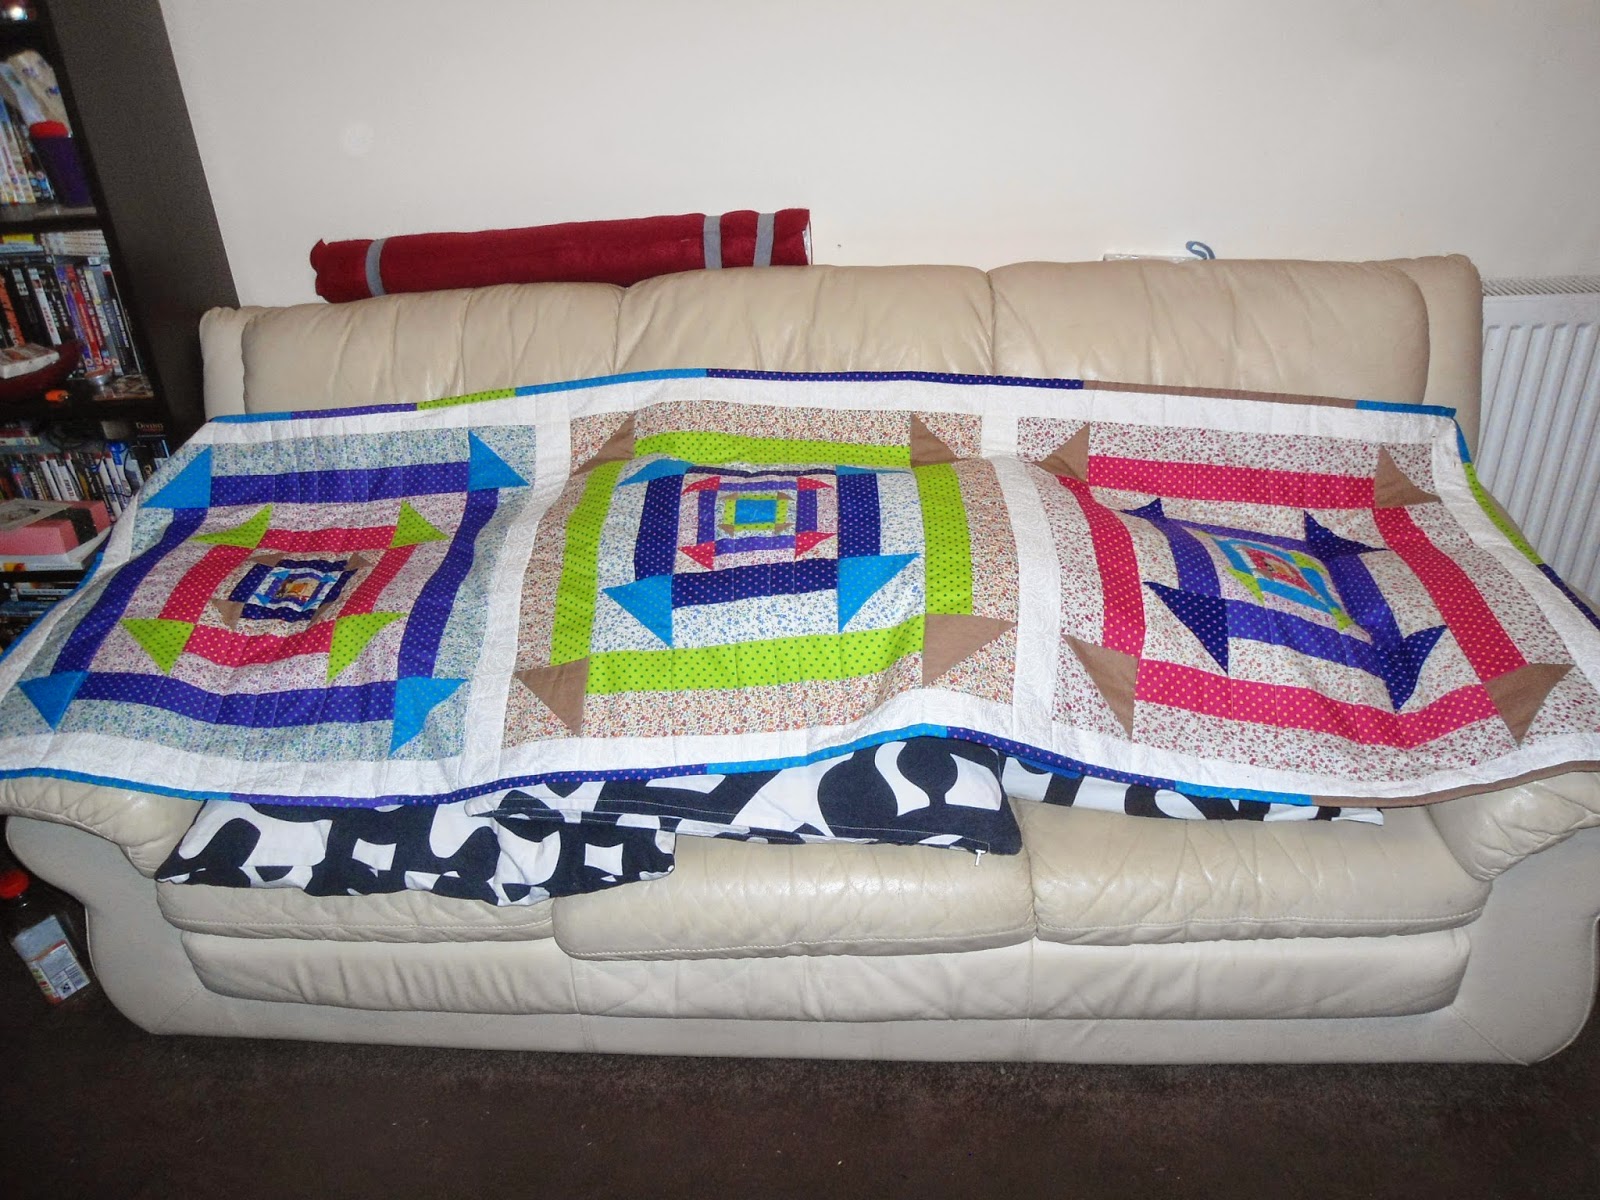 |
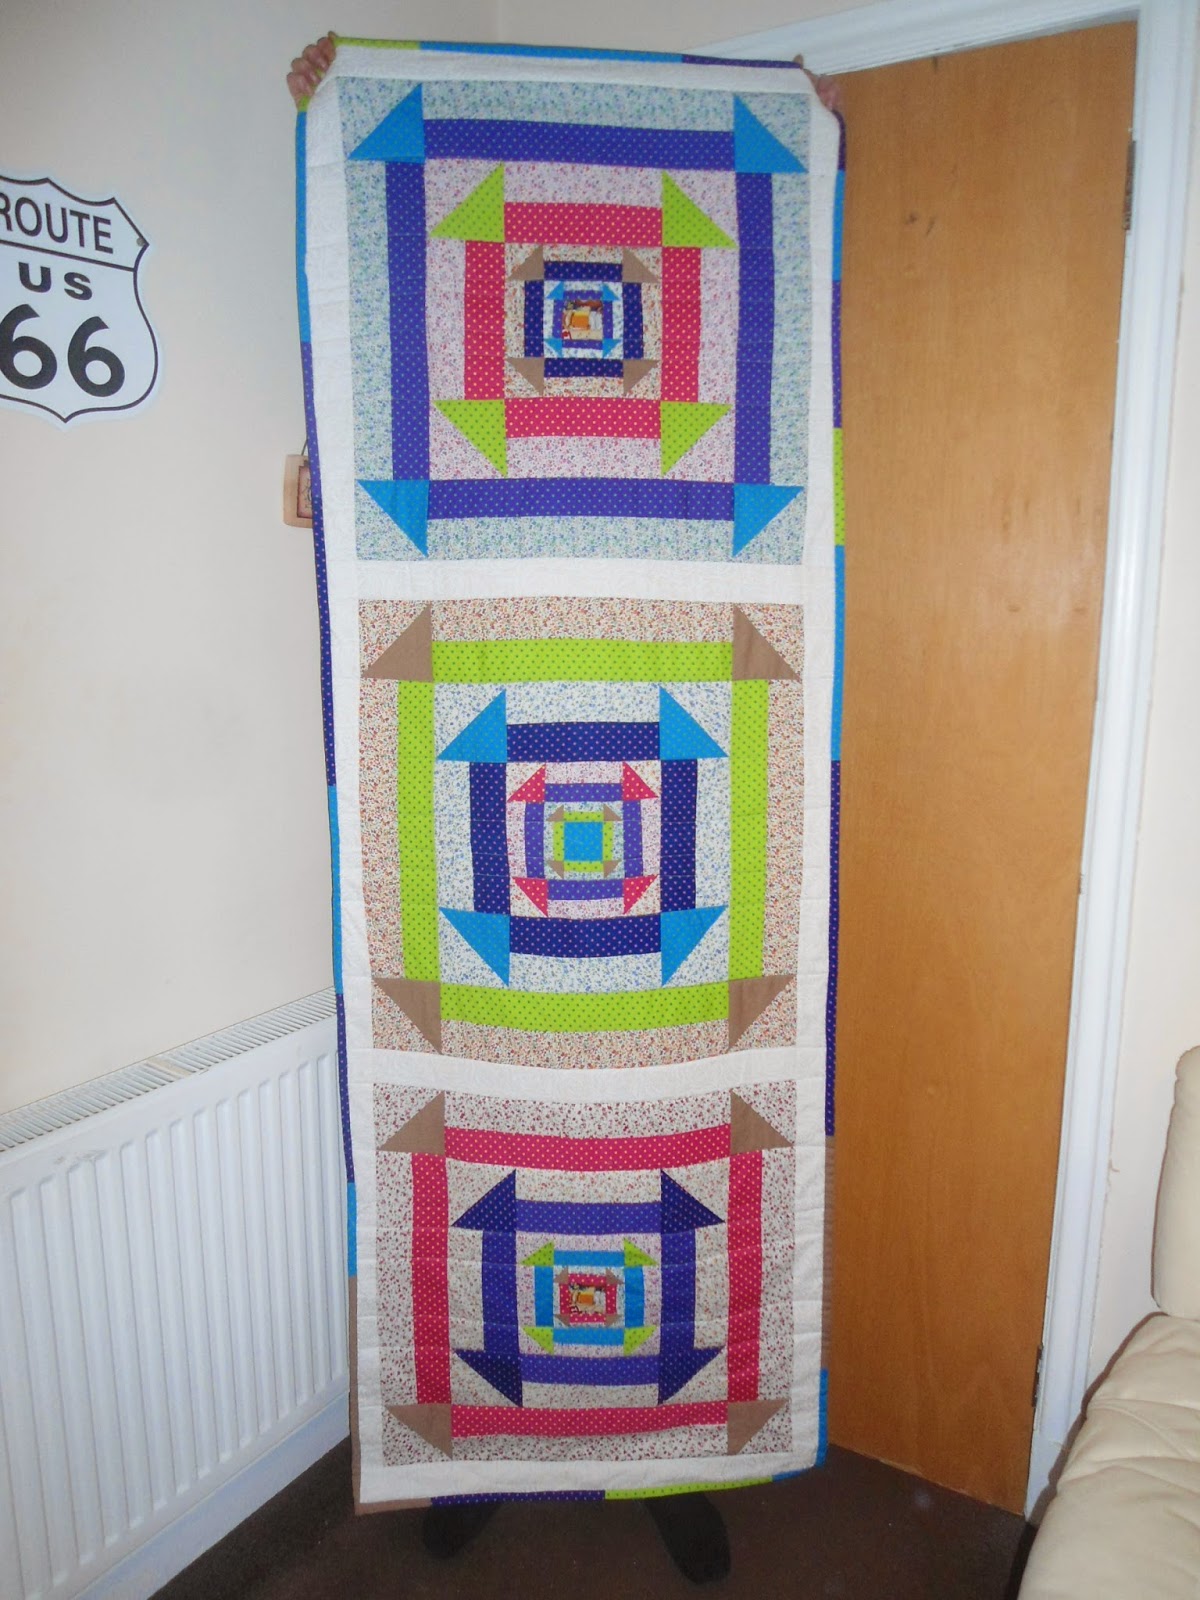
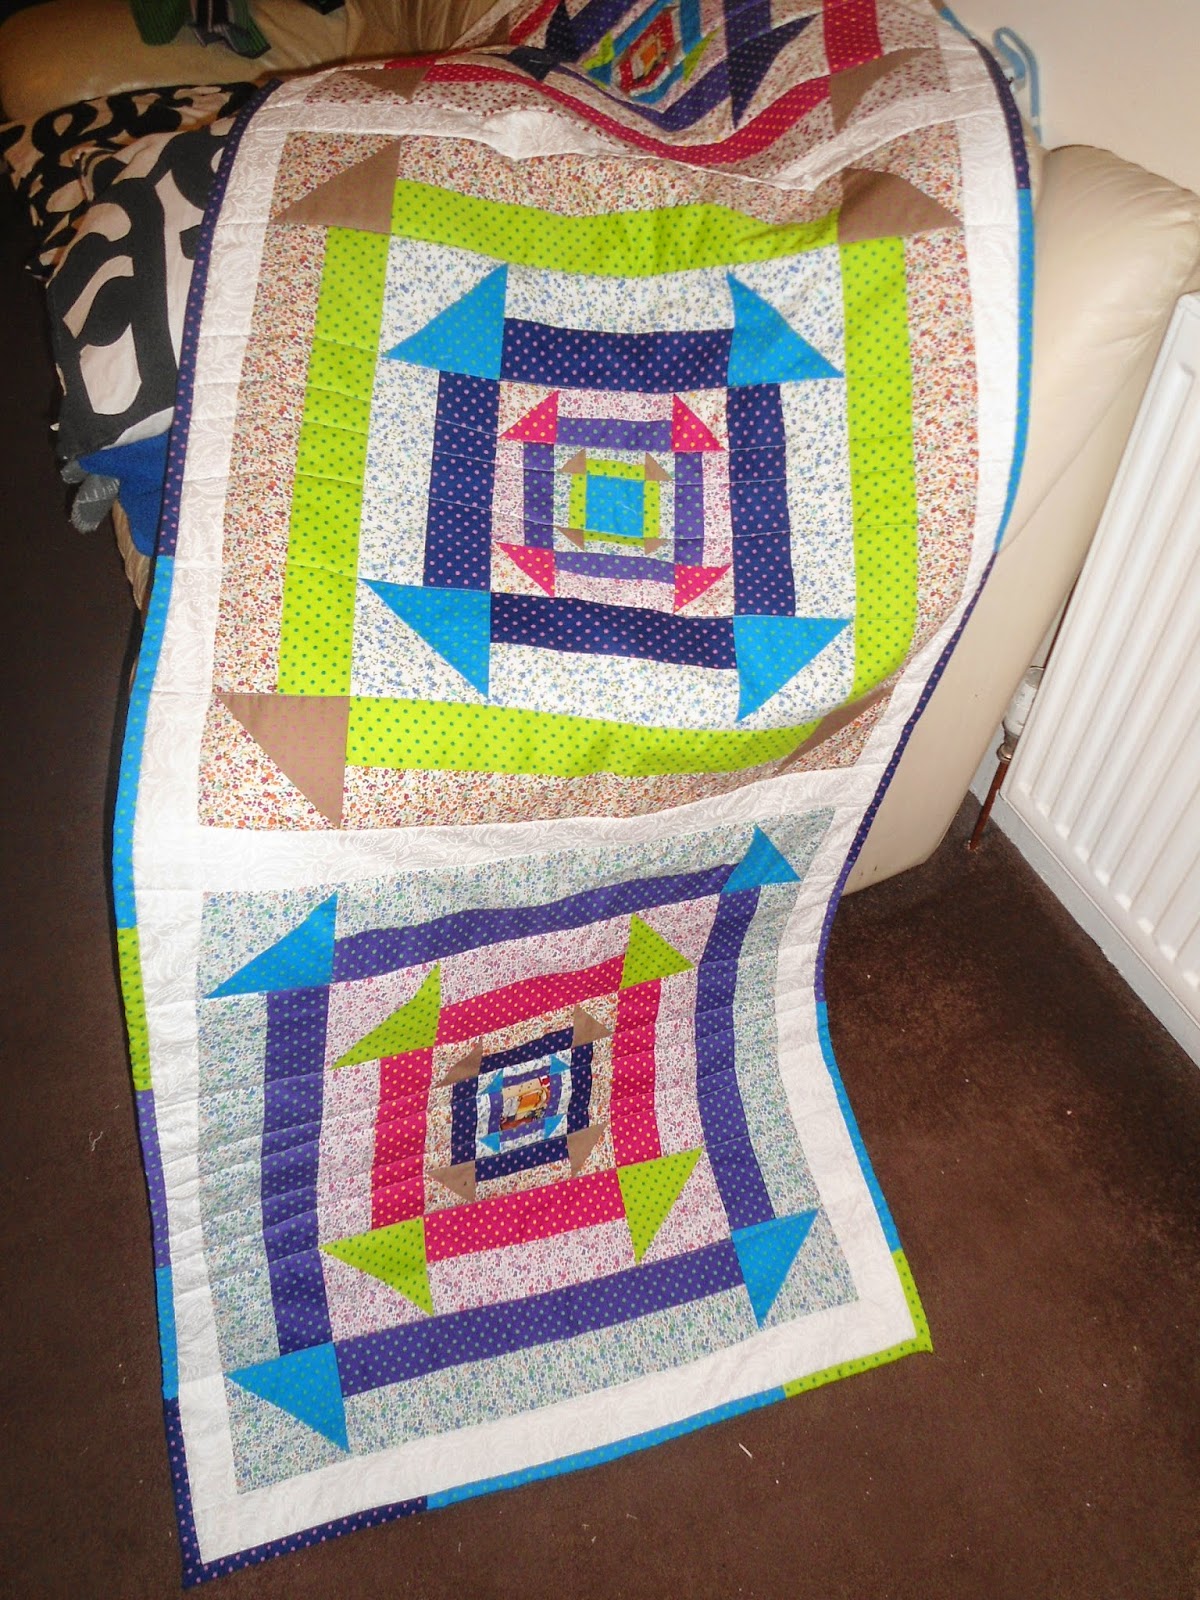
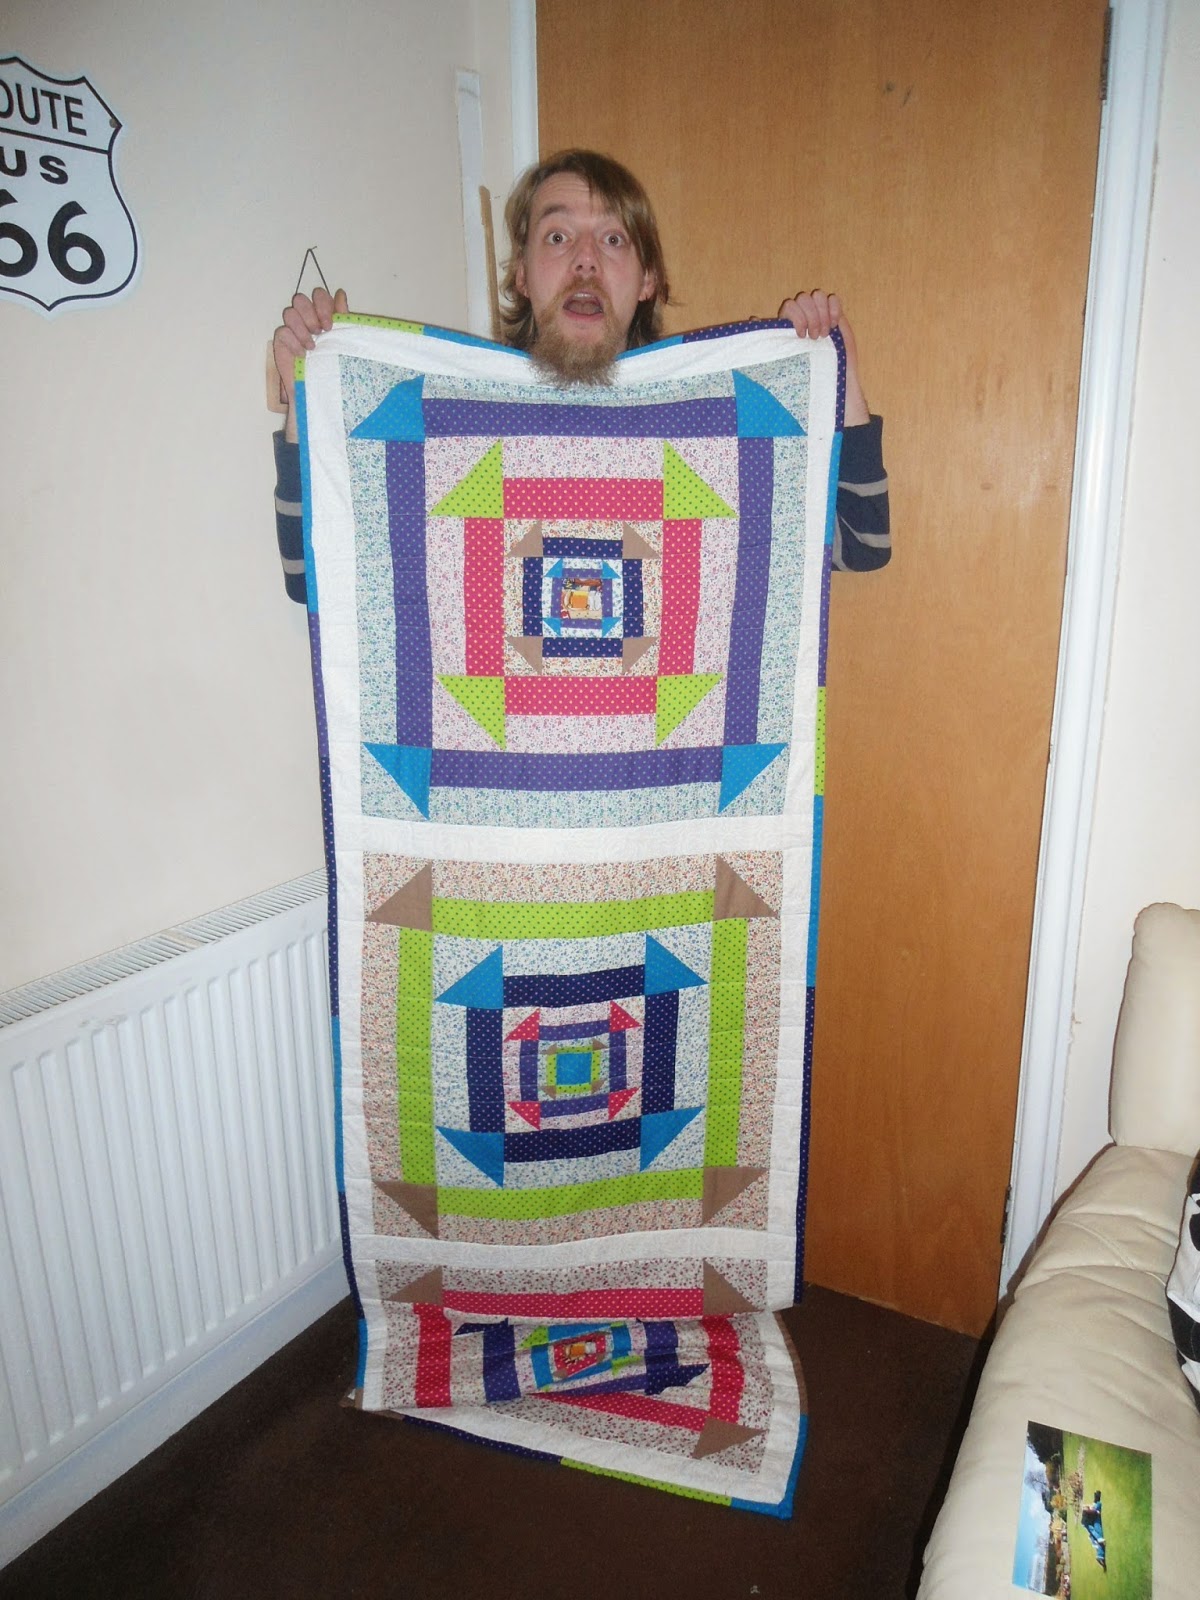
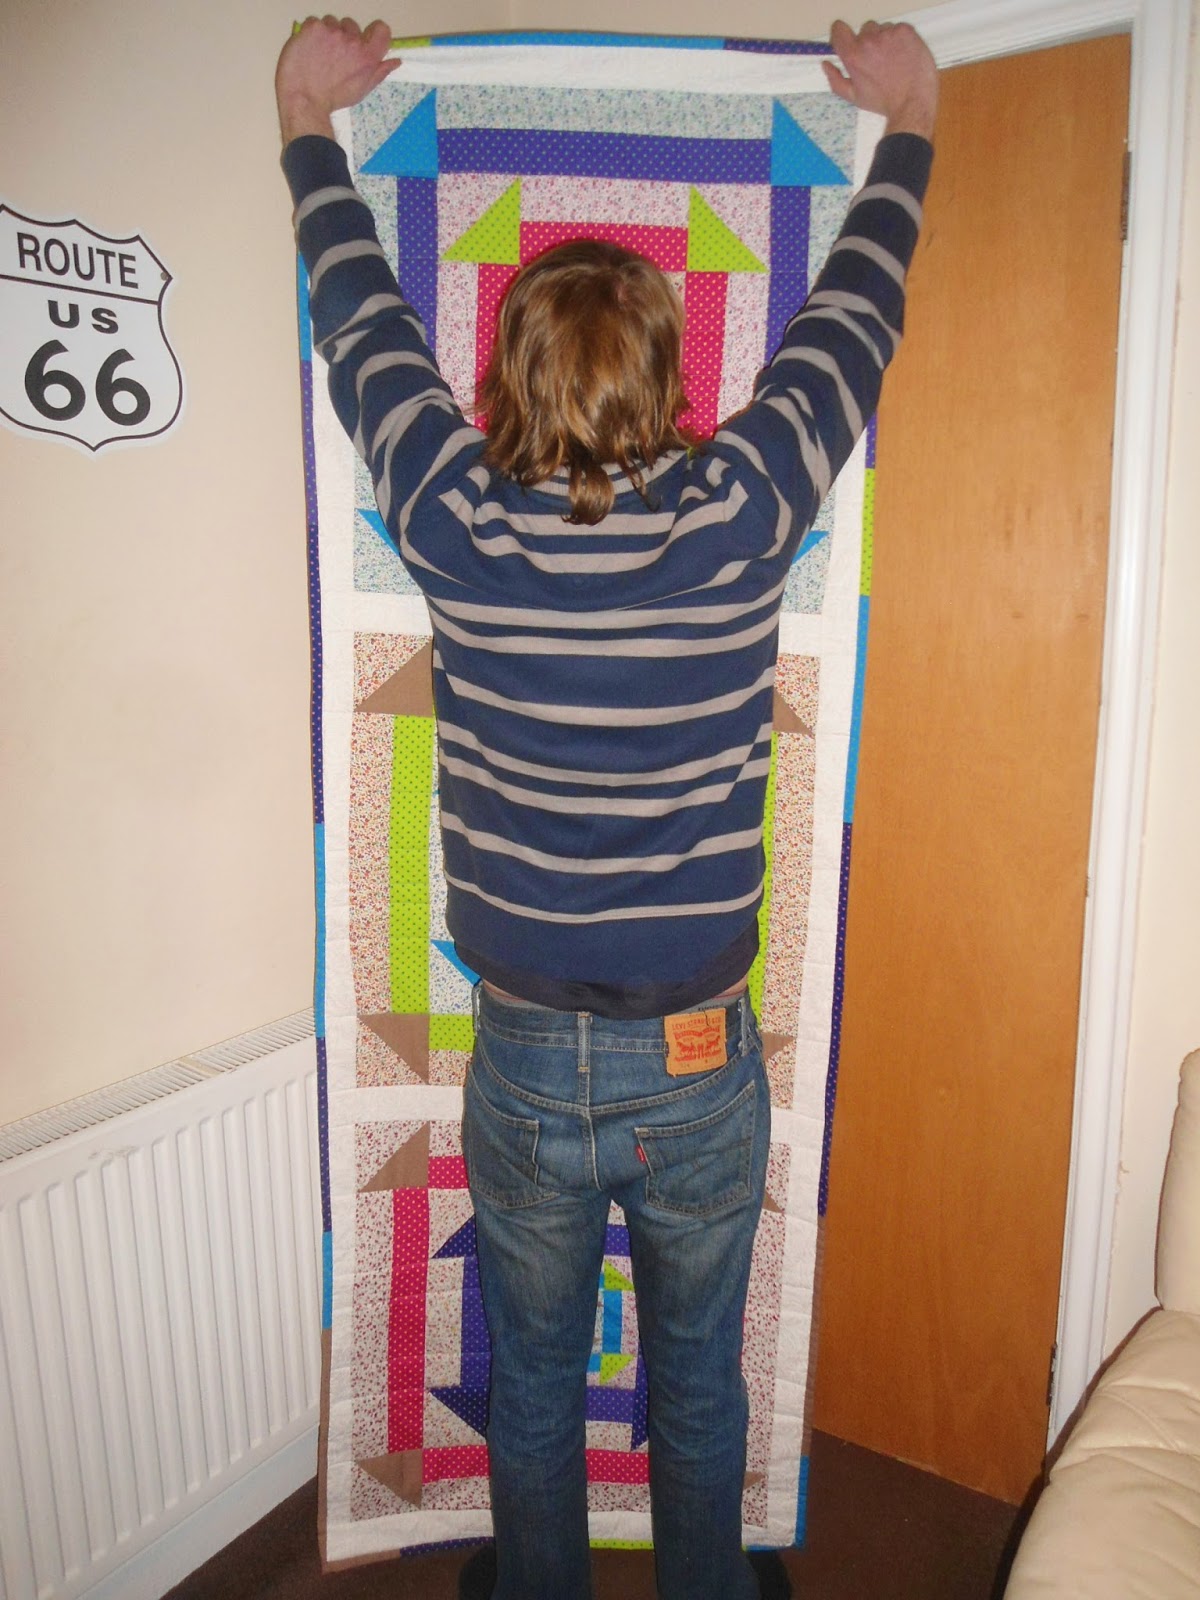
| This photo give a sense of scale of the finished quilt. |
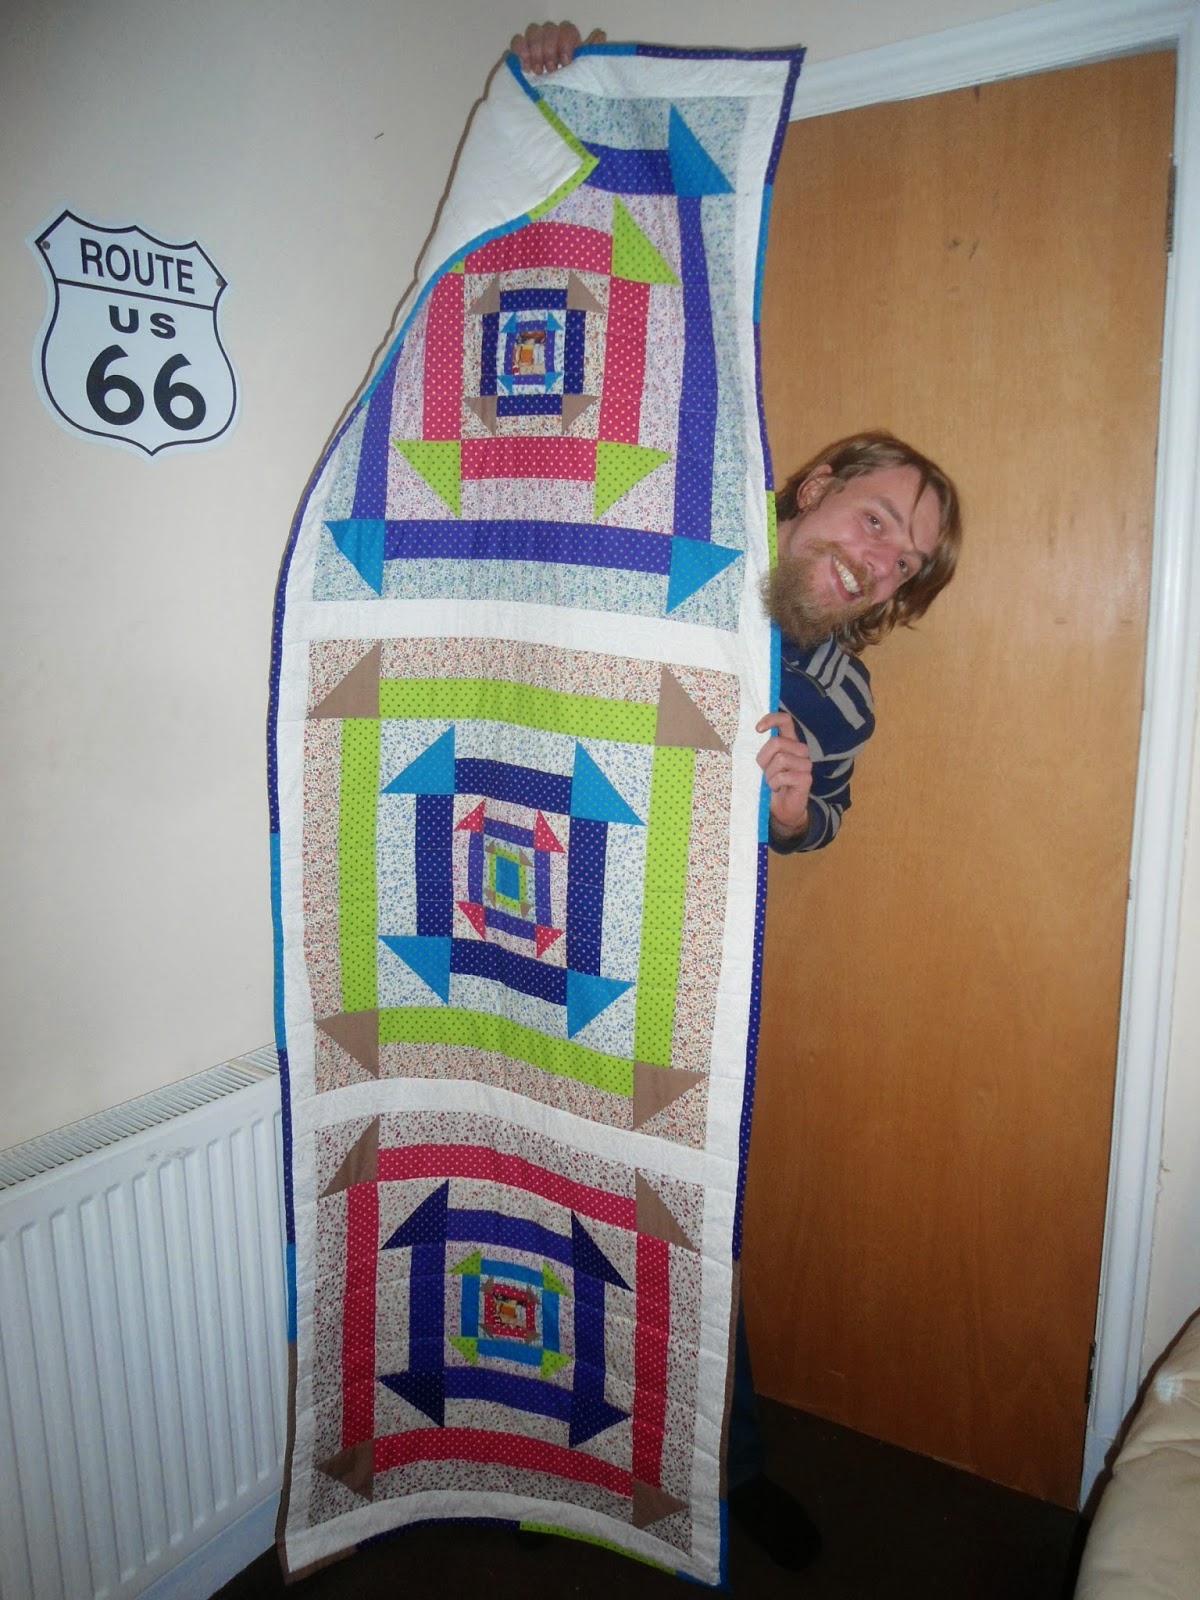 |
| My willing assistant became less willing after only one or two pictures! |
So all in all I really like how this quilt turned out. I think my quilting skills are certainly improving and I can see the improvement with each new piece I make. The one thing that I really think makes the biggest difference is accuracy - the next quilt will be measured to absolute perfection!!
 |
| Things descended quickly... |
Hope you're all having a great weekend folks - we were out celebrating a friends viva success last night so having a really quiet day today!!
 |
| I then gave up :'-) |
Jen xx
Hallo Jennifer,
ReplyDeletedas sieht ja ganz toll aus !
Sehr schöne Stoffe und so schön kombiniert, das gefällt mir !
Liebe Grüße
Käthe
Thanks so much! I just can't believe it took so long to put together!
DeleteAhh -- lovely quilt -- I do not know if I have the knack for quilting since I have yet to try.
ReplyDeleteI think it's more the patience required to piece it all together although it is very theraputic!
DeleteSuch a beautiful motif… all the work that goes into making a quilt! Brava… I wholeheartedly applaud you!
ReplyDeleteThanks! The most of the work in my opinion is quilting it the piecing is all very relaxing to put together!
DeleteLooks great! My own assistant is small and furry and is only willing to help test the quilt by sitting on it. At least you got a few pictures out of yours ;)
ReplyDeleteThanks :-) I imagine though that the testing of the quilt is the most important part :-p
DeleteYour new bed runner is so pretty! I love the nested churn dash block and the fabrics you chose. Looks like your quilt holding assistant is quite the card. And needs to be dealt with..... Hahaha! Lovely post and fun pictures!
ReplyDeleteThanks! I quite like the block too and am going to try it in another quilt soon! It's not so easy getting pictures in a small flat and his antics certainly made it all the more amusing!
Delete