 |
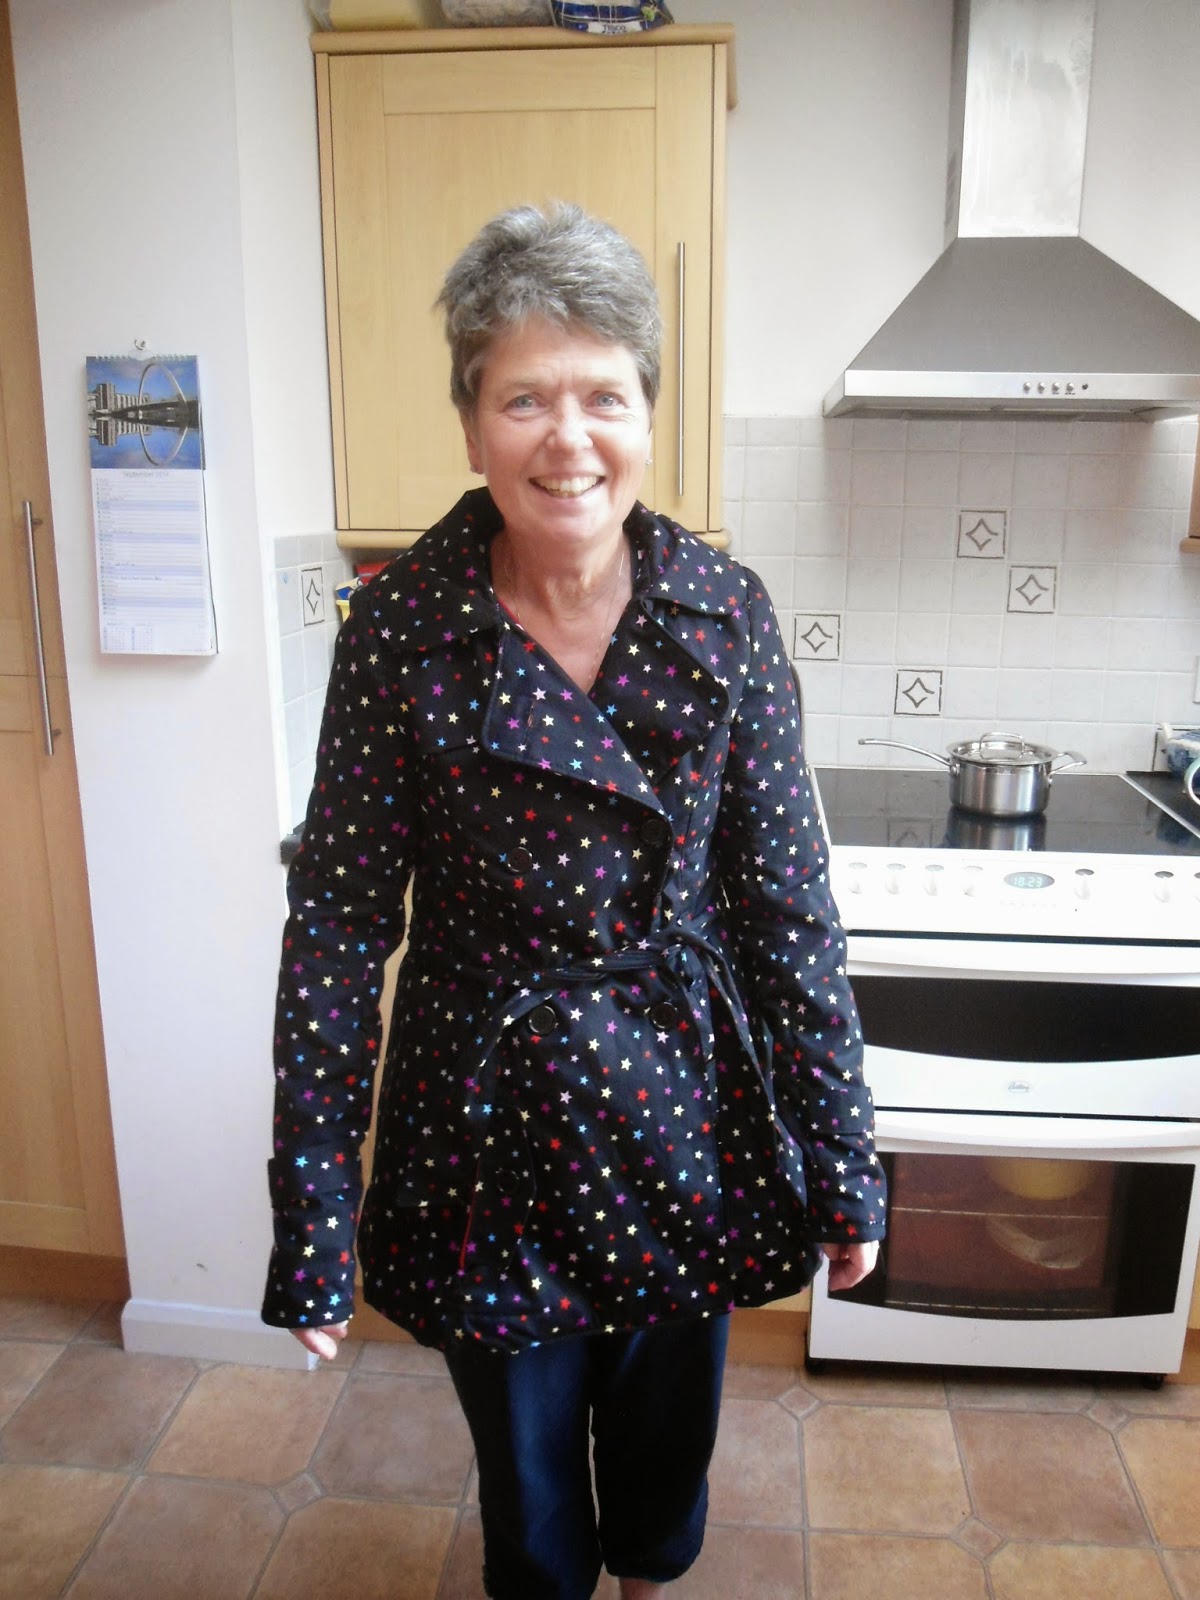
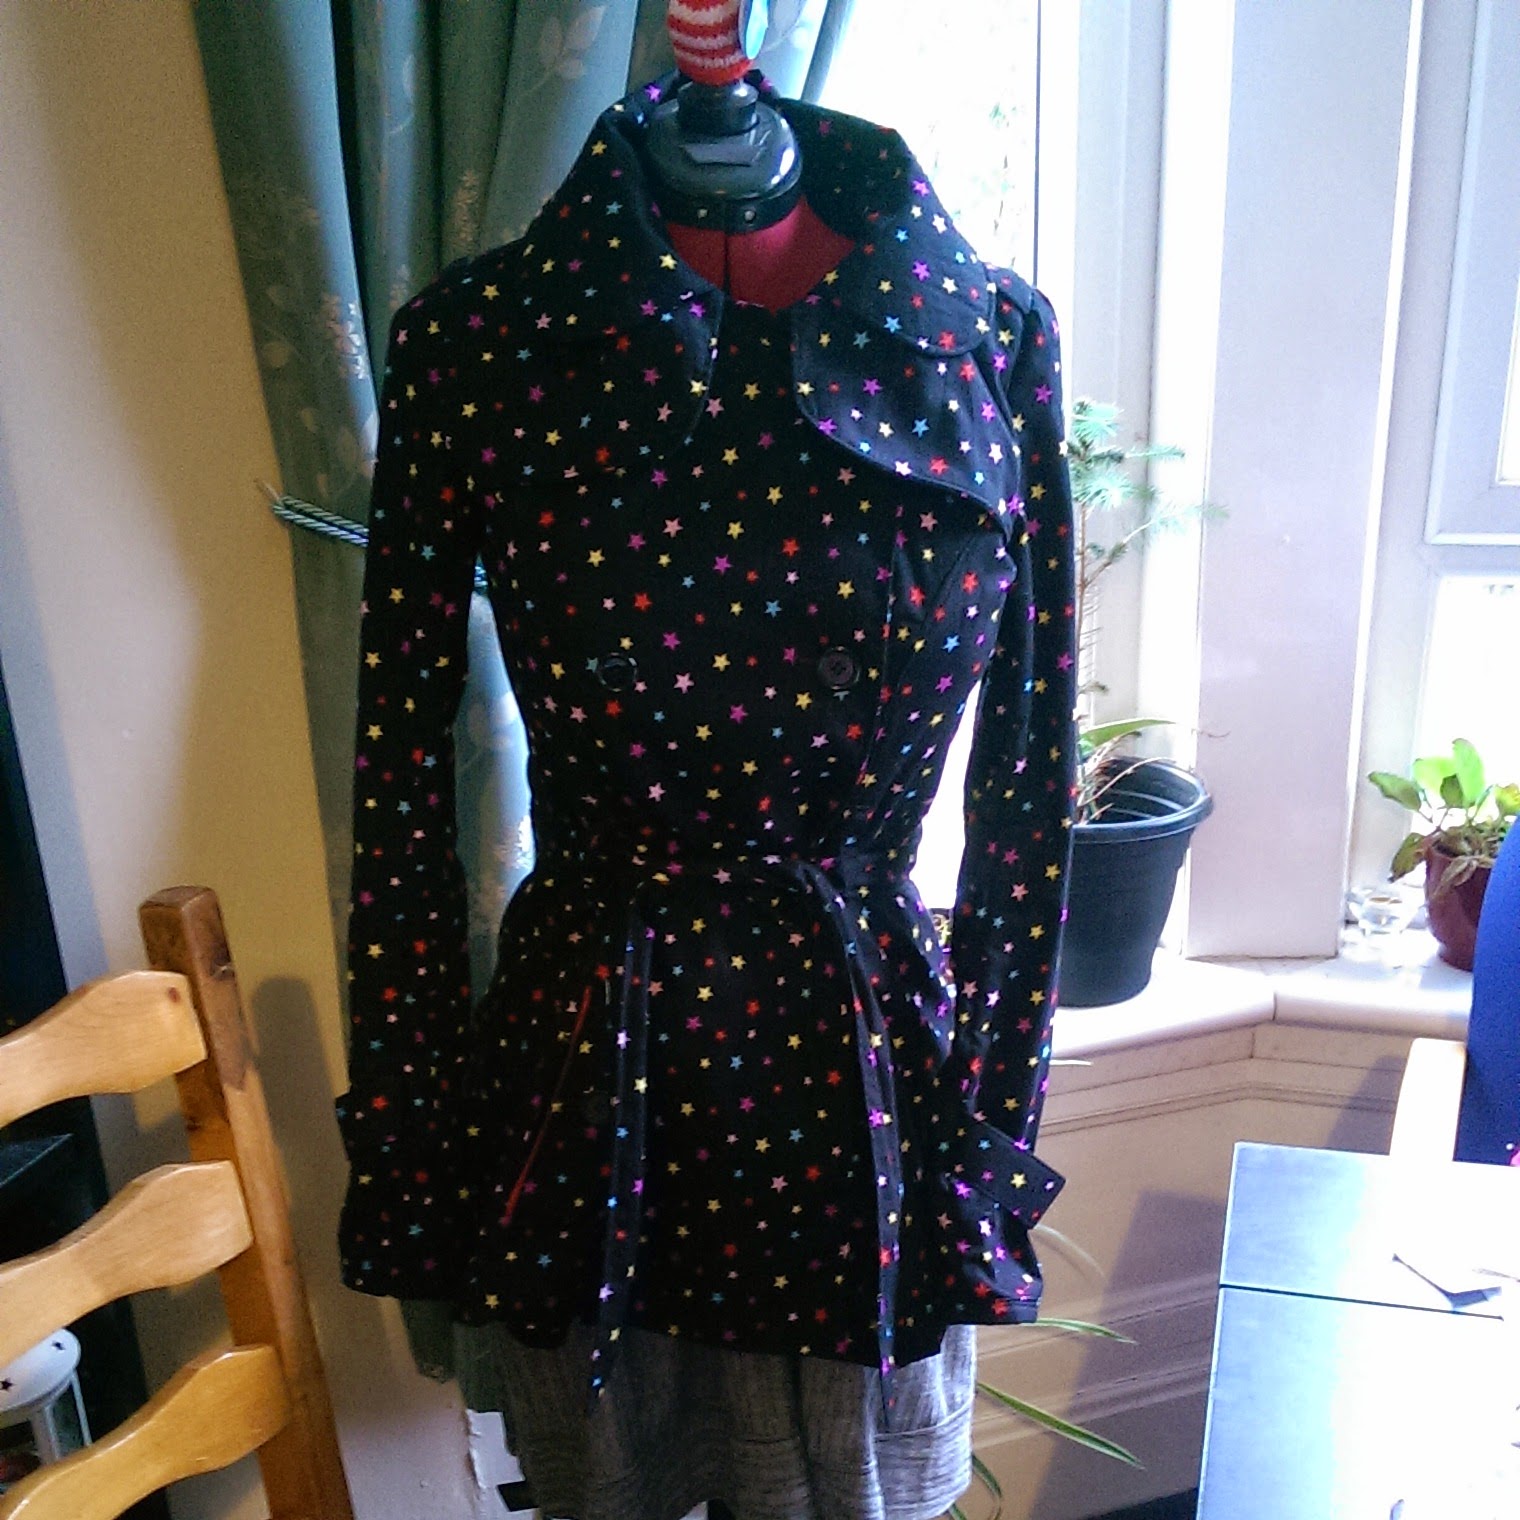
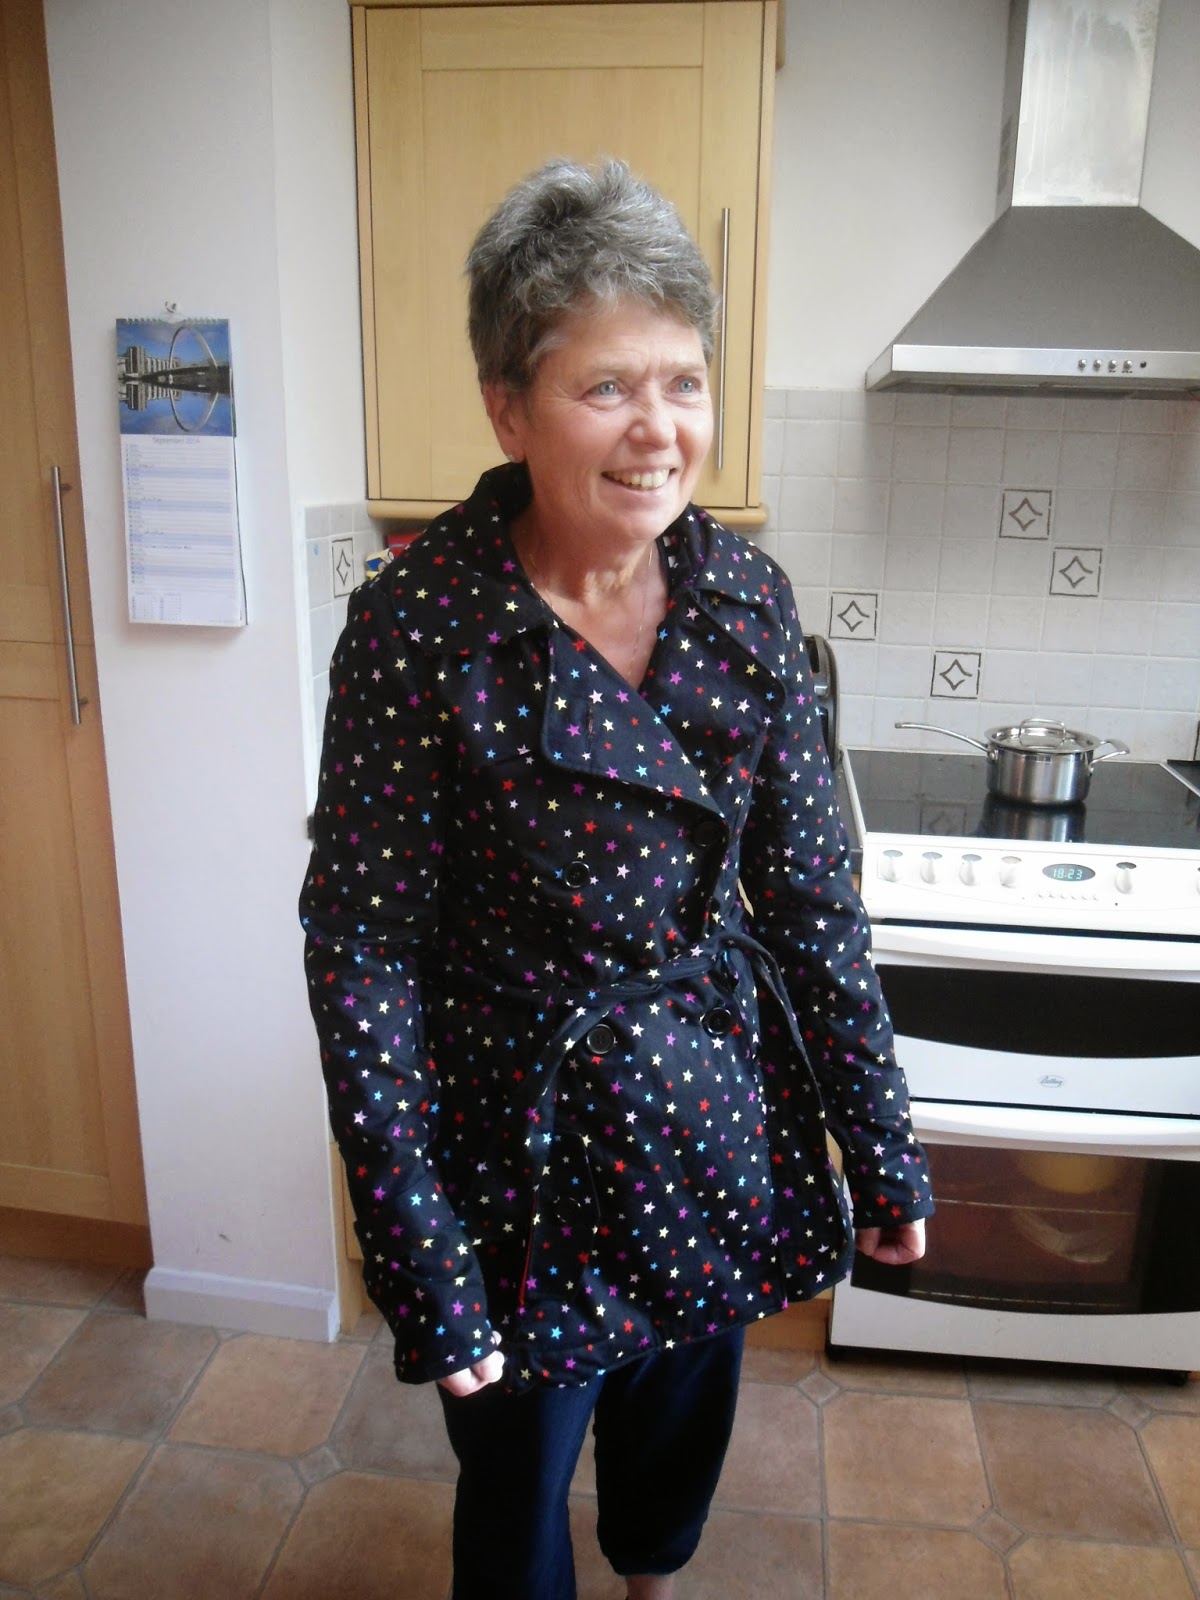
| Starry Robson Coat |
I must admit that I am rather jealous and totally wanted to keep it for myself :D
So here was my brief:
a trench coat
with buttons (NO ZIP)
lightweight to wear in the spring/summer/autumn
showerproof
no hood
shoulders that were broad to help getting it on and off.

The fabric as usual was bought in mandors back in May - that's how long this has been in the pipelie for! I think it took us about 40 minutes to pick something that she liked and wasn't tooo expensive. As it was only a 45" fabric the instructions suggested 6m. so we didn't really want to go much above £8/m - it ended up at £6.99 so bargain!! The fabric is a lightweight cotton poplin and the lining a plain polycotton which I bought in Norman Cummings on a trip to Linlithgow. Annoyingly there was a repair in the outer shell fabric which I hadn't noticed until it was all cut out so one of the pieces needed recutting.
I cut off about 19cm (7 1/2 inches) off the bottom to make it more summer appropriate and less of a faff too. (Length is also a problem when it becomes a trip hazard...)
 |
| The storm flap at the back ended up a bit squint...oops! |
So the instructions call for you to bind all your seams with bias binding however I decided to see what effect french seams would have - next time ill be sticking to instructions as these turned out too bulky. As a result half the seams are french and half of them are bound... makes for an interesting design feature!
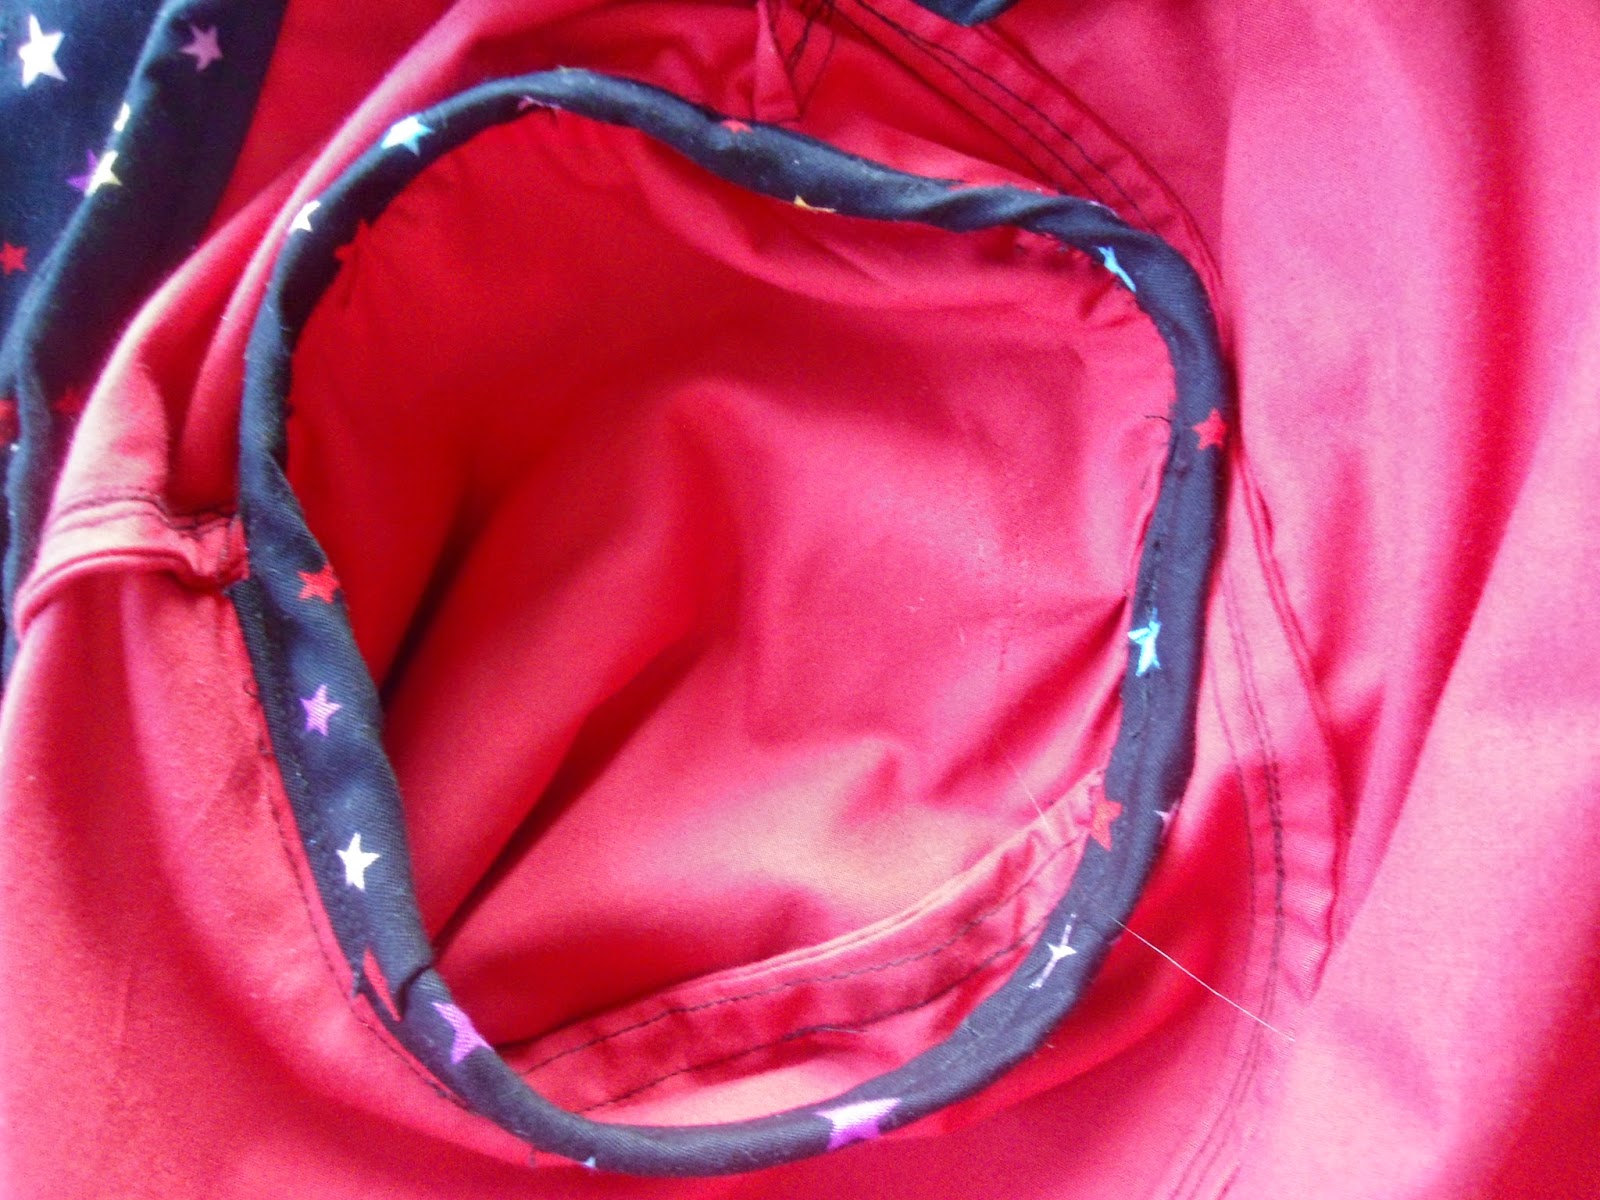 |
| Using the shell as binding makes a good target for the arms! |
One of my only problems I had while making this coat is that i forgot to put the notches onto my traced pieces - to be honest this is the main reason that this took so long to finish. I think i set them in about 5 times *next time trace ALL markings* but once I was happy it only took about an hour to attach the binding to the sleeves and all the other little things that remained.
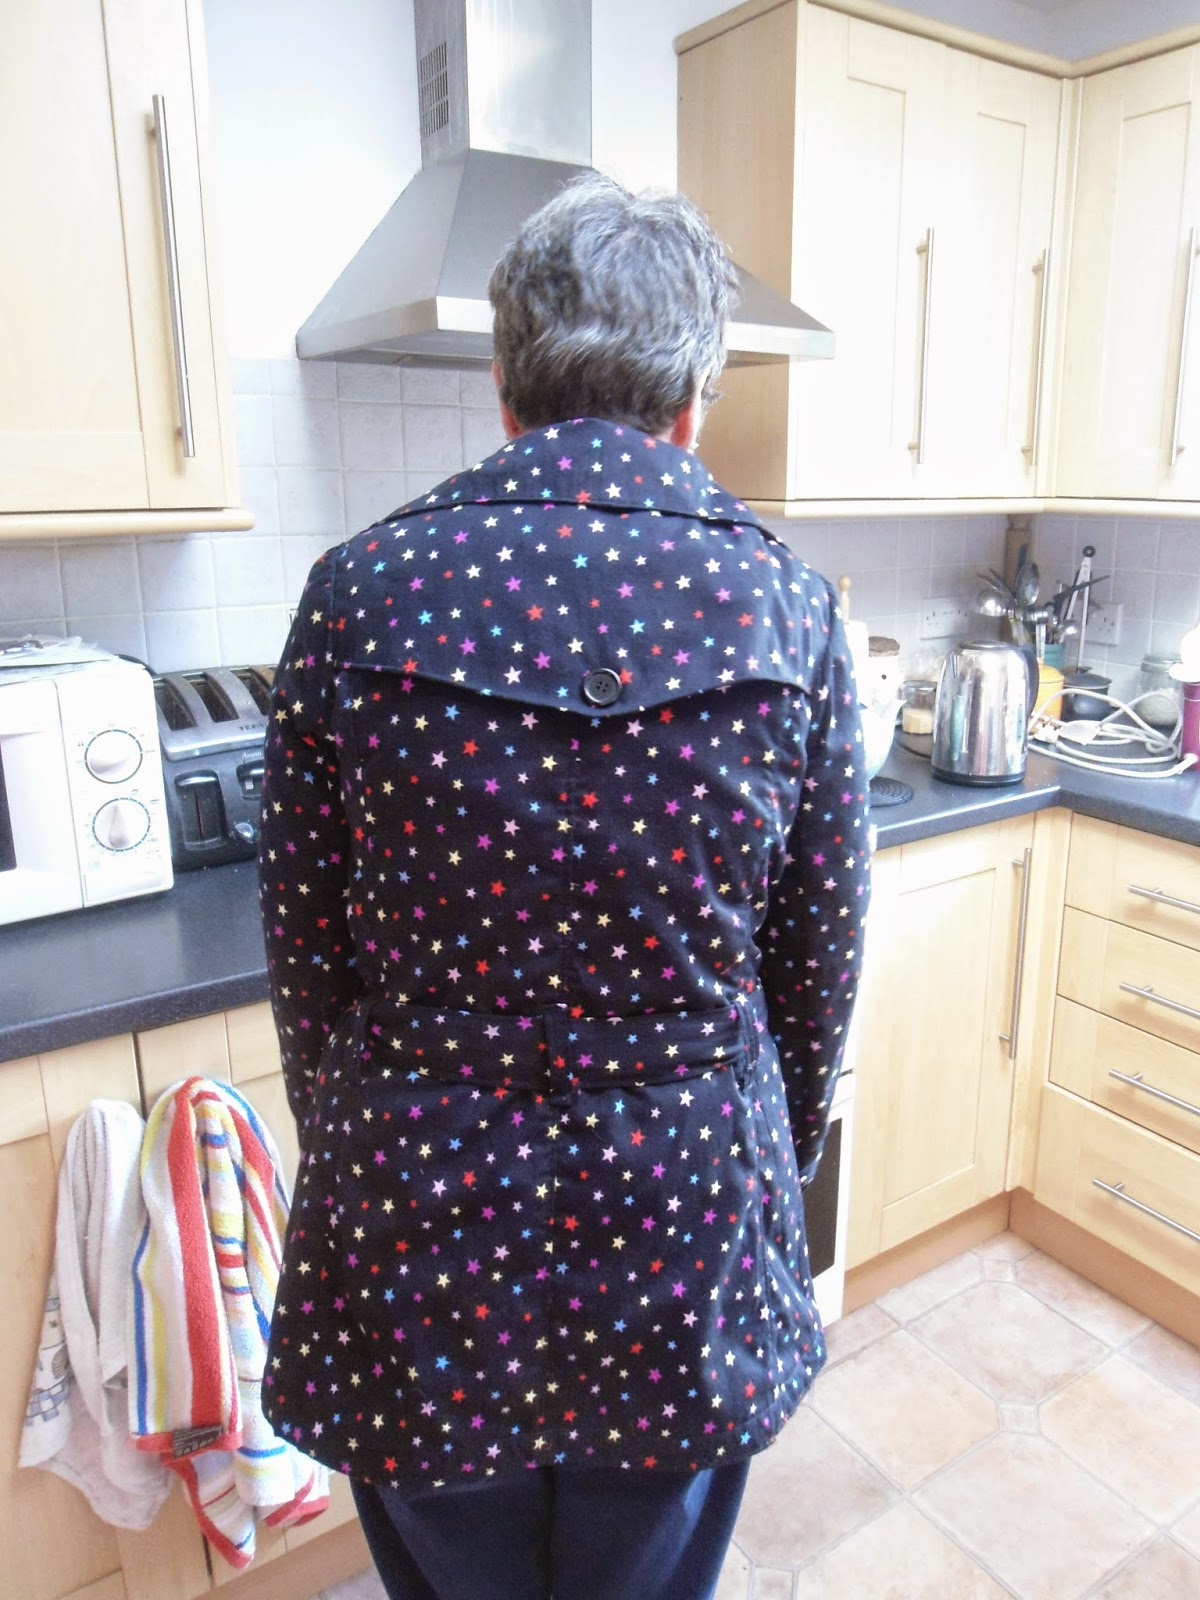 |
| that button looks awful! |
So lessons learned for next time then - (I do have a version of this lined up for me but it's not my main everyday autumn jacket.) cut a straight size 10, do not french seam, mark all notches, check fabric before cutting, add back on the bottom section of coat. I'm not entirely happy with my sewing process this time but I am happy with the end result , and that's the main thing right?
Has anyone else got any jacket patterns that they would recommend? Its getting to that time where I can't leave home without one!
I hope everyone is enjoying their weekend :-)
JCS xx
Love the cut of this jacket! The fabric is so fun and your mom looks smashing in it!
ReplyDeleteThanks so much! I love the fact that you can't buy a jacket in such a fun print which makes it so unique!
DeleteOh wow! It looks great! Well done. And the fabric is lovely too. Hope your mum is very happy.
ReplyDeleteThank you :-) She seems to like it so that's all that matters to me !!
DeleteLooks lovely - and it really doesn't matter about the seam finishes, they all look great :)
ReplyDeleteThanks :-)
DeleteThe coat is beautiful. Love the dots. And I think I would want to keep it for myself also. Good job.
ReplyDeleteThank you :-)
Deletewell done...xx
ReplyDeleteThanks :-) xx
Delete