Showing posts with label dresses. Show all posts

Saturday, 21 March 2015

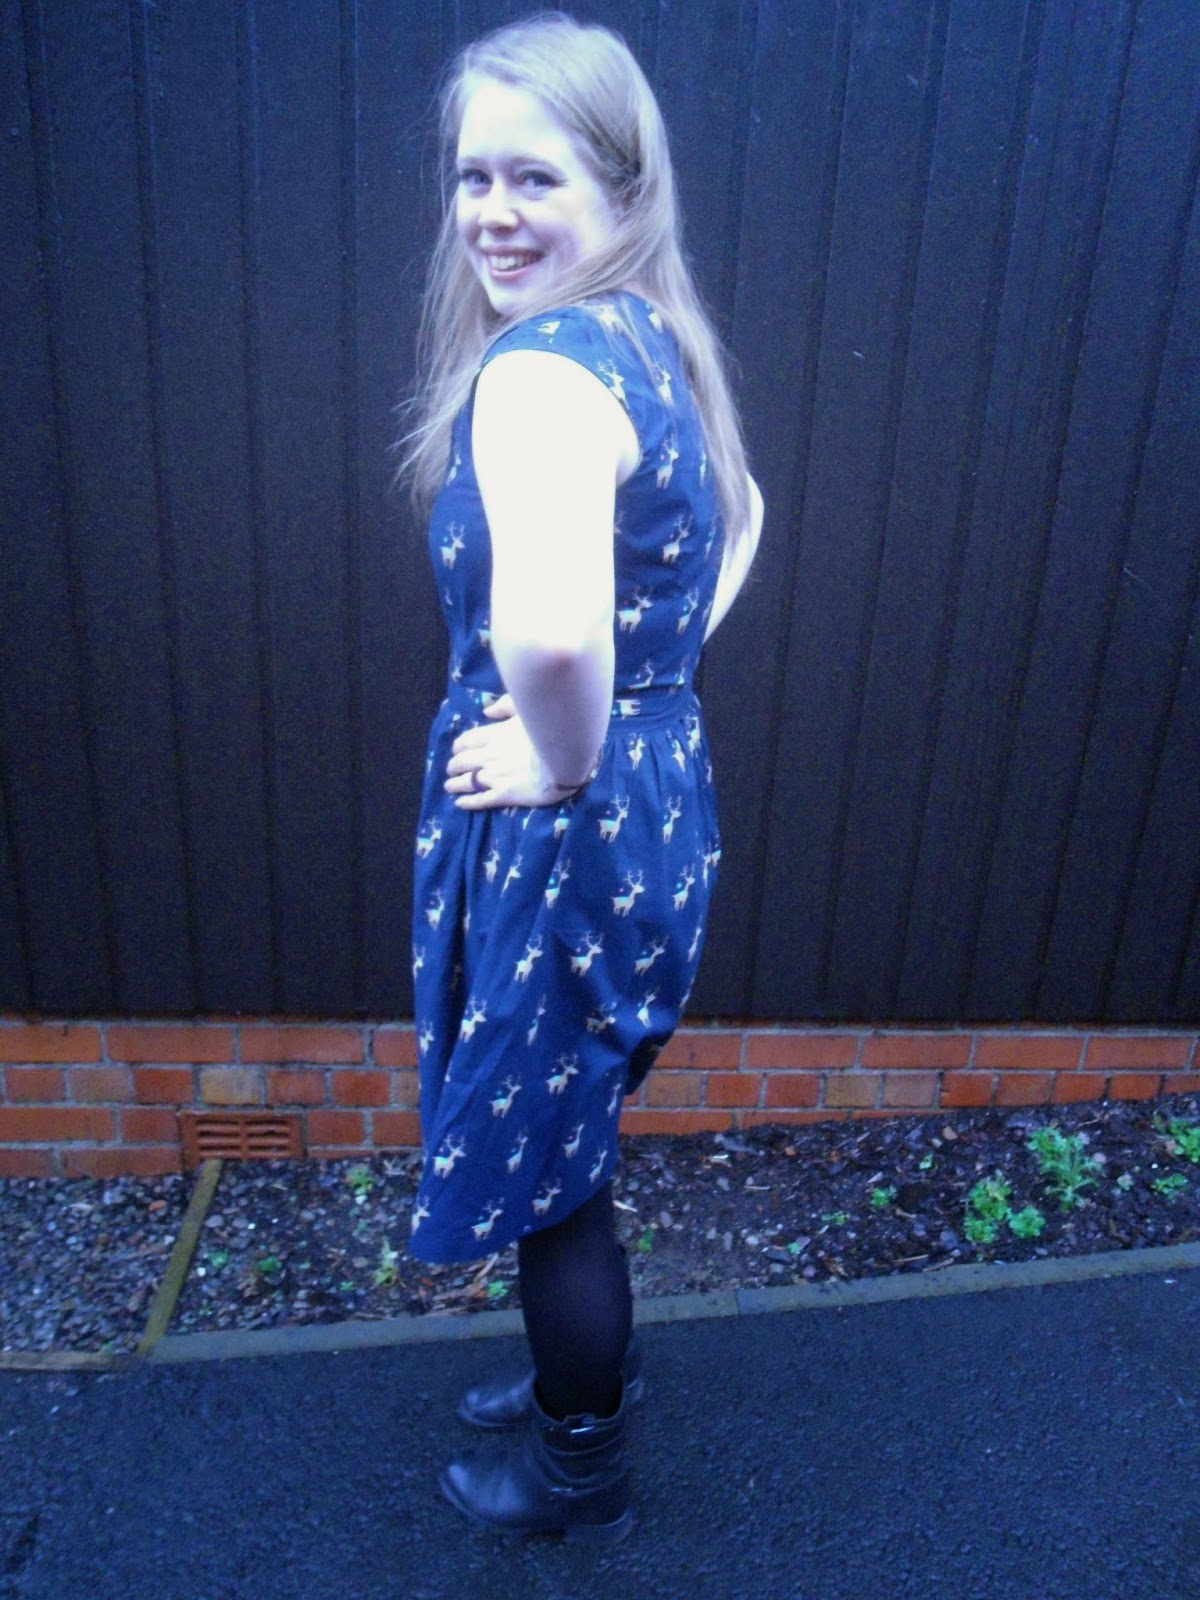
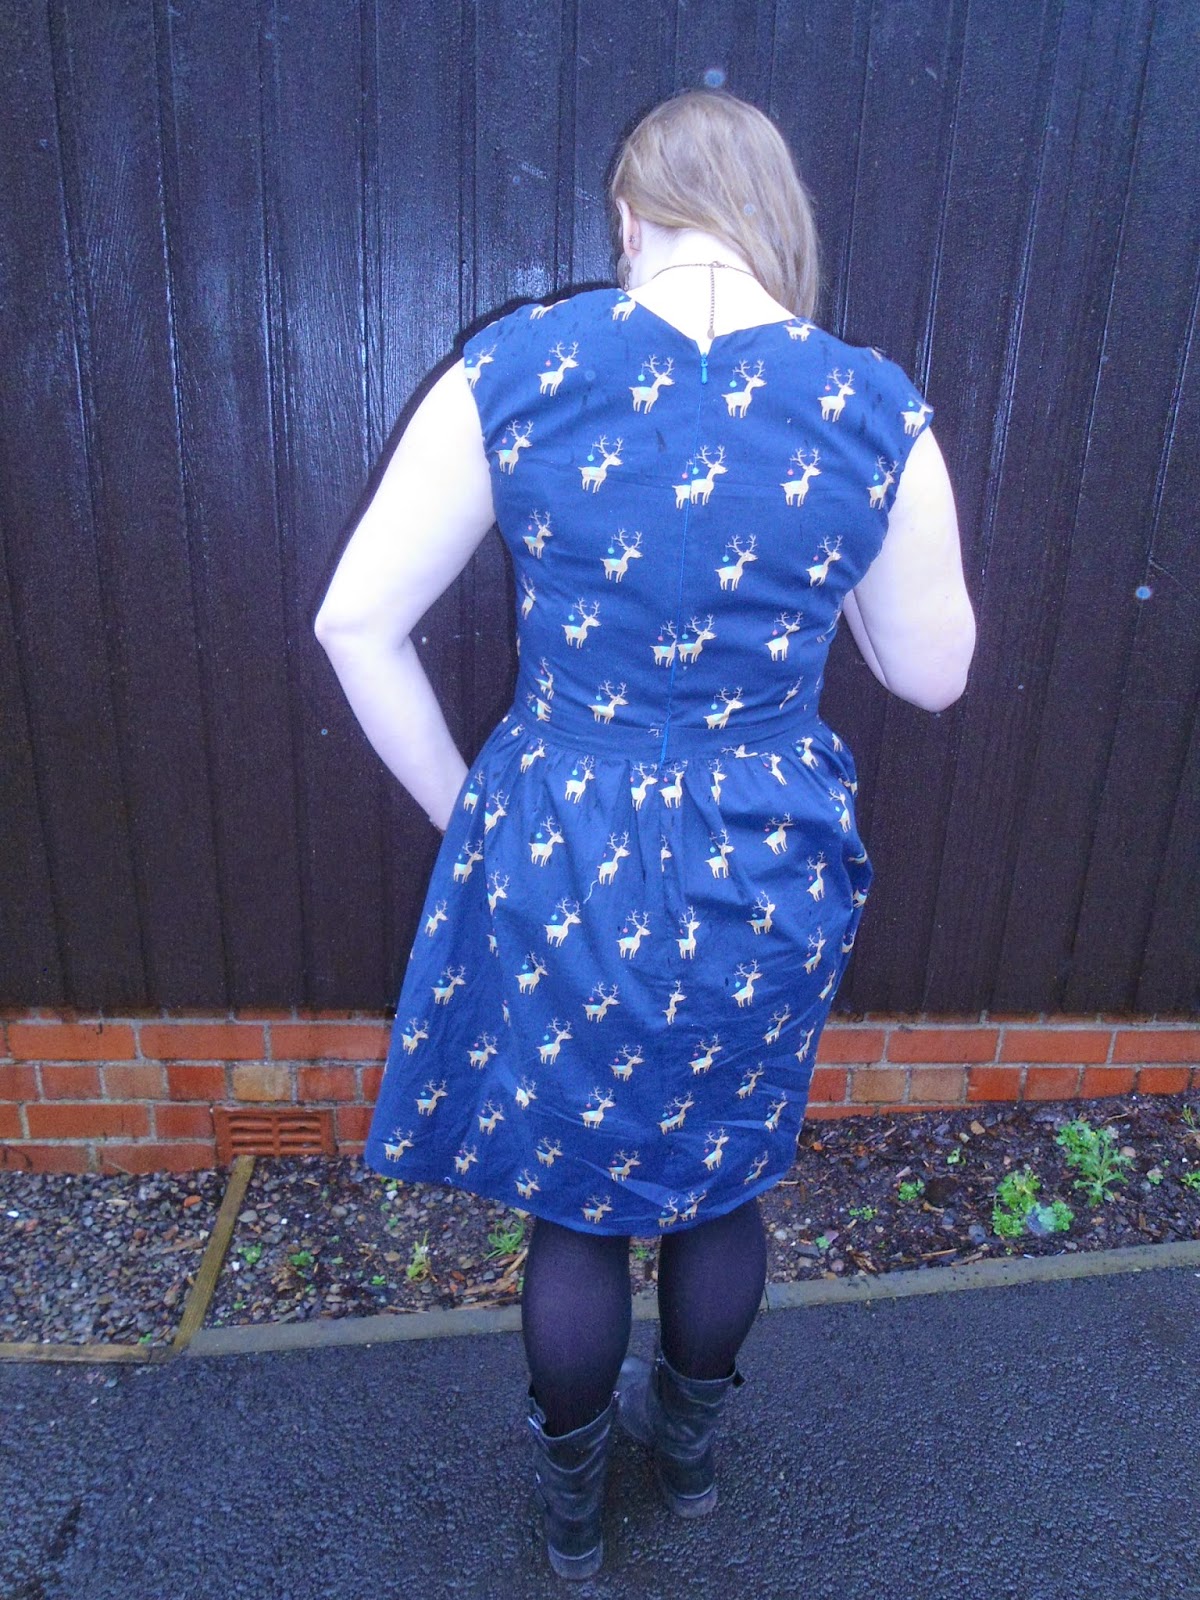
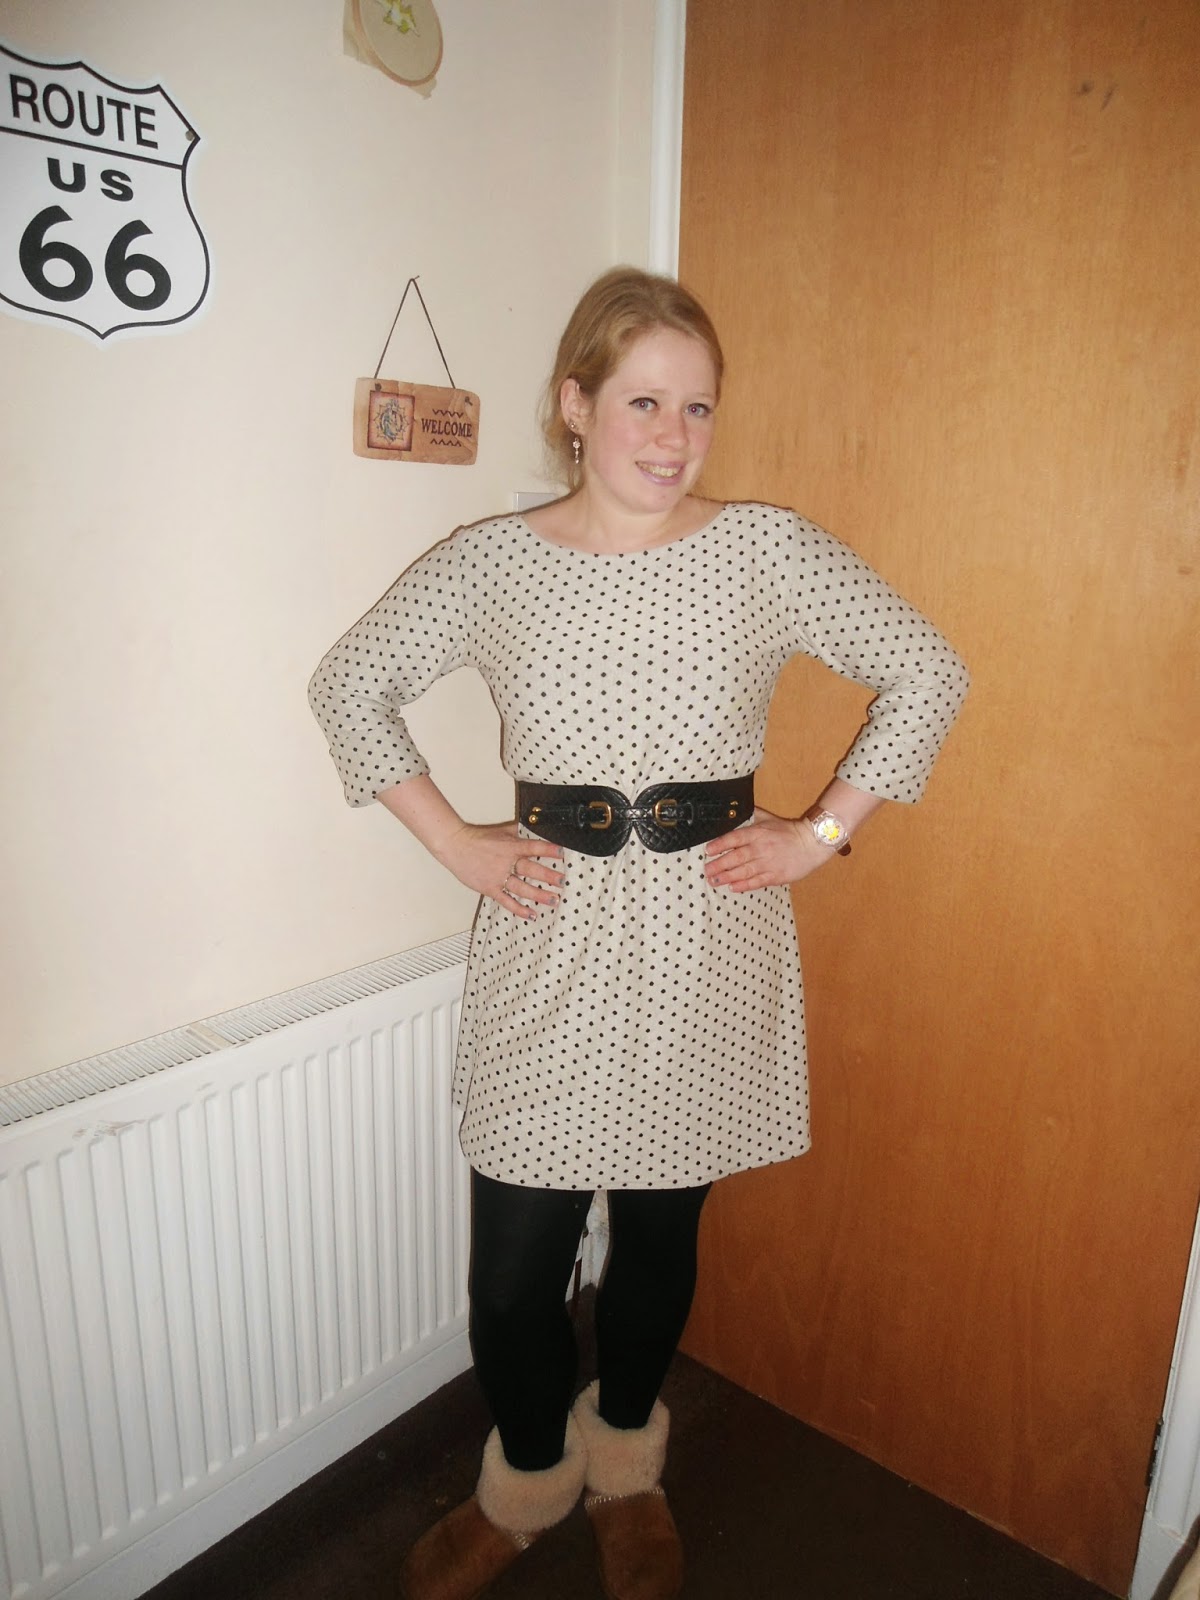
Kompleted: Kim Sewalong Dress

Sorry for the title I couldn't resist.
 

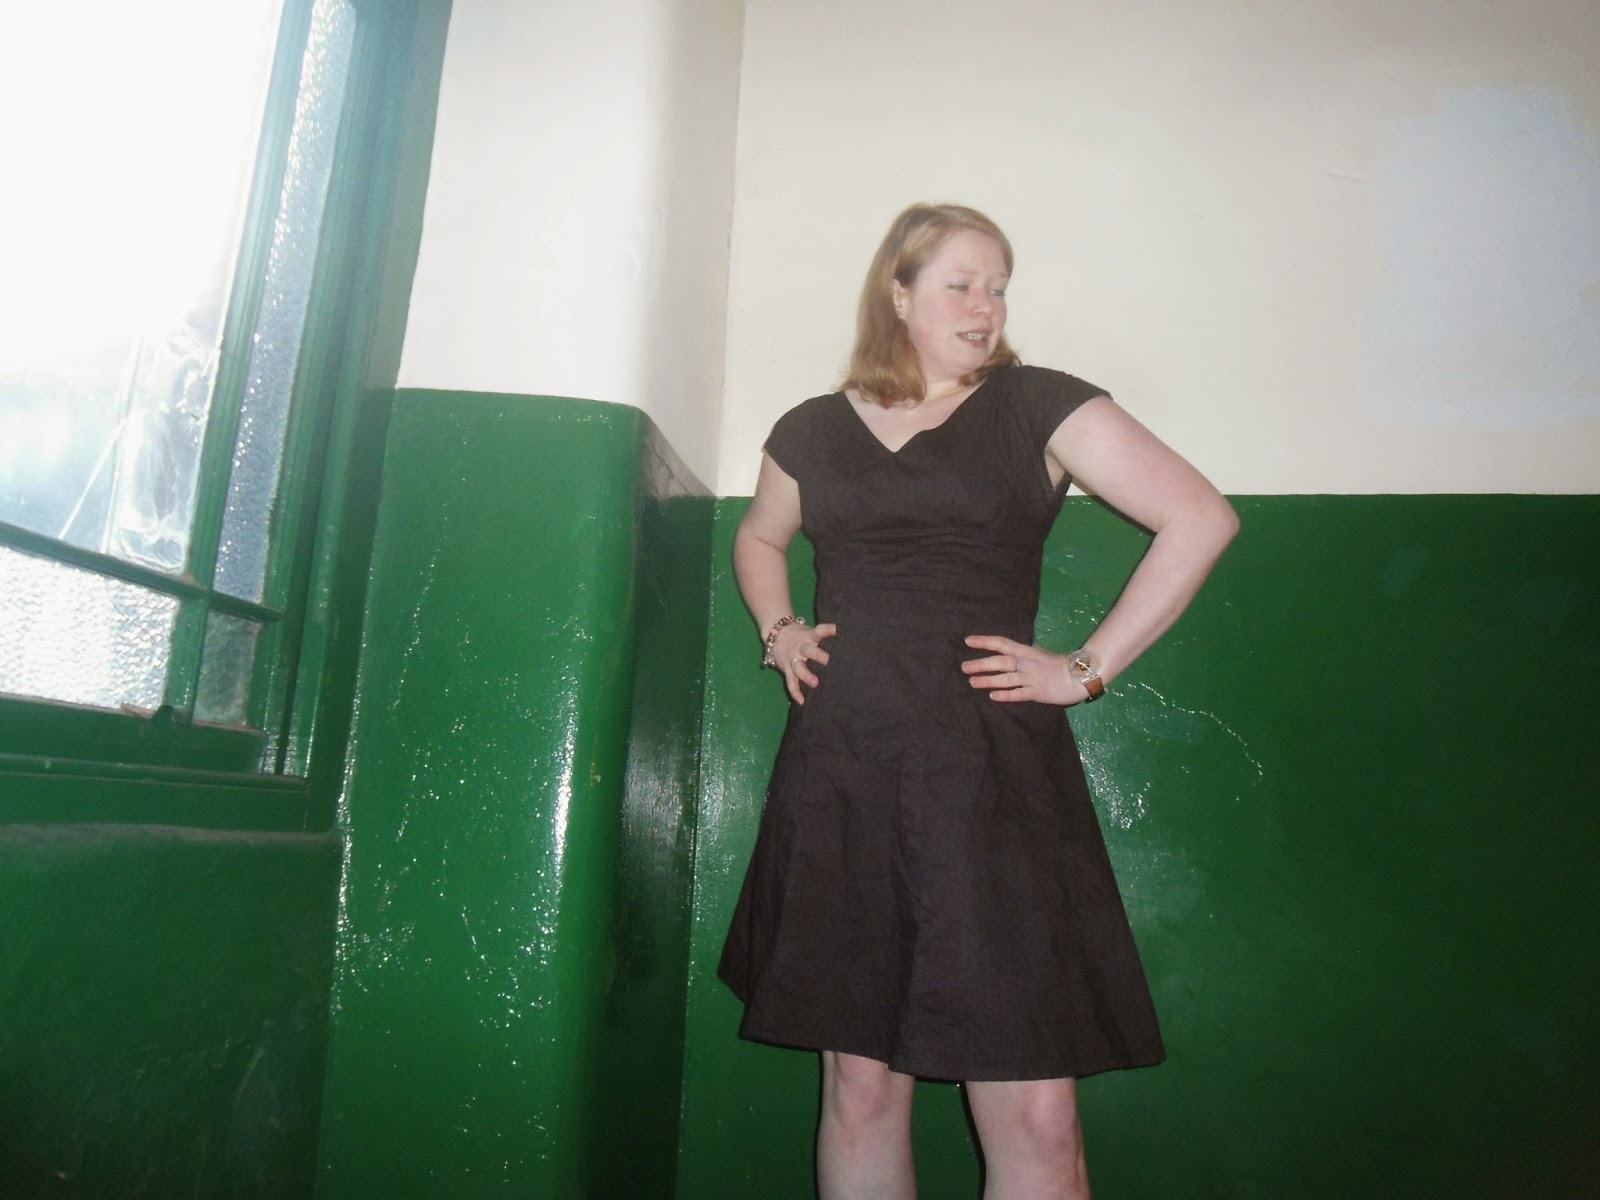
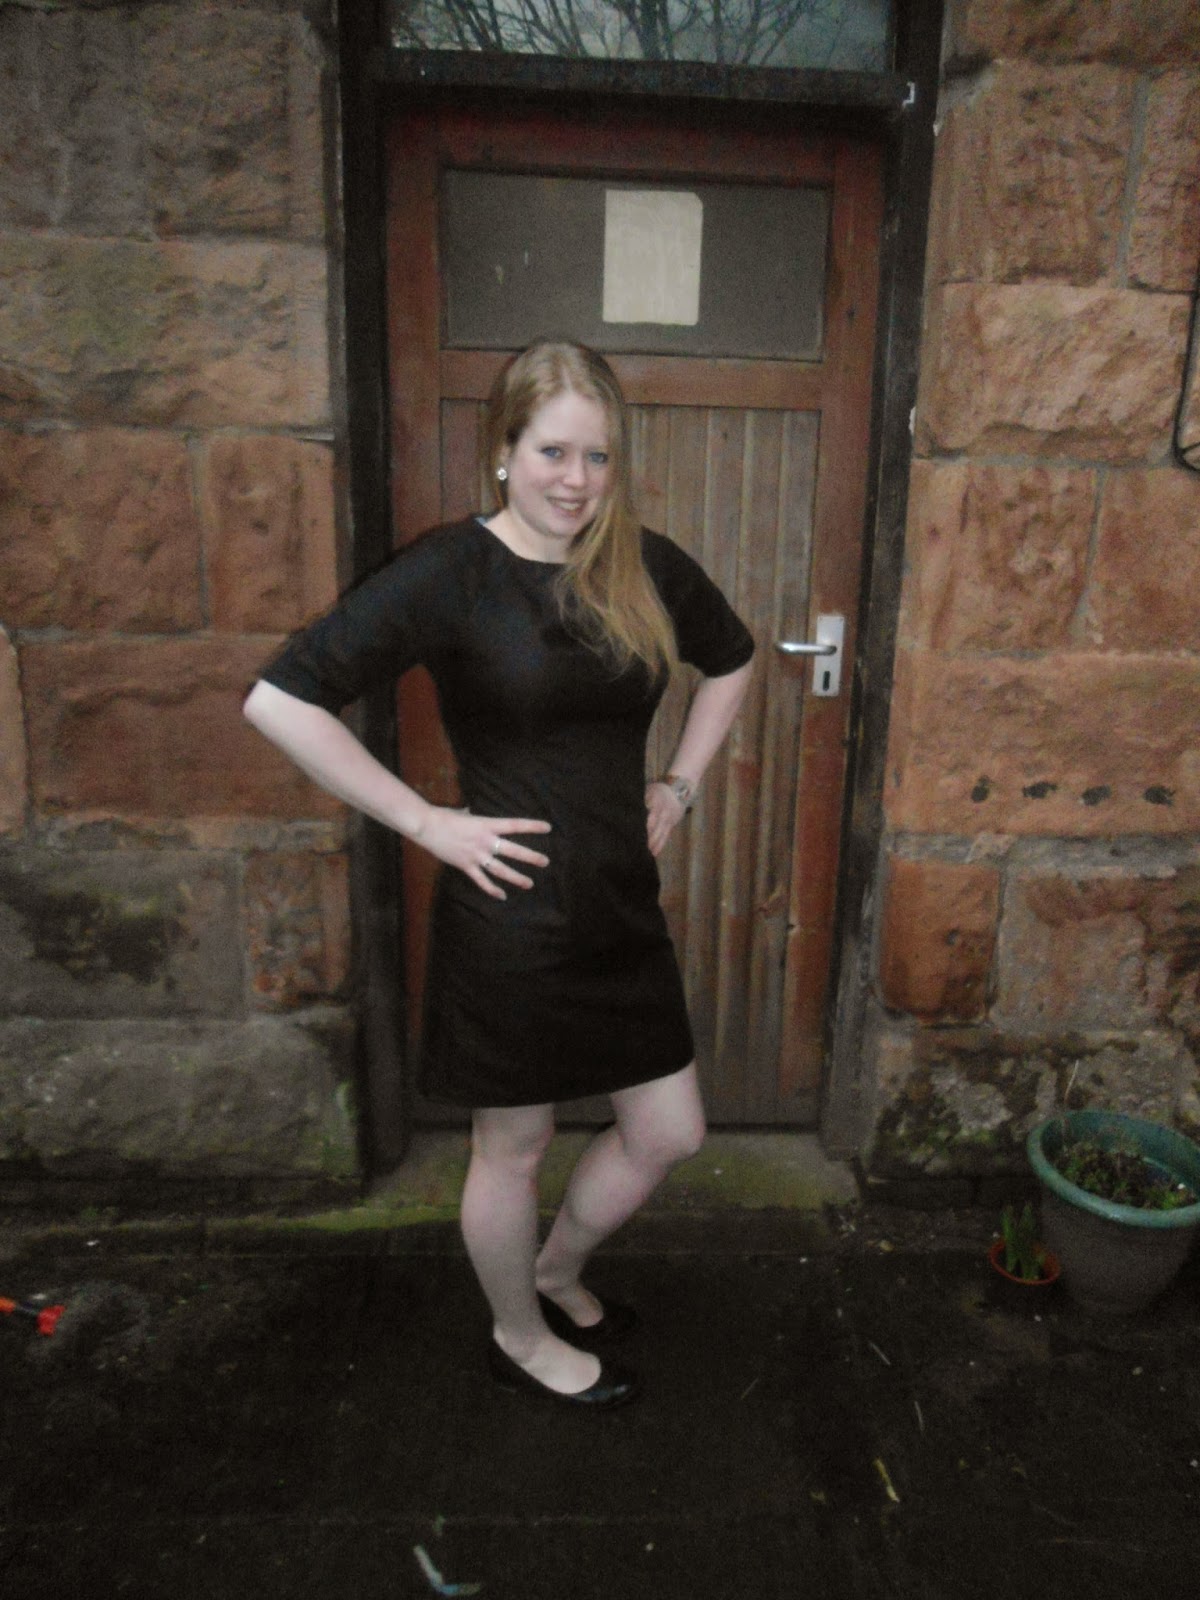
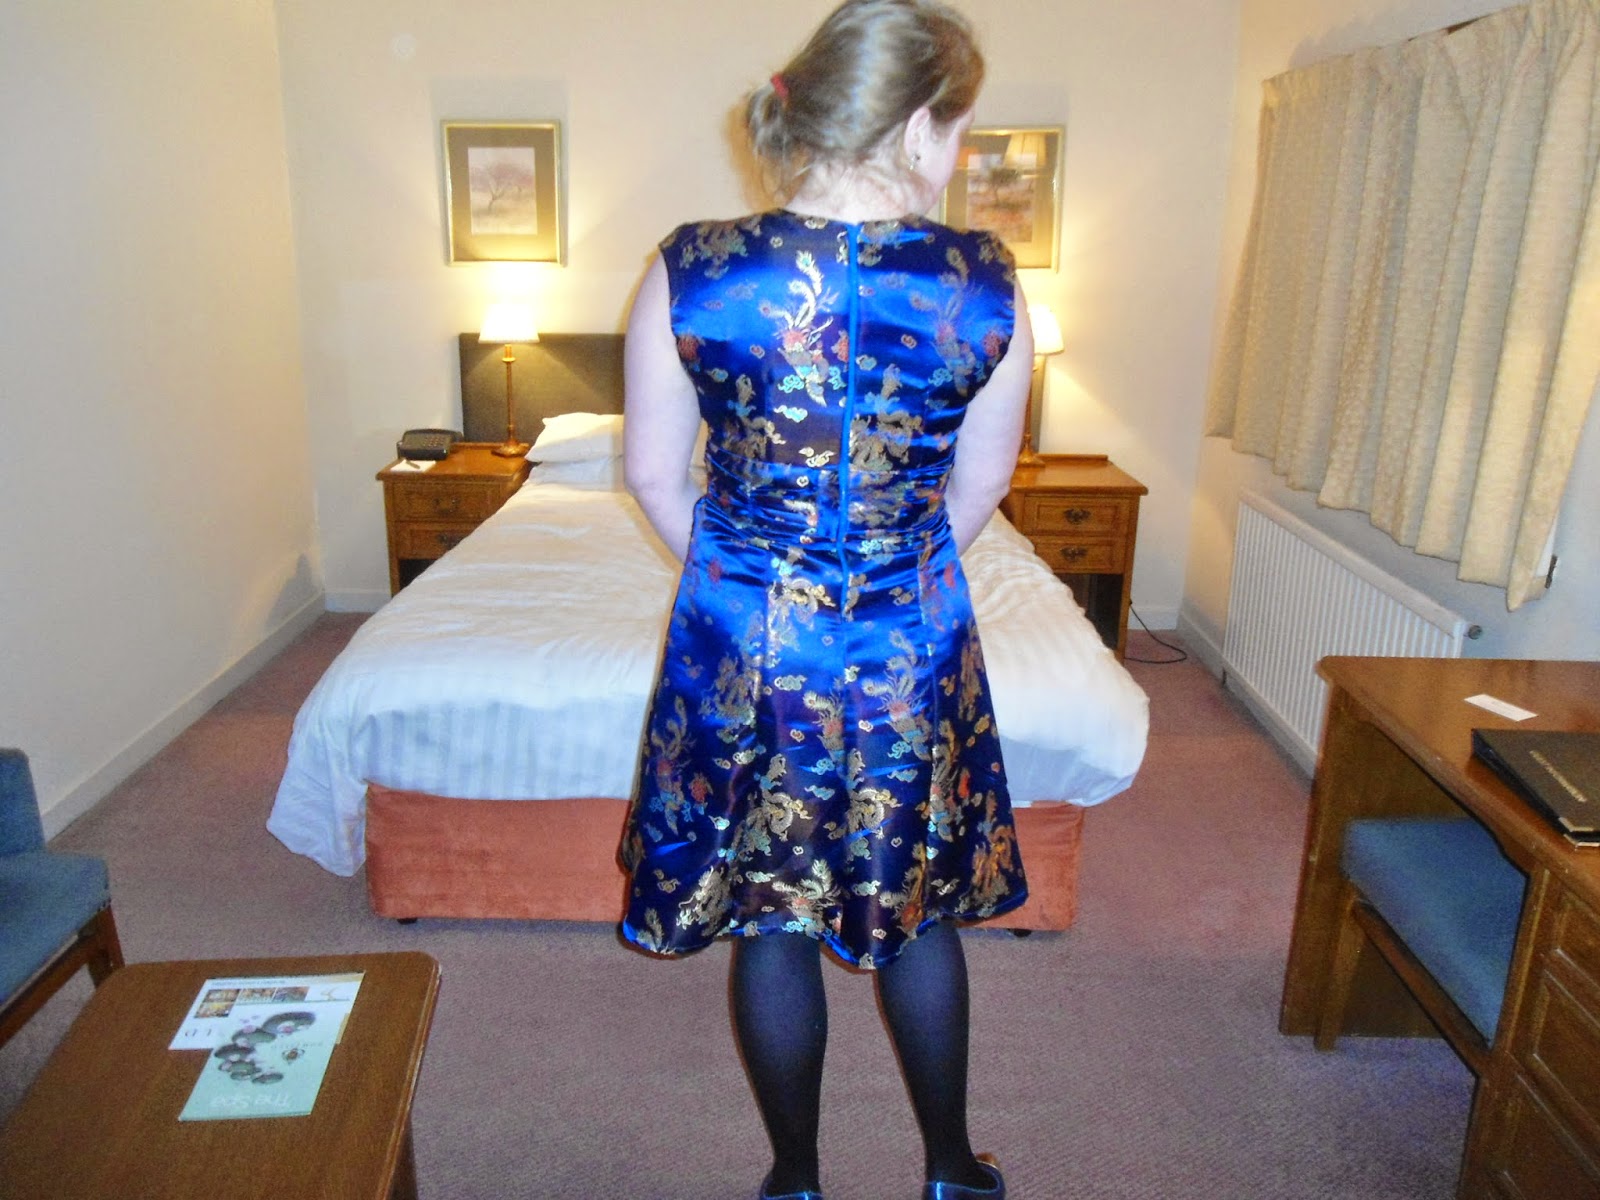
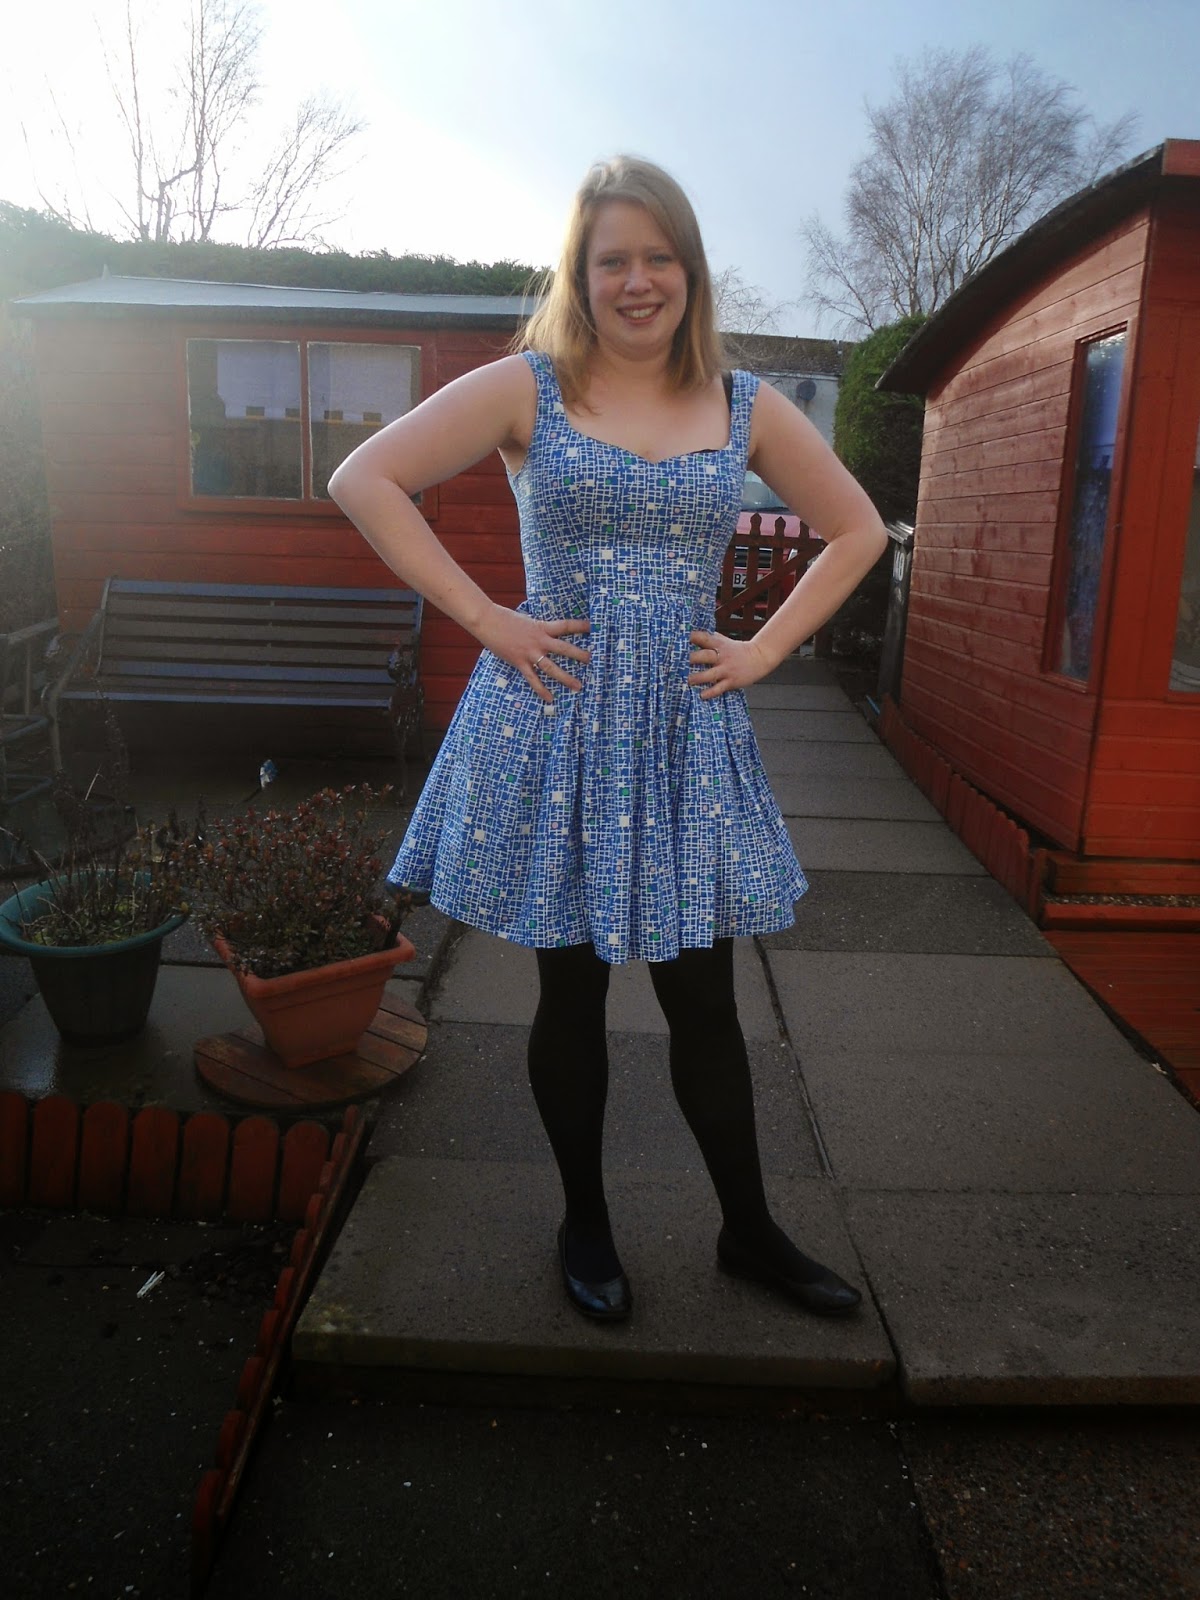
I was sewing along with the Kim sewalong over at the BHL blog and today I would like to share my finished Kim. I actually have two copies of this pattern. I wasn't expecting the Kim dress as part of my kickstarter bundle, so when I saw it on pre-sale I snapped it up. I think something about their decision to stop printing the Georgia dress meant that they substituted Kim. No matter. Whatever happens the spare one will not go to waste!
I Totally added pockets to this dress! - A variation on the emery pockets, sewn into the waistline

The fabric for this dress was bought in the sale at John Lewis and is a Hemingway design which is 100 % cotton and cost around £5 /m I can't remember the exact price (I saw it subsequently in another fabric store for about £12/m so bargain!!). I bought 2 m of this fabric and used only about 1.5 m. I then cut the rest into lots of varying sized squares which I plan on using within a quilt. The other remnants have been set aside for another (still secret) project ;-). I love it when this happens as then it seems like the next project is free!
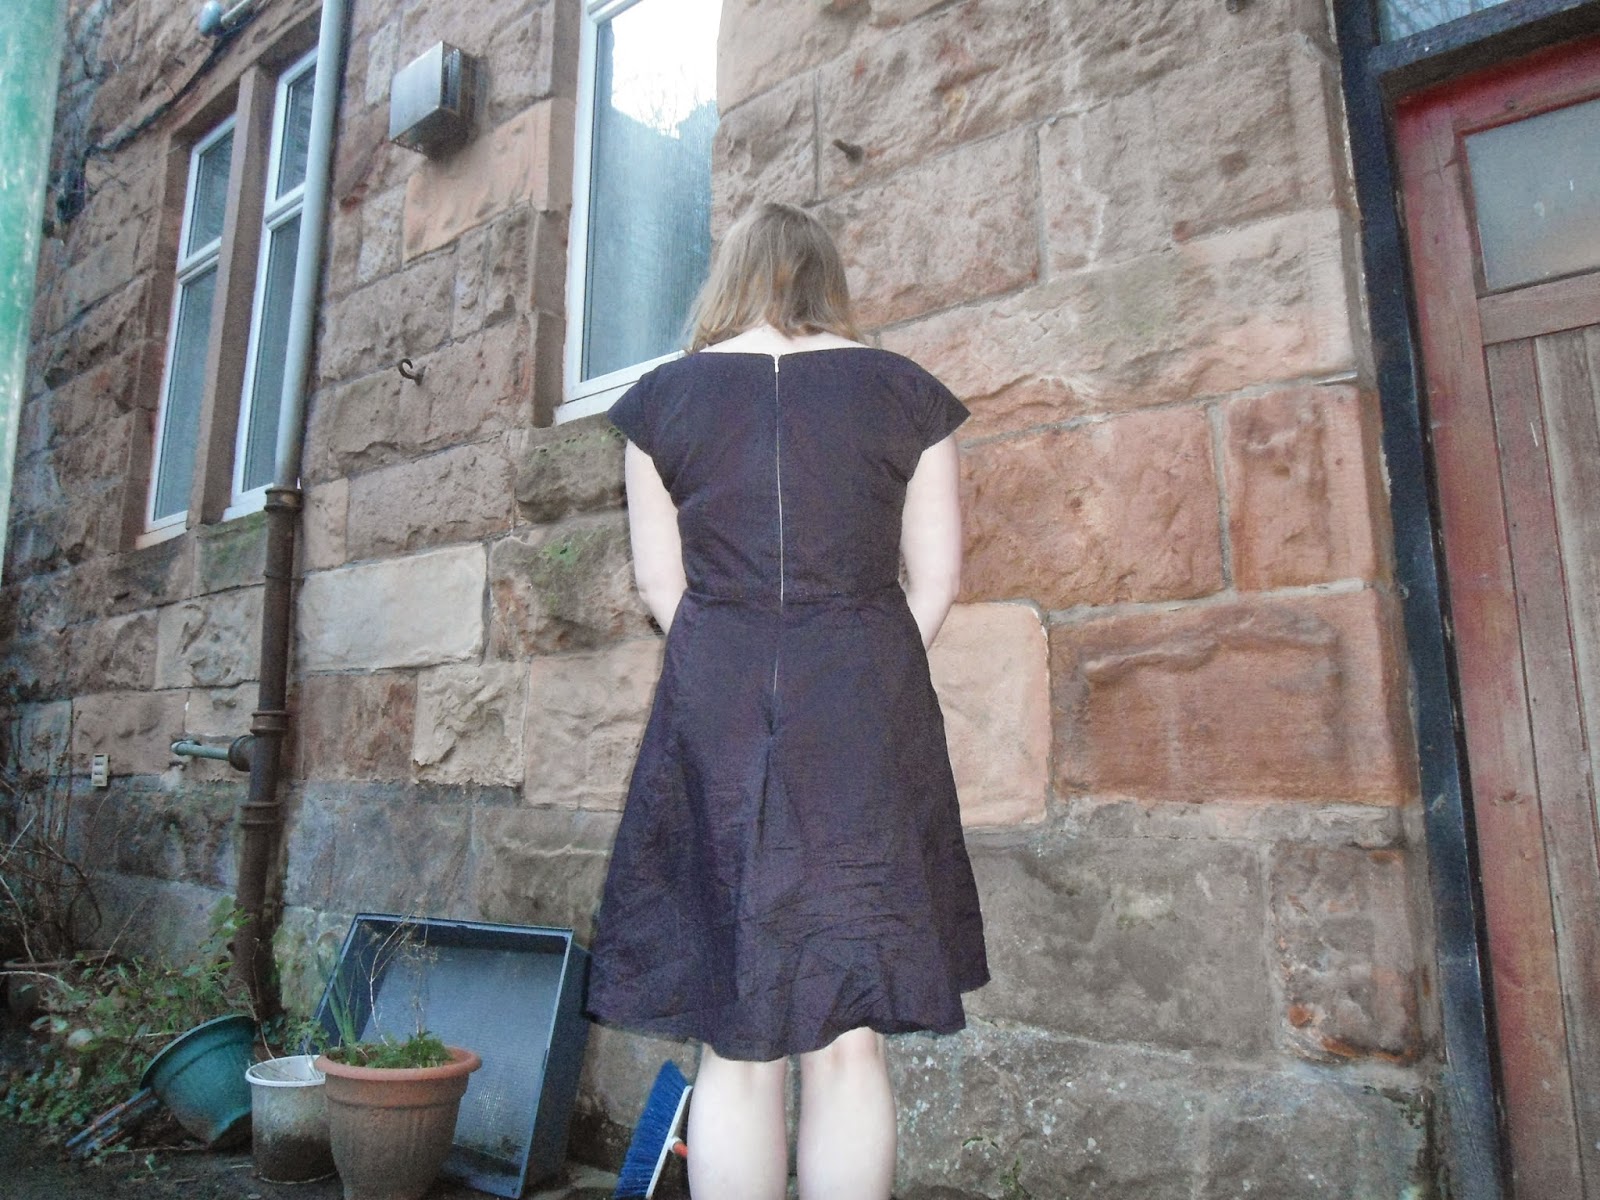
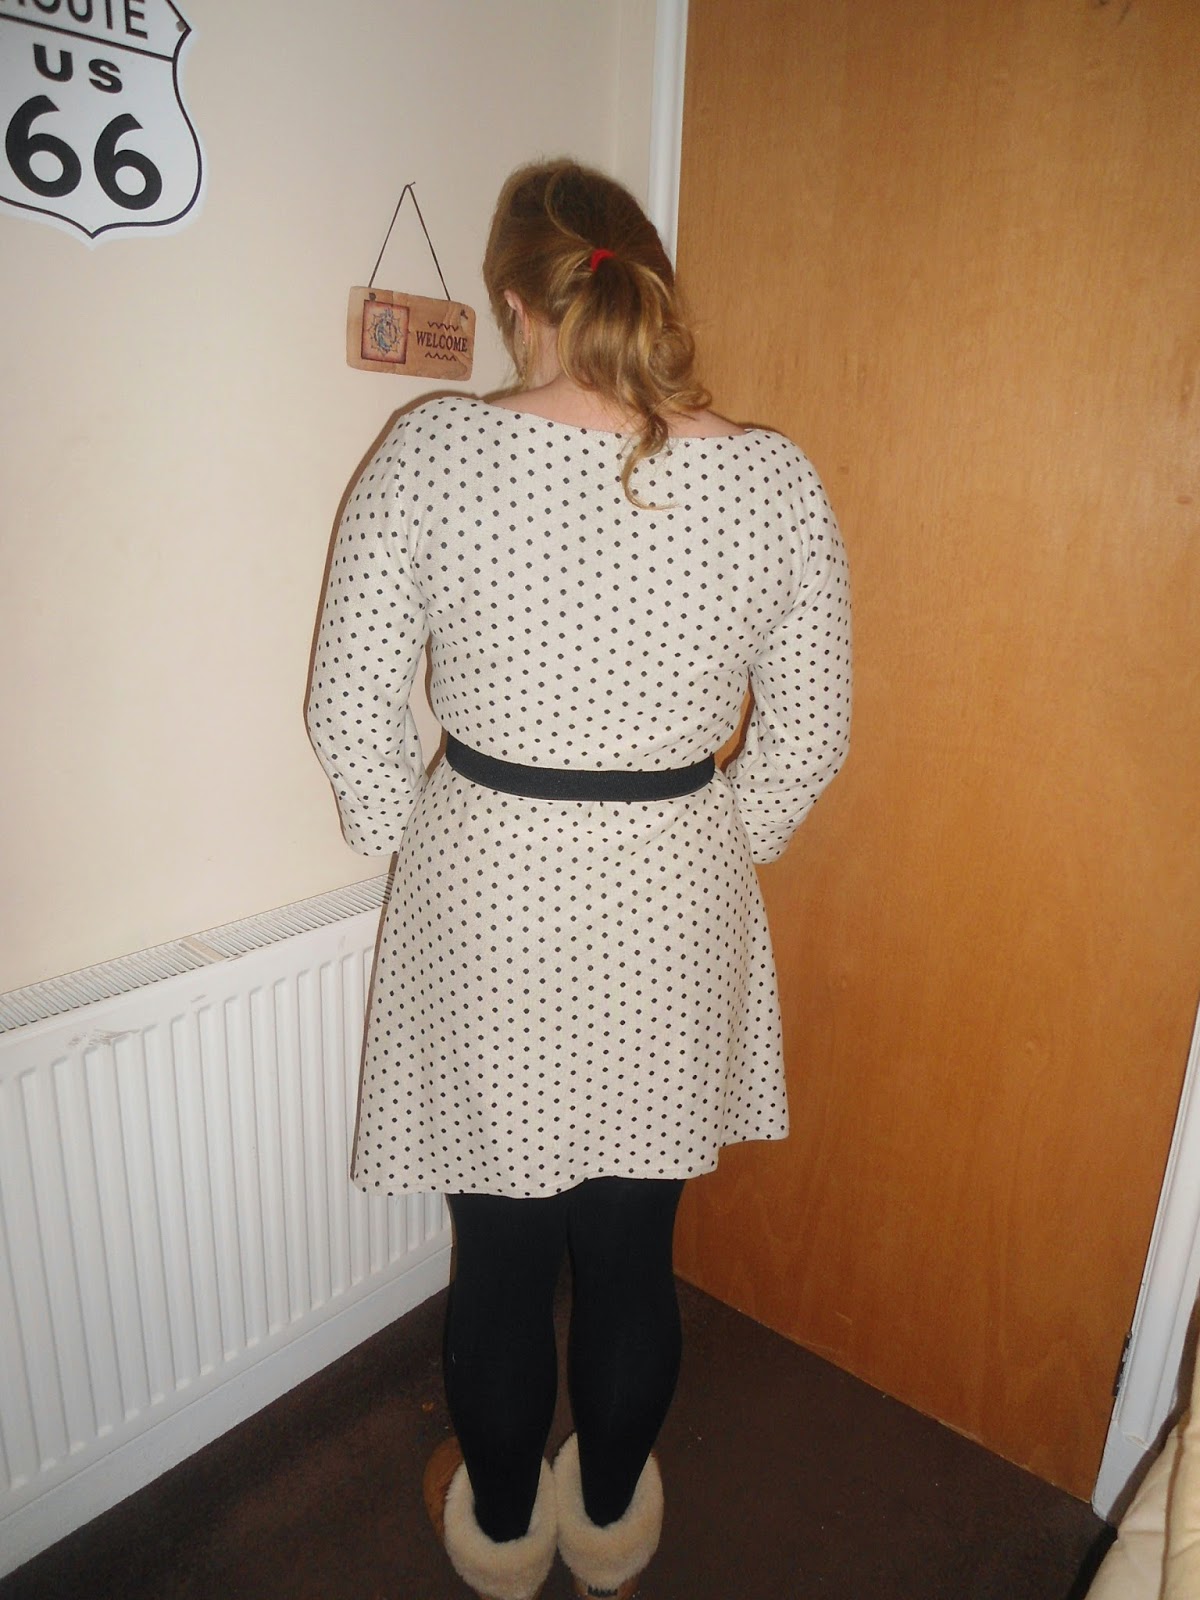
I made up a muslin of this dress using the wrap skirt around Christmas however was never too happy with the resultant fit. I transferred a few changes onto the pattern pieces however I think I still require more :-(. The muslin was mostly OK - from a few days wear I assessed that the back neckline needed a little more taking in and the straps were a little too long.
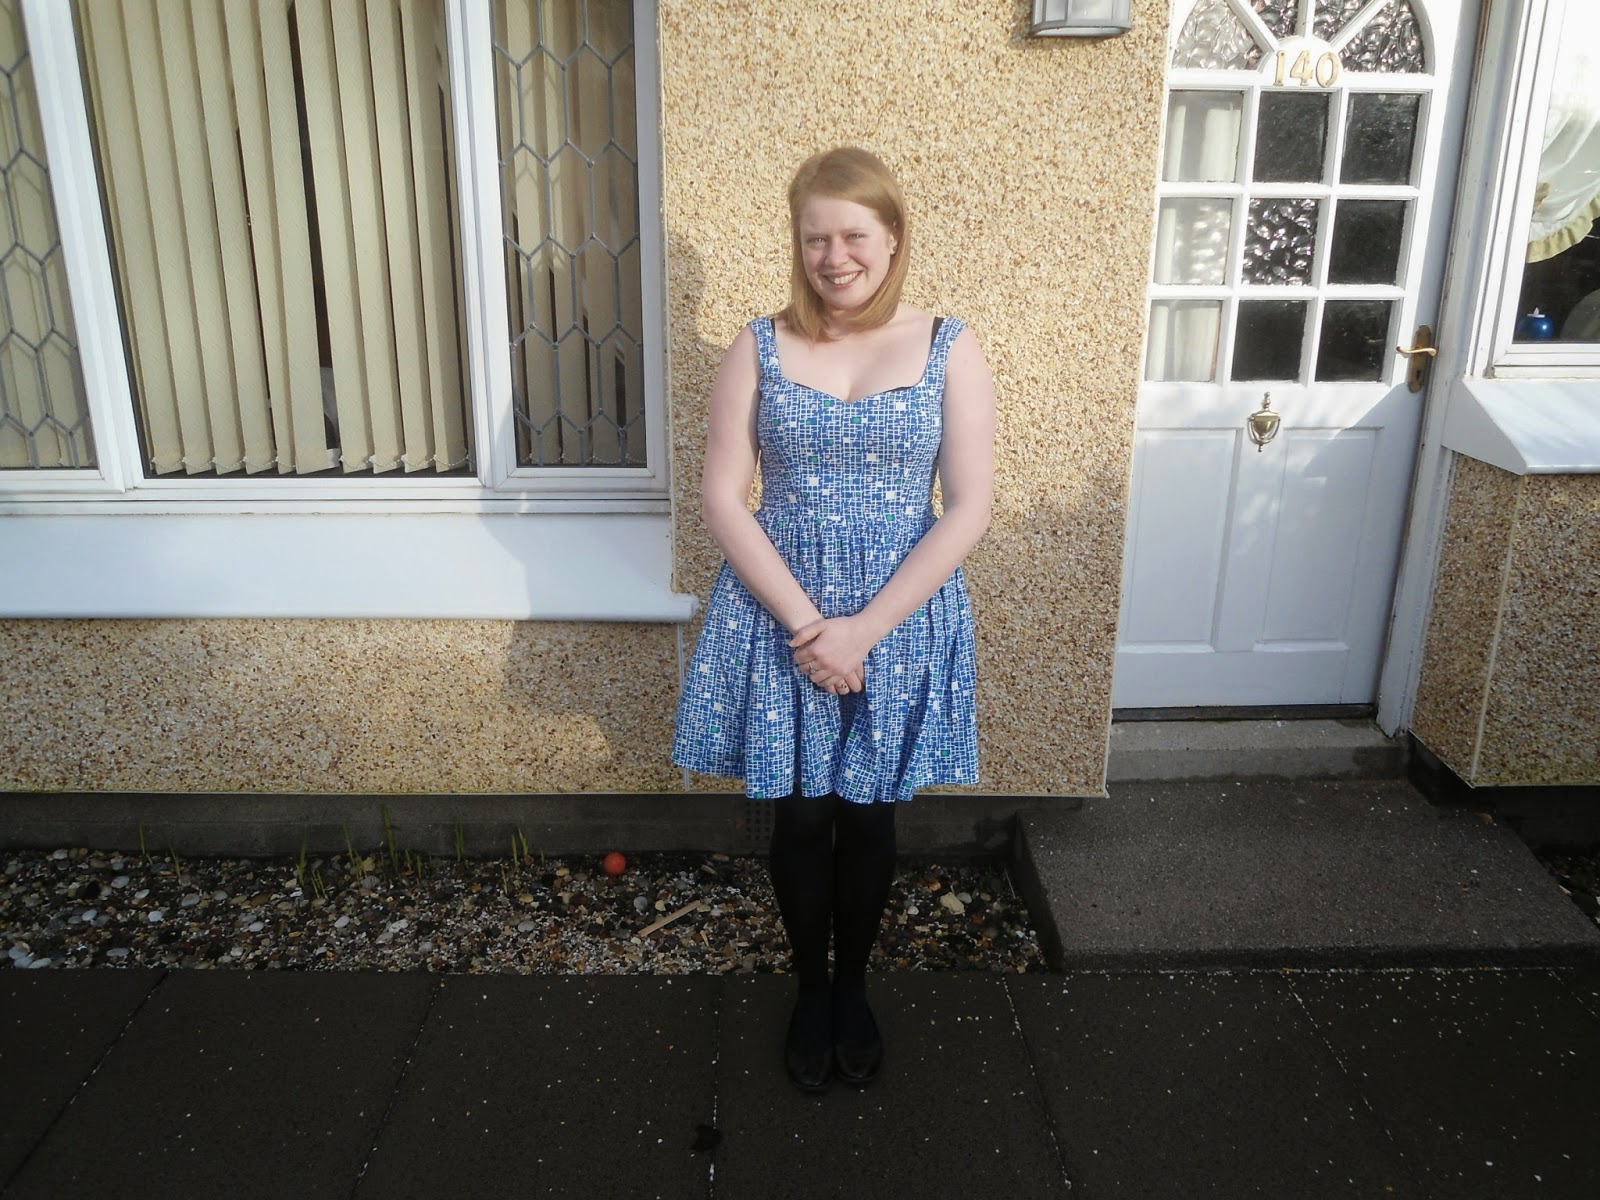
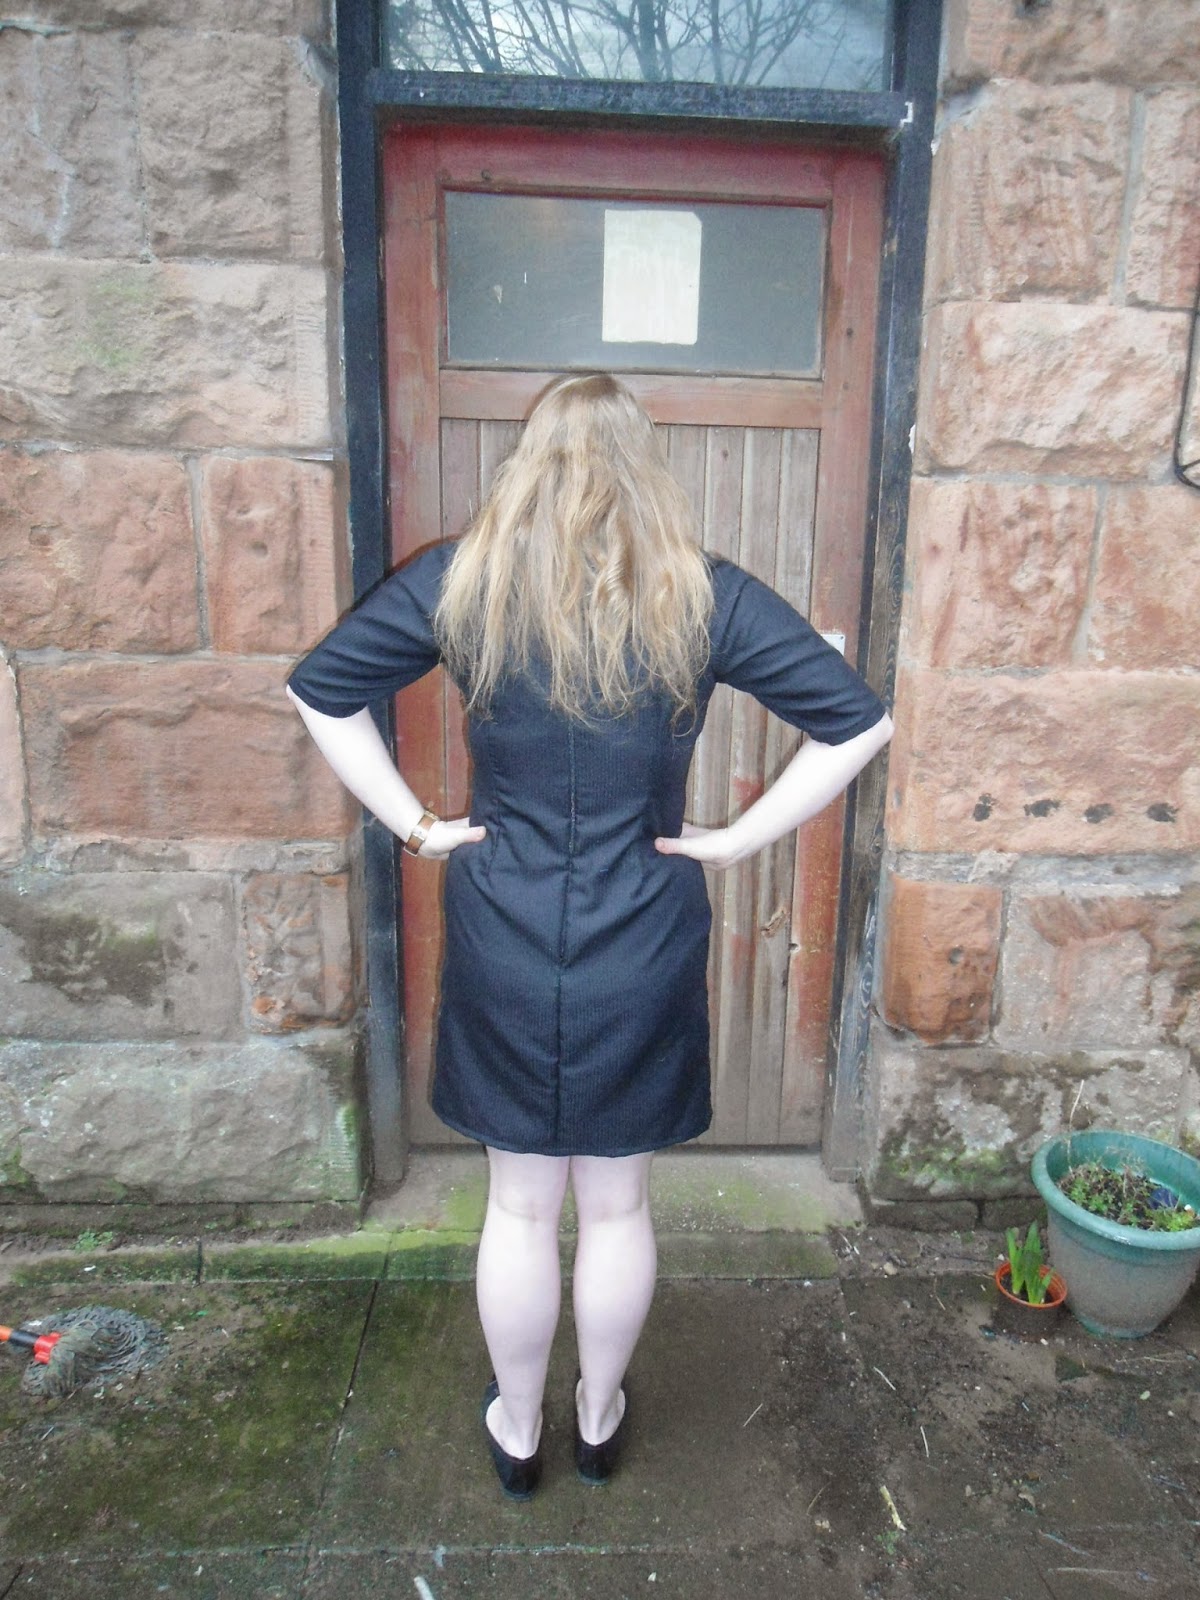
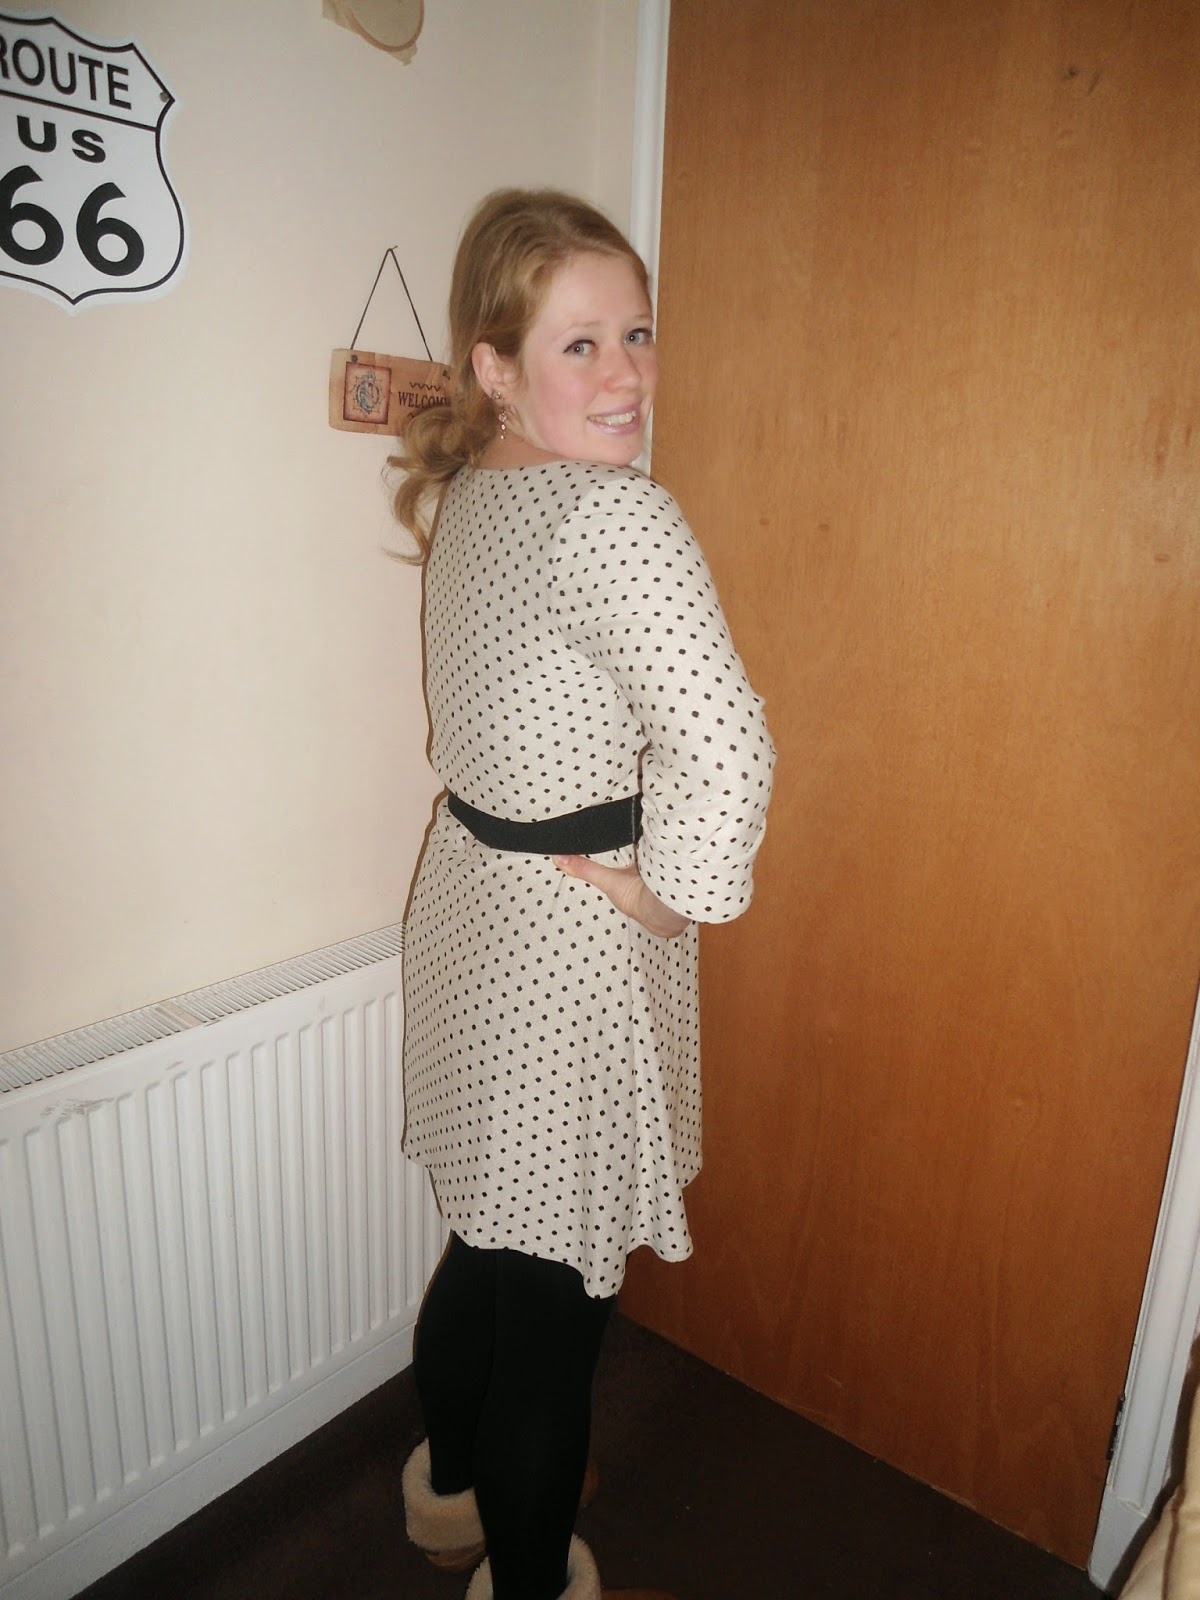
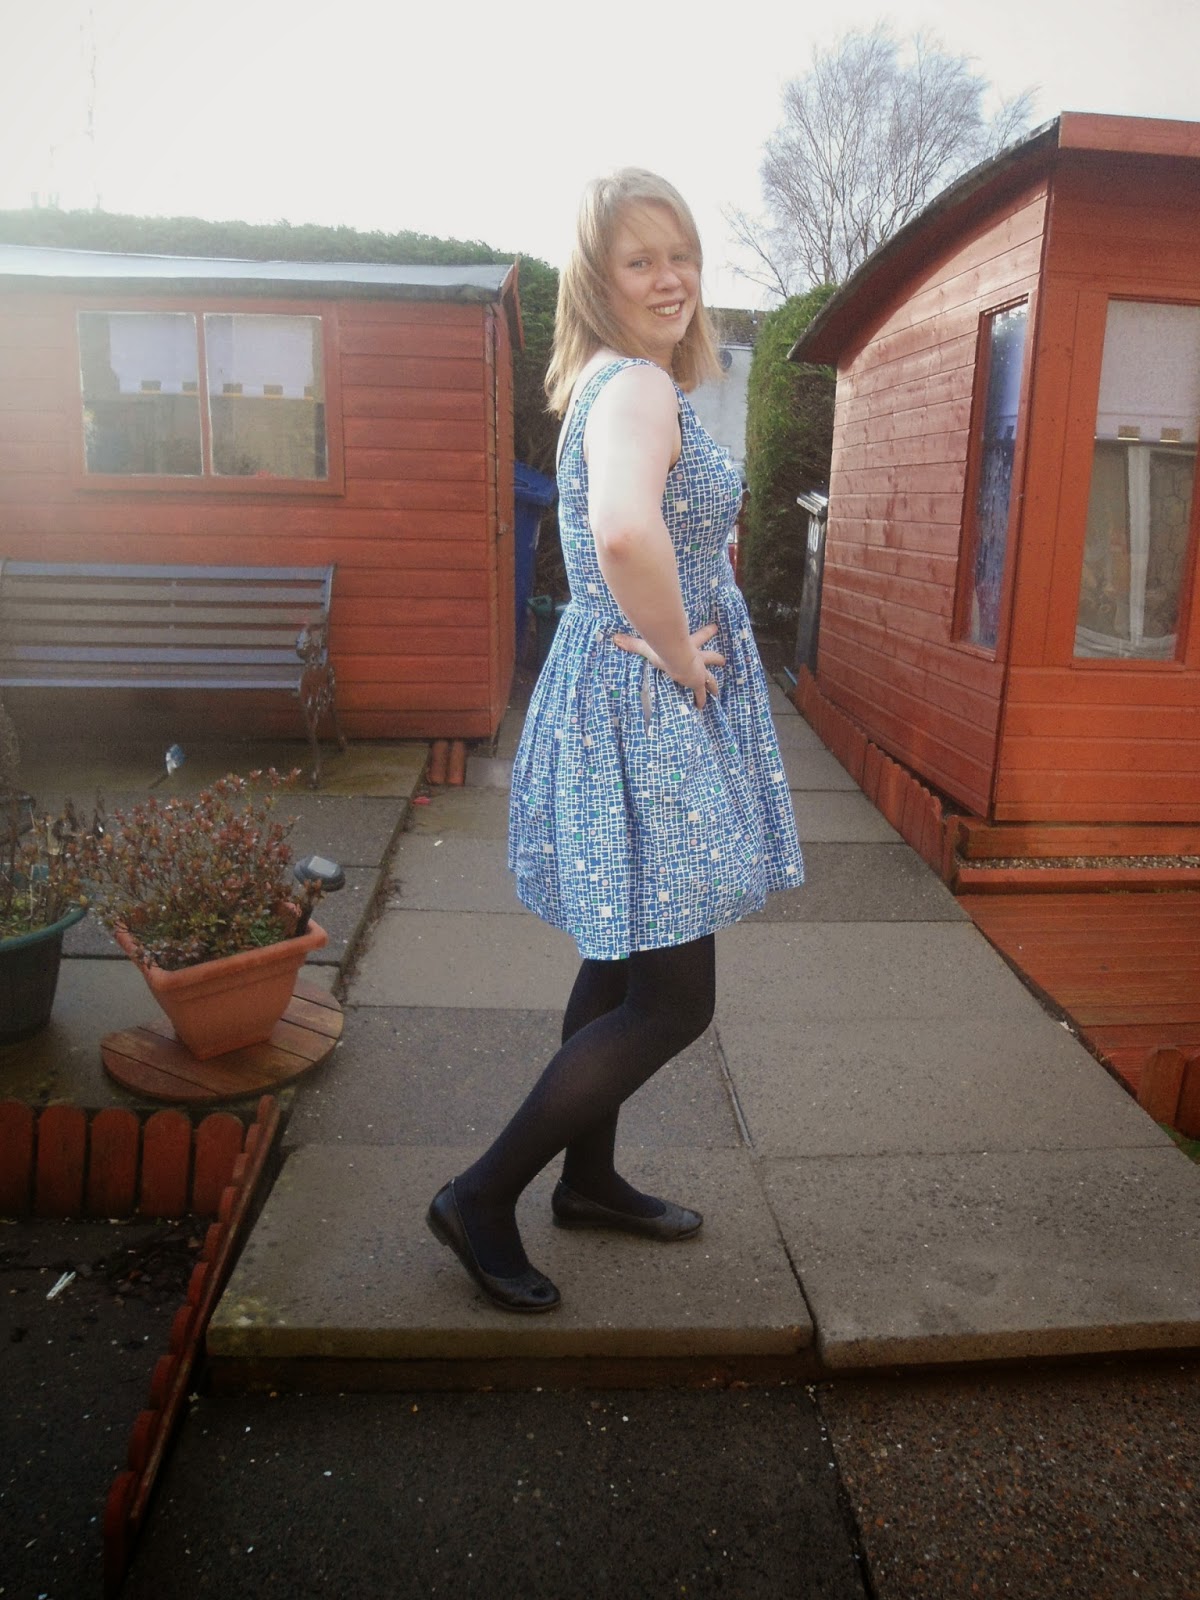
Take 2 has resulted in a dress which fitted pretty good until it came to my bust - I removed a wedge the first time which left a still gaping back so then returned and removed a little more. The dress was now an inch too narrow! I unpicked the zip and it now sits on the very edge of the fabric so I'll need to remember this if I make it up again. The tops of the straps were sewn with a 3/4" seam allowance which meant the outcome was a little snug around the back of my shoulder so maybe next time I'll drop the armseye a little? They are however the correct length now. So there's that. I think the sweetheart needs a little bit of a raise too - this isn't an unusual bra for me so the fact you can see the top of the bra suggests that this needs raising a touch. nothing major though.

The straps of this dress are still sitting too wide on my shoulders so thats another reason why you get a great view of my bra. What I'm thinking if I make version 3 is to take some width out of the CF side seams and then add it back in to the side seam of the SF piece. Another method I'm toying with is to try a narrow shoulder adjustment - however I'm not 100 % convinced that this will fix the issue as the base of the arms is still very wide. Does anyone have any thoughts on this?
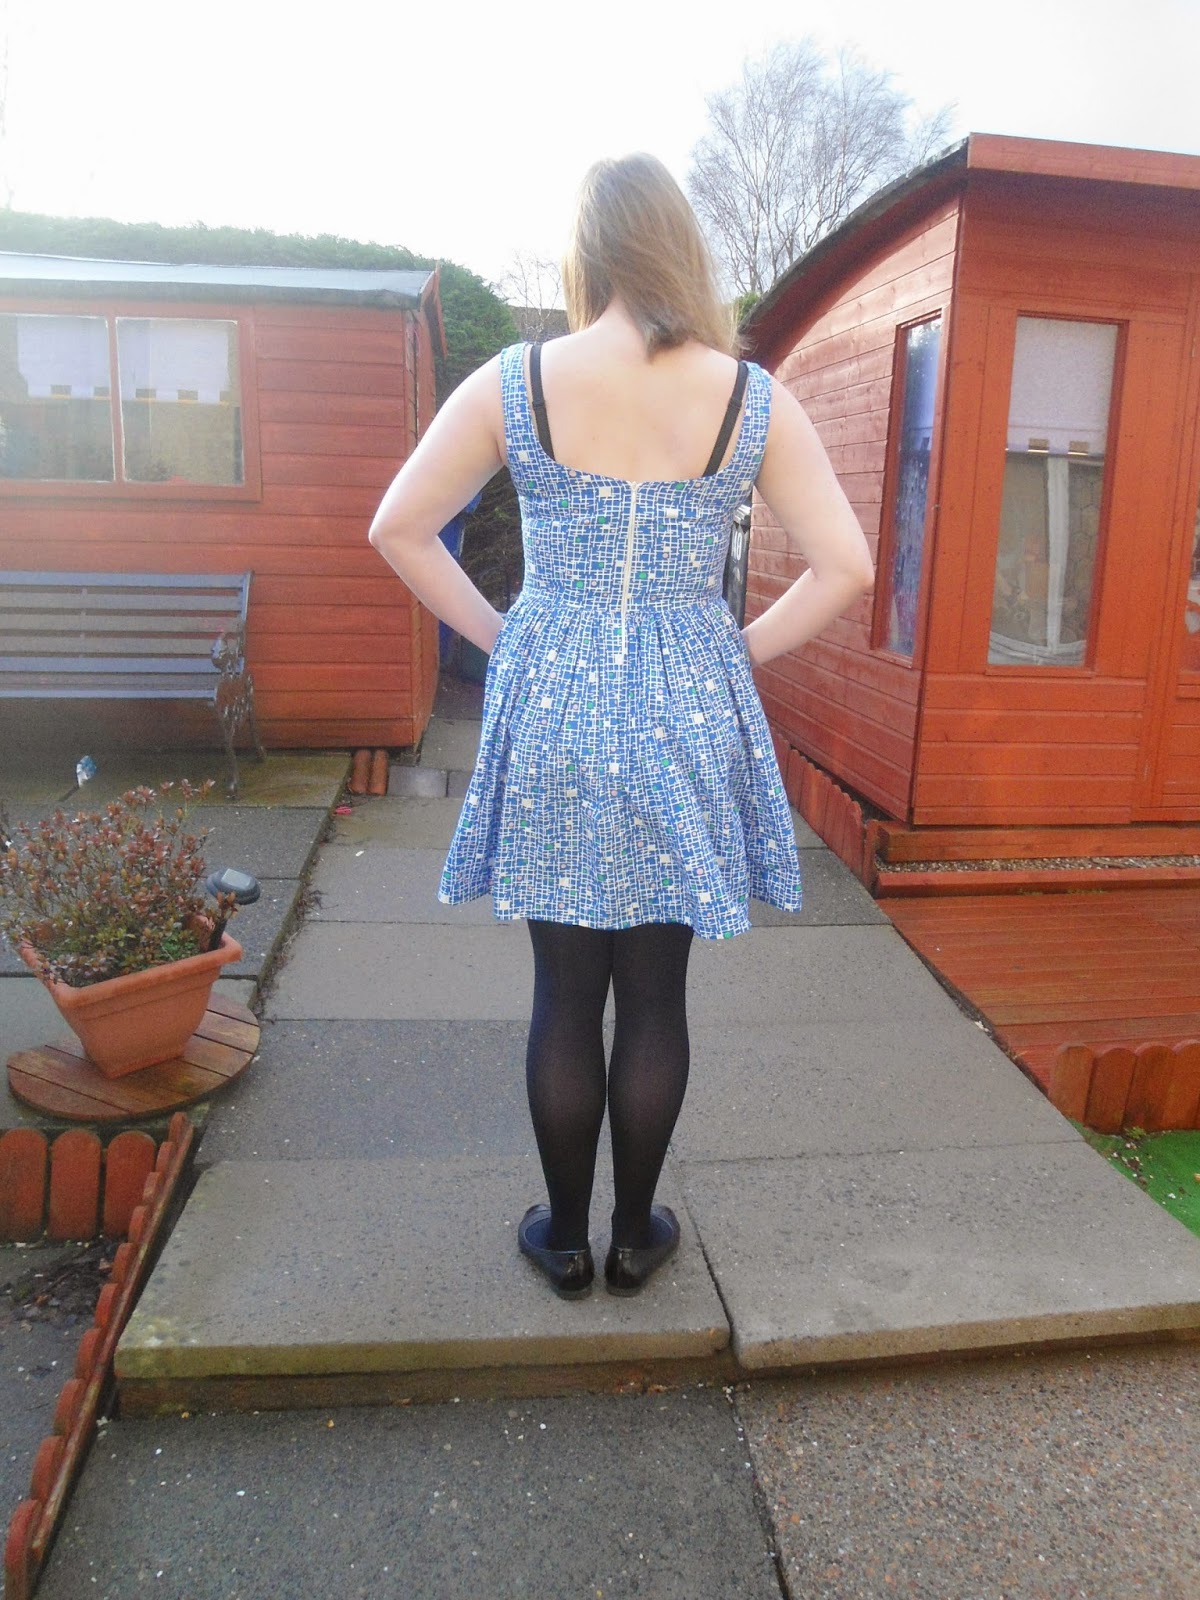
One other change that I'm toying with making is to make a small sway back adjustment. This adjustment makes sense as taking the length out of the straps has lifted the waistline so that it now sits on my natural waist however seems to dip by the time the seam hits the middle of my back and bags out a little. another slight disclaimer: I made a slight error in cutting my skirt fabric - I measured the length from my waist to my knee and cut this length. Completely omitting seam allowances and hem allowances. Ooops!! So its a Kim Mini really....

So I'm mostly happy :-D however it seems that by the time the fit is 'just so' this will no longer be the Kim dress :-p. This is still very much a wearable dress although I am a bit annoyed at the zip  - it seems to line up ok at the seams however as I always find when I buy poorer quality John Lewis zips I can never get the zip invisible. *Jennifer learn from this*!!!


Did anyone else been taking part in the Kim Sew Along?

Have a good weekend all :-) (I'm currently waiting for my parents to get up so we can go on some advnture in Glasgow somewhere!)

JCS xx

Tuesday, 24 February 2015

Completed: By Hand London Anna Dress

Back in April last year I backed By Hand London's kickstarter campaign and the other weekend while I felt really ill with my kidney infection I got the best delivery ever: a box full of patterns pins and fabric! This lifted my mood no end as I have been itching to try some of their patterns since last year when I backed them!

Before I got the delivery I had in my mind that I wanted to try the Elizalex dress first, however on a complete whim I picked the Anna pattern out of the box and traced it all out.

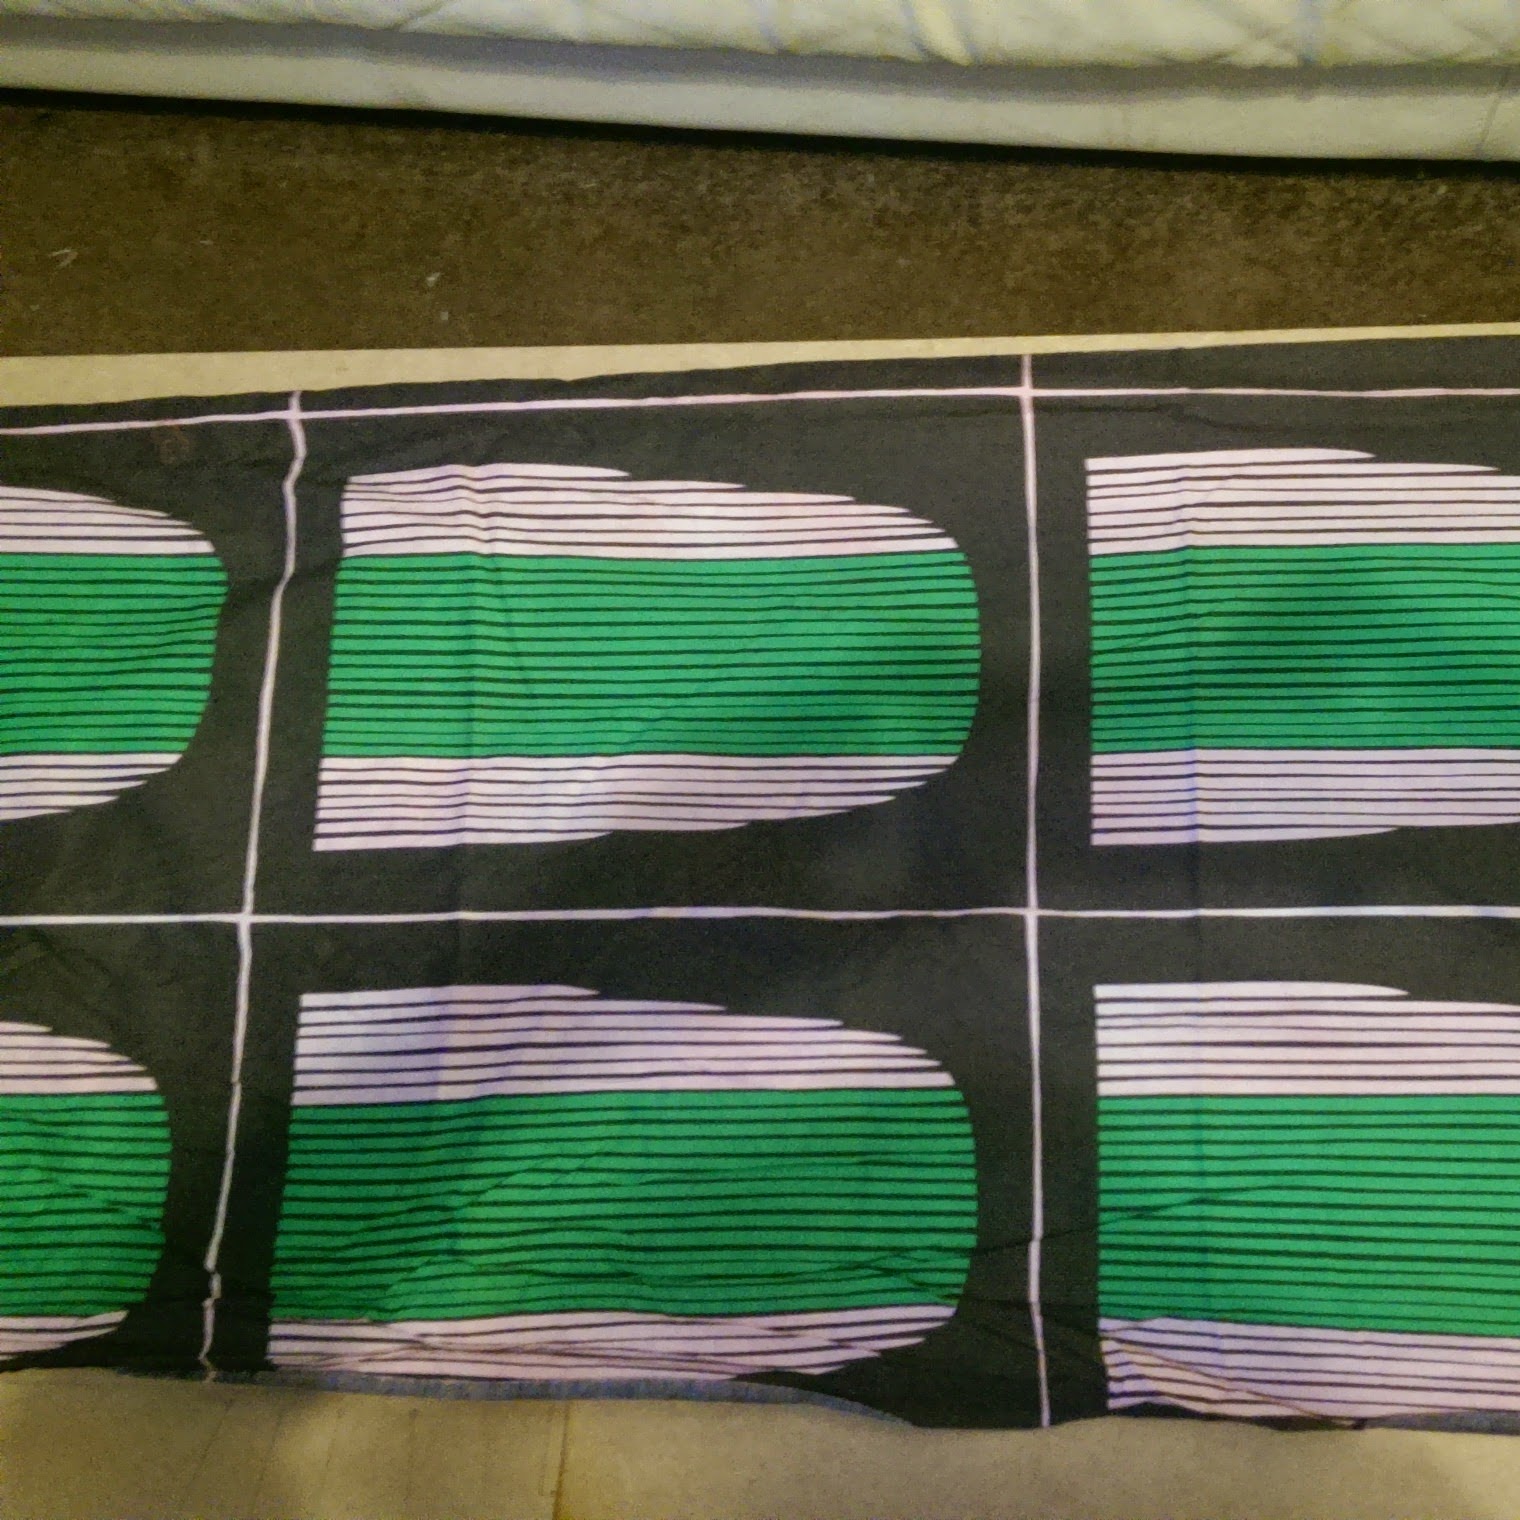
Lets talk about the fabric. I picked up this 3 m length of lightweight cotton from a recent trip to Ikea for the pricely sum of £10. The pink parts of the pattern were white before the prewash however a red top somehow made it into the same wash cycle...

Strange sporran esque print!


Due to my measurements I sit just above the finished sizes for a UK 14/ US 10 -so because this is the size I cut for my Kim muslin (and intended on using 1/2 inch seams however managed to use the full 5/8 seam) this is the size that I cut here too. I notionally glanced through the sewalong for the dress and spied that there was a lined version of the dress. I'm not hugely keen on facings so opted for the V-necked lined version of the dress.

The pin showing where the zip lies.

In a bold move, I inserted the zip without really checking if i would require to take the neckline in, however as it is an alteration I make on every garment I brass necked it and took the back neck in by 1.5 inches on either side and the results were perfect!
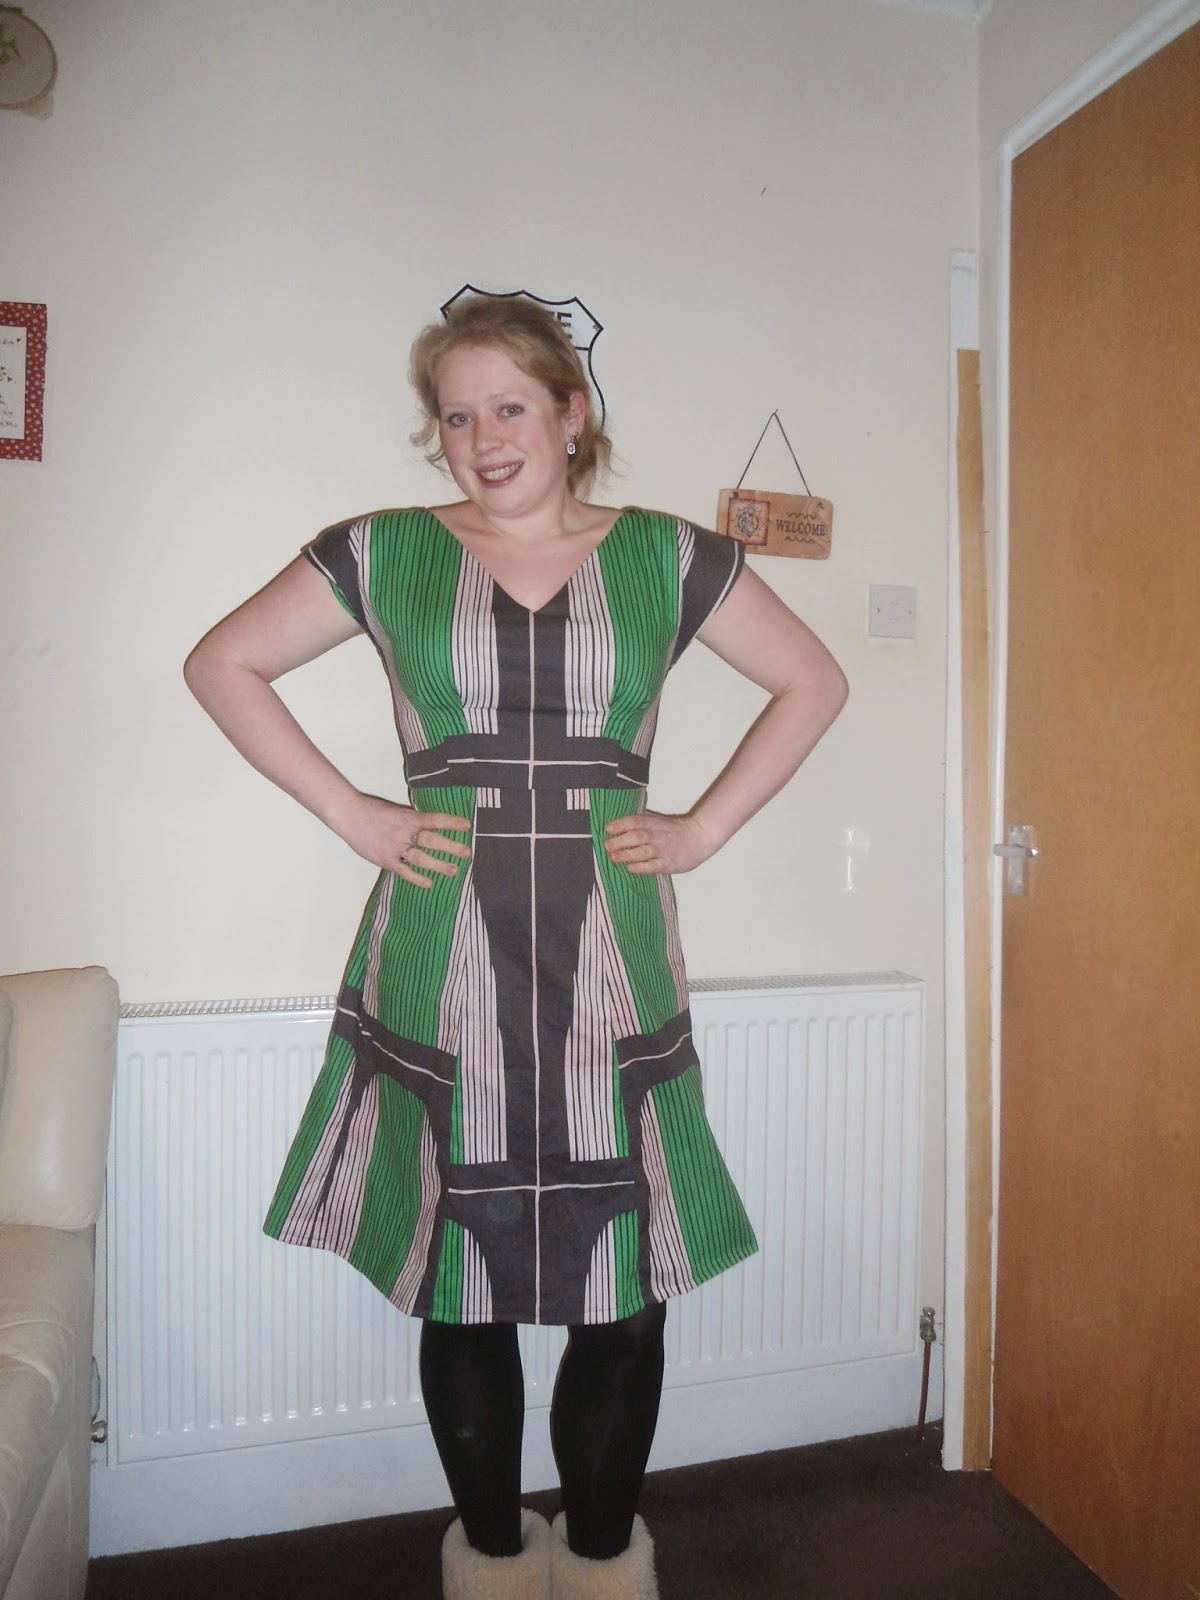
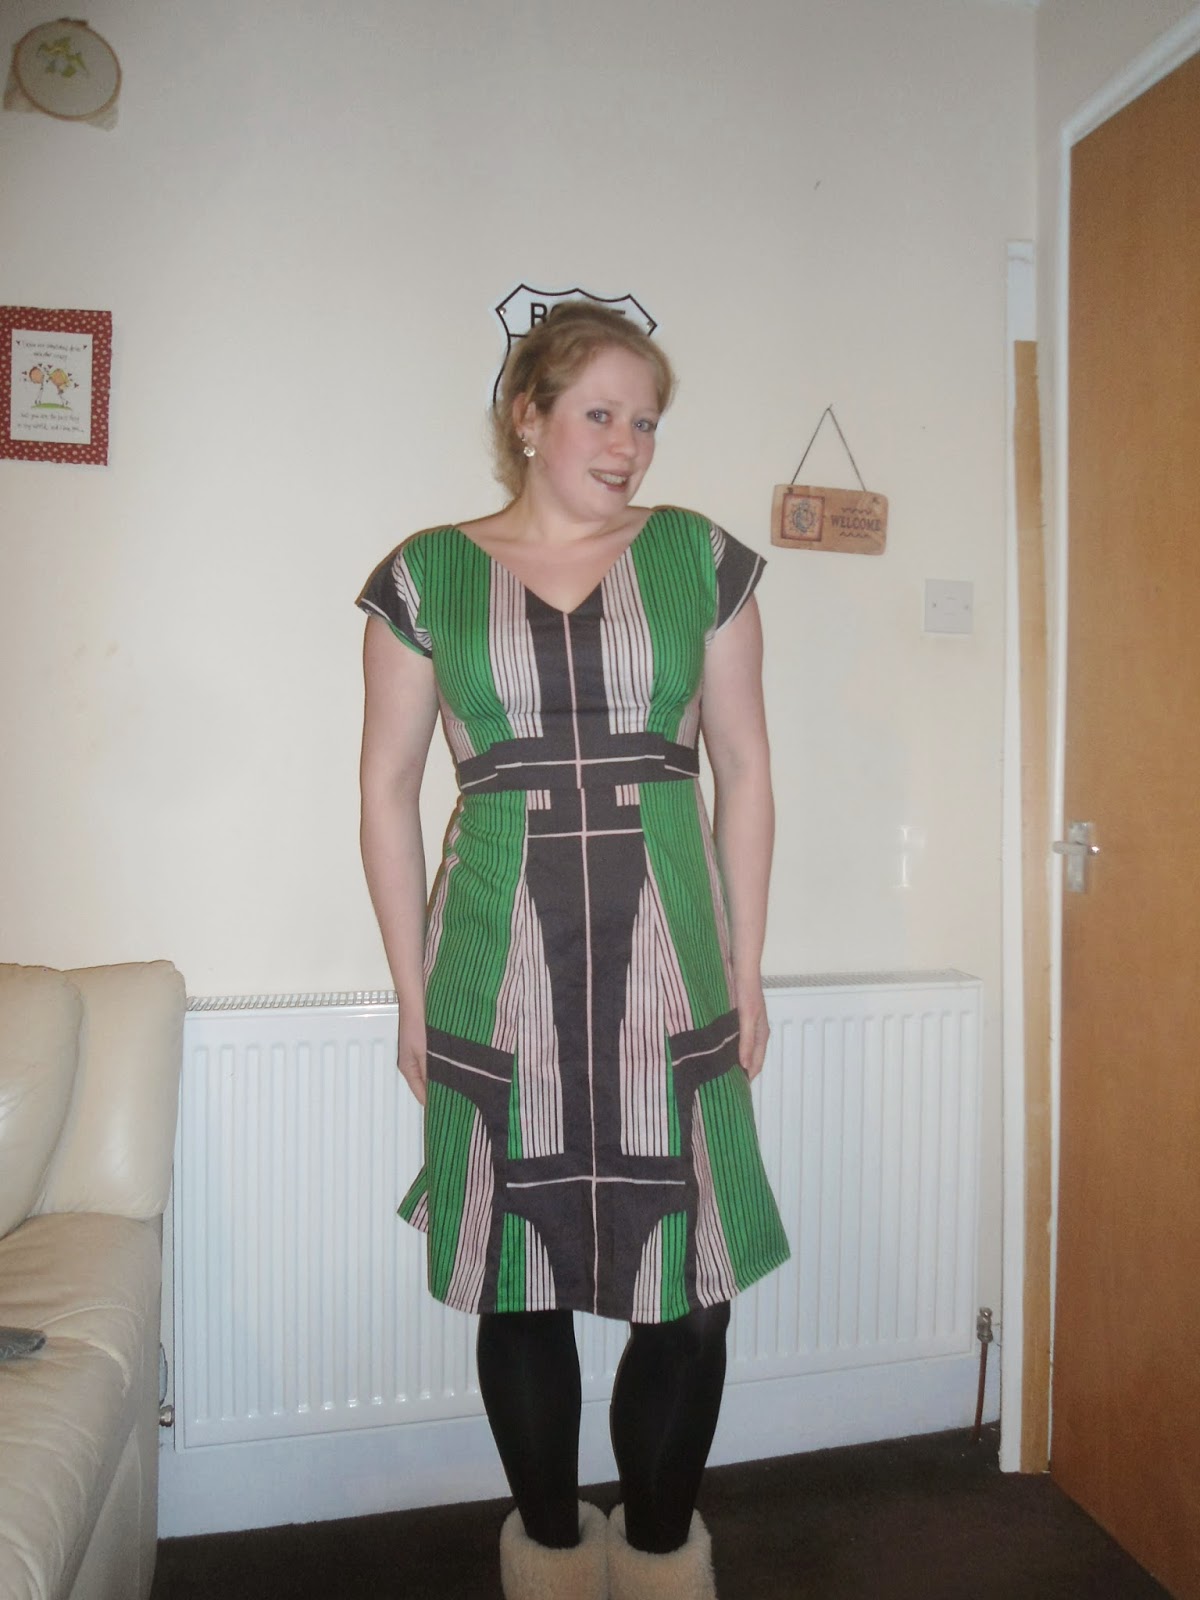
If you can get past the print the fit is really great
 I really must admit. I get the hype. Before I was a little skeptical over the BHL Anna and weather I actually liked it but this dress is so flattering and the fit is so good straight off the pattern sheets. This dress was initially only going to be a muslin however it initially fit so well I couldn't see it go to waste and there marks the start of the Dylon drama!

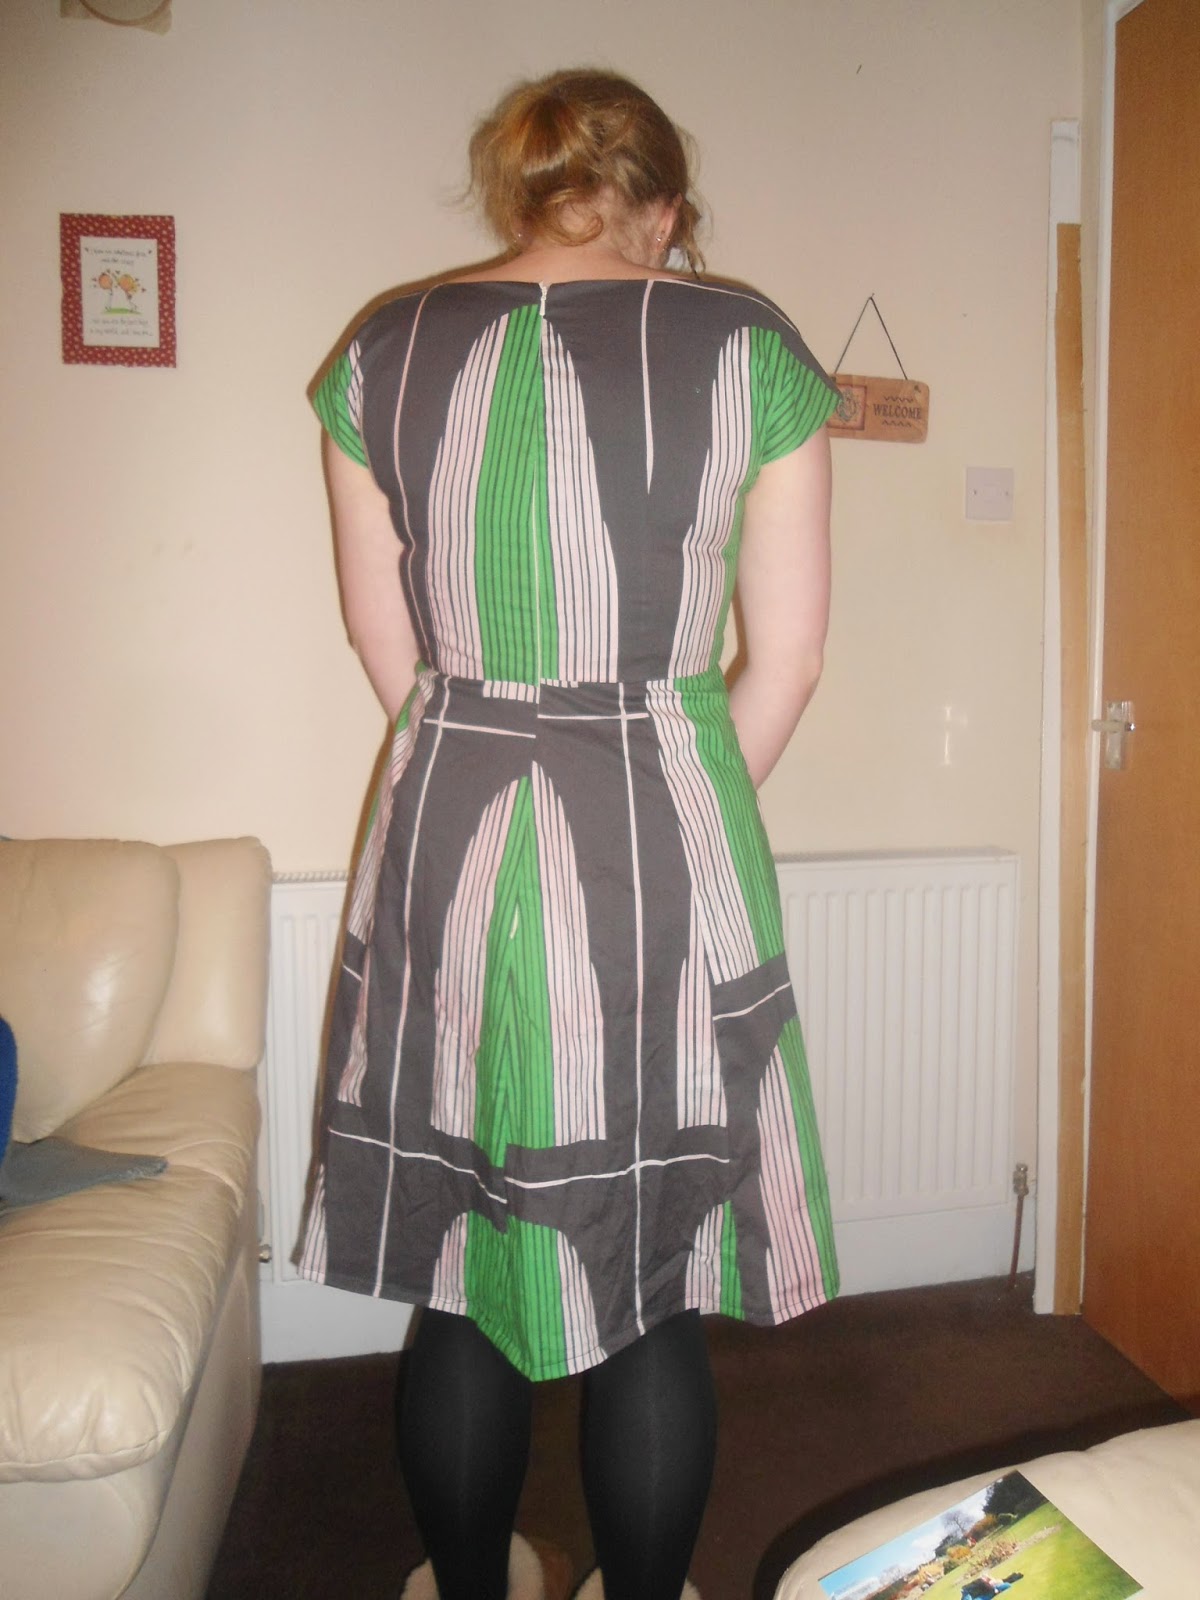
I  had a right headache with this fabric and where to place the print, I'm not 100 % sold on the print either. One of the main problems was that lining up wrong on the CF skirt would have left me with a sporran.... I tried a few different placements with the different pattern pieces as I didn't have enough of it to properly match the print. In fact in the end I loved the print so much I went and bought Dylon.

 Print hell this was! The placement and just the overall pattern of the fabric looked plain bad.
No gapey nackline :-D

I realised that because it was a big print with multiple colours that the dye may not take well so tried bleaching it. After two rounds of bleaching the colour of the dress was no different apart from a few faded patches and I had read that bleaching destroys the fibres of the fabric :-(.

However 2 dyes later I have a wearable dress! I finished a little early today so I tried to get some photos in what was left of the light...


I only realised that this has been ongoing for so long when I saw the photos and had had an interim haircut...


An outtake - I think someone came in the close at this point!
I must admit there are a few thngs I would tweak on this dress however nothing ~major. If I make this dress up again I definately will have to take some length out of the skirt - I cut out about an inch after I tried it on and even then took a huge hem. In addition I think i will also take an inch out of the waist - i prefer a slightly more snug fit. The final alteration I will make is to omit the sporran print fabric. I much prefer the black...

Has anyone else made up the Anna with the lining? I really prefer linings over facings I think the finish is so much neater.

Have a good week folks :-)

Jen xx

Wednesday, 28 January 2015

Completed New Look 6144

You may remember that I made this pattern up about a year ago and the whole construction was riddled with errors as well as a considerable amount of head fuck. All in all this dress took me around 3 weeks to complete.
New Look 6144

So I thought that with another years worth of sewing experience under my belt I would try again!

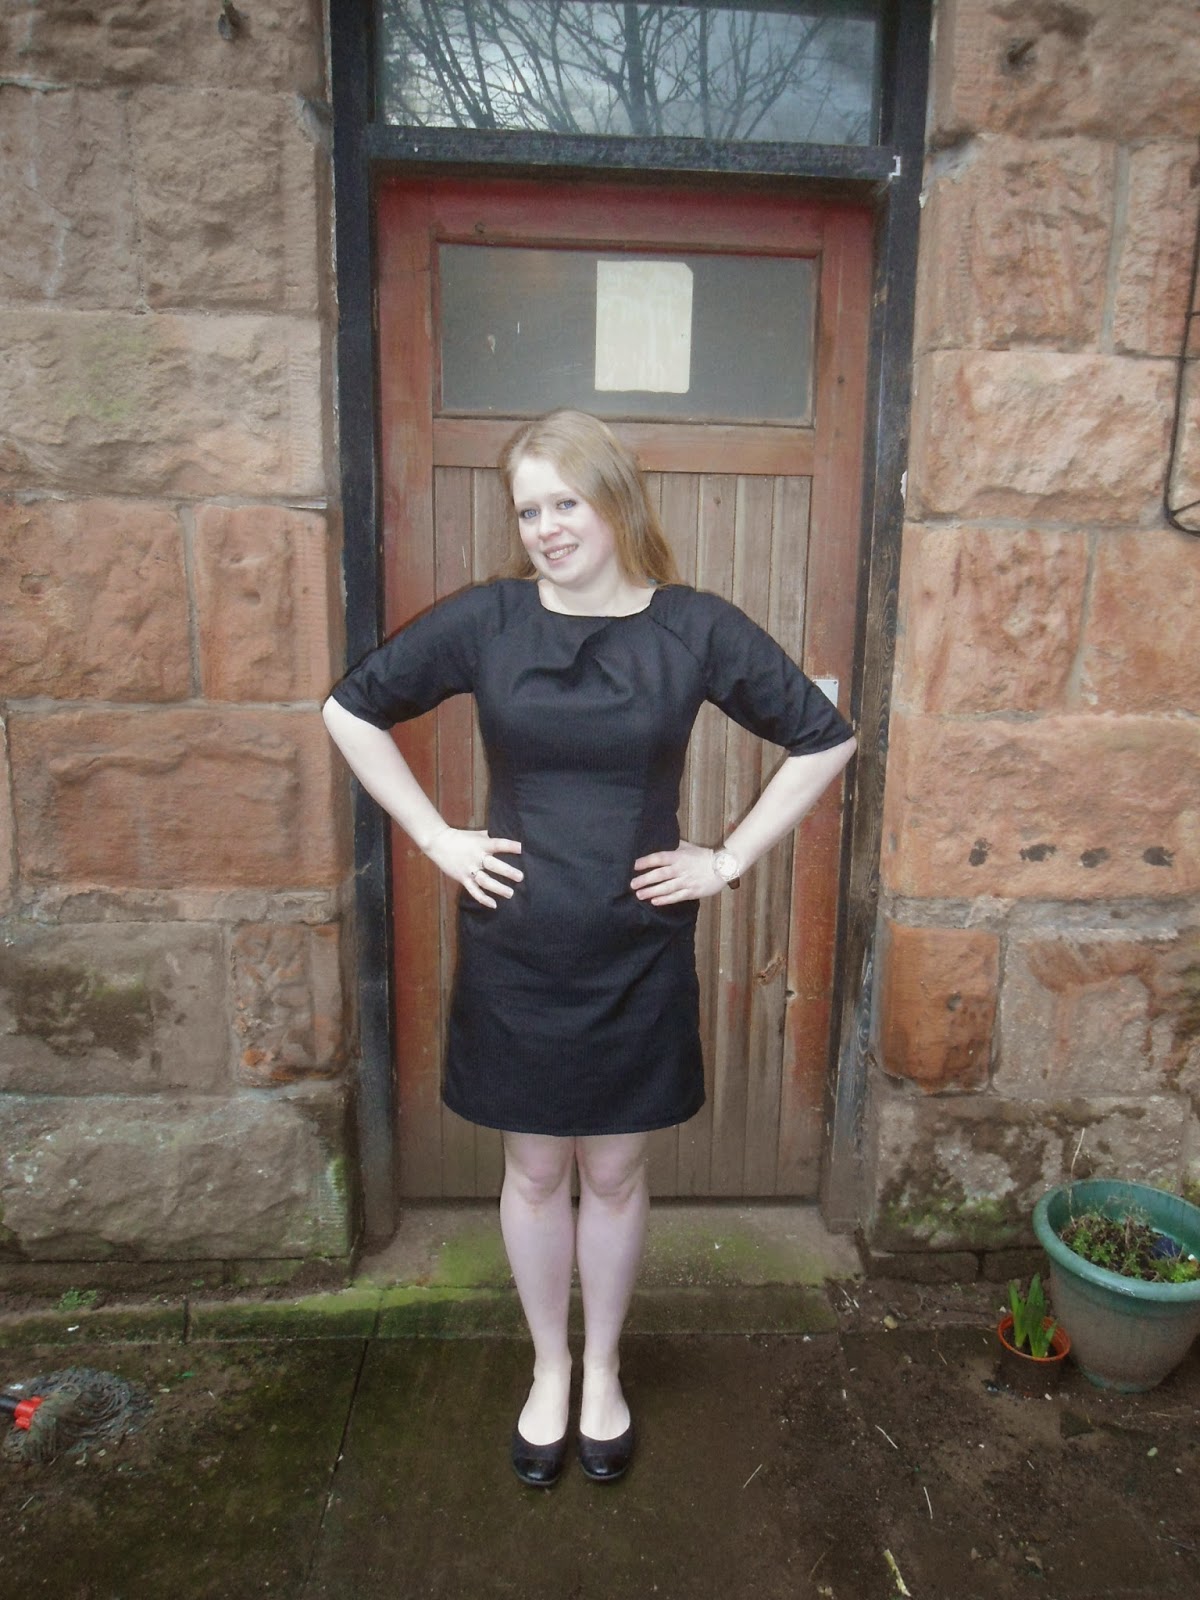
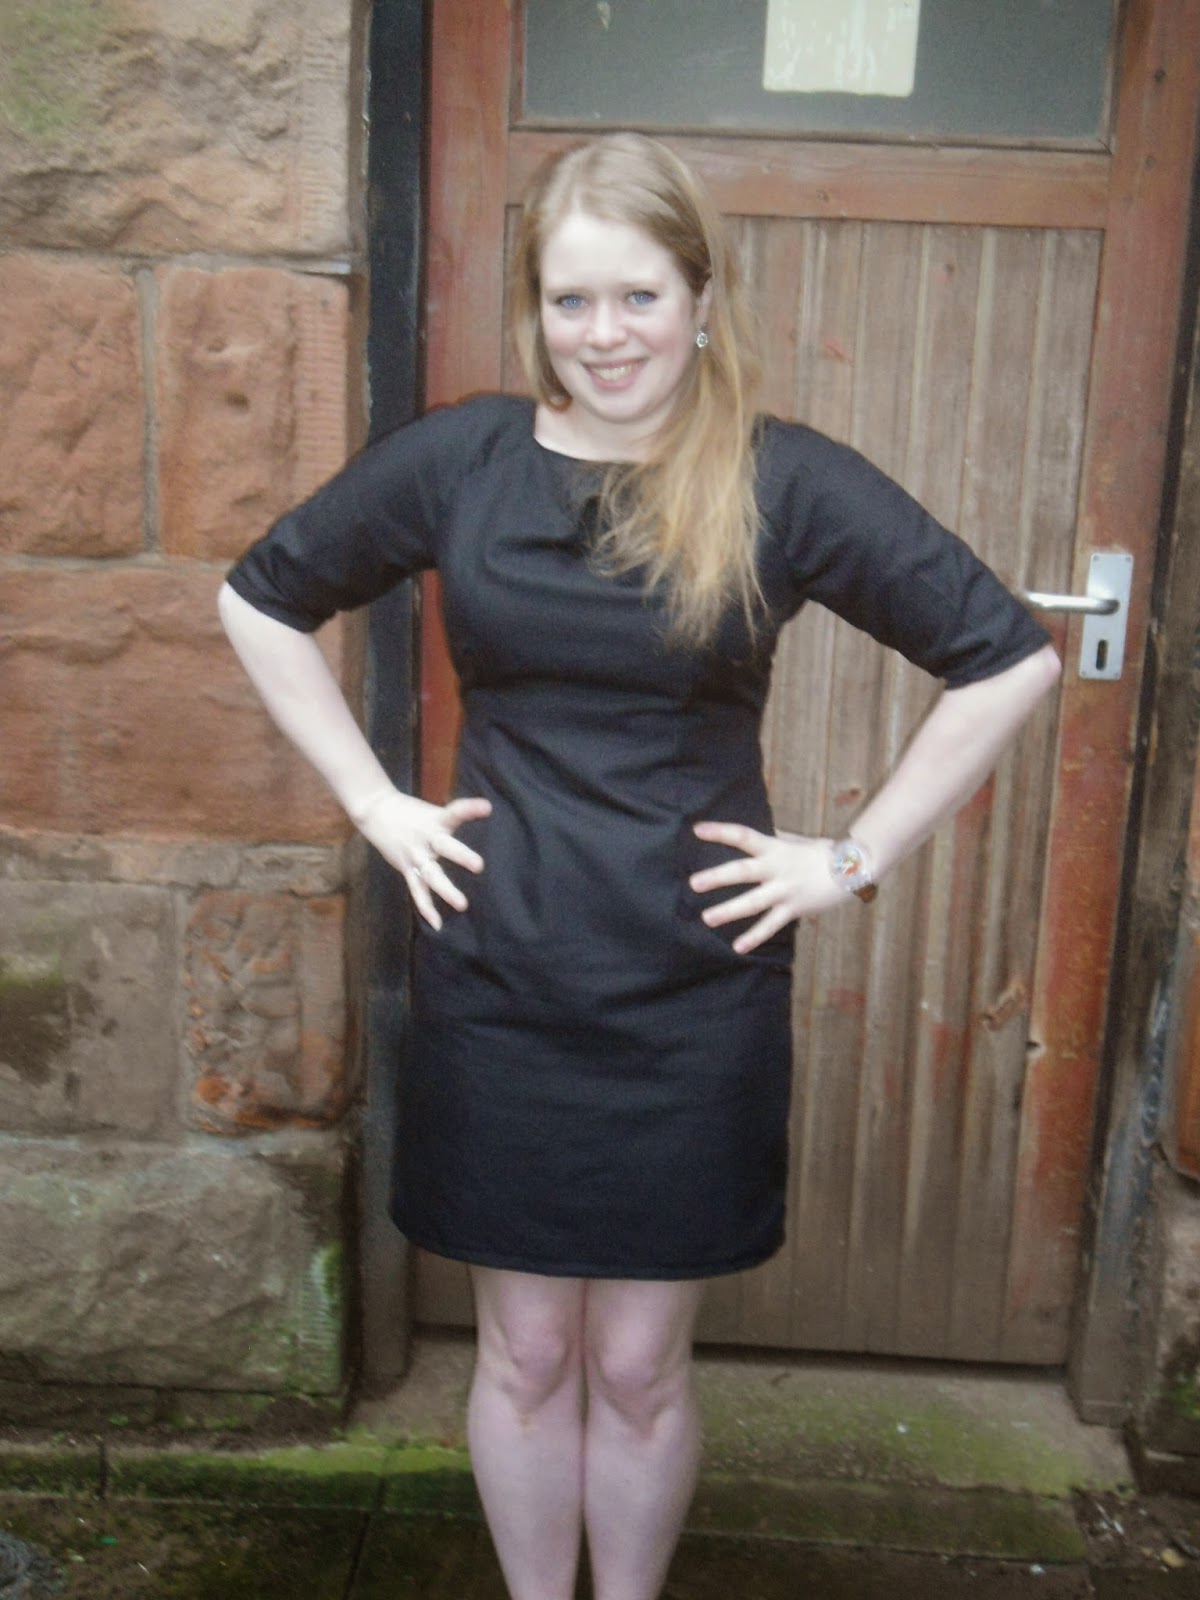
I had to rake through my previous posts to determine what size I made the last time however they didn't really allude to much. Matching the old pieces against the pattern tissue, I had cut a 12. This time I cut a 14 and removed 1.5 cm of length from the waist and 1 inch from the hem and here's the results.

The fabric I used was a really nice Herringbone 59 inch poly cotton which I picked up from Mandors for £5.99 / m. the pattern suggested 1.6 m but I read the yard requirements like a dufus and now have an extra 60 cm of fabric which I have no idea what to do with! Any ideas? In any case it handles really well and didn't shrink much in the wash/dry.
Close up to see the slight stripe in the fabric

To add a fun twist to the pattern I decided to use some scraps of this snowman fabric for both the front and back facing.I would have a picture, but you know - if the garment I made am having a full blown war with ever surfaces on the blog, I'll link back!

The two half of the Raglan sleeves when laid out adjacent show how deep the dart of the dahlias sleeves should have been.
One thing which became really apparent while preparing the pattern pieces was the extent of the problem in the raglan sleeve of the dahlia. The curve at the top of the sleeve is significant and would make a deep dart in the 1 piece dahlia sleeve. The sleeve problem of Dahlia is one of the reasons I decided to revisit this pattern. I remember these sleeves coming together really easily and couldn't remember how they were constructed. It seems that the sleeves do work well in two piece, I may redraft the sleeves for dahlia based on these and try that one again.

The length of this dress is better too - I don't think I removed too much from the hem length this time
One of the changes I made to the dress was to remove the kickpleat from the back skirt. I ended up removing it the last time and this time after a fewdays wear i'm still not sure that i'm missing it? I think the next time I also need to remove a further inch fron the waist but the current adjustment means the dress sits almost right this was also revealed through a day's wear.
I don't know what happened when sewing the back - it seems to be pulling down?

So all in I think this dress worked OK. I'm not so happy with the pulling at the back or beneath the pleat at the front neckline I think this might need a slight FBA? The back neckline needs brought in a little as per my usual adjustment, but I can live with the back not being perfect. In contrast this dress took me about 8-9 hours including tracing, pinning and cutting as well as using tailors tacks to mark the darts compared with the previous 3 week marathon!

I'm still recovering from a kidney infection that absolutely flored me all of last weekend and the beginning of this week so for me the weekend can't come soon enough - on that note enjoy the rest of the week and heres to a great weekend!

Jen xx


Sunday, 18 January 2015

Completed: Simplicity 2442

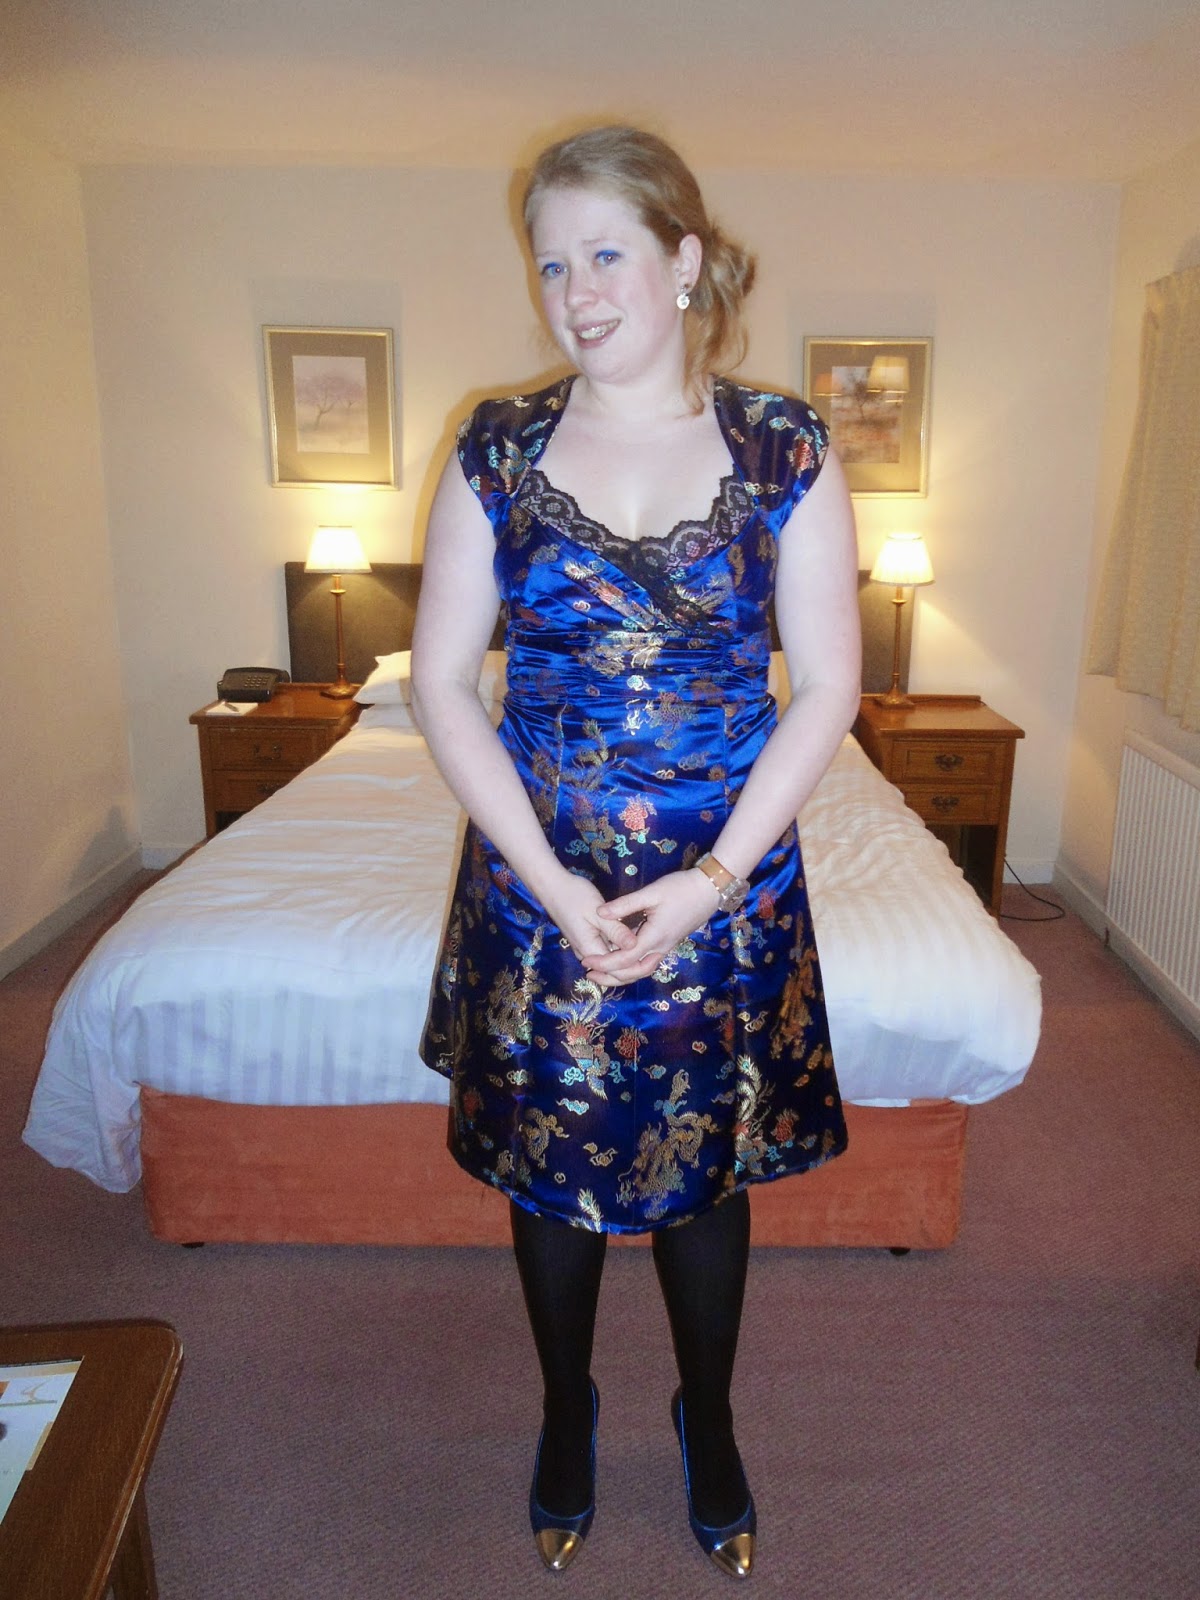
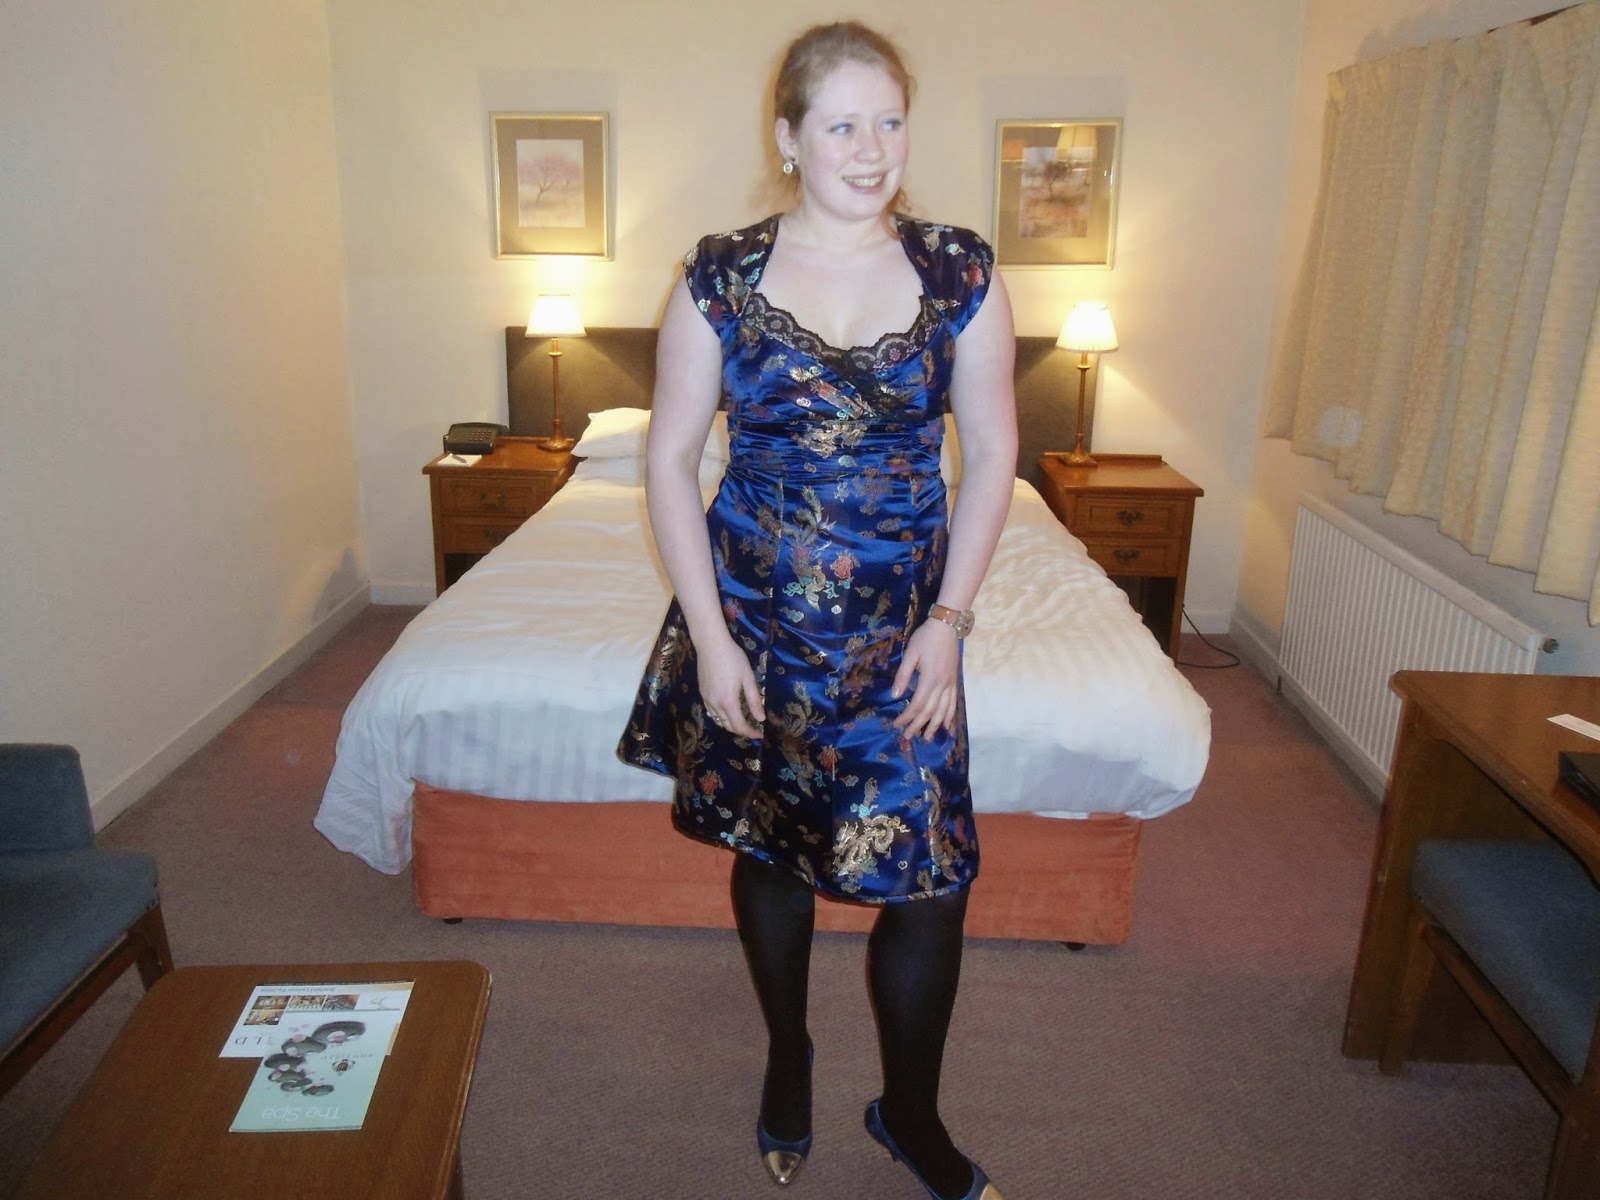
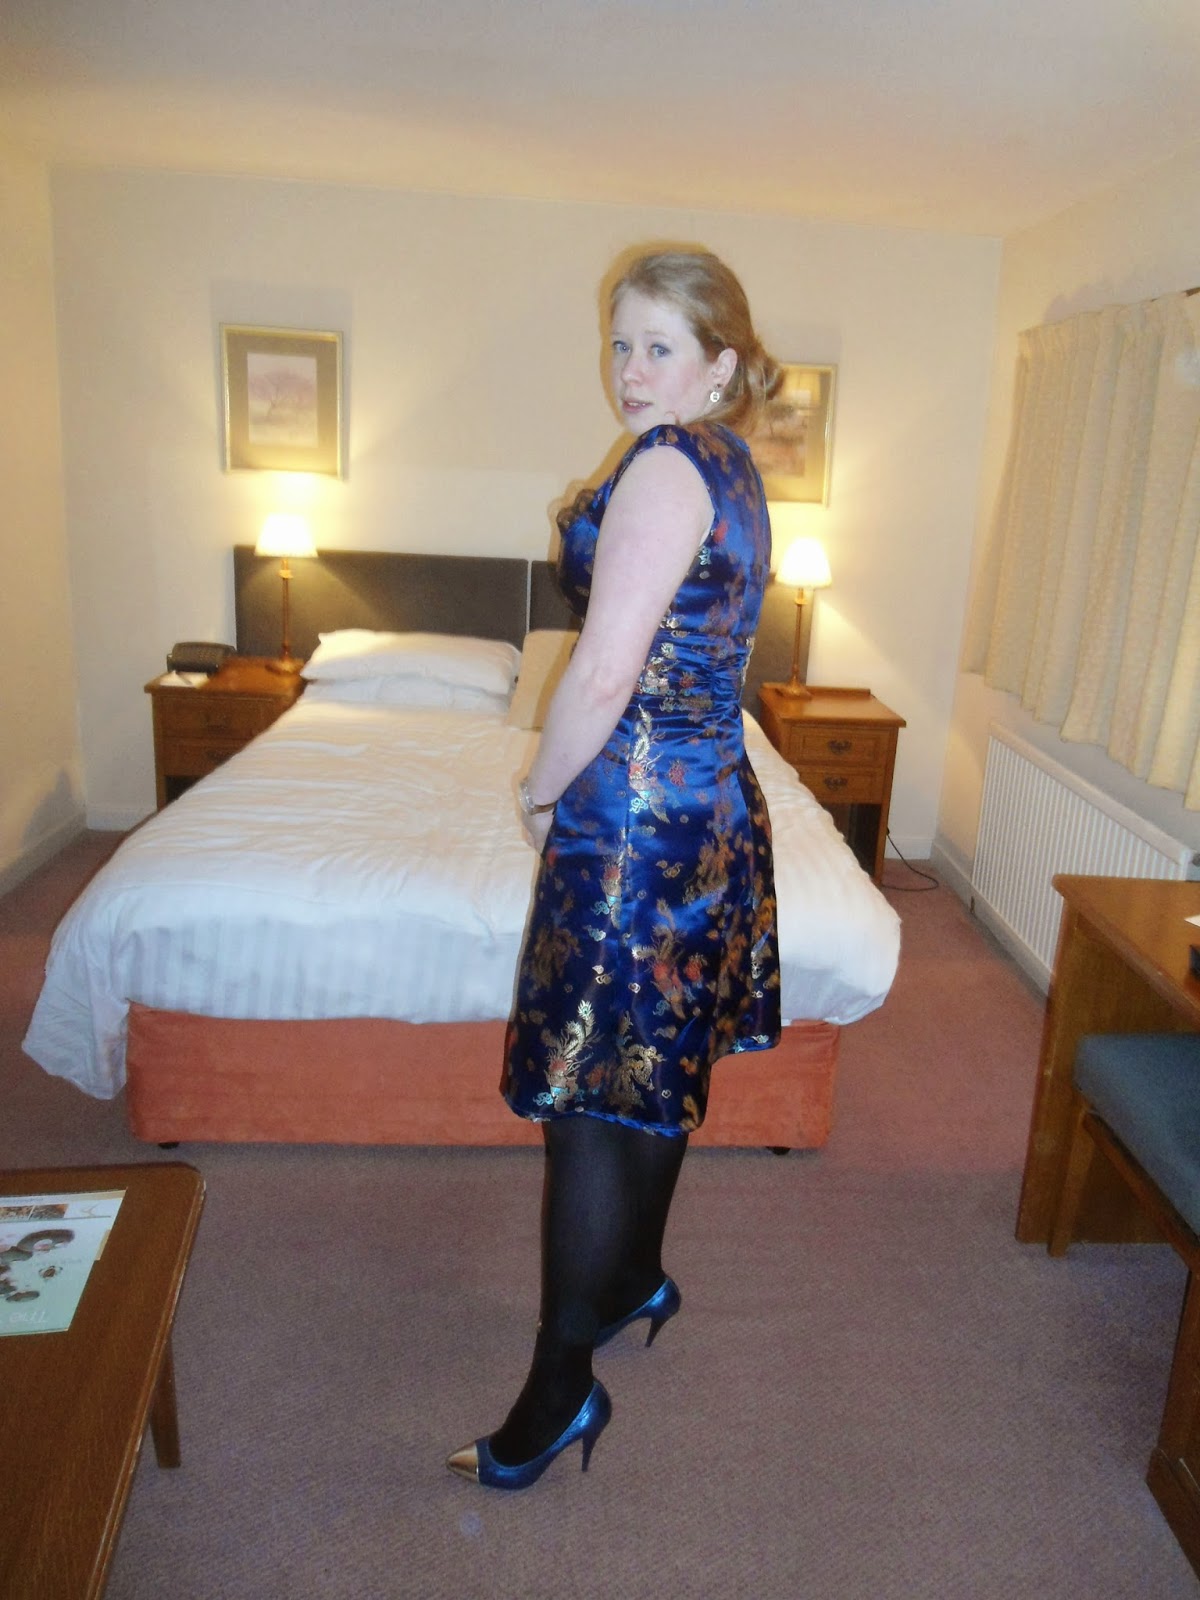
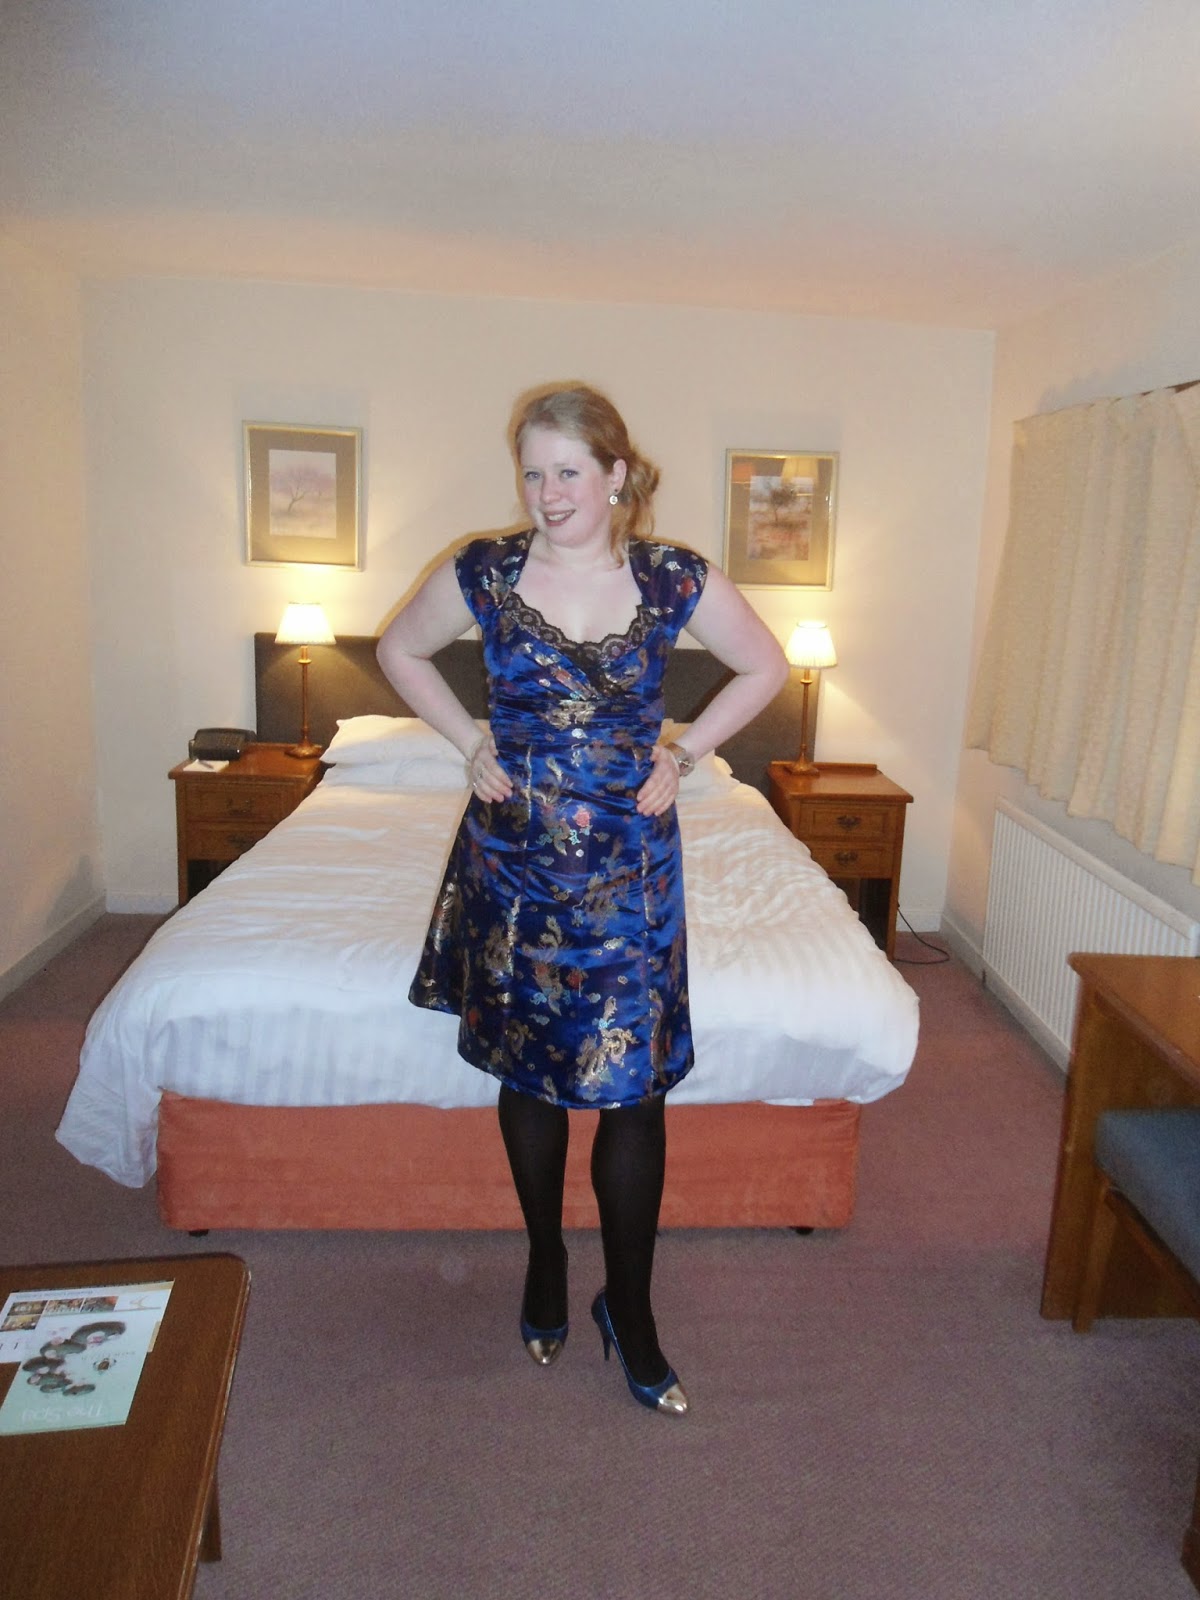
Finally, a finished garment made entirely in 2015! This is my take on Simplicity 2442.
Simplicity 2442 to match my shoes

We were invited by John's aunt to her 60th Birthday party in a fancy country club near Howwood, Renfrewshire. Whereas I have a few things I could have worn I reckoned that my skills were good enough now that I wanted to try and make something myself. Plus I wanted a dress to match my shoes :-)

I made this dress up in View B cutting out a size 12. Stupidly I didn't read the fabric requirements right and forgot about the lining. So instead of 2.2 m of fabric and .7 m of lining for the 45" width I only bought 3 m of 36" brocade from remnant kings. It was on sale so was about £5.20 a metre. it's similar to but not the same as this. There were a few panicked hours when I thought i may have to return to the shop to buy another half metre, but thankfully things worked out.

Making use of someone elses heating bill! We spent the afternoon in the hotel
Then there was the issue that the midriff section came in about 3 inches too narrow so extra fabric had to be added. I don't reckon that you can really notice though, and no one commented last night that there were strange seamlines on the back waist!

In terms of constrution, this dress took all week. I traced off all the pattern pieces Monday and Tuesday and eventually started sewing on Wednesday. I eventually finished up on Saturday afternoon around 2:30. We left shortly after 3!


I like the fact that simplicity patterns seem to have a narrower back than most other pattern companies so i didnt need any adjustments there. Had I had a little longer to make the dress I would have muslind first to check on any back length adjustment however as time was of the essence I didn't and I did. Fortunately when it was sitting where it should it added really nicely to the ruching on the midriff.

The instructions provided for this make were a little shoddy to say the least! So if you do make this dress beware leave extra 'comprehension' time! I'm not sure I followed all exactly as stated but the outside turned out ok! The instructions also leave it a little messy around the zip insertion so if I were to ever make this up again I would change that.
The Elliot Dress

Finally, after making up teh full dress it was apparent that it was VERY low cut! This is why I have a lace detailing in the front to give a little extra coverage. I quite like the lace and think it actually adds to the finished dress.

So hope everyone had a great weekend we got some sad news that one of John's school friends sadly passed away on Saturday night after a long battle with cancer. So in a small act of rememberance I named this dress in his memoryadn wil be donating a small sum to the people who helped in his final months.

Rest in Peace Calum Elliot 1988 - 2015

Jen x


Tuesday, 23 December 2014

Complete: A Christmas Cambery

Q. What do you get when you cross the Sewaholic Cambie bodice with the Christine Haynes Emery skirt?

A. A Cambery dress of course!


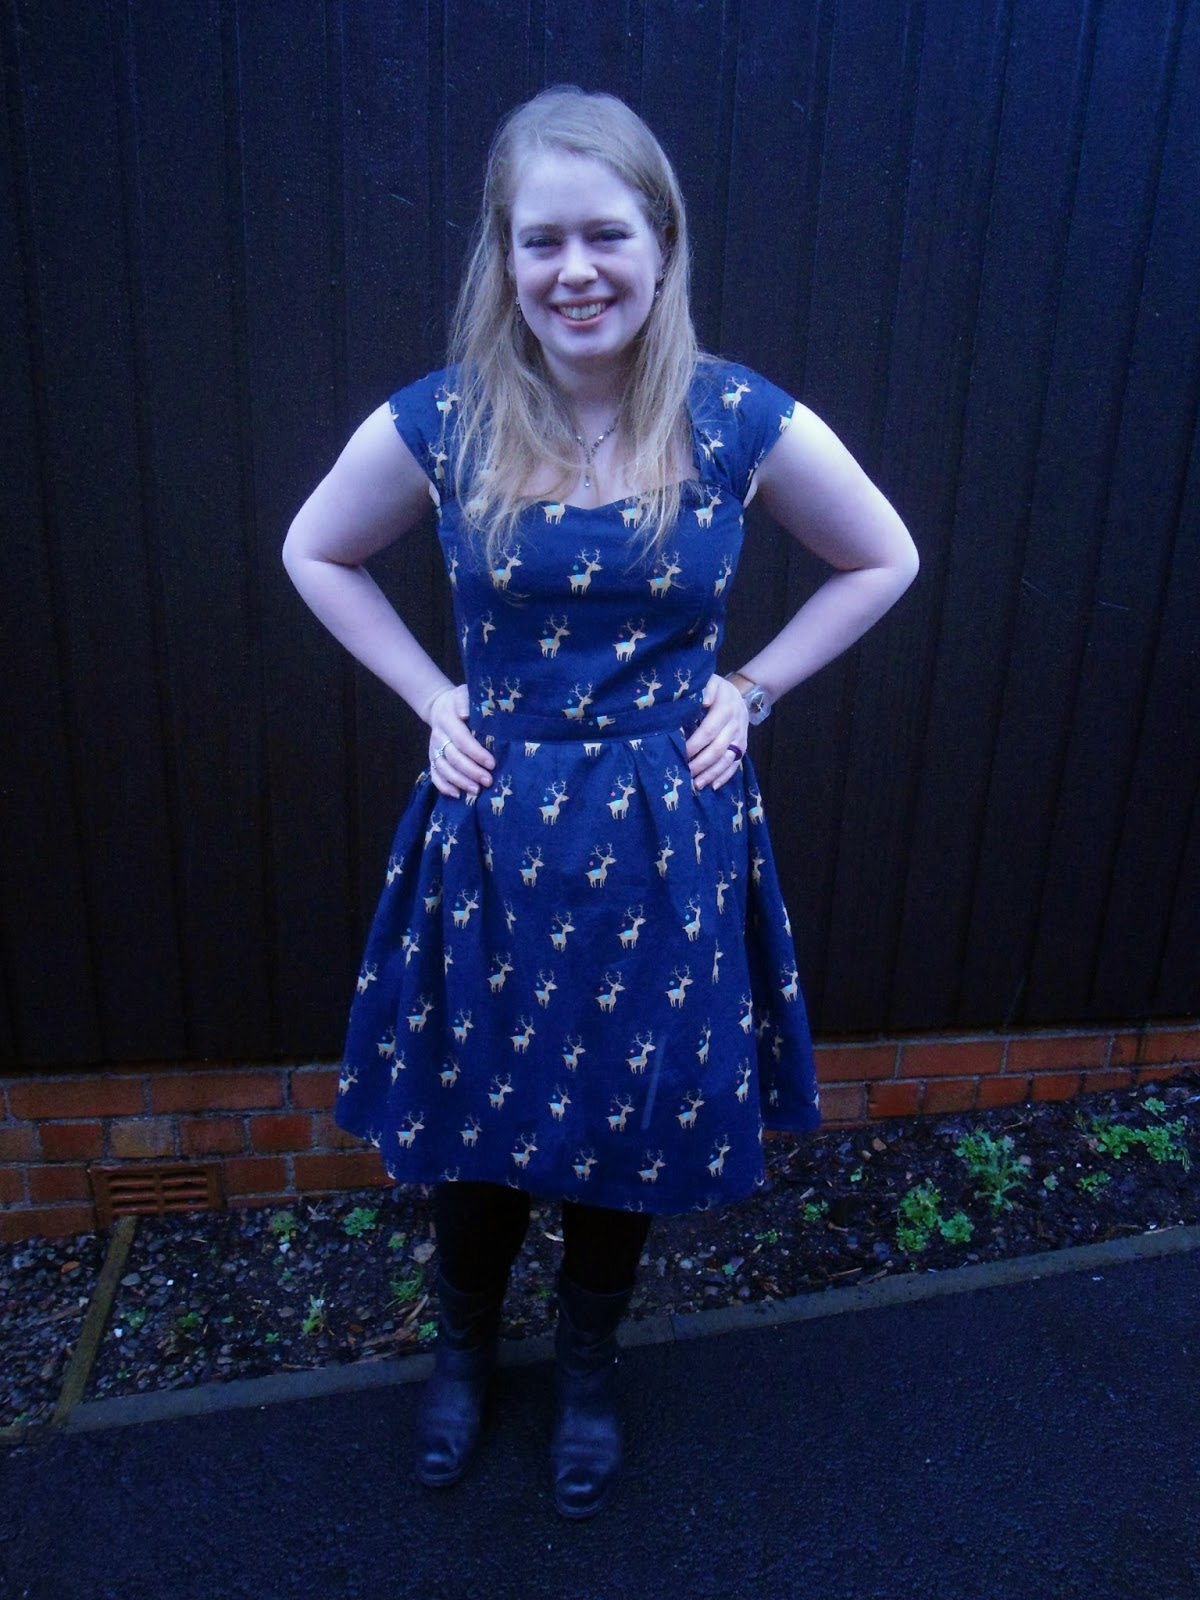
so here is my Christmas Cambery dress, a combination of patterns that I am sure to use again.  This pattern combination came about due to an engineering challenge that i set myself...failure to buy enough fabric for the really gathered and voluminous cambie skirt!

I have made up the cambie before however can't really wear it because of 'slight' errors that were incorporated when assembling the pdf pattern - somehow the waistband ended up about 15 mm too short and thus leaves me with a dress unsuitable for christmas dinner. I do really like the dress so after the festive season i'll throw some pictures together.


So based upon my previous cambie make I decided that this would be my Christmas dress of choice this year and when I saw this fabric decided that they would make a great match. I had enough to make the bodice and a skirt and some of the lining. The fabric was bought here at the village haberdashery and was £4 per fat quarter so that helped persuade me that only 1.5 m would be enough for a dress. Which it was, just not the Cambie.
The awesome lining material used for the pocket bag
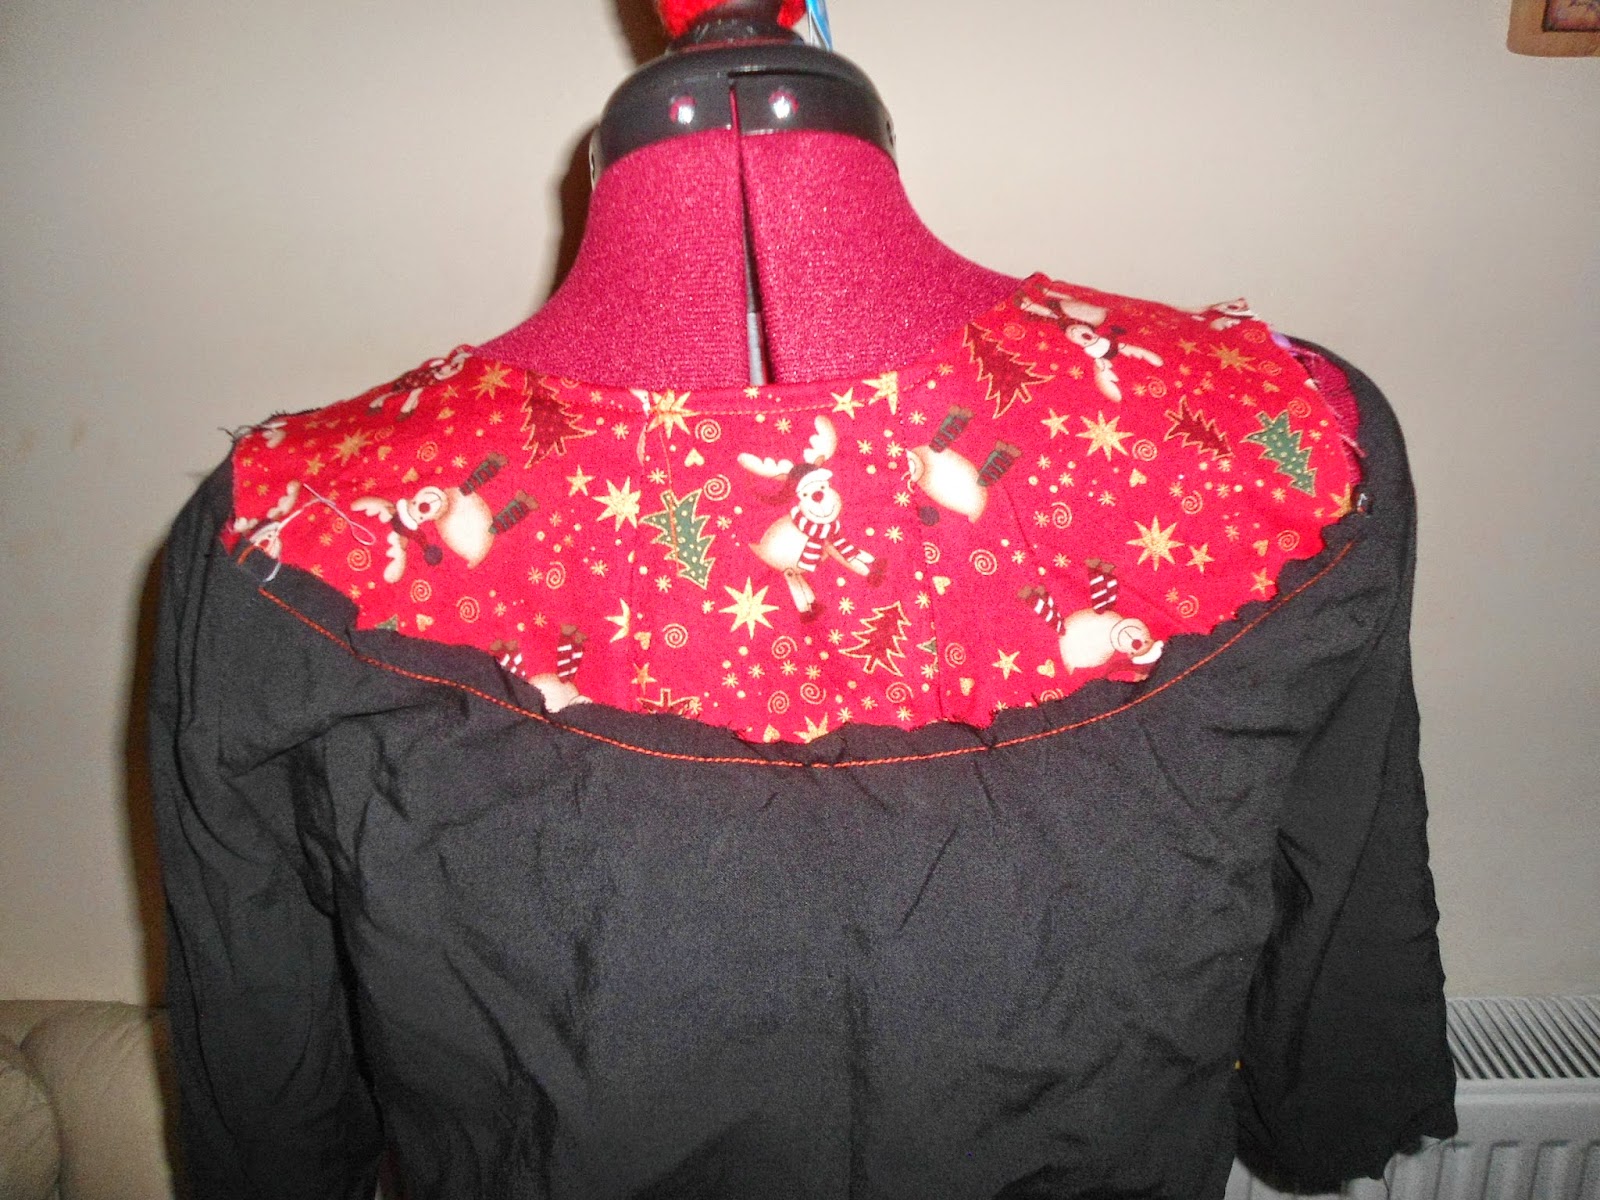
In terms of changes, I removed my usual wedge from the back and made the dress up as per instructions only using the slightly different skirt and only one pocket...BIG mistake! I miss my second pocket :'(. The front two lining panels and sleeves are made up with the reindeer fabric however the back two are the same fabric as I used to line my minoru. There's still some left which will make an appearance soon no doubt!
I think I need a hook and eye here...

In terms of changes for the next time, I plan on removing 1 cm from the back length.  The bodice bunches a little however nothing compared to my coco so not such a drastic change. I love the sweetheart neckline and think it hits just at the right height.

I love a good christmas party dress especially now I can make my own  :-)

I hope everyone is having a great party season I went for my second Christmas dinner the other day - a Japanese restaurant in Glasgow's merchant city, last official trip into town completed! I'm  kind of glad that i'm avoiding town right now after such sad events yesterday - the only thing to take from this is that we as a city will get through this - we always do. People here have great community spirit and look out for each other no matter what.

Take care guys. Stay safe.
Jen xx

Friday, 28 November 2014

Muslining of Dahlia

Hi Guys

Just a quick wee post from me this evening - I have been super busy with work recently and the light has been so bad that photo ops have been getting few and far between!


As I mentioned at the bottom of a previous post, as soon as the Colette patterns dahlia came on sale I purchased the portable document format version ahem pdf. As yet I haven’t got around to making up the full finished dress however I have had time to make up a first muslin and make some changes based upon said muslin.

I initially cut the size 10 for the bodice and then 12 for the waist and skirt. It became quickly apparent after even just sewing the skirt pieces together that the 12 was going to be too damn big. This was further confirmed when I added the yoke.


After attaching the bodice pieces this confirmed my suspicions that I would have to make a narrow shoulder adjustment and that I would also have to remove a wedge from centre front and centre back.
The fabric that I used wasn’t by any means a good choice for this project however it was really cheap (£3/m) and allowed me to confirm my fitting hunch. I had that much confidence in the first run that no two seams are even facing the same direction… haha.
Some beautiful contrast stay stitching...

So based on what I have and the quality of the muslin that I was able to make I made the following adjustments
* 1cm narrow shoulder adjustment on each side
*1 inch wedge removed from centre front and back
These were both carried out using the instructions on the sewalong page here
So hopefully I can create a second (wearable) muslin based these adjustments using more suitable fabric. Ill share the results of the next iteration when I get them :-)

Take care guys and have a good weekend
JCS xx
Monday, 3 November 2014

Completed: A Tilly and the Buttons Coco

One of the problems I have been having lately is the lack of light to photograph projects. It's dark i.e. pitch black by 5:15 and I usually return home around 5:30. Not useful. I did have a spare few minutes to capture some photos at the weekend though. So meet Coco.


I know exactly what everyone means now when they say that this dress makes you feel like you're wearing jammies!

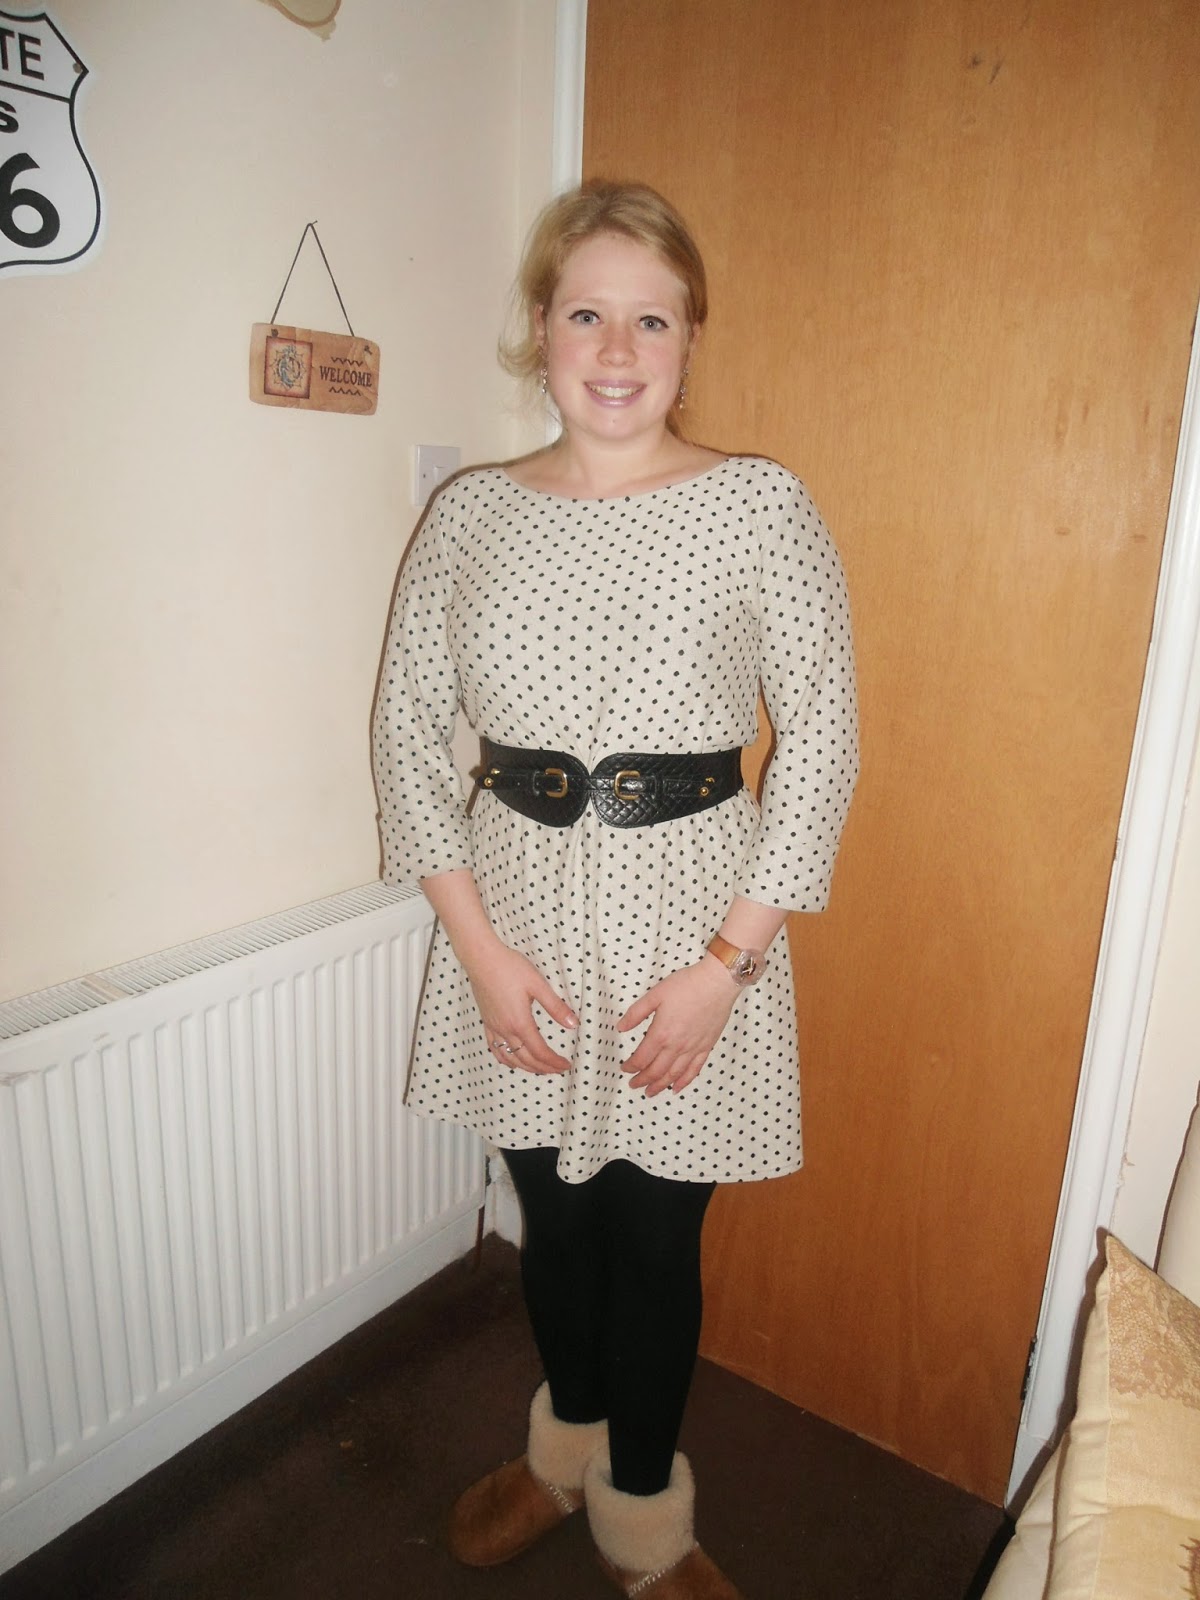
I made up the dress version in the size 5 with cuffed sleeves - and promptly took it in to a size 4 - definitely glad i made it up big though, its far easier to take things in than let them out again!


I think I had a bit of a fabric fail on this dress - the fabric I used was this ponte roma which I bought from Fabric Godmother - this was not my prize fabric - or pattern, I promise i'll share those soon. I say it was a fabric fail - but this dress has had more compliments than any other that I've made and worn out. I think the fabric is a little too drapey and maybe not the right colour for my skin tone...? These are the main reasons for wearing it with teh belt - I think the belt helps break things up a bit?

What fabric has anyone else made this up in? I'm thinking of making up another variation in

In other news I handed in the first chapter of my thesis for review on Thursday. Deadlines are becoming a little scary!

Have a lovely week guys

JCS xx

Tuesday, 16 September 2014

Oktoberfest Dress and a JOURNAL PAPER!

You guys my paper made the journal!!!! Stoked doesn't begin to cover it! I worked really hard over the summer and finally it was pulished today! I put a wee html link on the sidebar for anyone who is remotely interested - it gives you the abstract for the paper.
Oktoberfest dress - excuse teh awful angle I only had literally 2 mins to take these pics!

So because the paper was originally submitted to a conference and was subsequently accepted for journal, that means I get to present it...and it just so happens that I get to present it in the good ol' US of A!!!! woop! And I leave on Saturday and am headed to Cincinnati (with the rest of my team at work) - and judging by weather.com its still relatively warm in those parts.

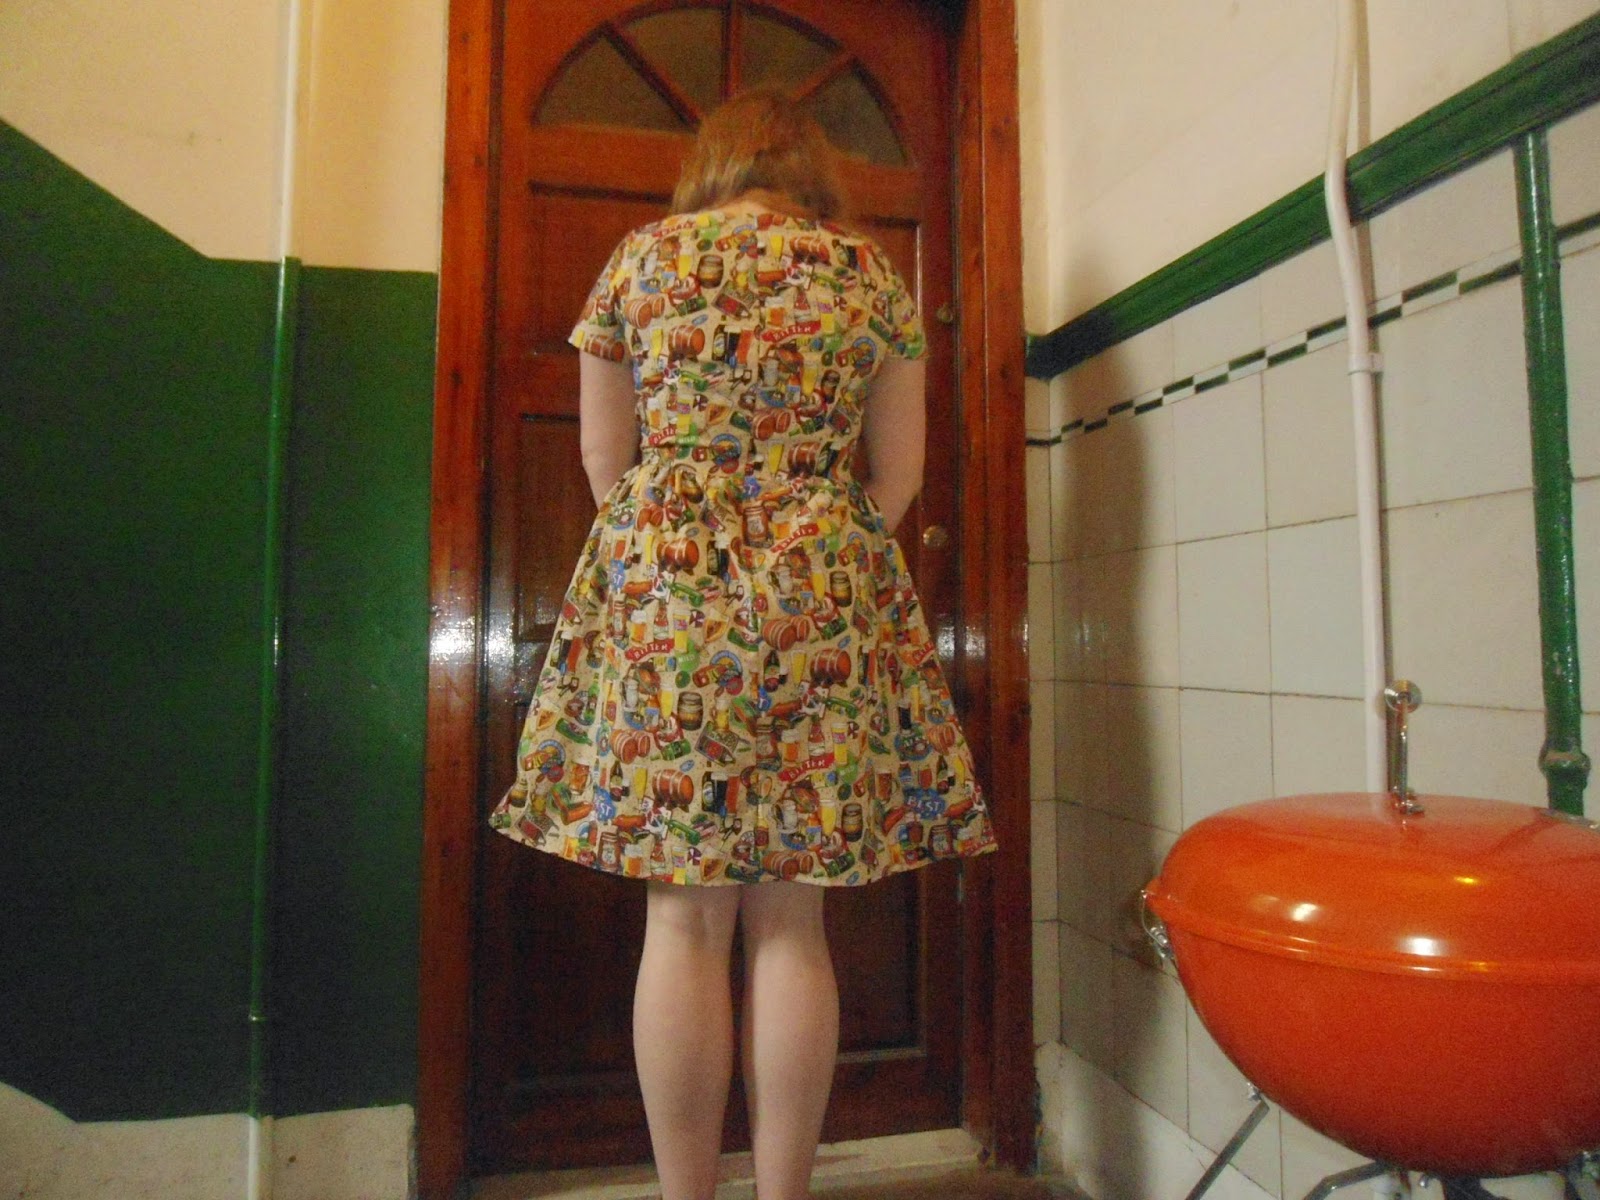
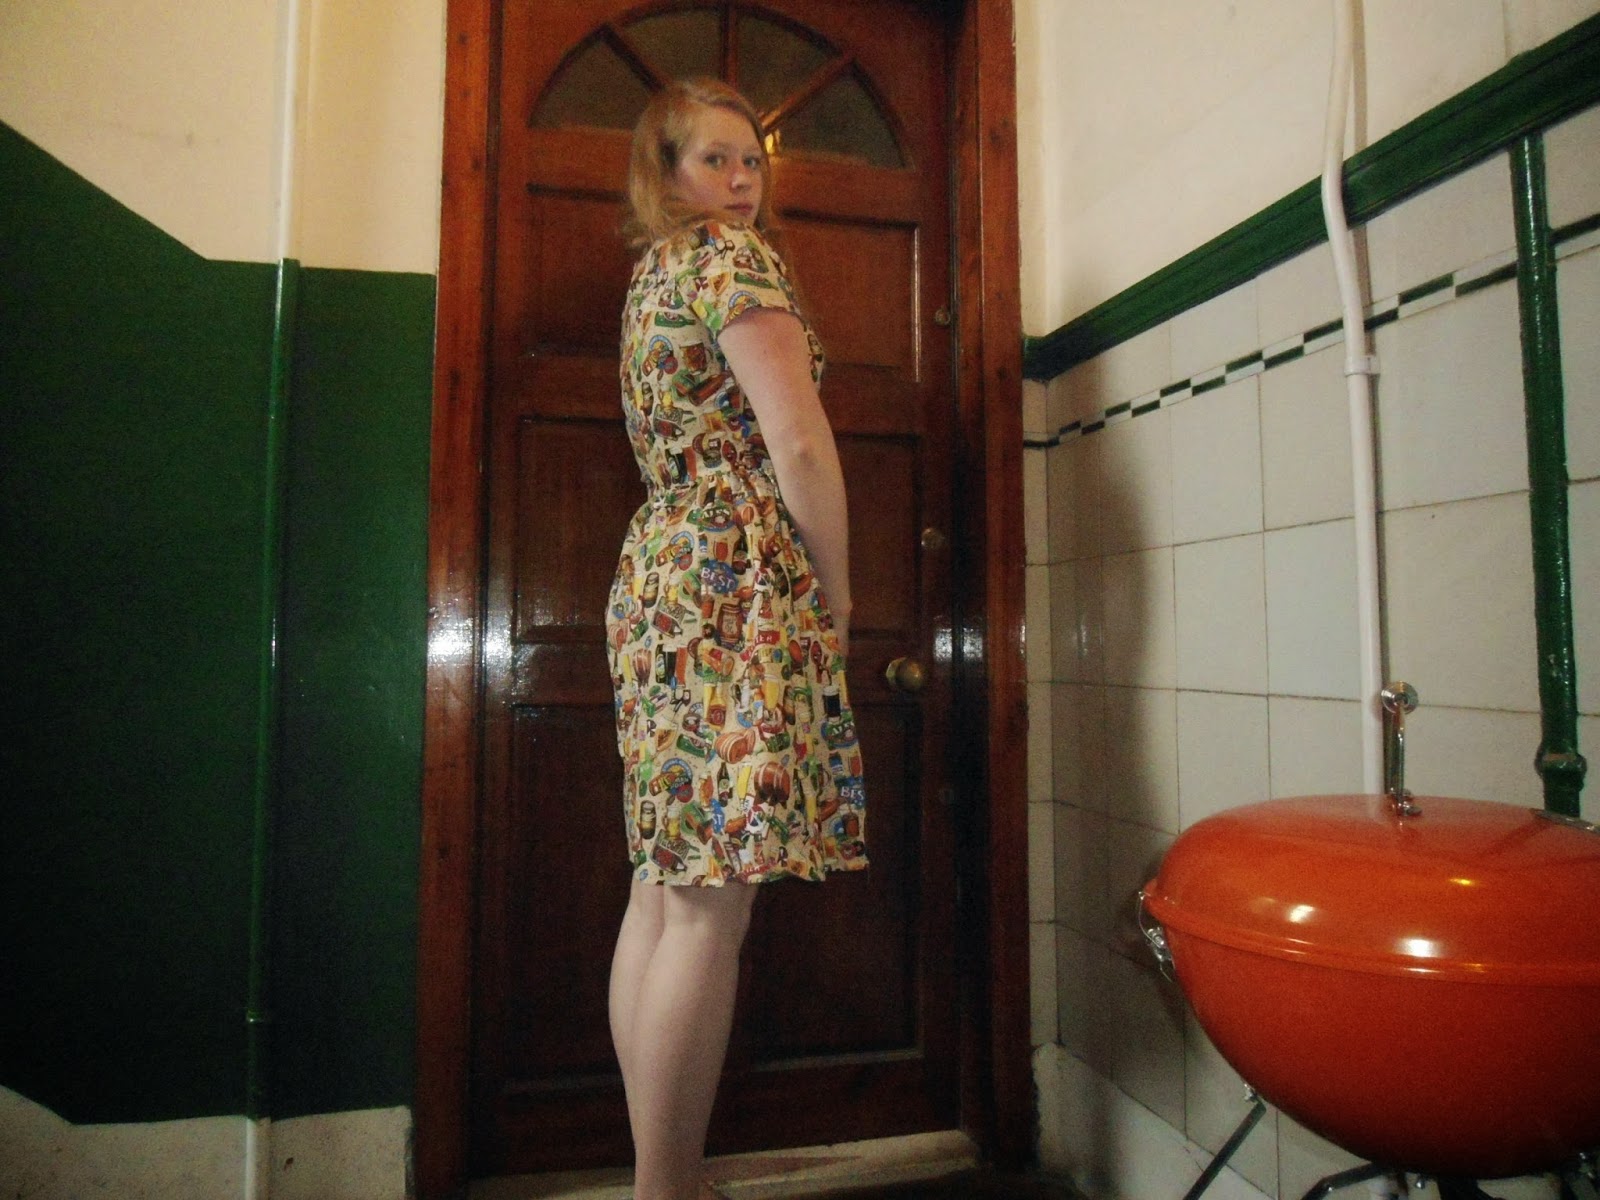
So if youre still reading here comes the sewing part of this post! When looking for things that are going down in Cincinnati this weekend we stumbled accross Oktoberfest! Now I don't know about anyone else, but I feel that calls for a dress. So as is almost tradition now I named this dress The Oktoberfest Dress.

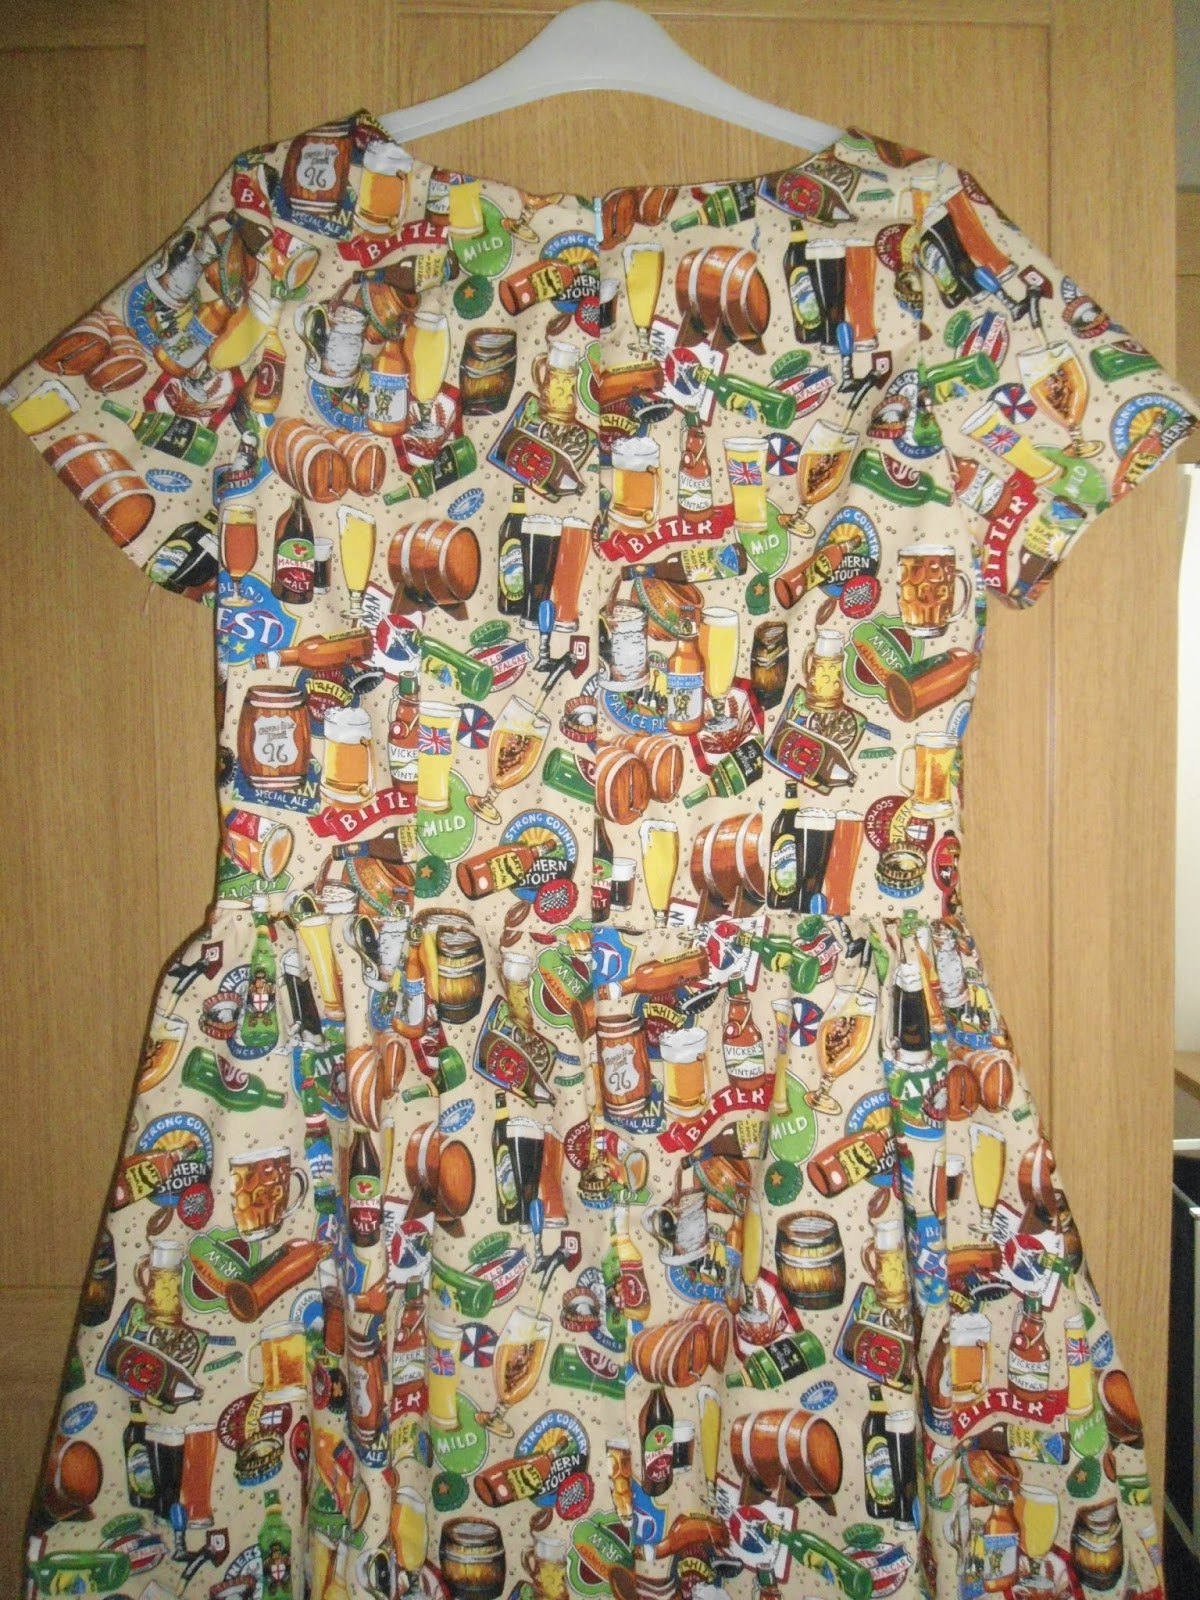
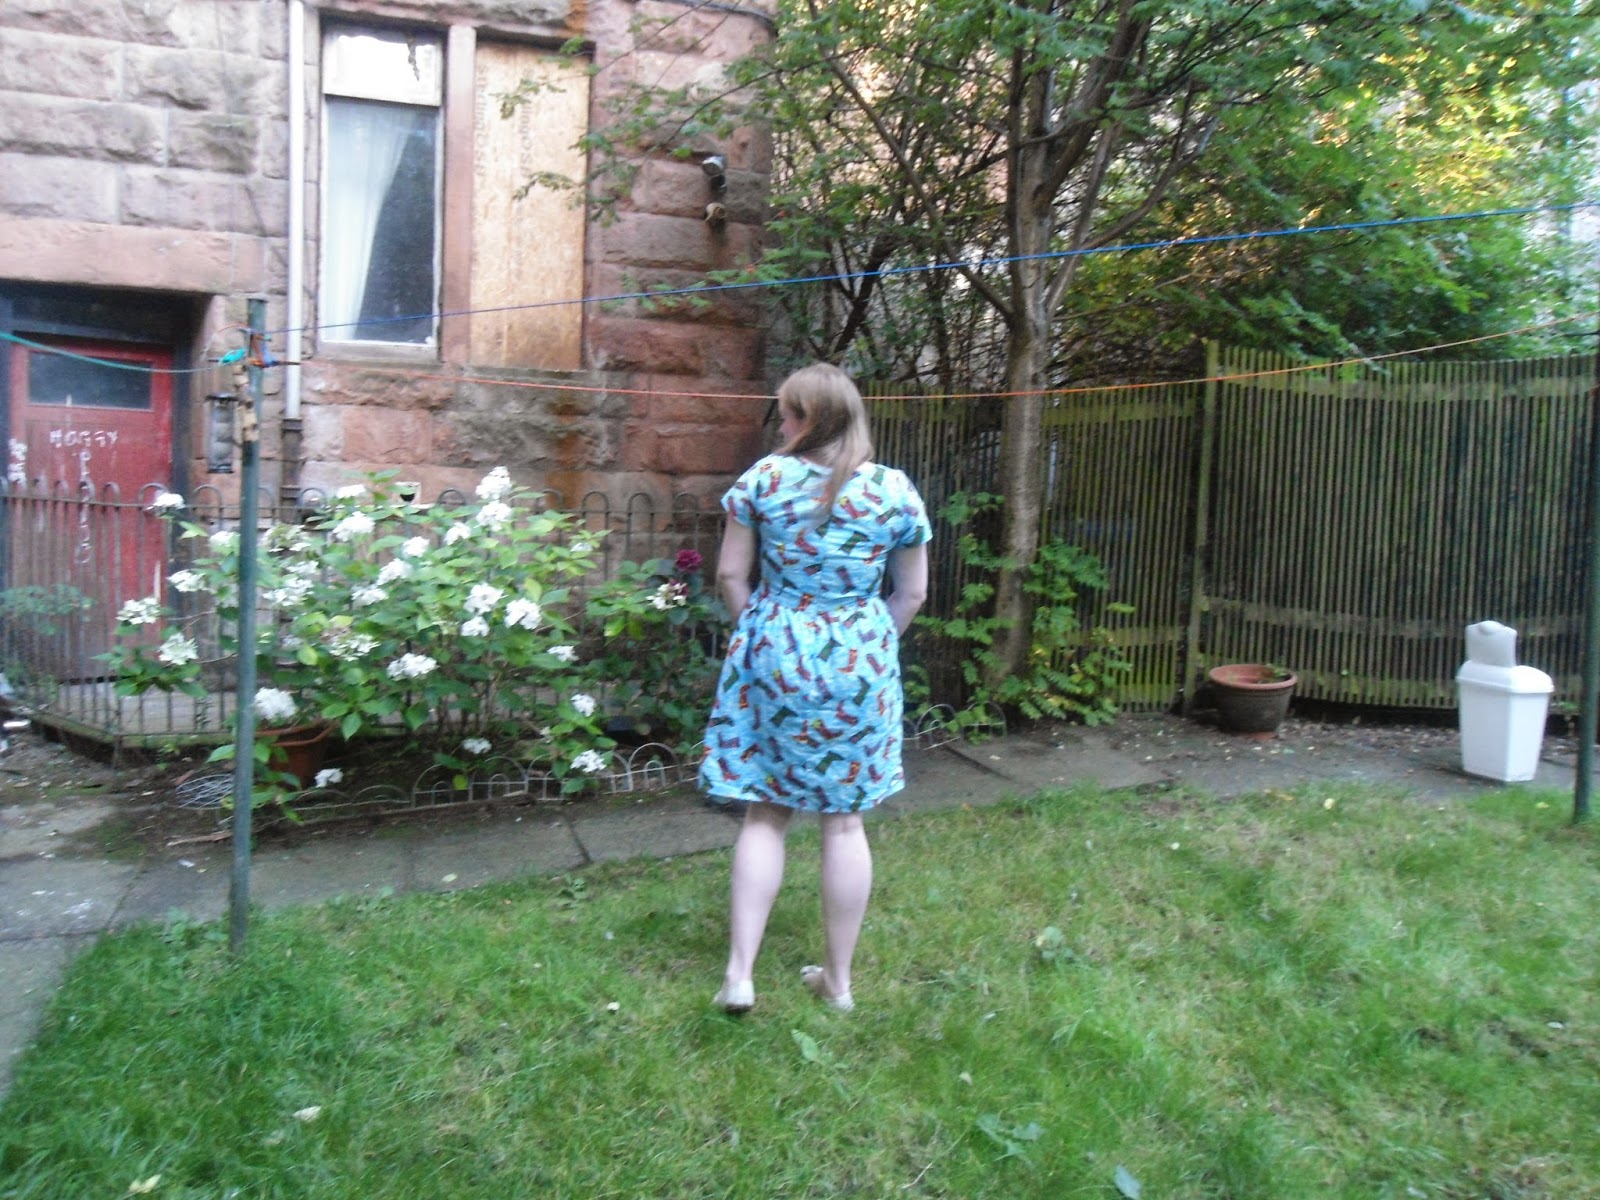
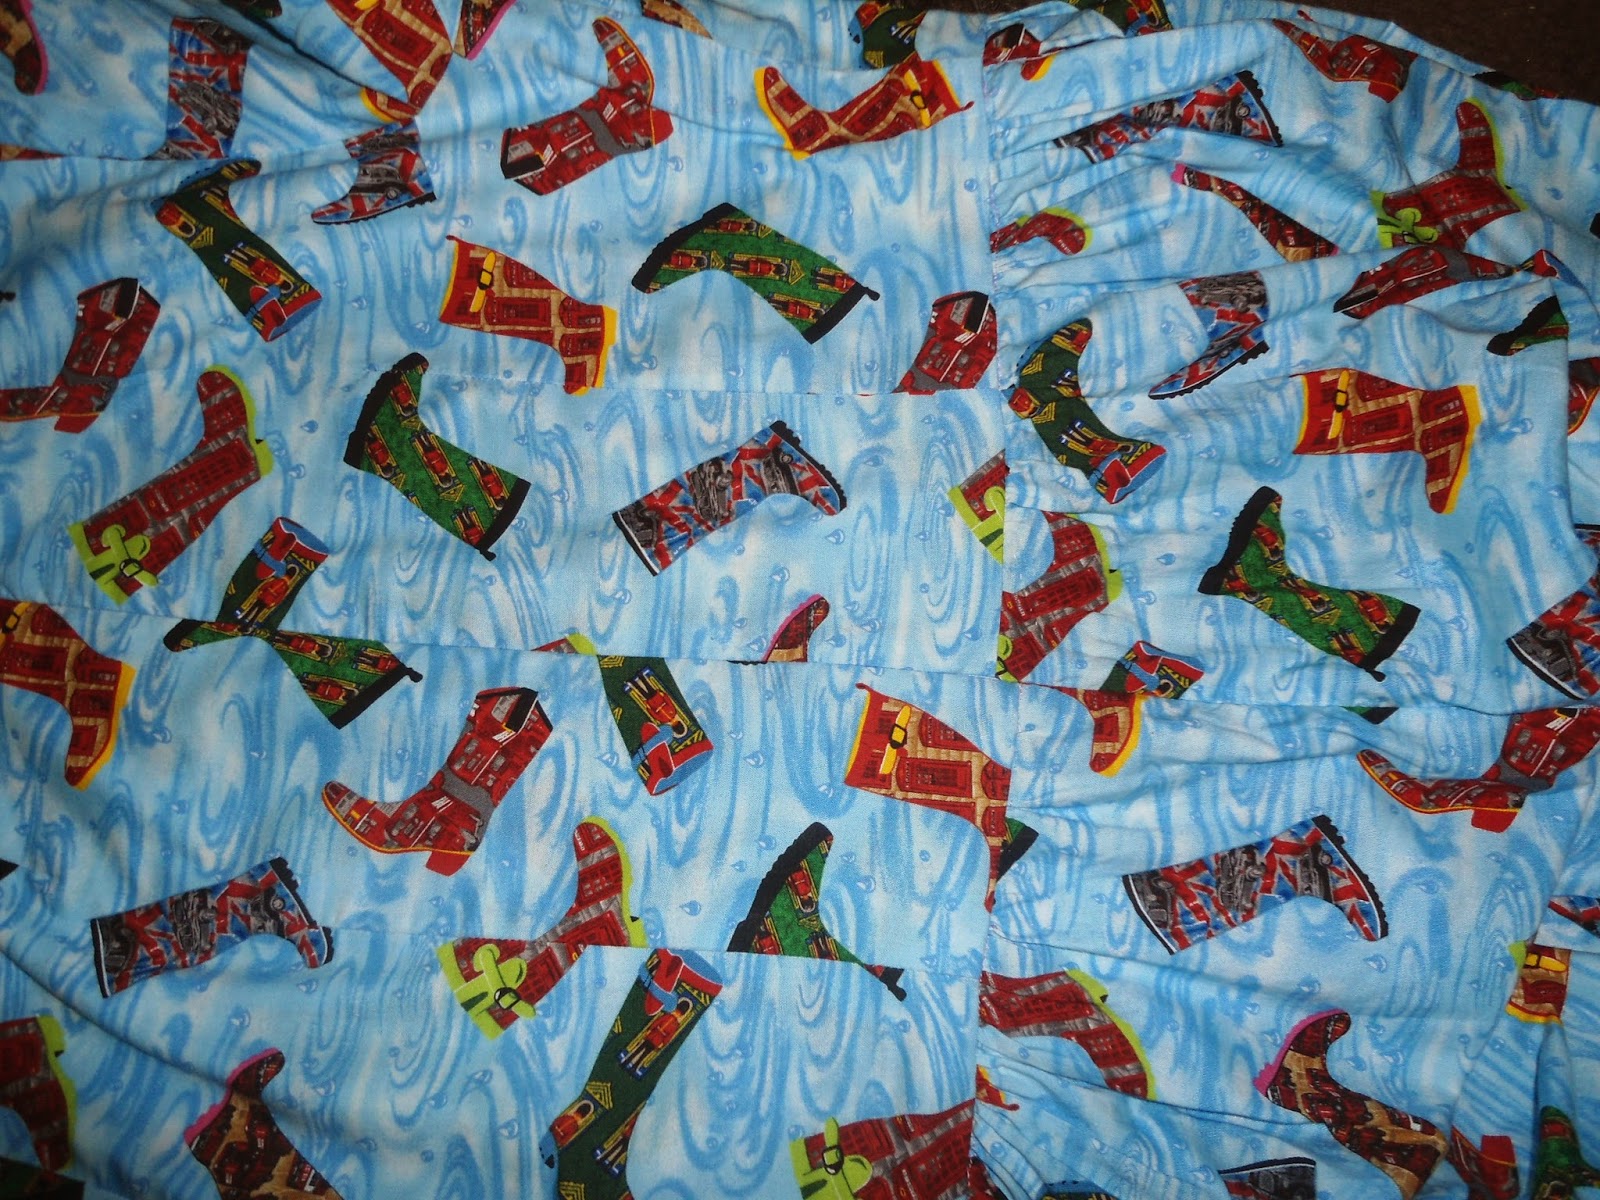
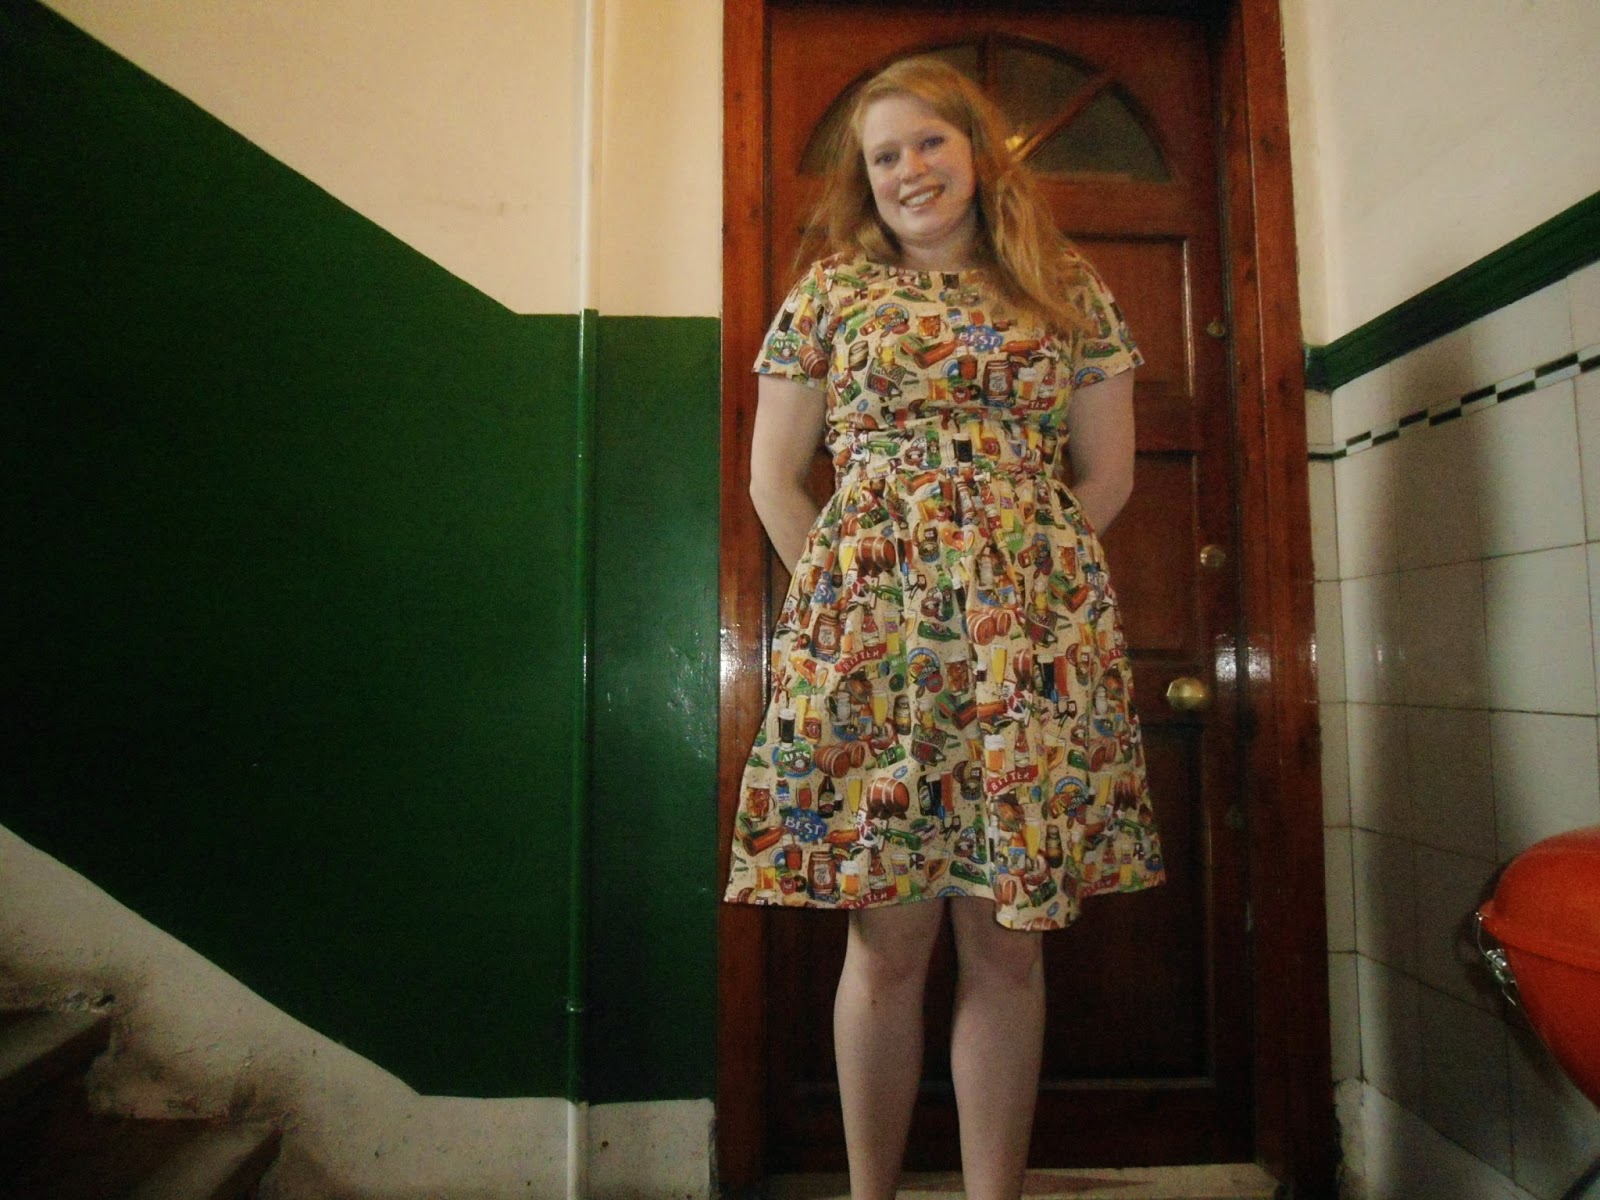
The fabric was the main reason I made a dress for the occasion - when I was in London earlier in the summer I picked this up on goldhawk road for about £5.99/m. It is a quilting cotton - made apparent by the weight of the fabric and is covered in loads of different beer bottles adn barrels and all things beer related - the selvage names the fabric 'Beer is best'
The heavyweight nature of the fabric is apparent when hanging coz it jutts out all over the shop!
This closeup of the fabric shows that i managed a very invisible zip which I was so proud of however the picture below shows how much that was necessary as the only zip I had to hand was BABY BLUE - theres barely any blue in the dress oops!
Also I really just wanted to add this picture because you get a really good close up of the print :-)

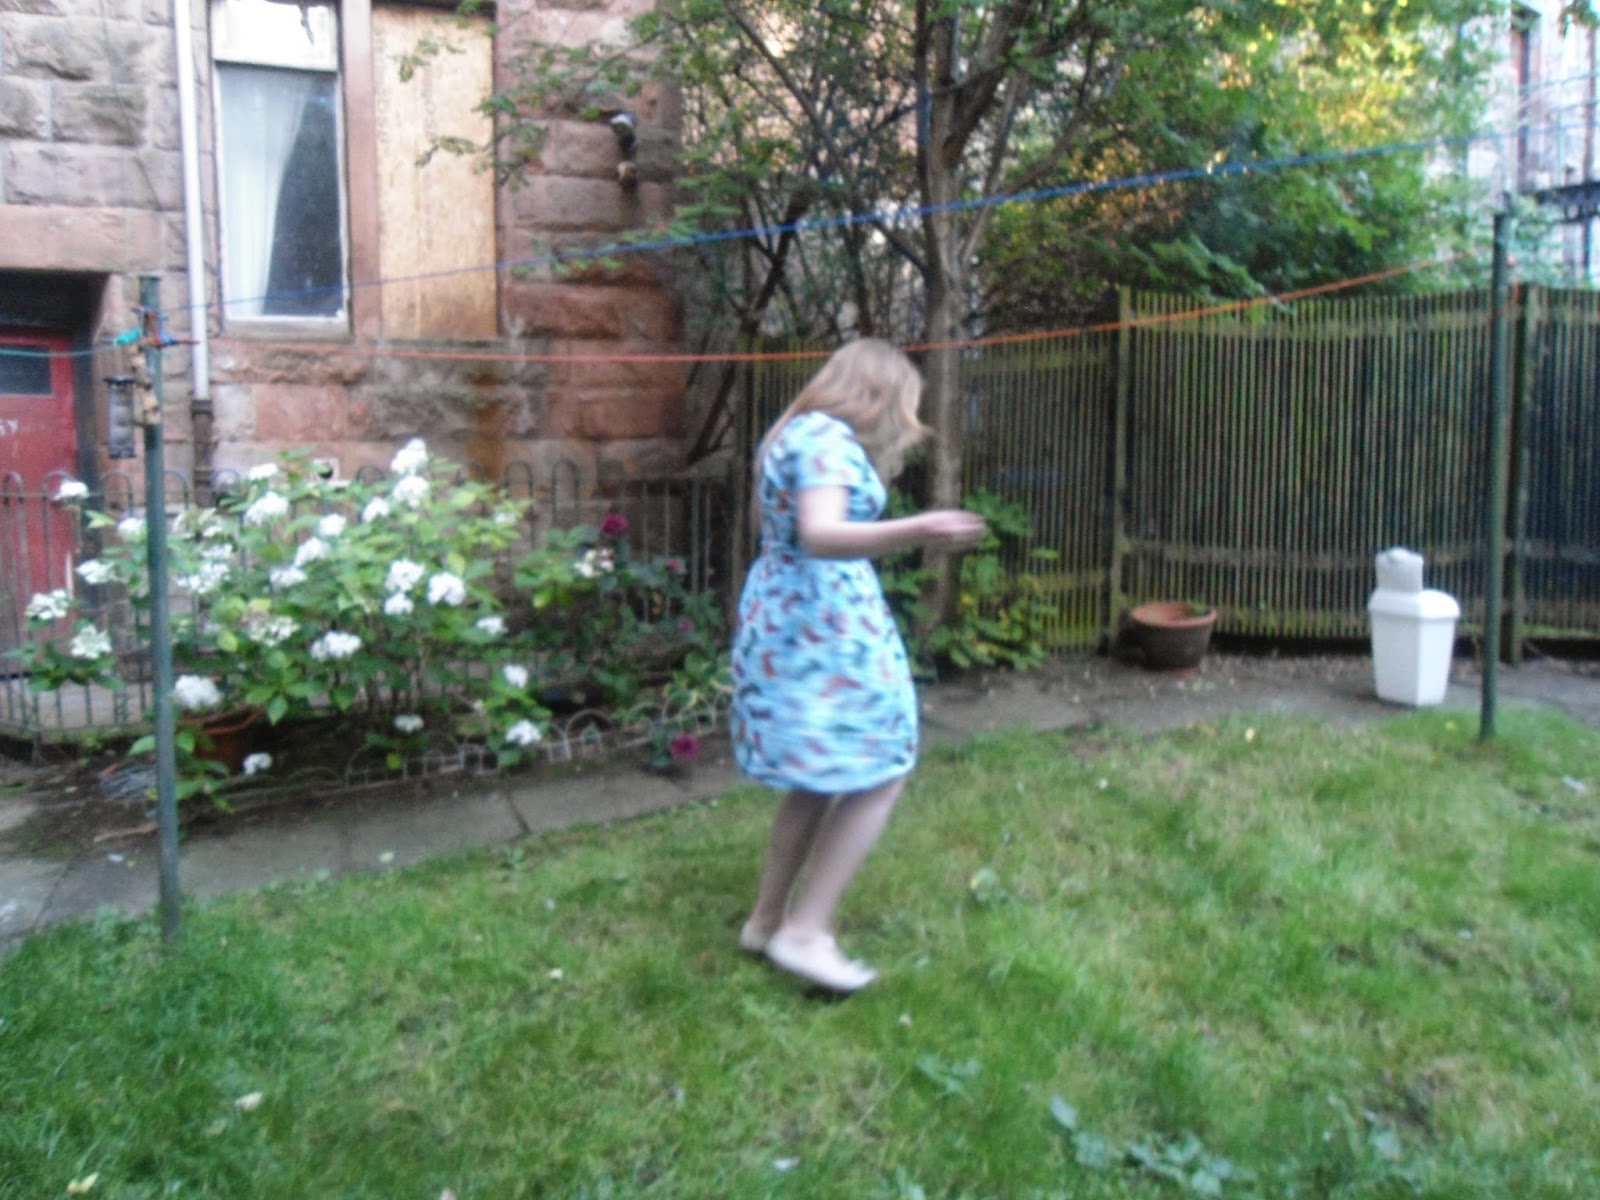
So the details: as probably guessed, this is the Christine Haynes Emery - I know I just shared this twice recently hwoever I think its a great pattern for showcasing a print and also in my limited time I had to put it together (Sunday and Monday evening) it was a pattern that I was confident that I would complete in time.

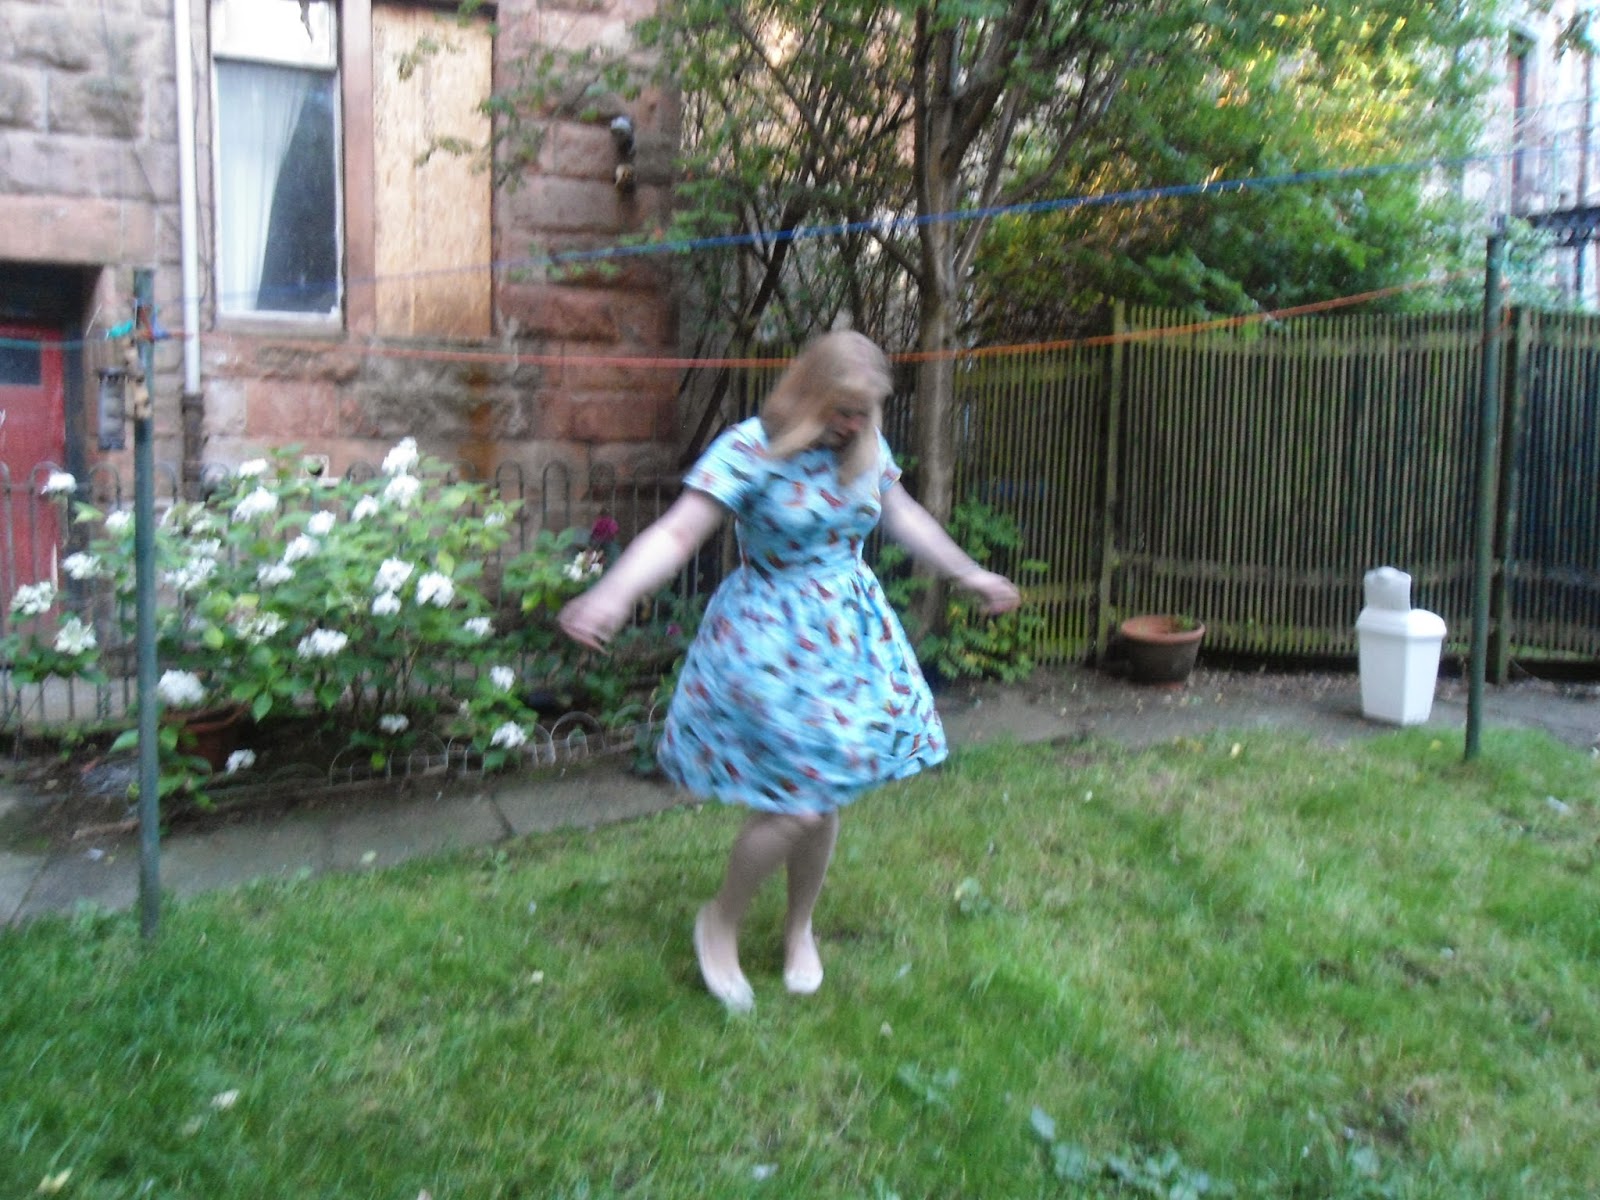
I love how the heavier fabric makes the skirt stick out :-)
 Unfortunately I don't think the colour really works with my skintone but thats not really the point to this dress...
If i had any idea on how to use photoshop believe me that barbequeue would be gone!!
So I think I have cracked the pattern for my measurements now - I added another fraction of a cm to each of the upper back darts and the back neckline now lies absolutely flush - the only other thing I might change is to topsttch the neckline (because I forgot to understitch).

Finally one last comment before I sign off for a couple of weeks - The Referendum. I don't really want to drag politics into my blog but its a huge deal and one that cannot be ignored. I'm voting yes. (and in no way force that opinion on anyone else) and I hope we get the result that me and so many others are so passionate about. I really hope we can as a country move forward in a positive manner. I don't dislike England - nor the people, (in fact I have family there) I just feel that it is our opportunity to safeguard our country from Westminster and a government that doesn't work for us. I'm happy to discuss my opinion too in a positive an non slanderous manner.

Take care guys  JCS xx
Thursday, 11 September 2014

Completed: Emery Dress No. 2!

Hi!

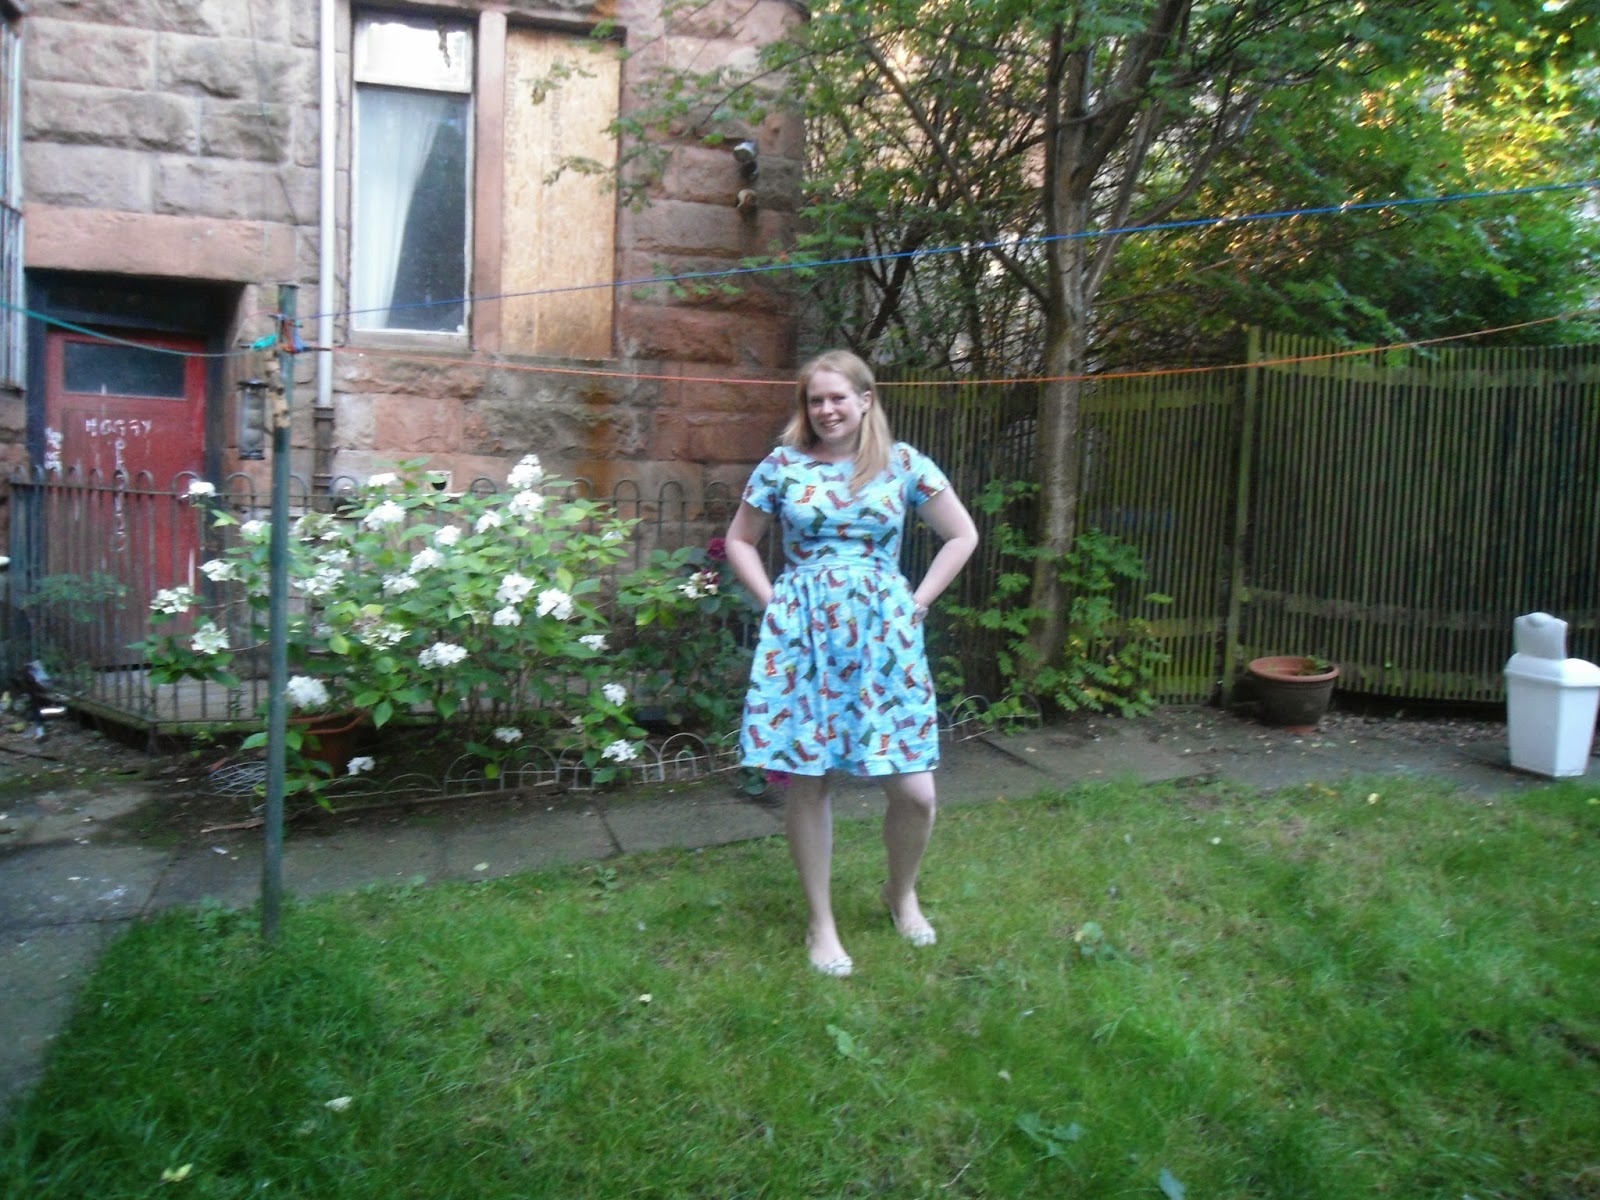
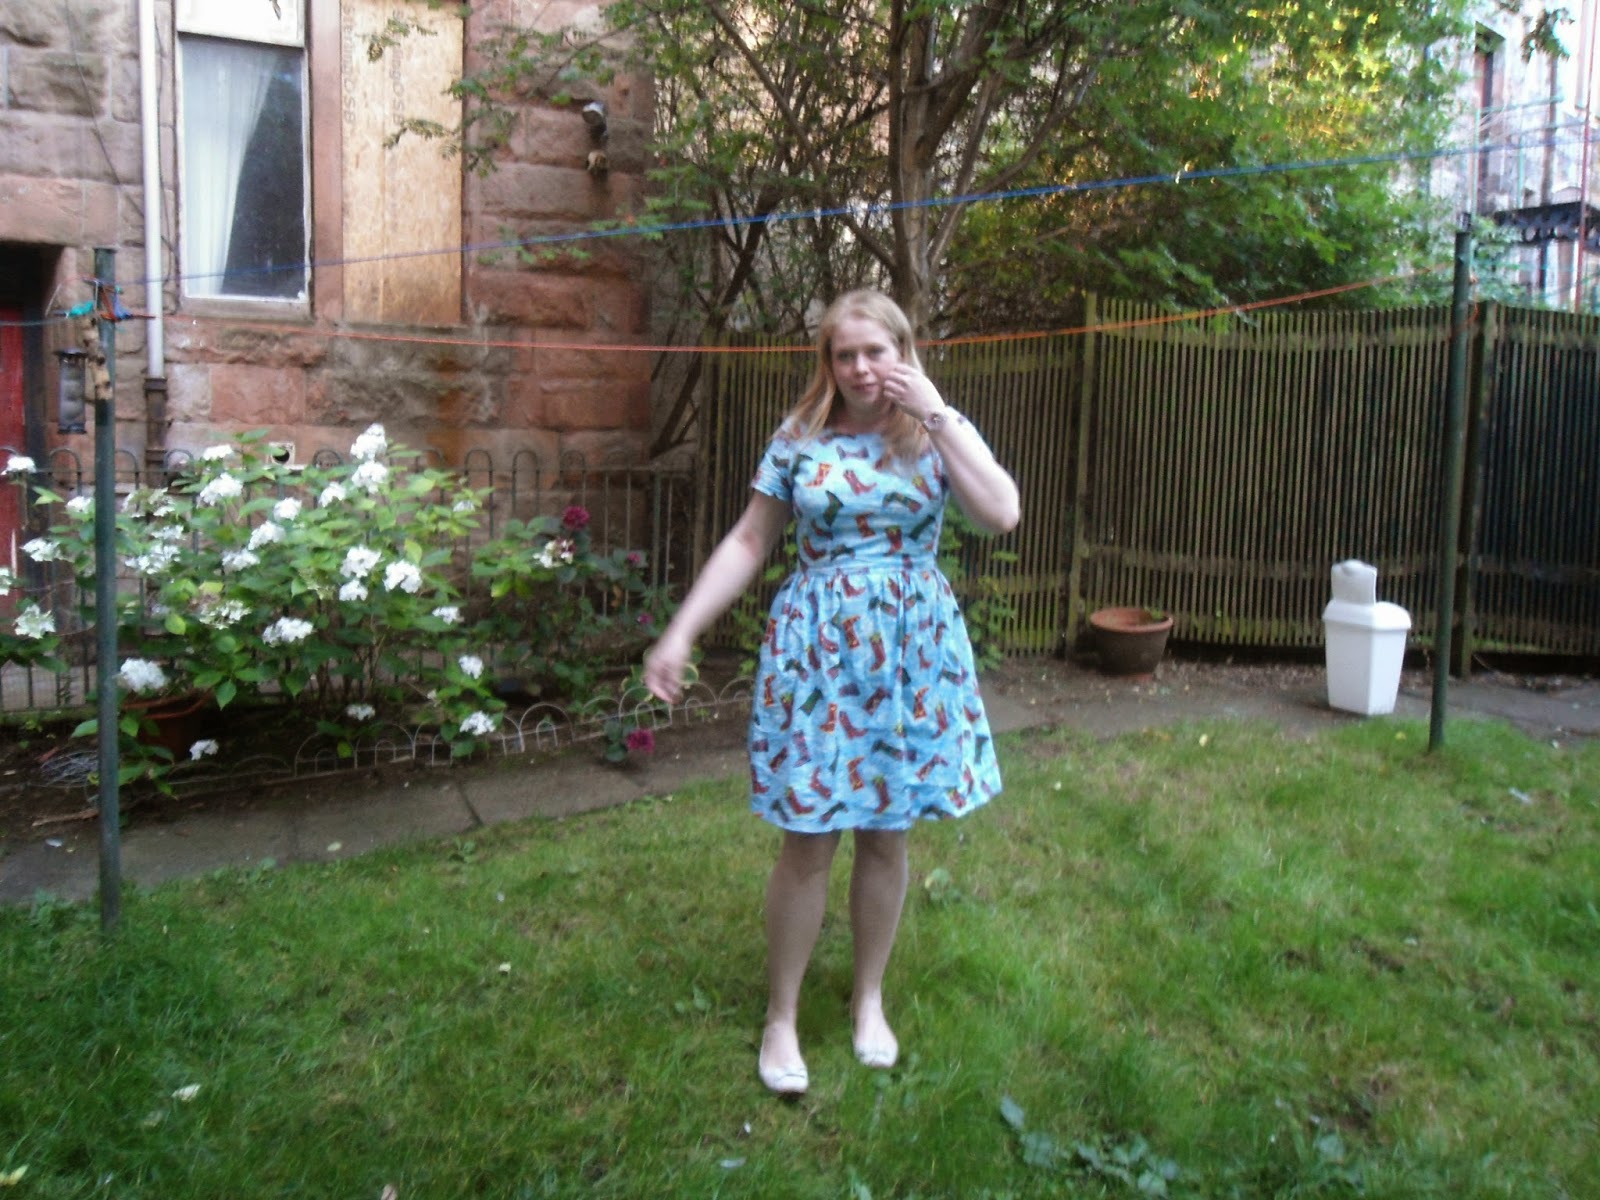
I have just (read finished this last week but have been uber busy since) completed my second ' Singin in the Rain' Emery Dress! I have to say i think know this is my favourite me made item.I know I shared this one with you the other week however i'm far happier with how this version turned out and think the pictures turned out a little better too with tons more natural light! (however nextdoors mingin backgarden on the downside...)


I made a few alterations to the pattern from my last emery and I'm happy with how this one turned out.
The Changes:
- 3/4 inch narrow shoulder adjustment
- increased the width of the top back darts by 3/4 cm each side
- took a wedge out of the top at the back
- removed an inch from the length of the skirt
(- added 3/4 inch to the bodice, this change was made last time too)


Again I cut the size 8 and added the same 3/4" to the lengthen lines of the pattern. The first three changes were addressing the back gape from my last attempt at this dress and I think the gaping back is now almost eliminated. I say almost i think there is still about 3/4 of an inch left to remove before it lies ''just so". But hey ho I'm not bothered. Also I can't quite decide whether or not the front is now a little roomy as a result of moving the shoulders... i think the last time it lay a little flatter.... I have though made up some new pattern pieces with these changes on and im hoping that any additional tinkerings can be incorporated.
 
Skirt 'mushrooms' out really well :-)
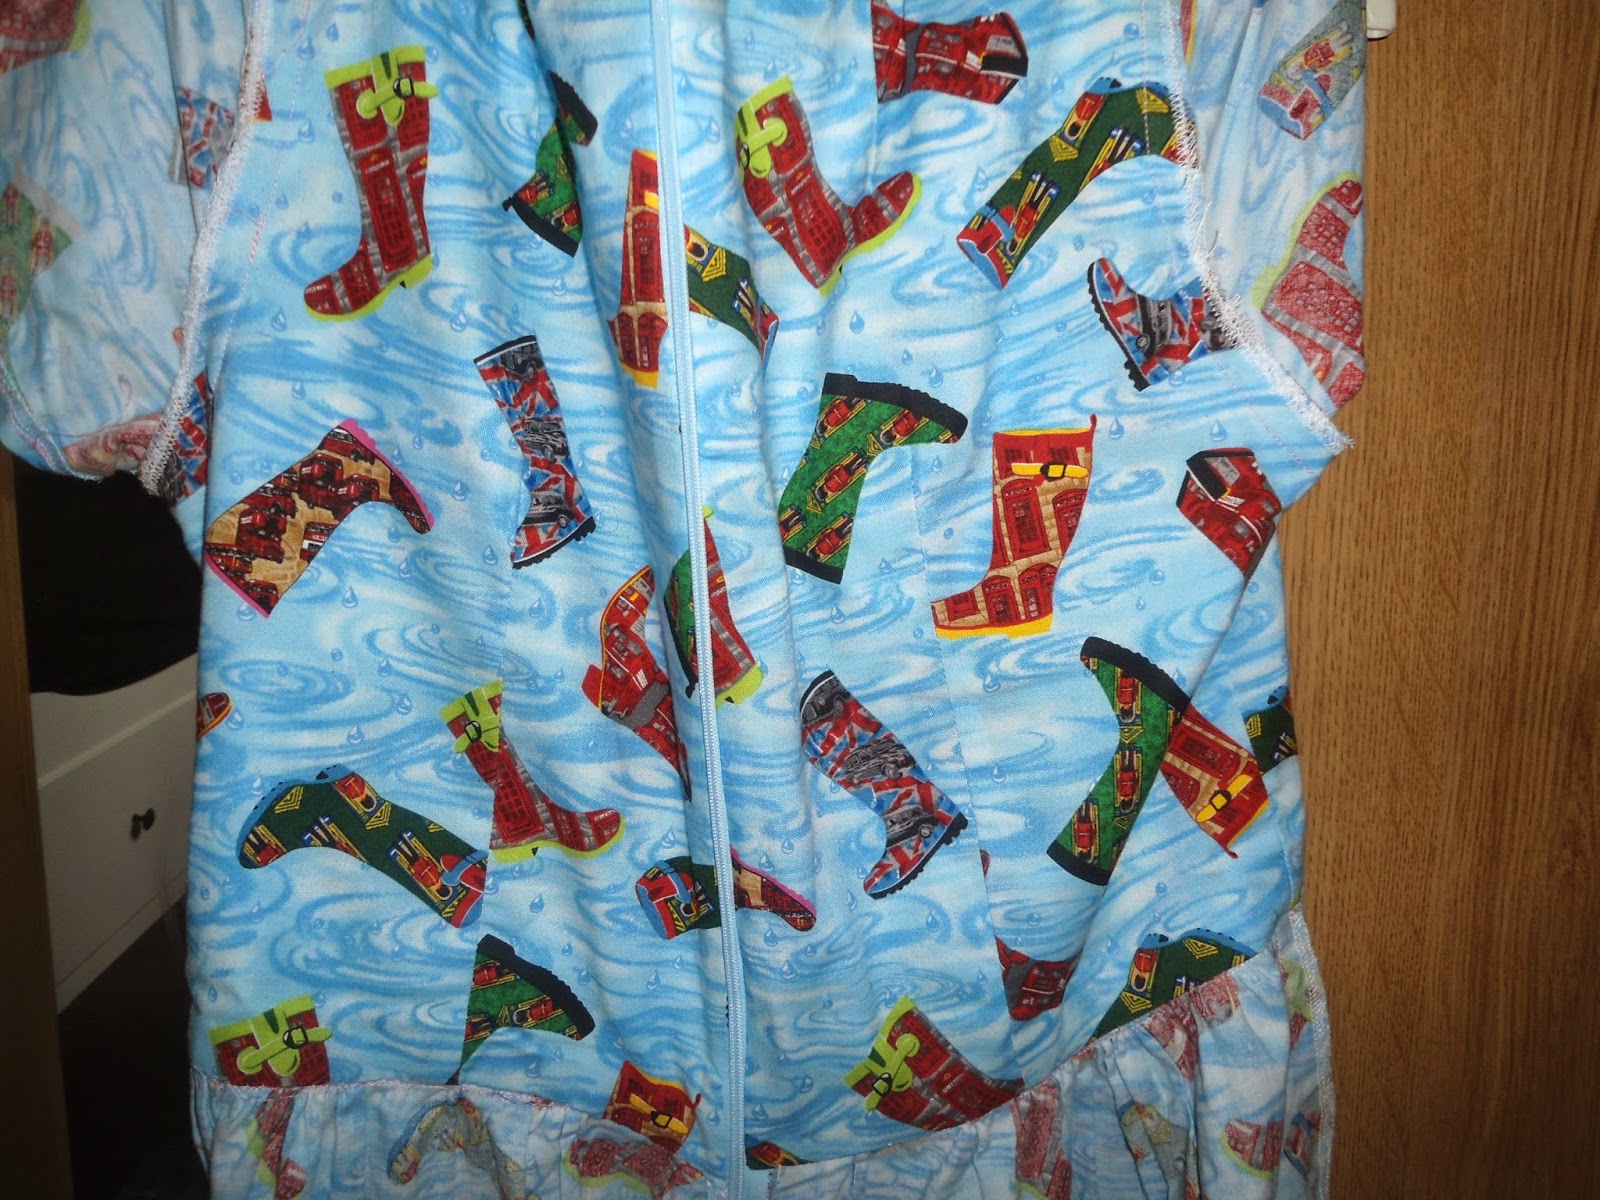
 The fabric for this dress is actually a quilting cotton which i picked up in the remnant kings sale for £6.99/m. I picked up 3m of this (i think it was 45 inch wide) and after cutting out all the pieces including the lining I think I had about 30 cm left. (apologies for switching up the units). Compared to making up the last emery this time using a proper cotton made this a breeze! I only had one minor problem making this up and that was the zip slipped when i was stitching it in and so it doesn't quite match at the back. Again - its a small detail and i don't think that this detracts from the overall dress.

Close up of fabric

This time because i was working with slightly better quality fabric the waistline also slipstitched really neatly
The inside looks really neat (for once)
Clearly caught off guard here!

I actually wore this quite a bit that week - i finished it quickly coz we had friends coming and I wanted to wear the dress out in the park - we went to a favourite place of ours chatelherault which is a country park on the outskirts of Glasgow where the old hunting lodge built for the Dukes of Hamilton way back when has been restored! We love the squinty floor and the long walks in the woods.
Standing next to the restored fireplace in the old hunting lodge

Does anyone else wear dresses out for muddy park walks?

Our friends daughter wanted to climb Cadzow's Oaks which are 800 years old!
Have a good week folks

JCS