Showing posts with label 2015 makes. Show all posts

Monday, 28 September 2015

A Shiny New Completed Garment! - Gather Kits Mortmain

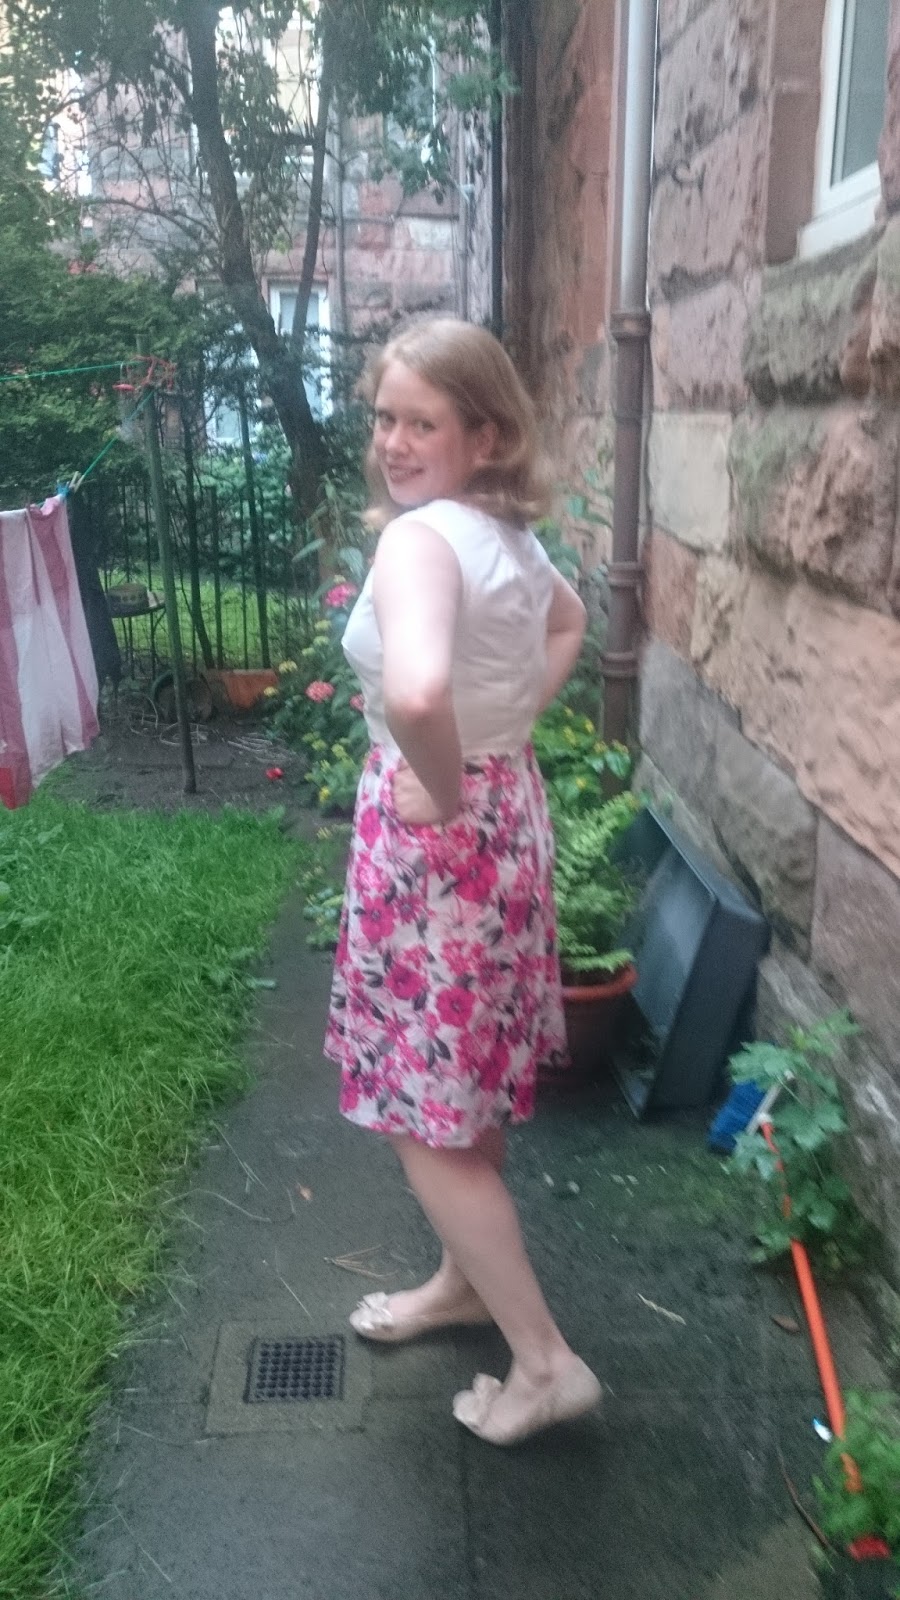
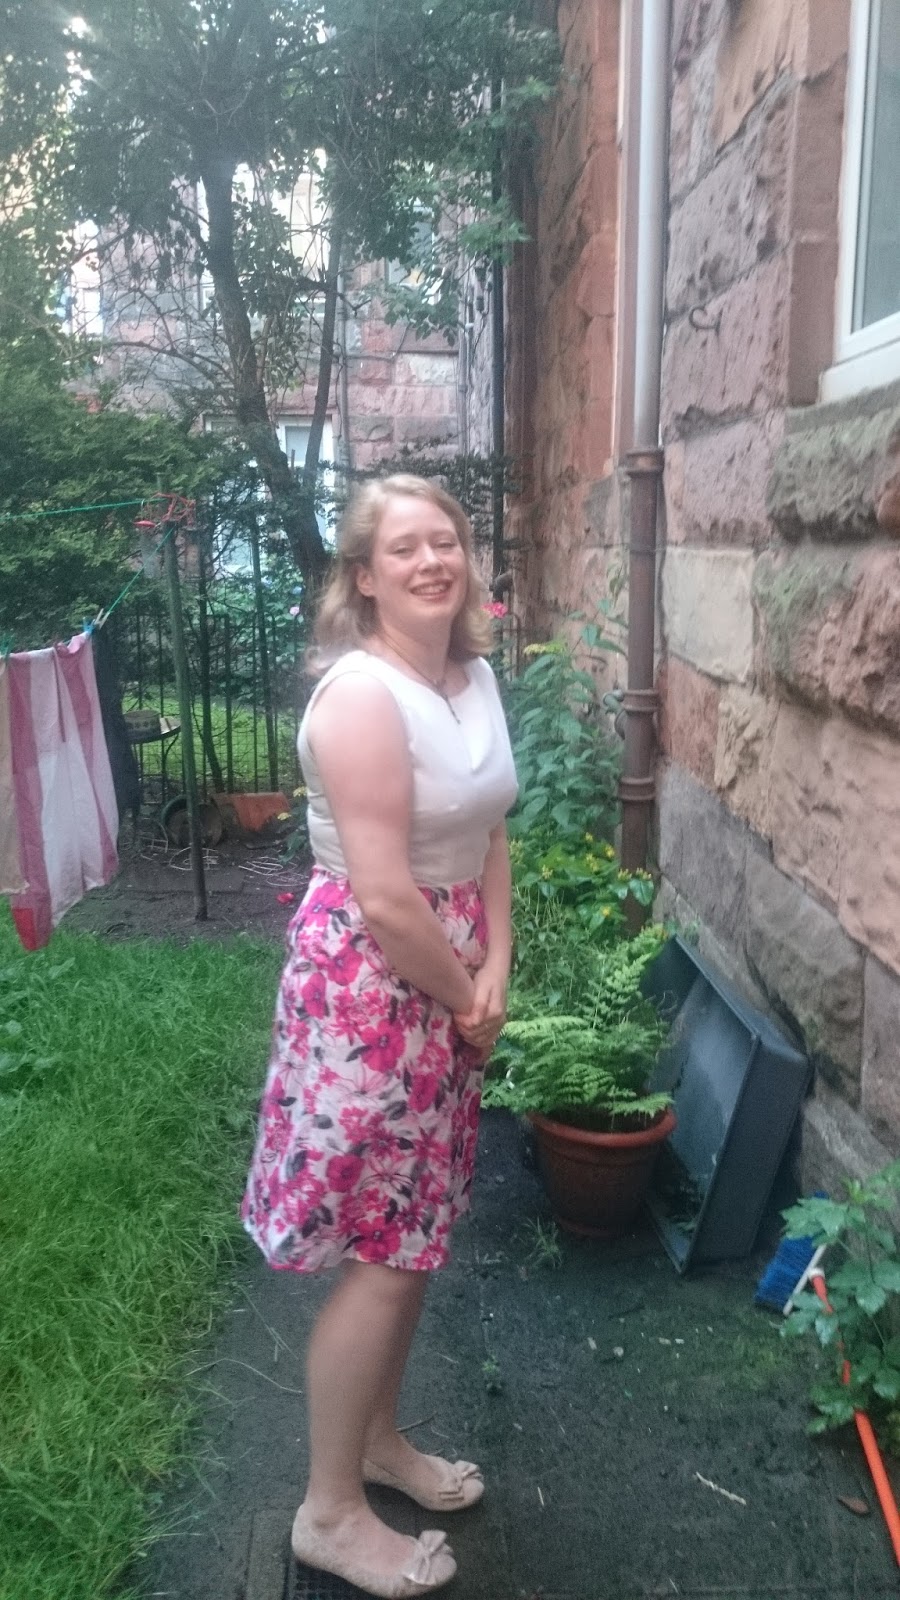
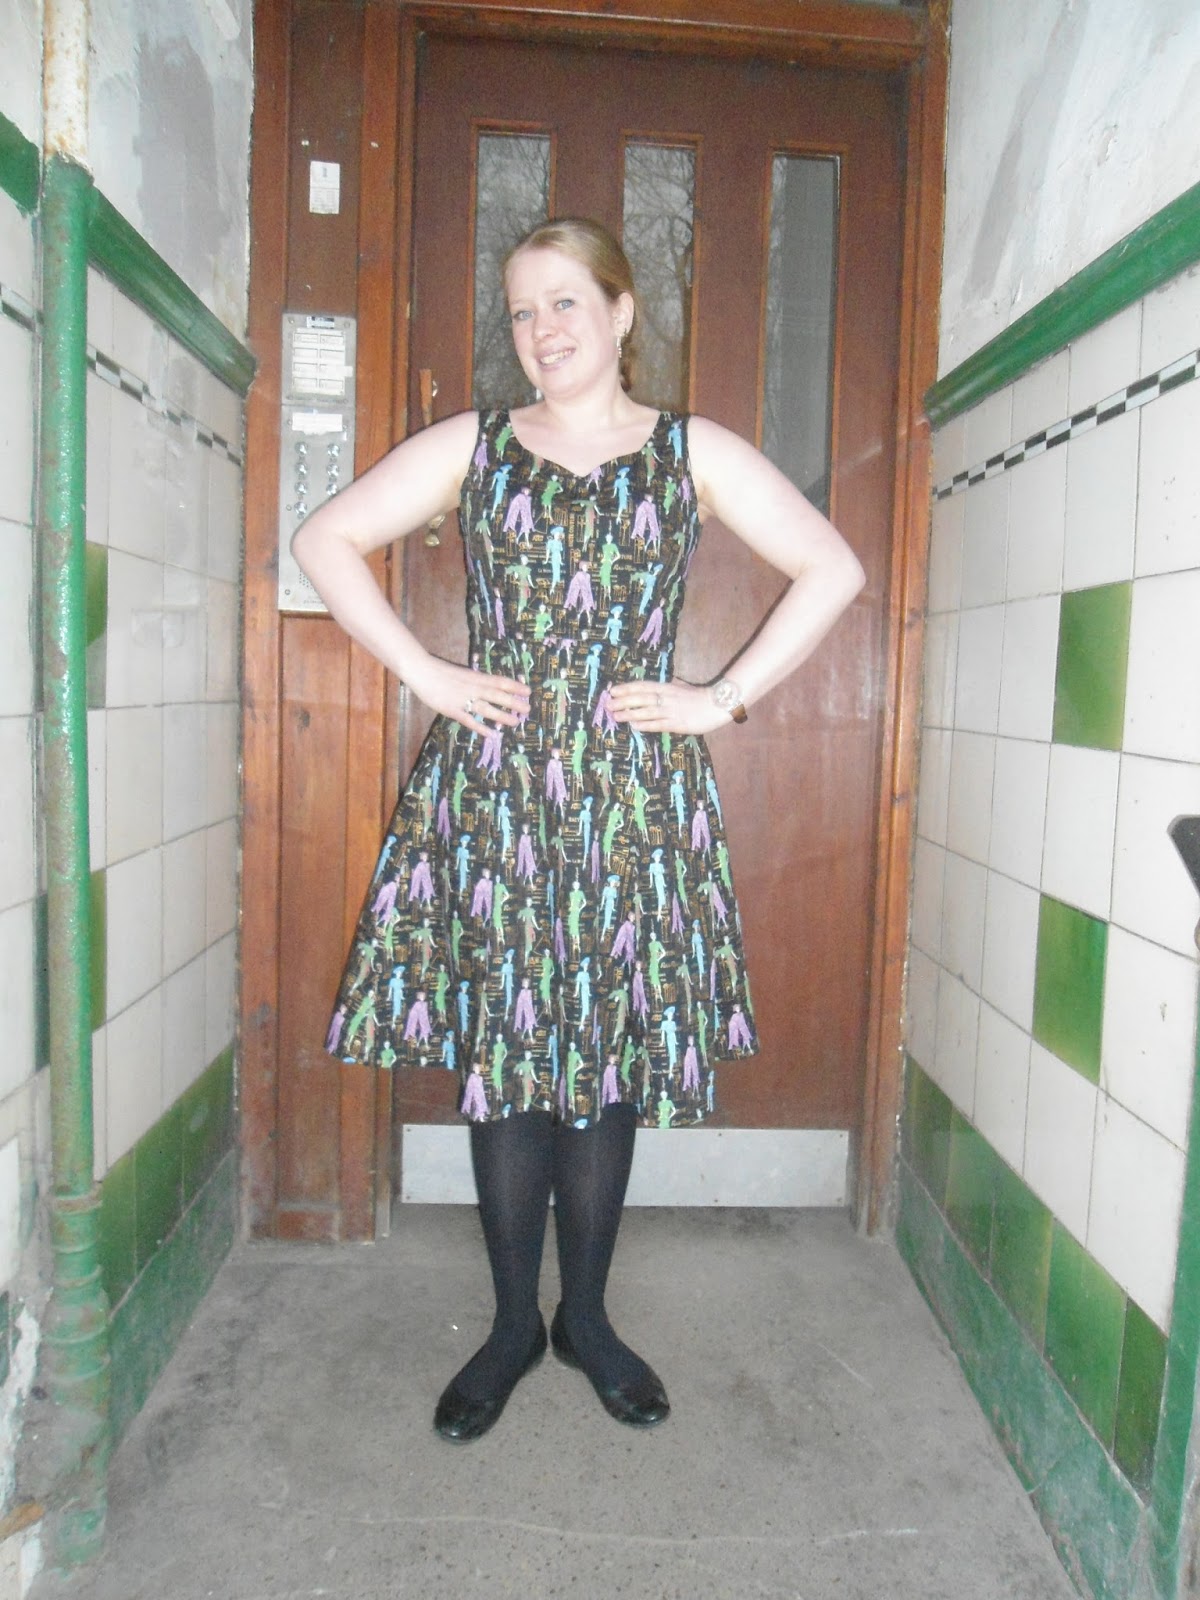
Finally a completed garment that's not a Granville shirt! This month has been busy busy busy and i'm not quite sure where it went to be honest the last few days weeks I think I must have been in some kind of time warp!

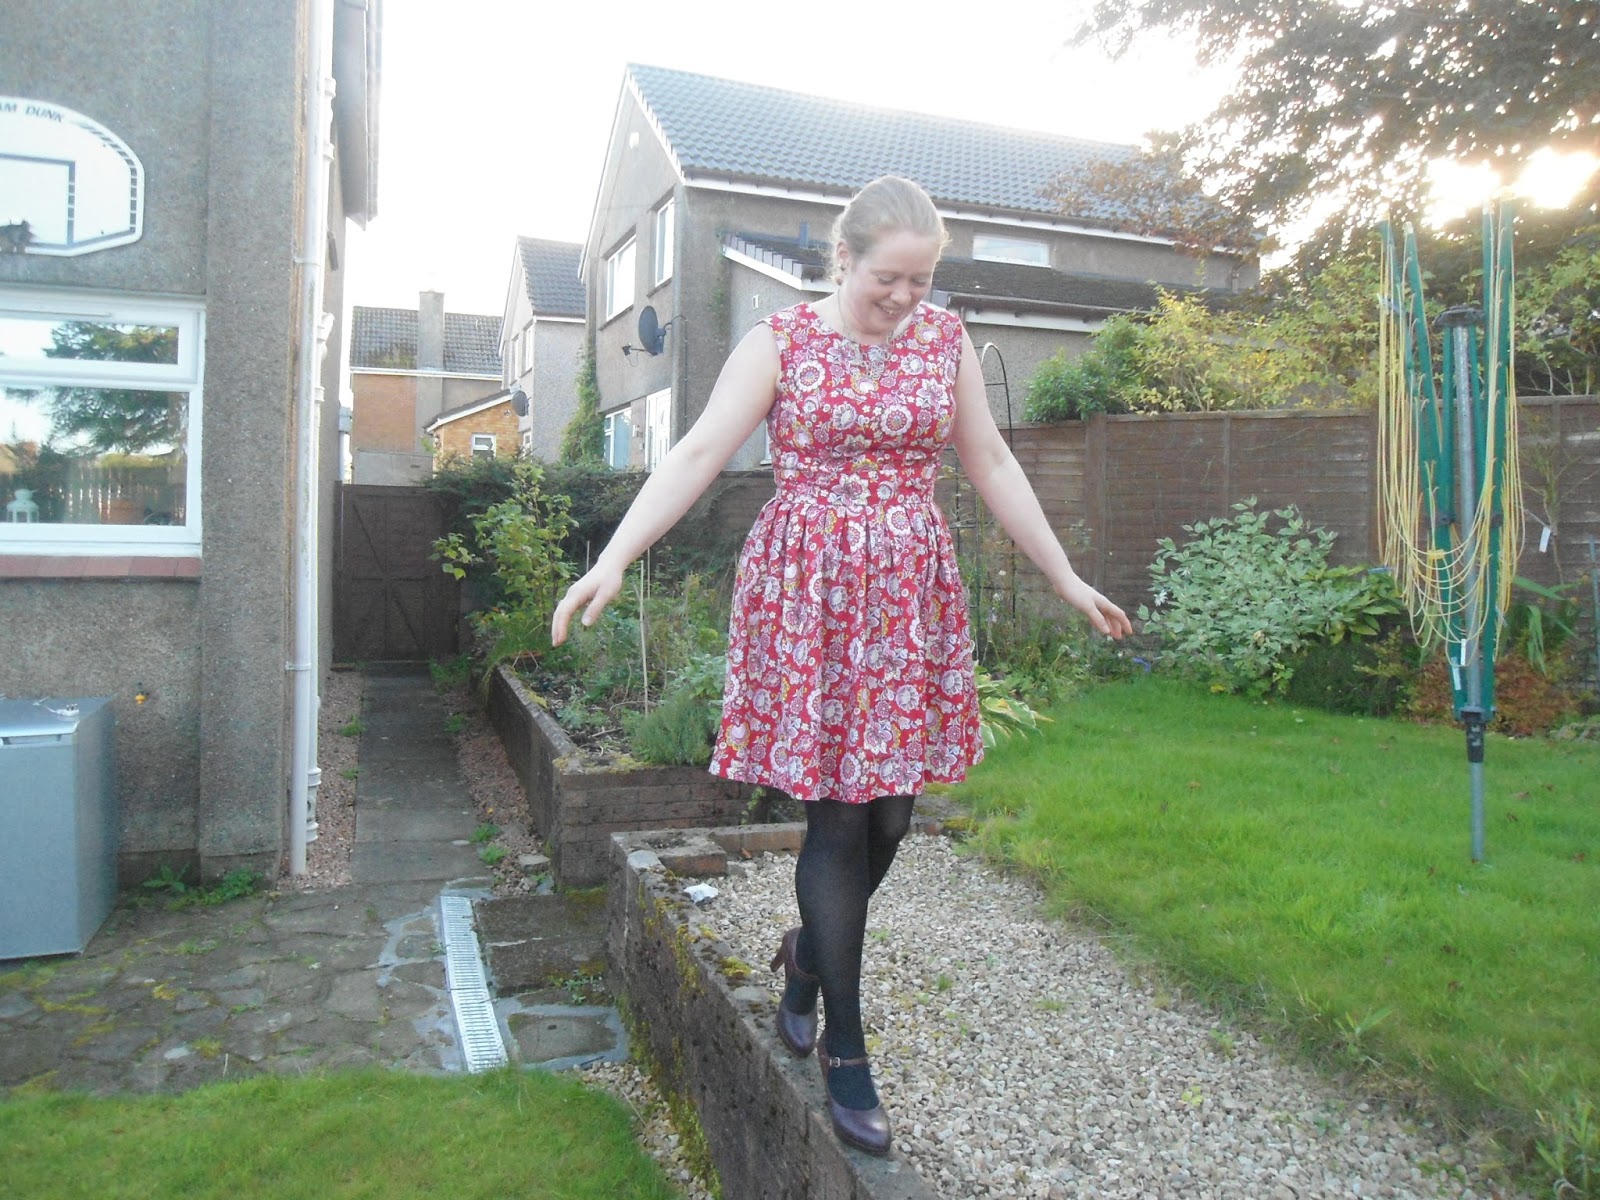
 
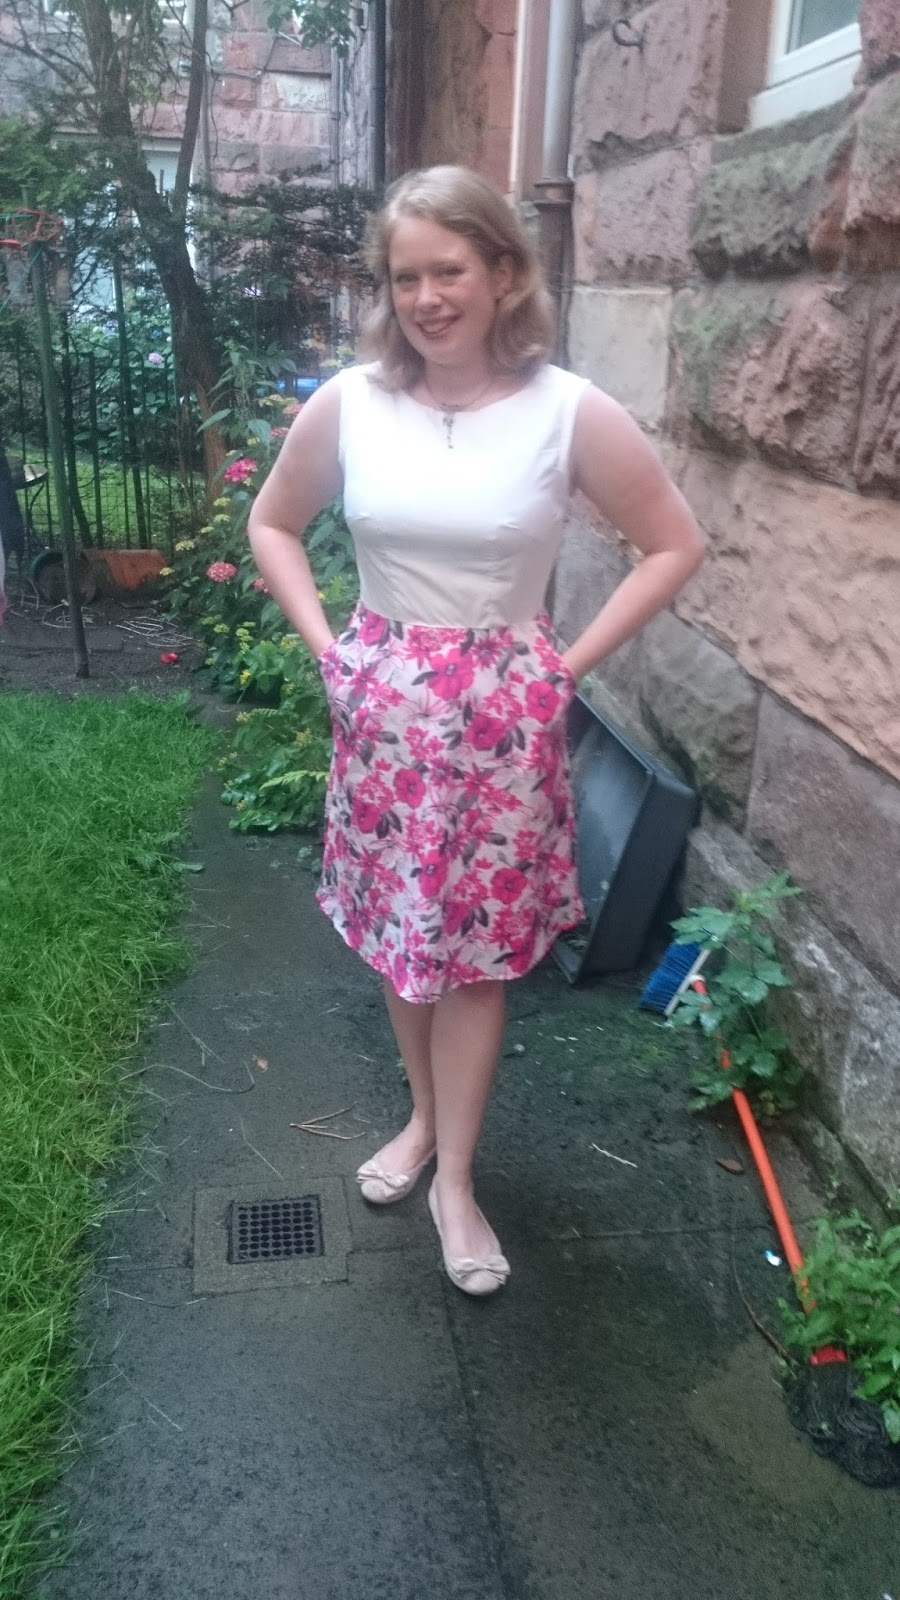
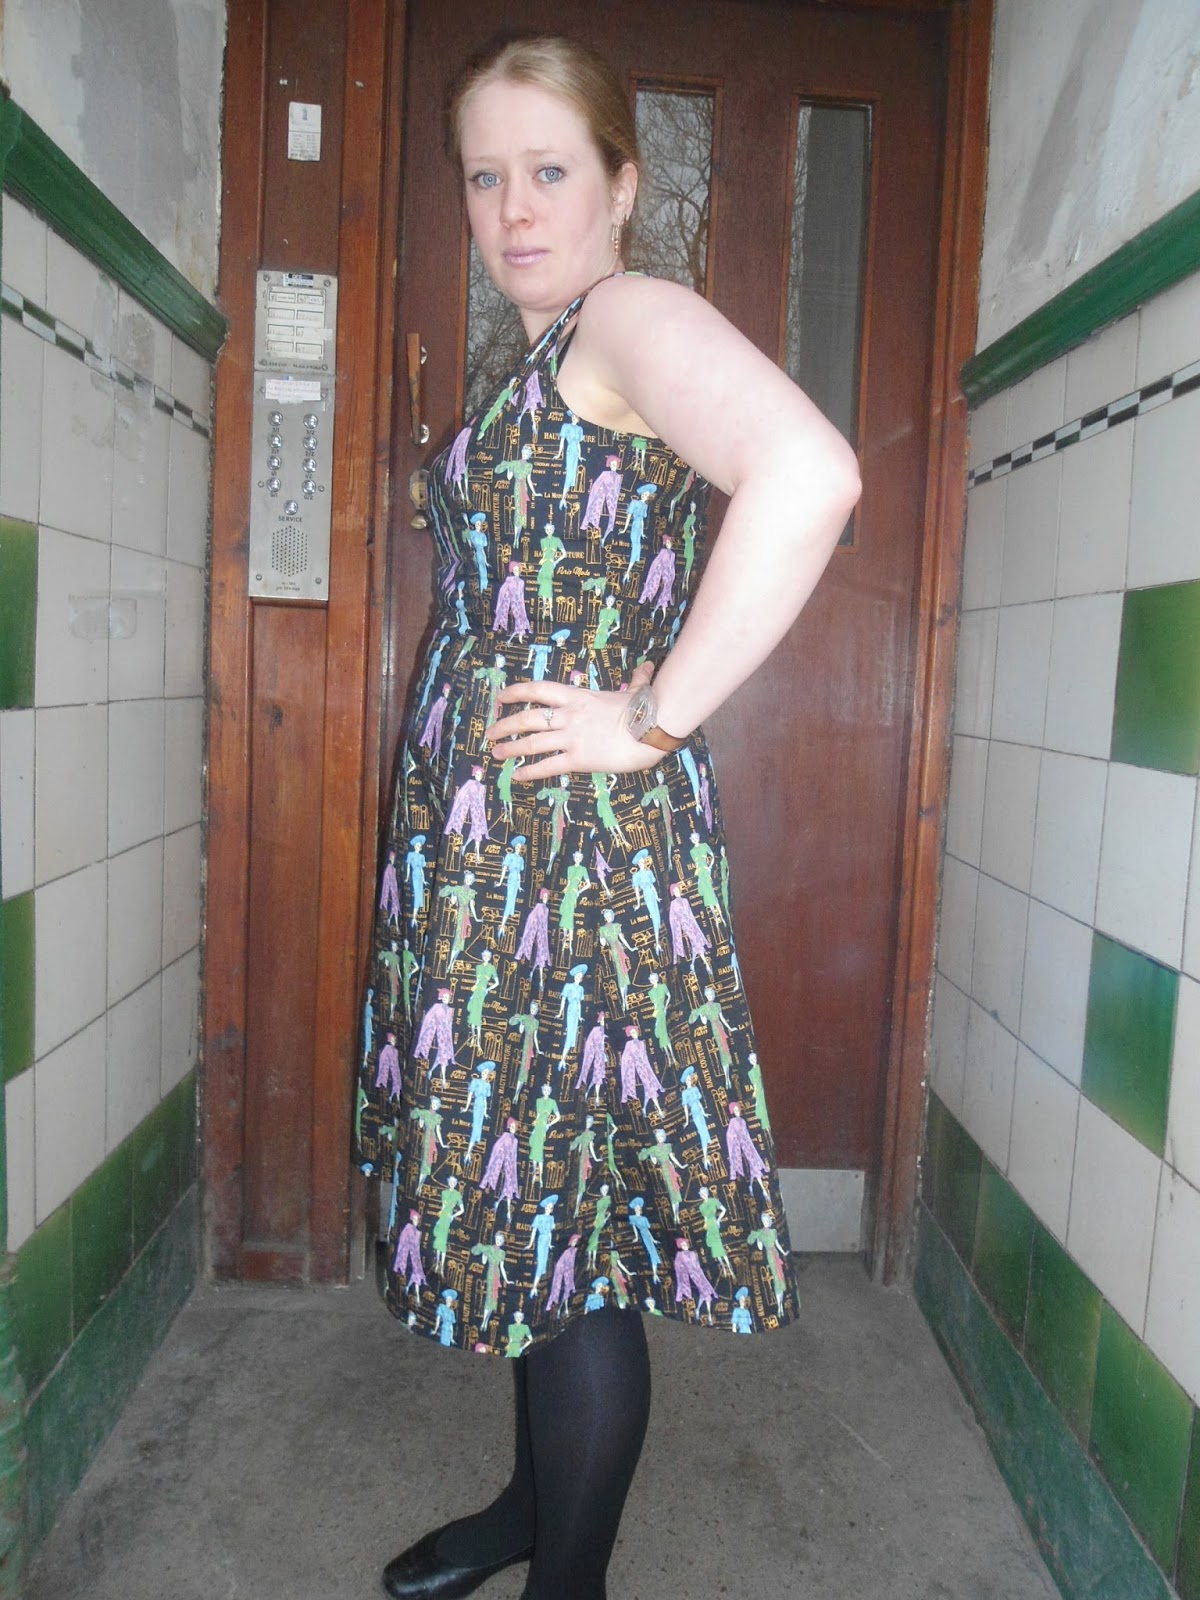
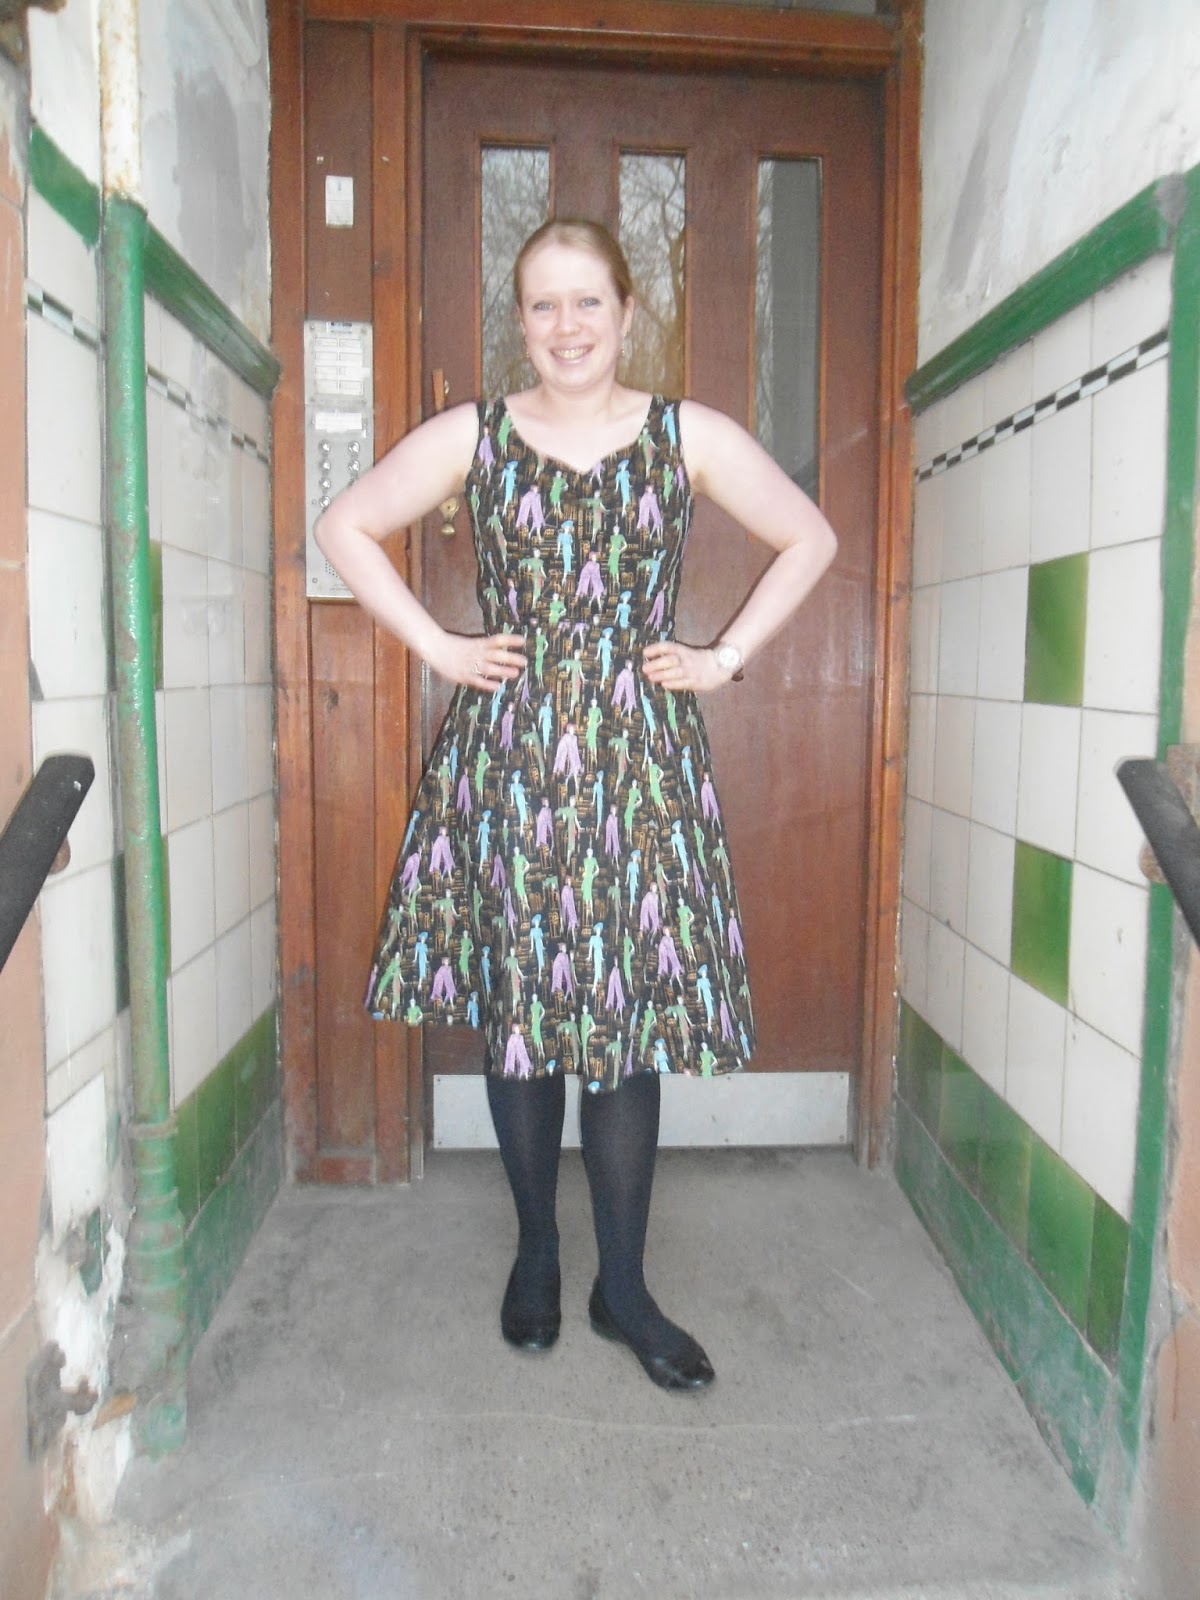
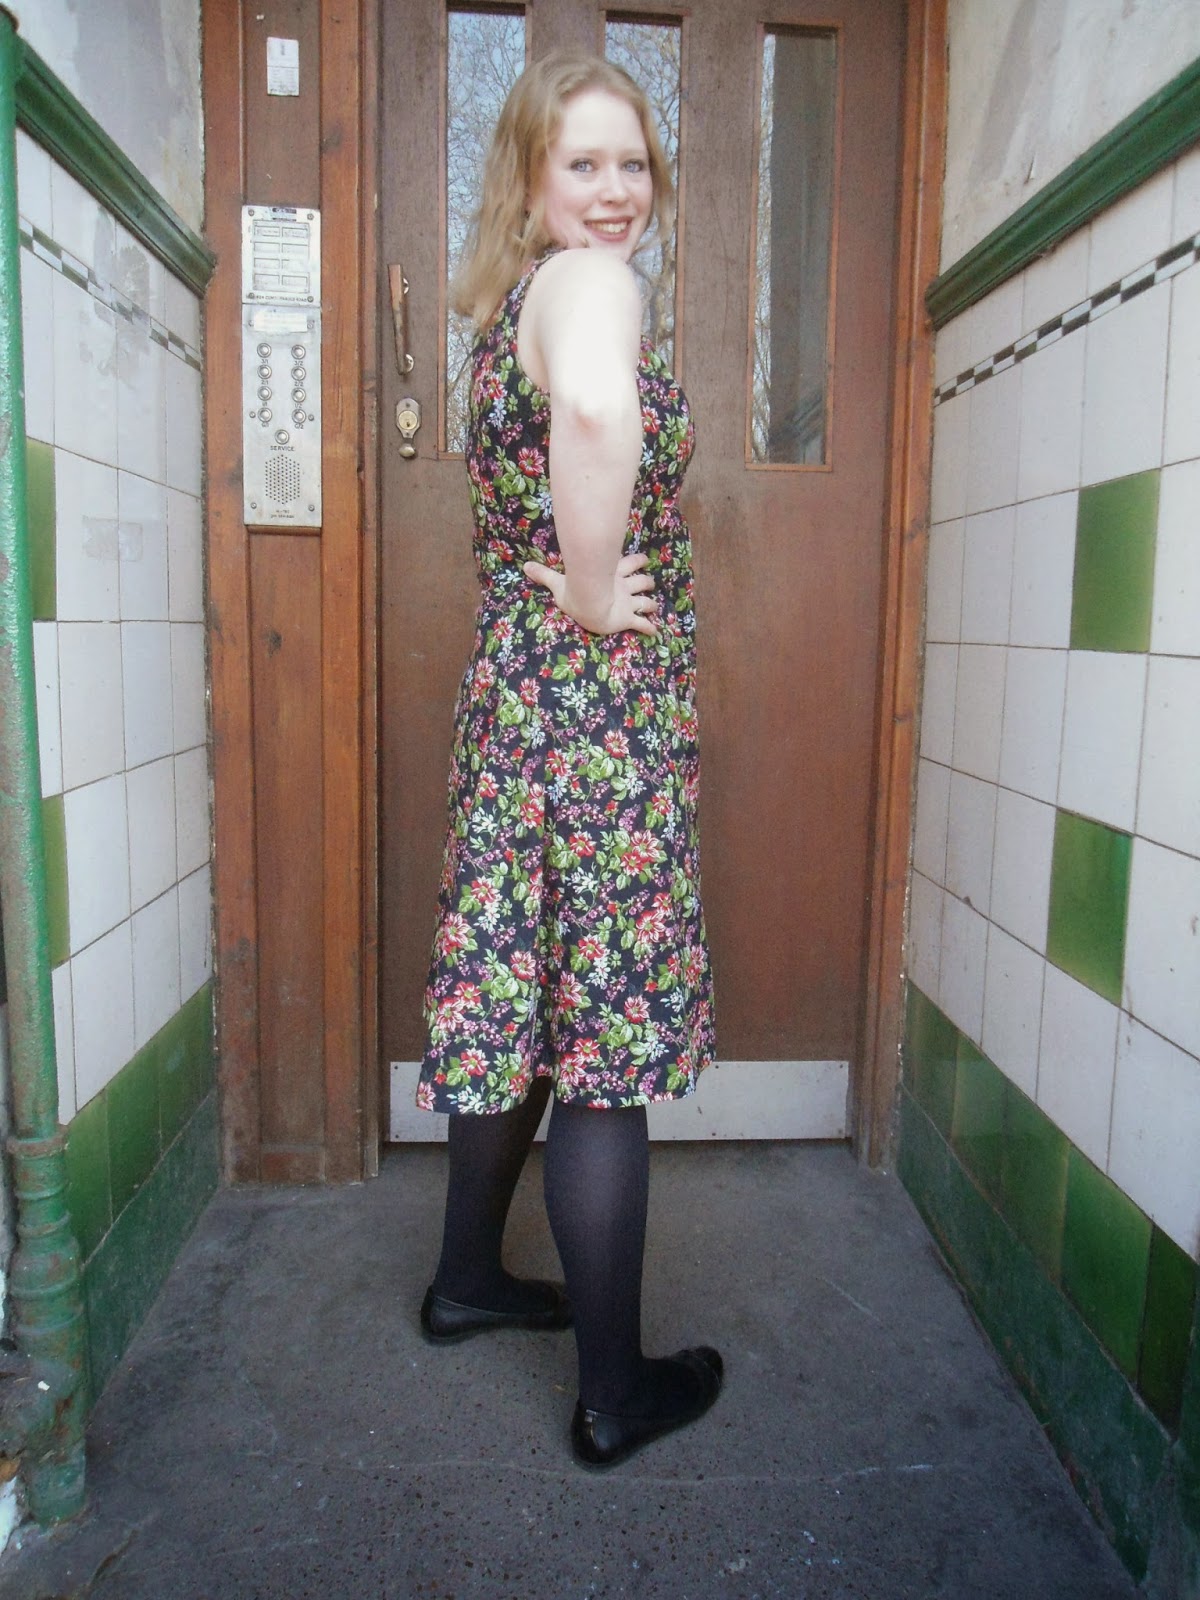
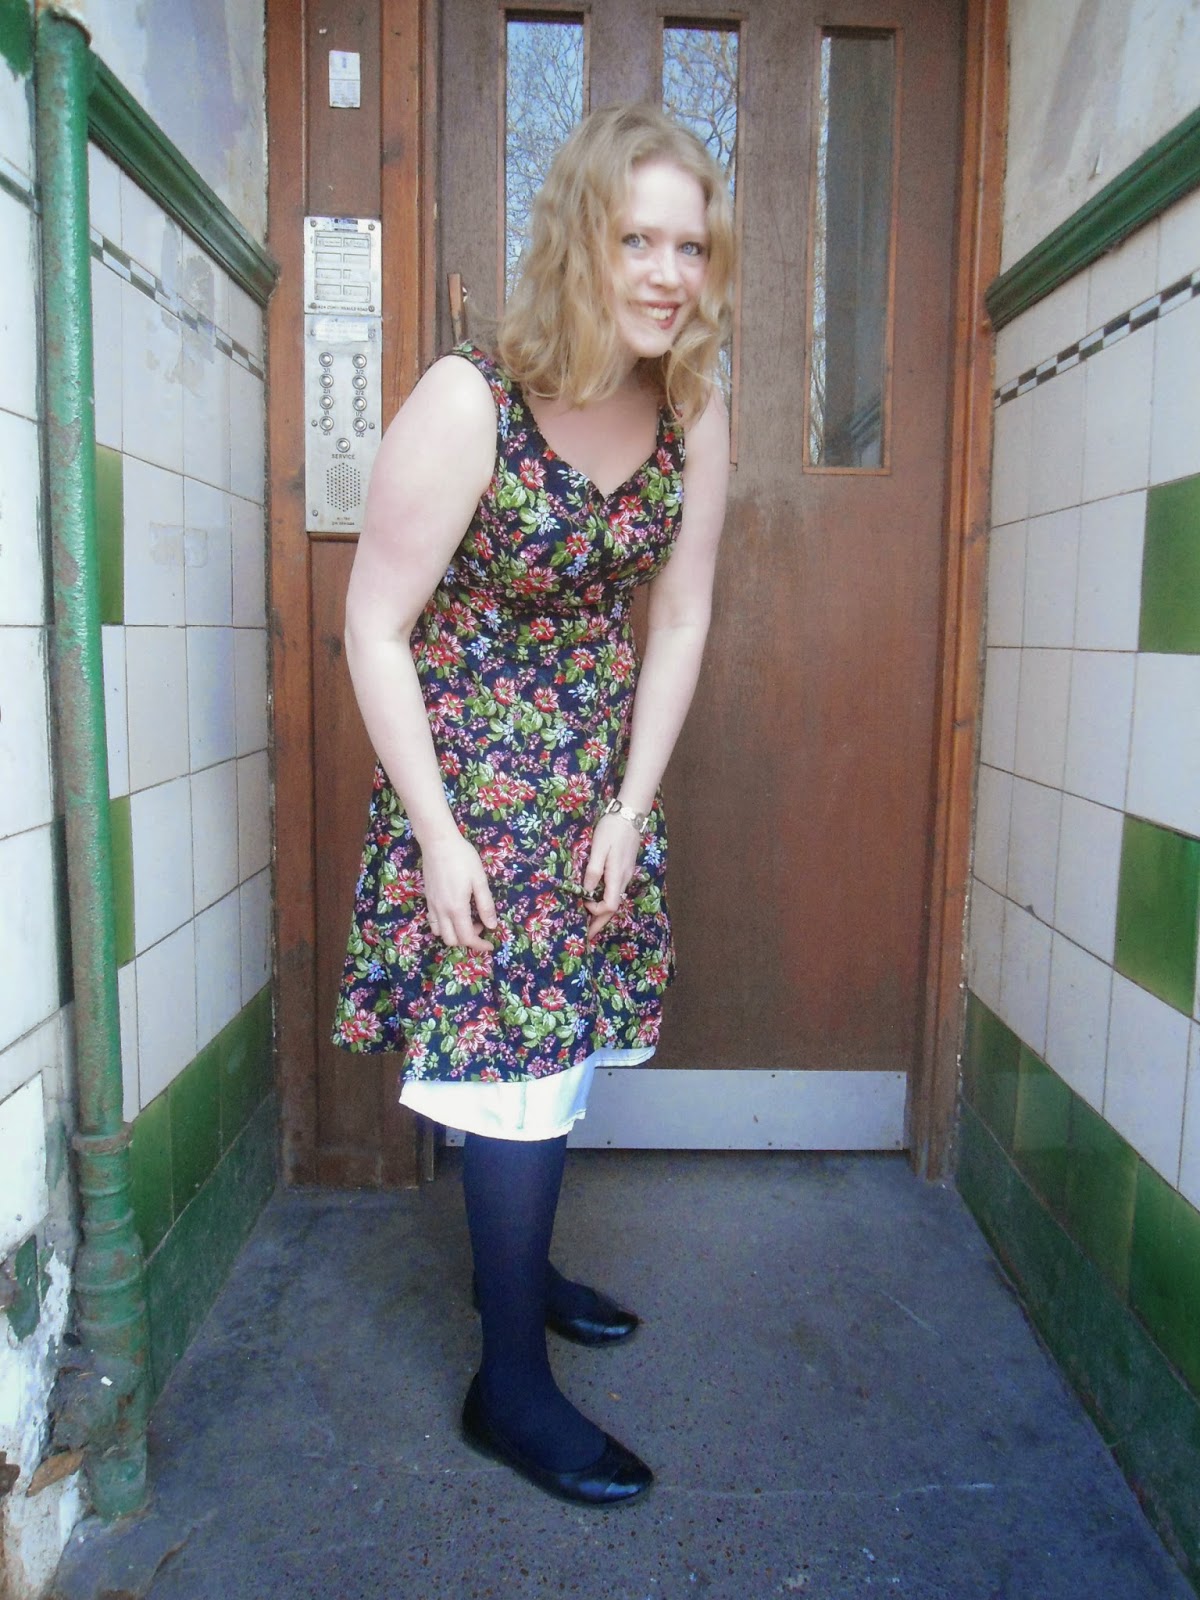
We were invited to the wedding of our friends down in Dumfries on Saturday and of course that needed a new dress! I wanted a pattern that I had made before so that I wasn't going into this task completely blind and also wanted a dress that could be worn after the wedding for general wearing so knew that I didn't want something too fancy or too dull.
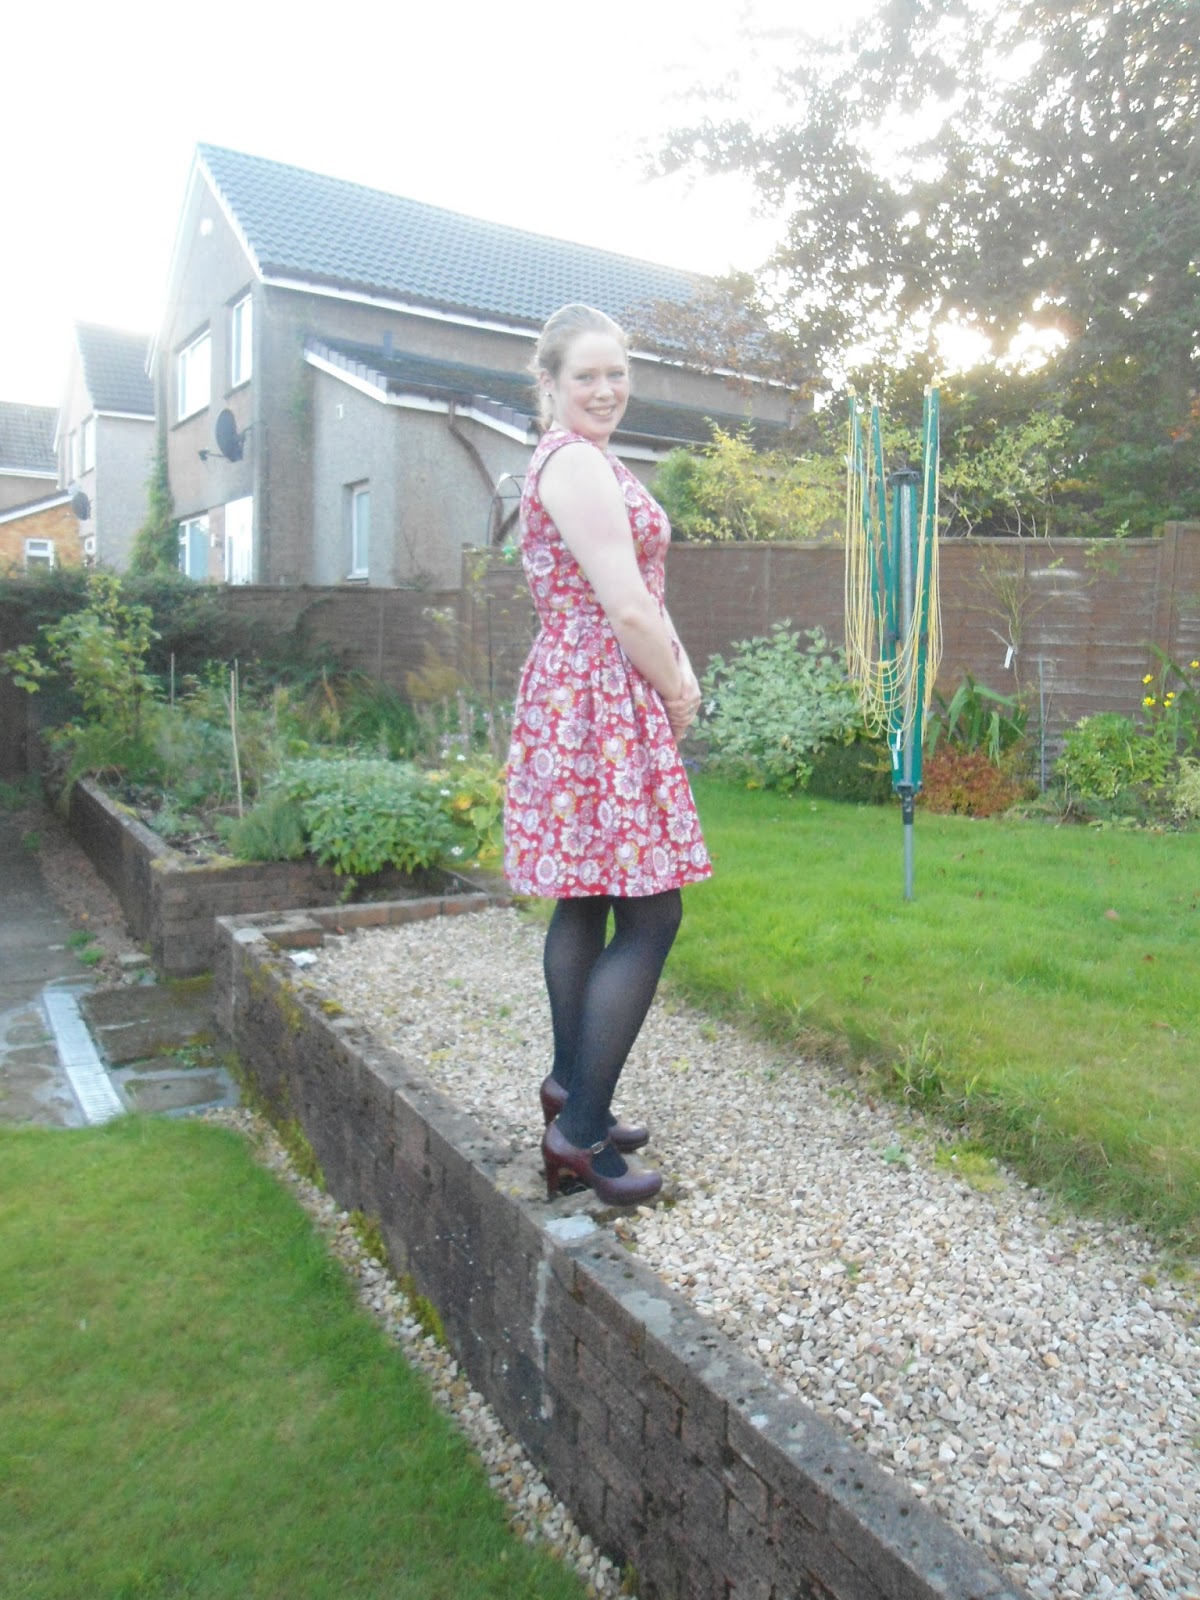
Thankfully my rearranging of the house has unearthed most of my patterns and the mortmain dress was fairly near the top - perfect! Then quite out of the blue, Amanda at the sewcial studio contacted me to see if there was some fabric that I would like from her range at her studios new premises.
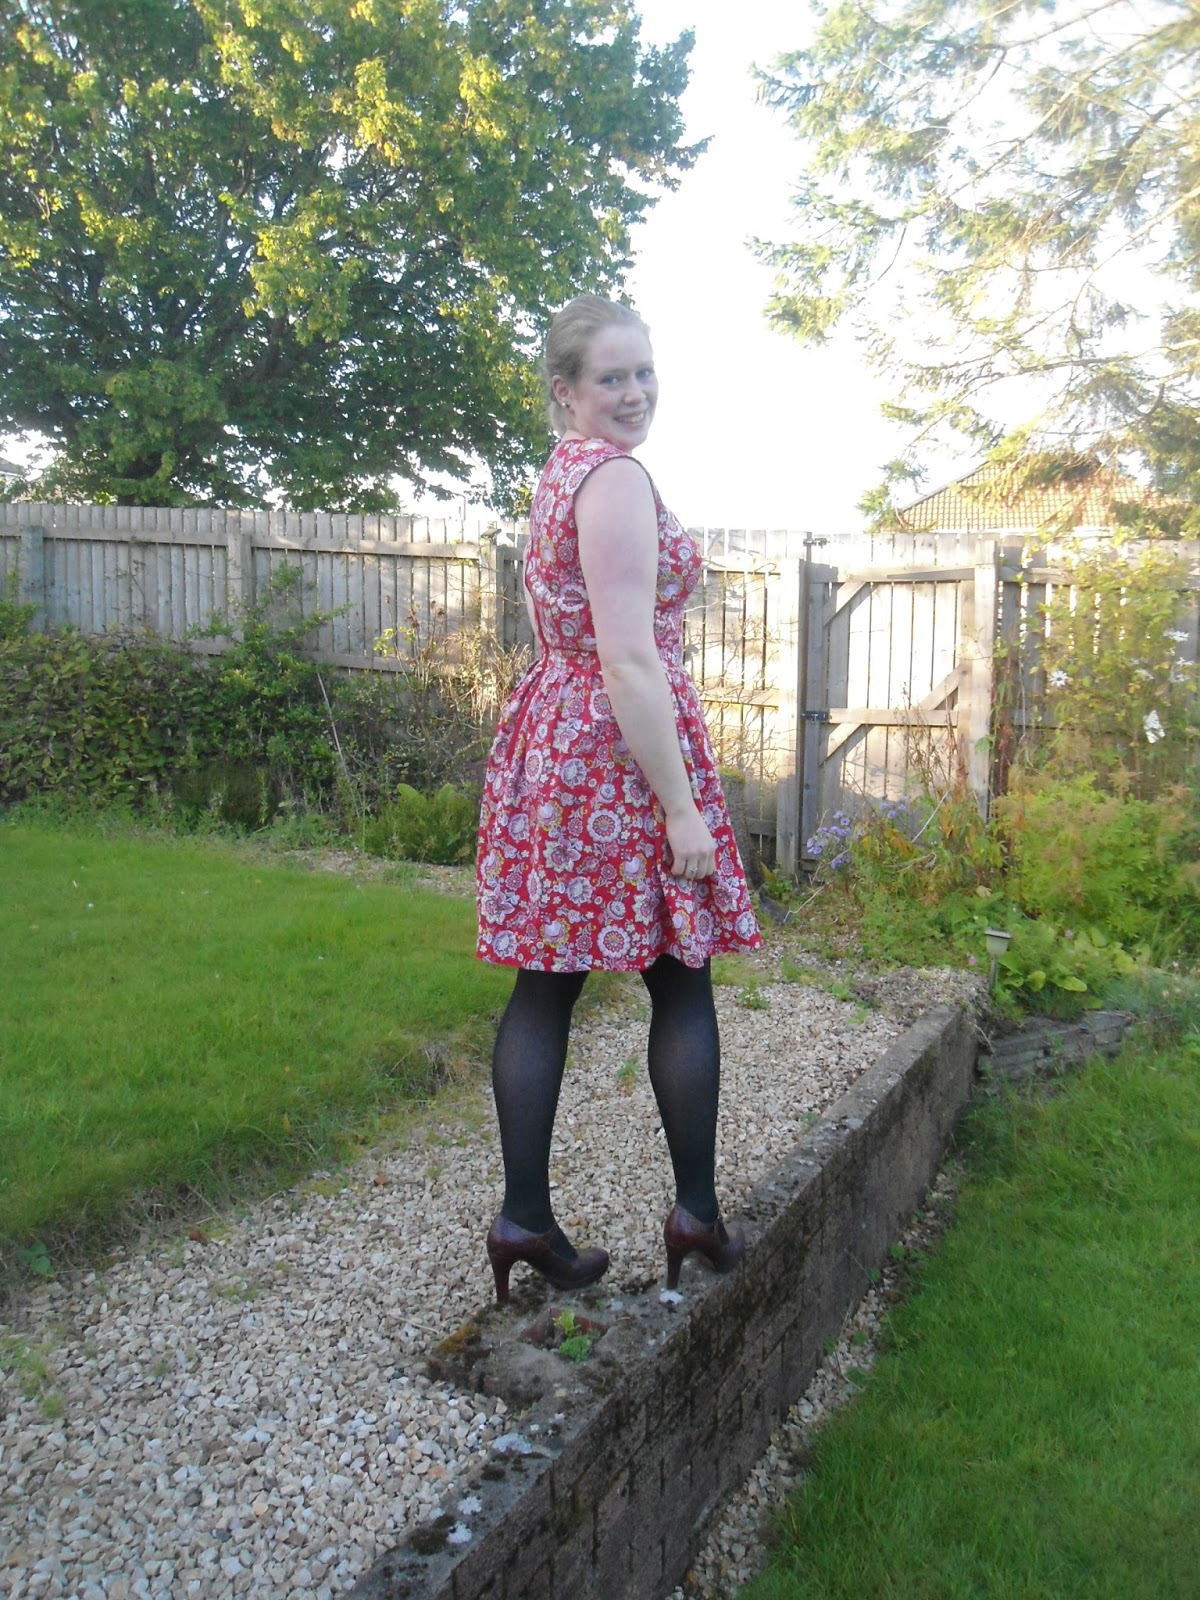
The fabric which I chose was a beautiful red printed Josephine Kimberling cotton which is rather heavier than expected however as the weather sudenly turned cold today that is no bad thing! The fabric almost feels like a flannel, but not quite. The fabric is still available on her site here.
The sewcial studio is based in Tamworth in Staffordshire, England. I don't profess to be an expert in English geography however (there seem to be a number of geocaches around and) it is really near the M6 and a number of rail stations so really easy to get to their workshops if you so wish. They are currently running a number of lampshade and finding your way about your sewing machine and overlocker workshops. I* also have it on good authority that mid november they are holding advent calendar workshops :-)

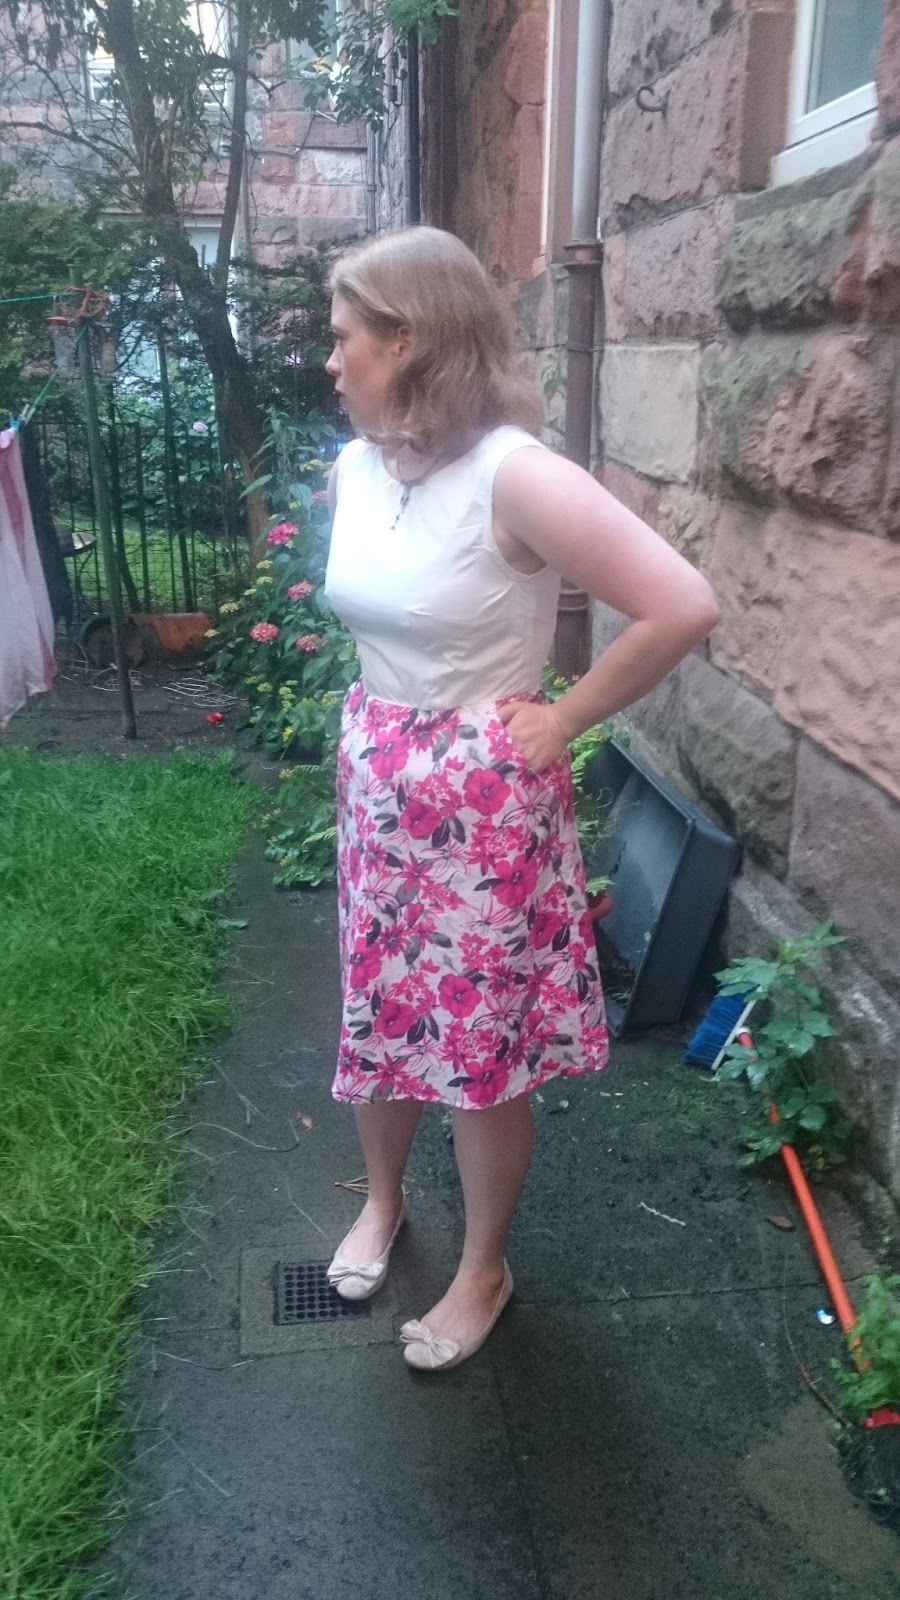
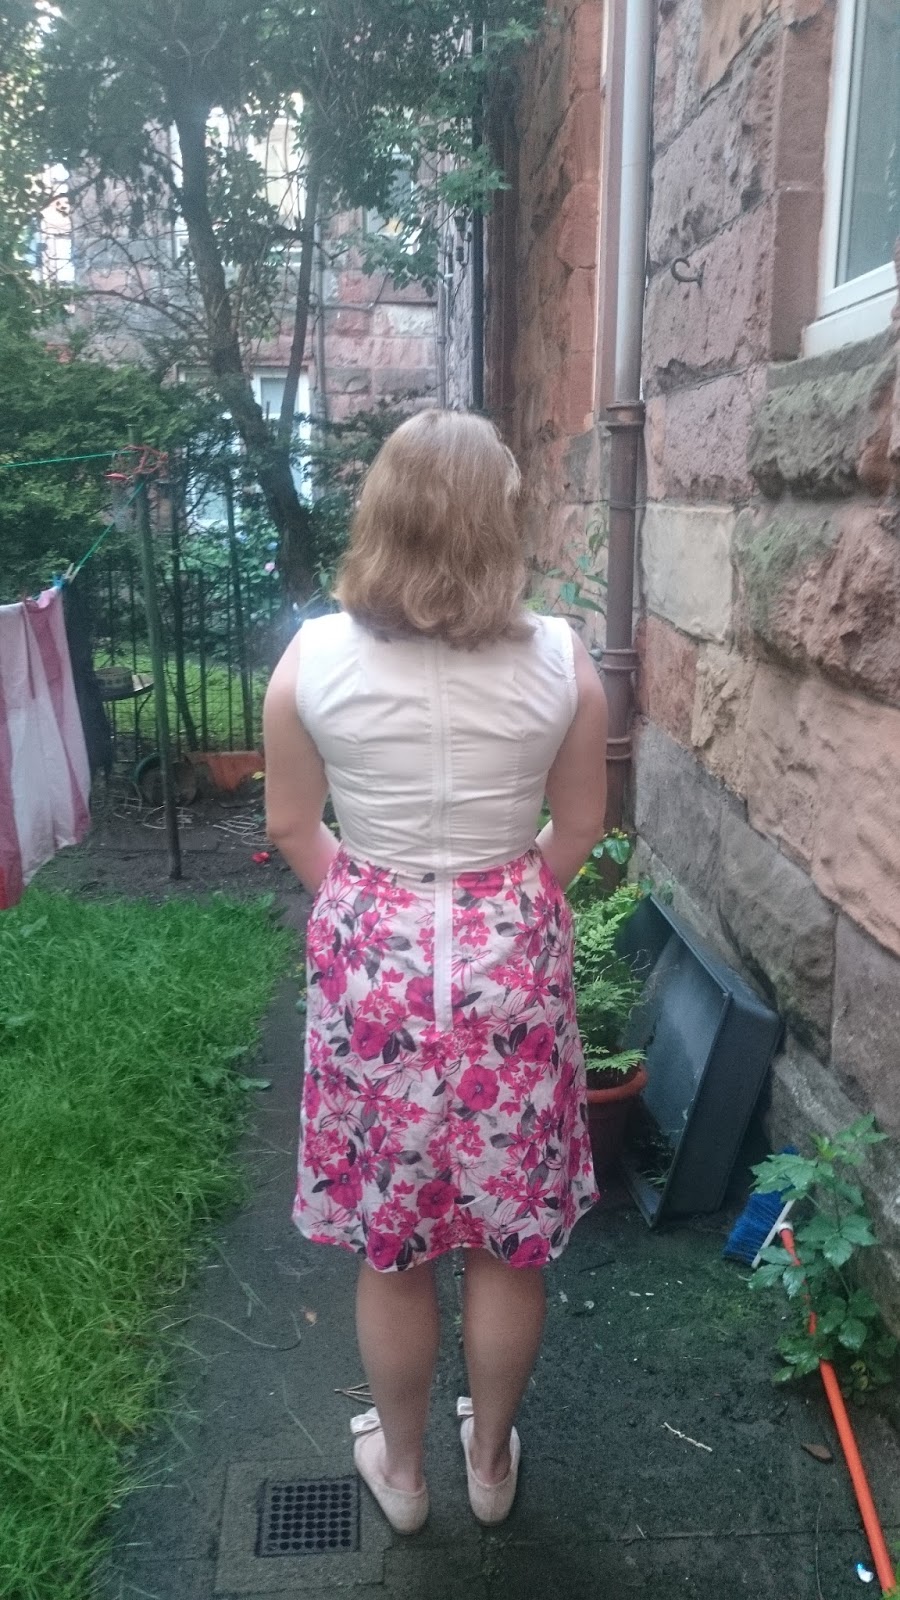
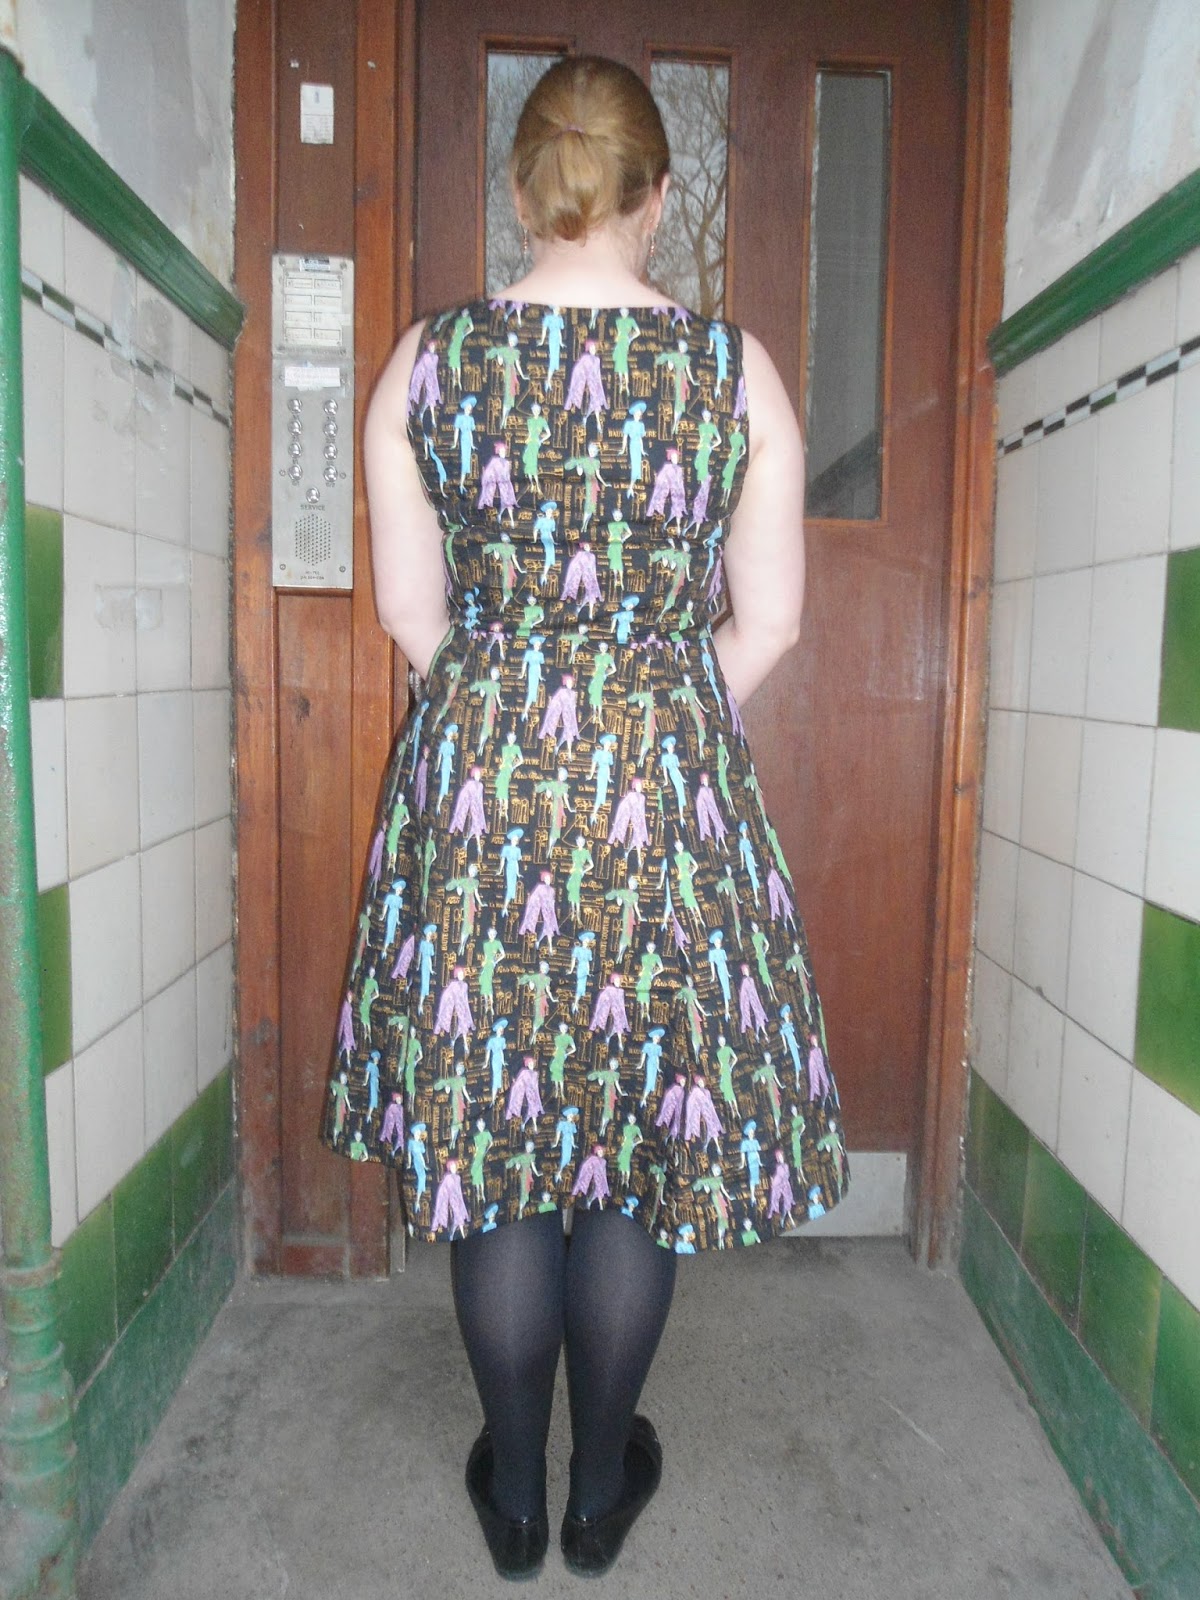
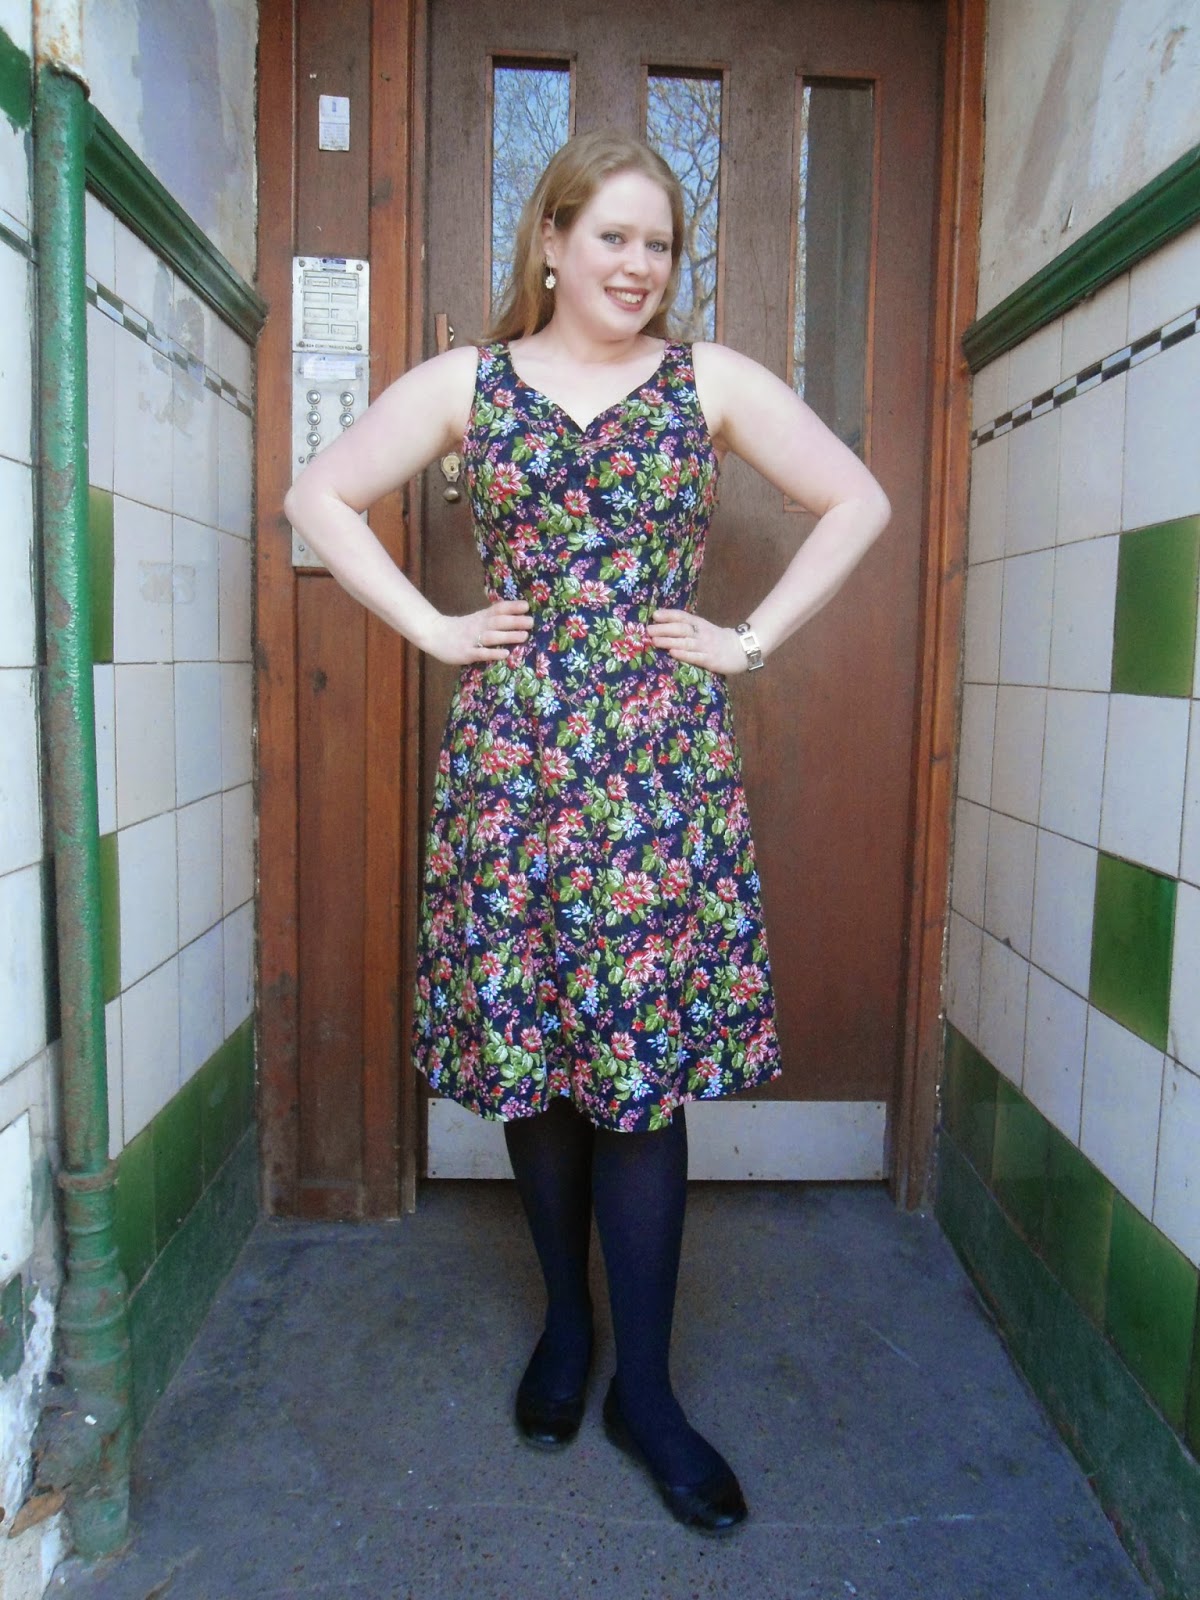
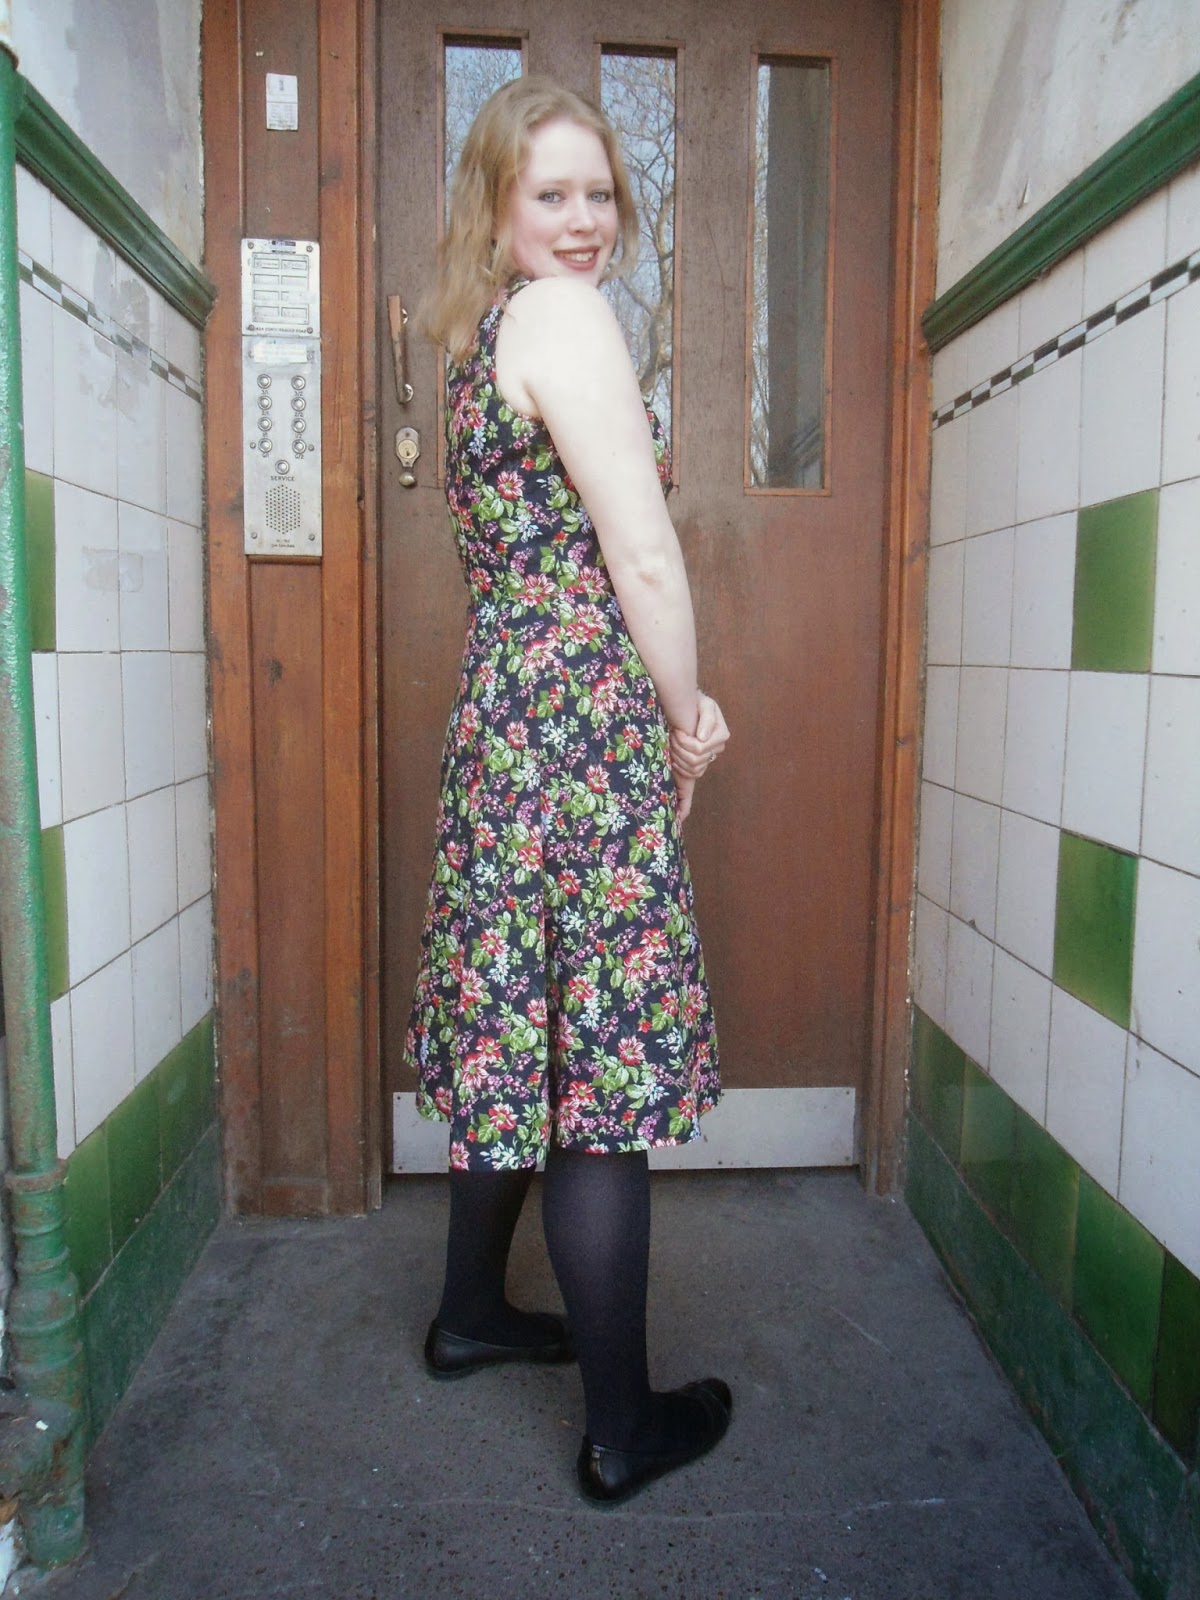
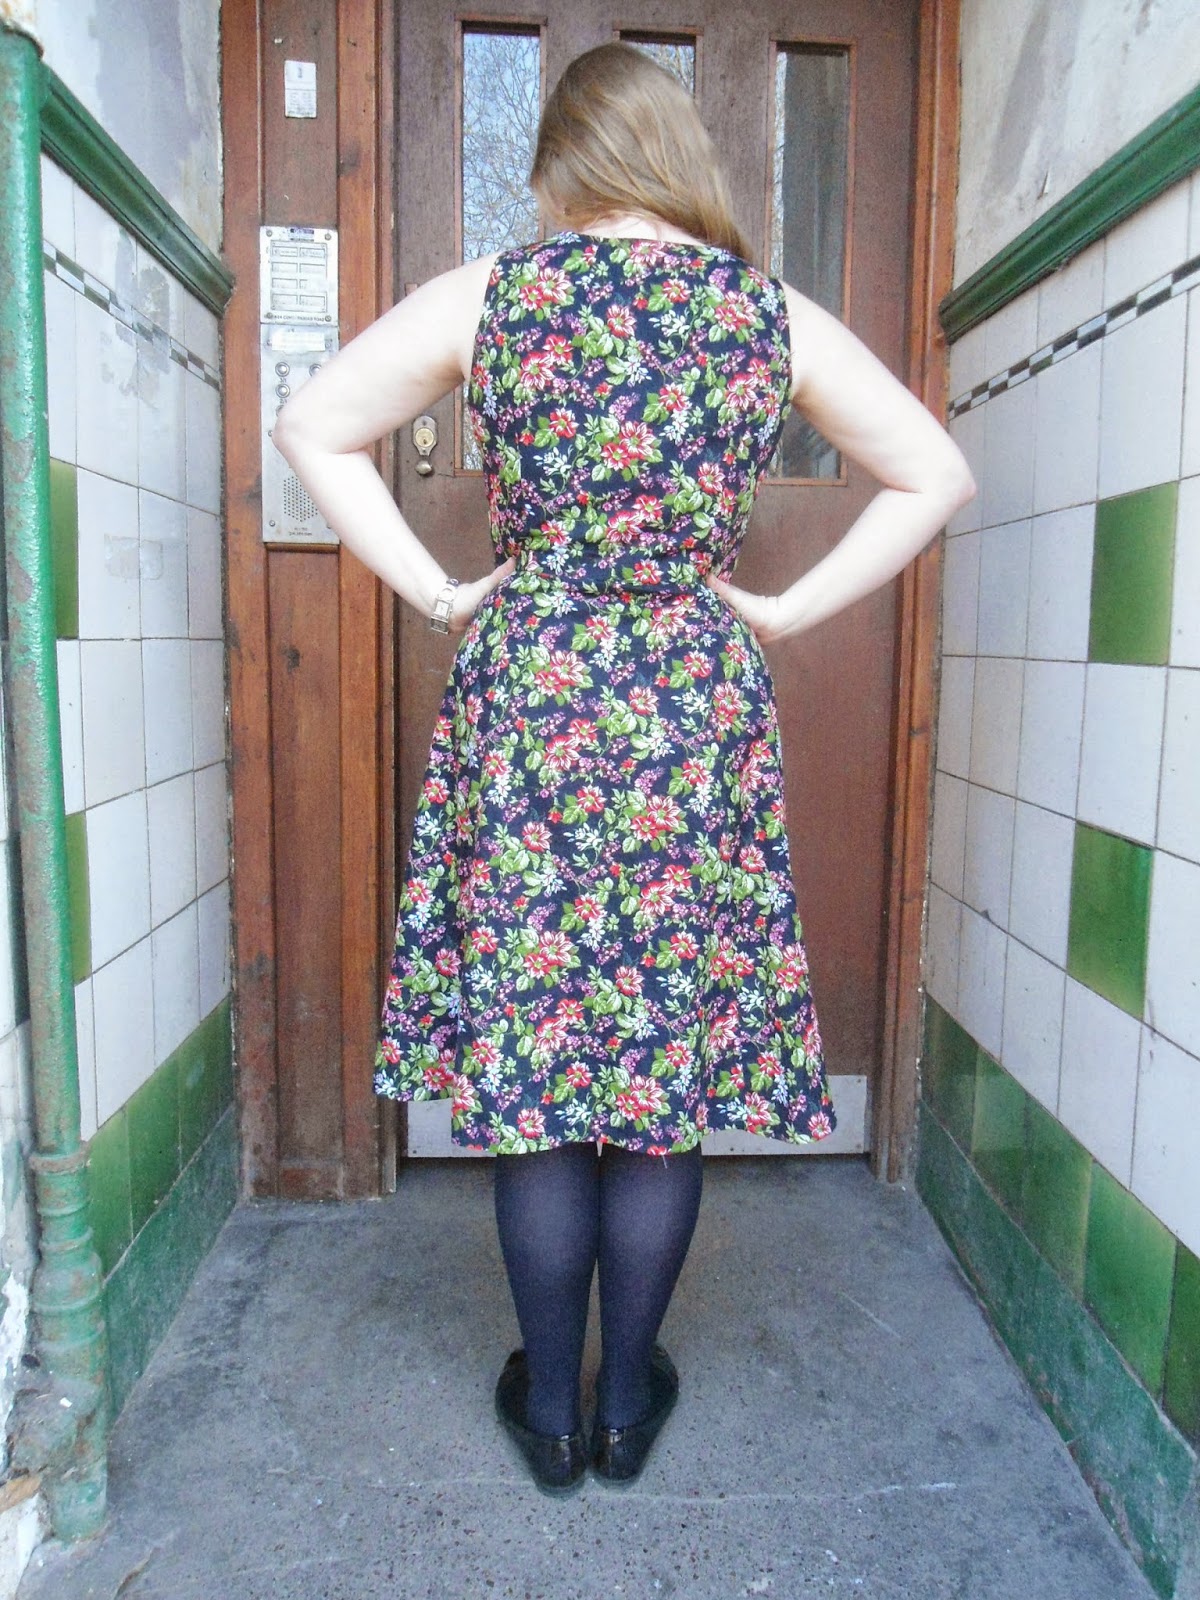
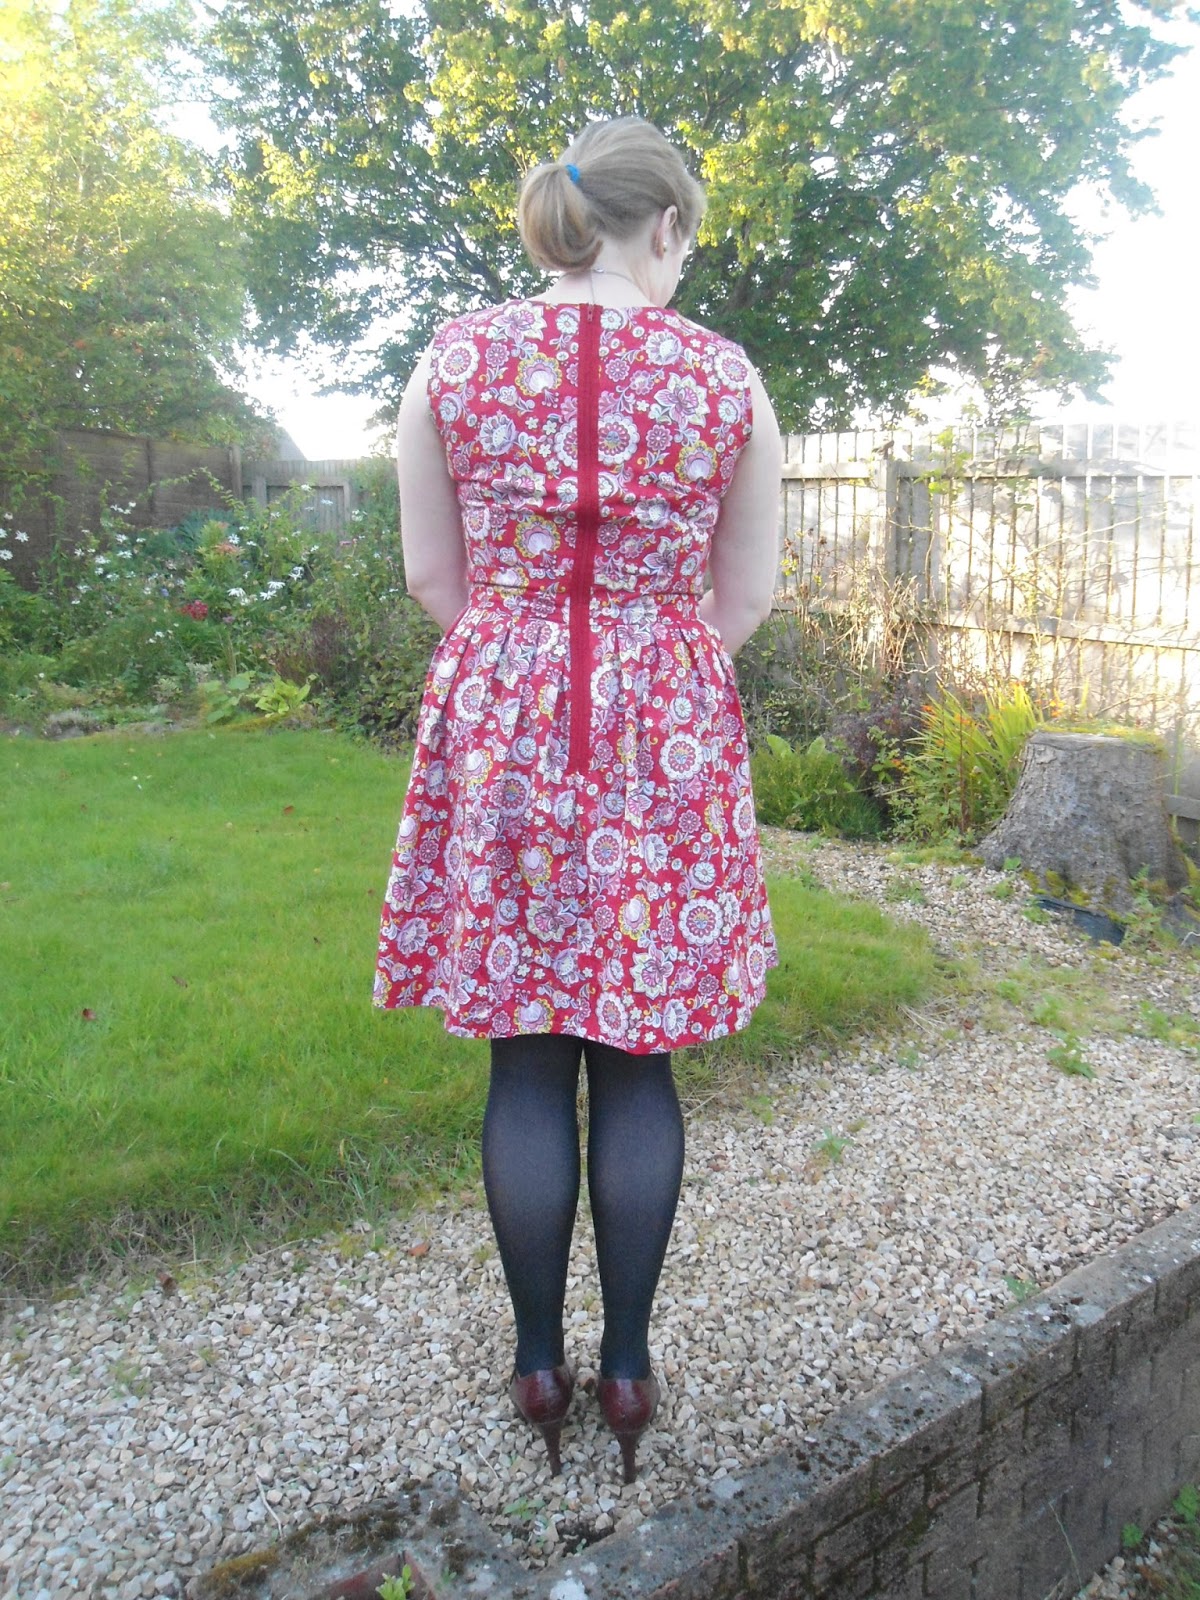
So to the dress. I performed my now standard FBA and found that the fit was almost spot on. Two small problems were that the darts are TOO DAMN LONG. I should have realised when I was sewing them up that they would be having a pointy party right up there on my chest but oh well. The other issue I had was the fact that I forgot to account for that sway back adjustment that I always make. Theres not a huge amount of extra length but enough to make it noticeable. The skirt again was winged - 24 pleats were made each about 3.5 cm in width. some were slightly more some were slightly less and by slightly I mean like a mm! I used the full width of the fabric for the skirt and cut to around 60 cm this length is a touch too long but ill not make the mistake of omitting seam and he allowances again. the finished skirt length ended just where I wanted it to.
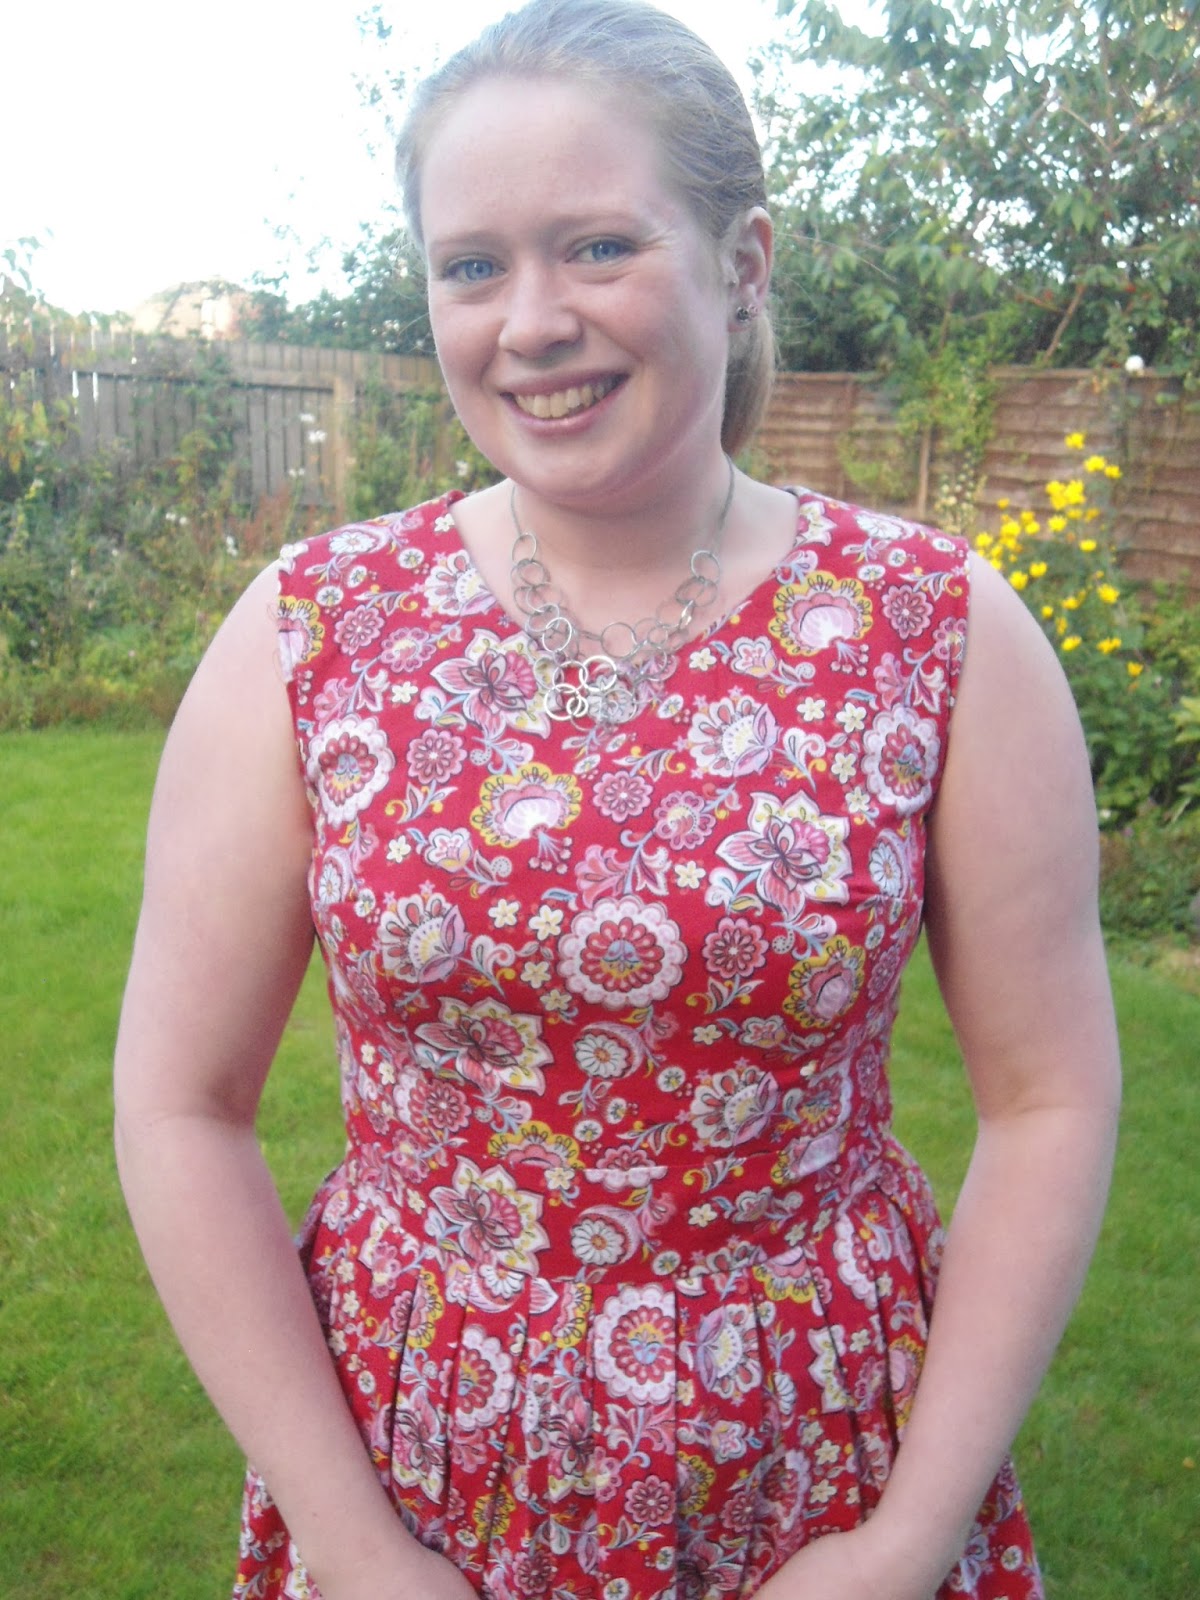
So all in all a really nice dress IMO and Thanks so much Amanda for letting me try your fabric :-). Also the grand operning of the new store was yesterday adn it seemed like a great time was had by all!

Take Care all

Jen xx


Wednesday, 23 September 2015

Sewaholic Granville Sleeveless number 3!

Hello :-)

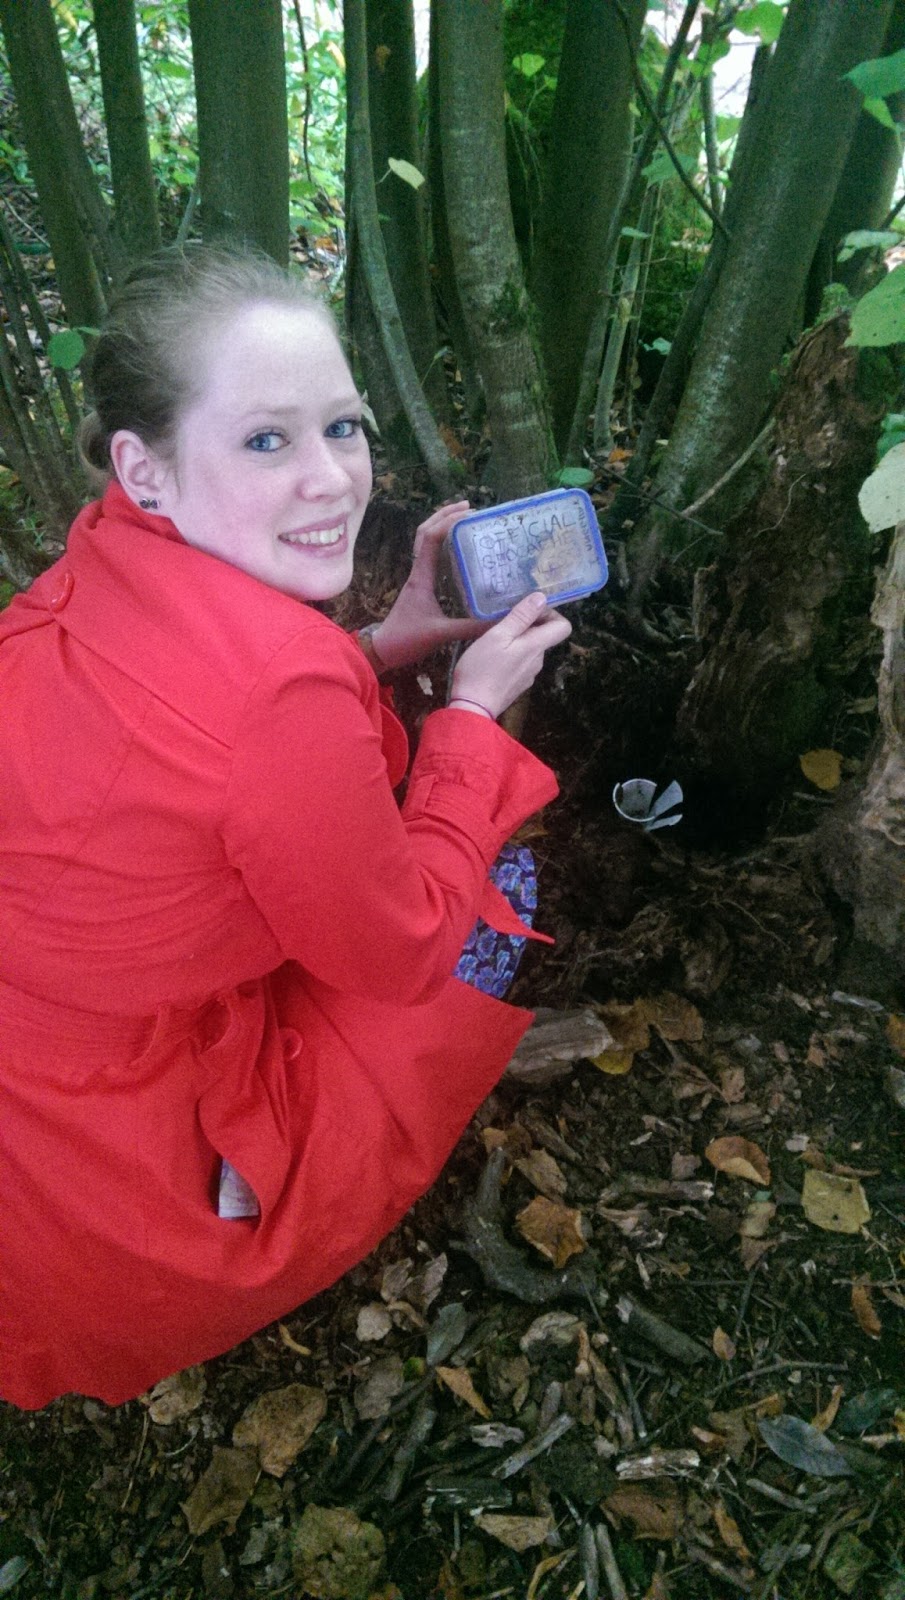
How you all doing folks? We went geocaching this week and it was really quite cool! We found our first ever geocache up in a deserted and demolished mental health hospital that Johns dad worked in in the early 80's. It unfortunately was a victim to New Labour's Cuts in the mid 2000's and all that remains now is the road through the site and some layby's which served as bus stops and taxi stops. It's a shame that we never got to visit the derelict building as I'm really quite fascinated by that kind of history. Also Geocaching is a GPS game a bit like modern day orienteering but with the aid of either a GPS device or google maps. There is also a free map which you can use to locate all the points.


According to the maps there is another one on our way home stuck to a sign somewhere near the vet school so i'm gonna stop by and lurk in the housing scheme!

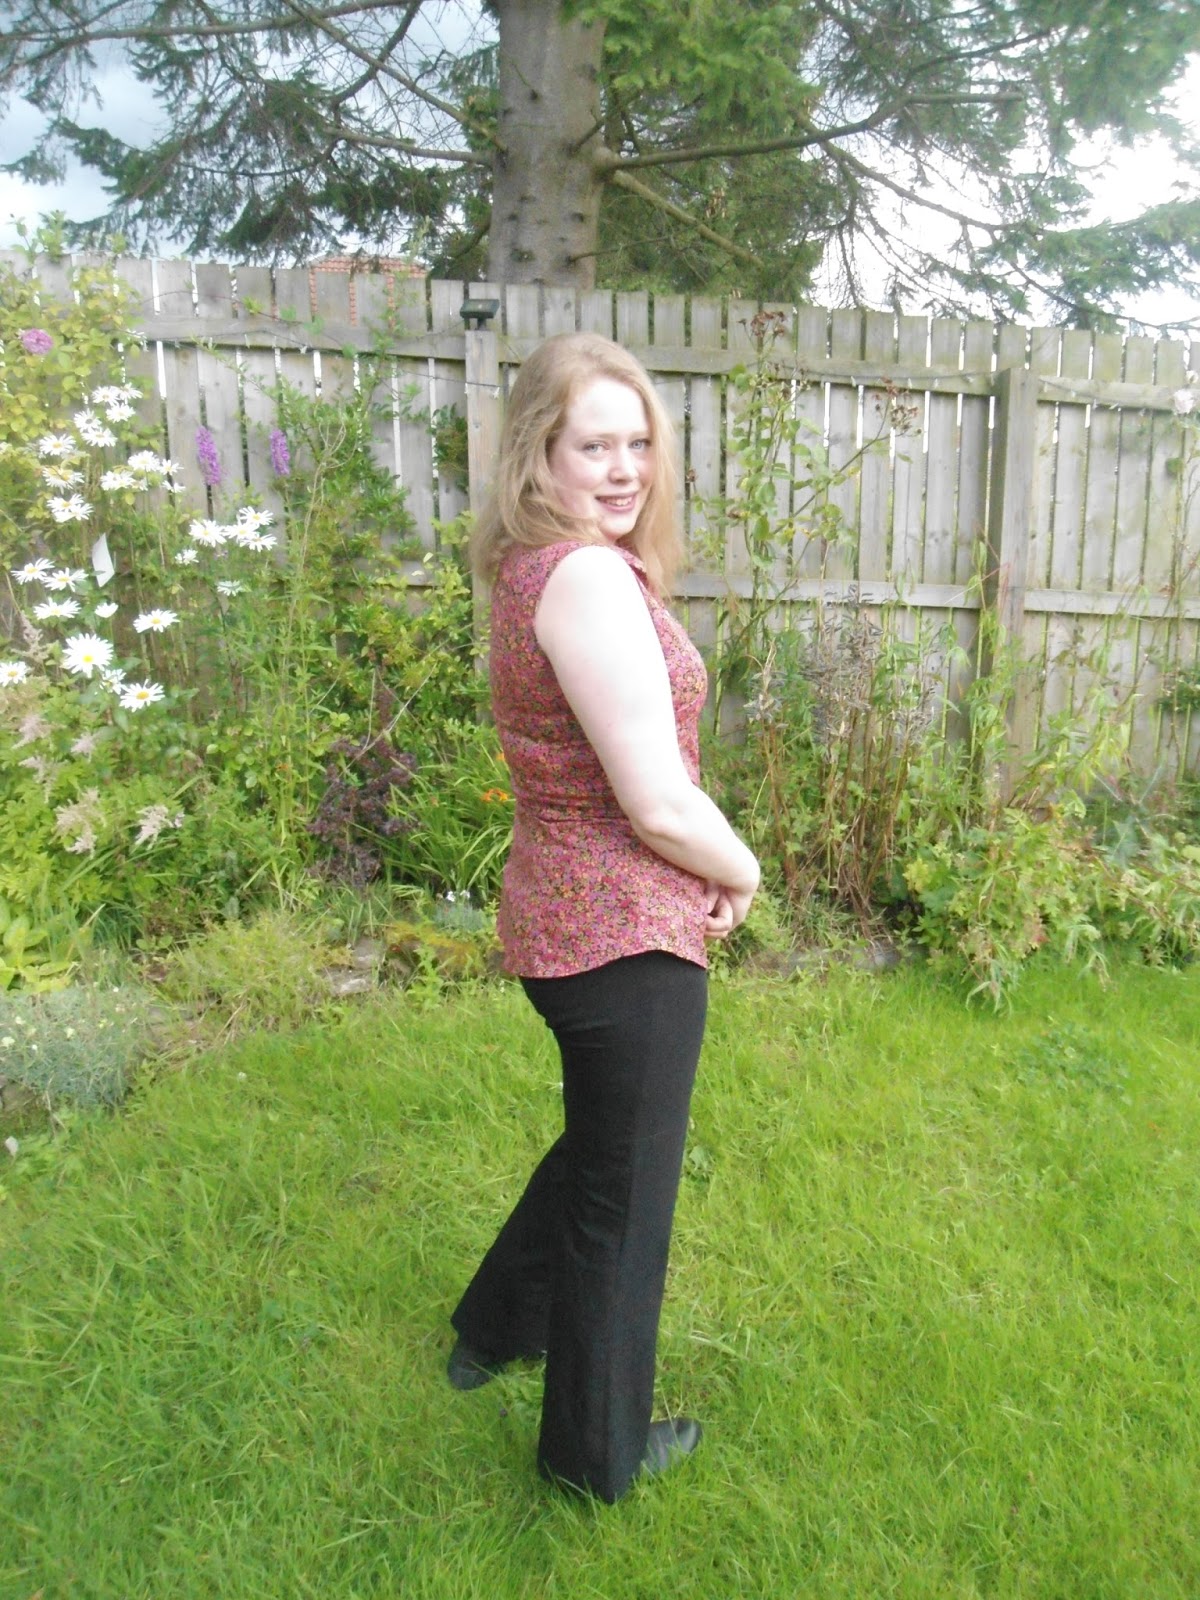
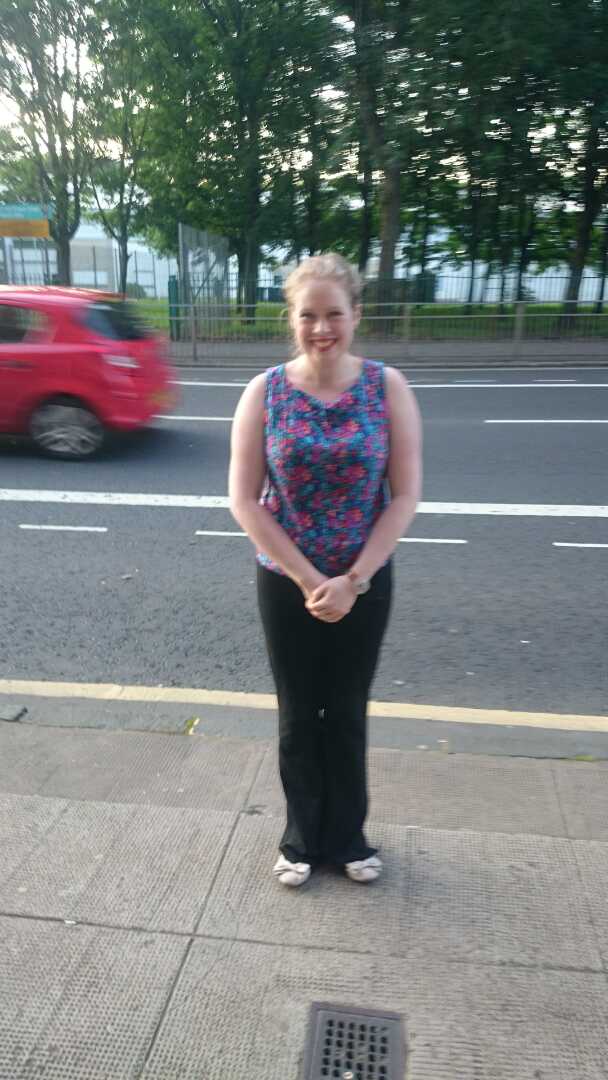
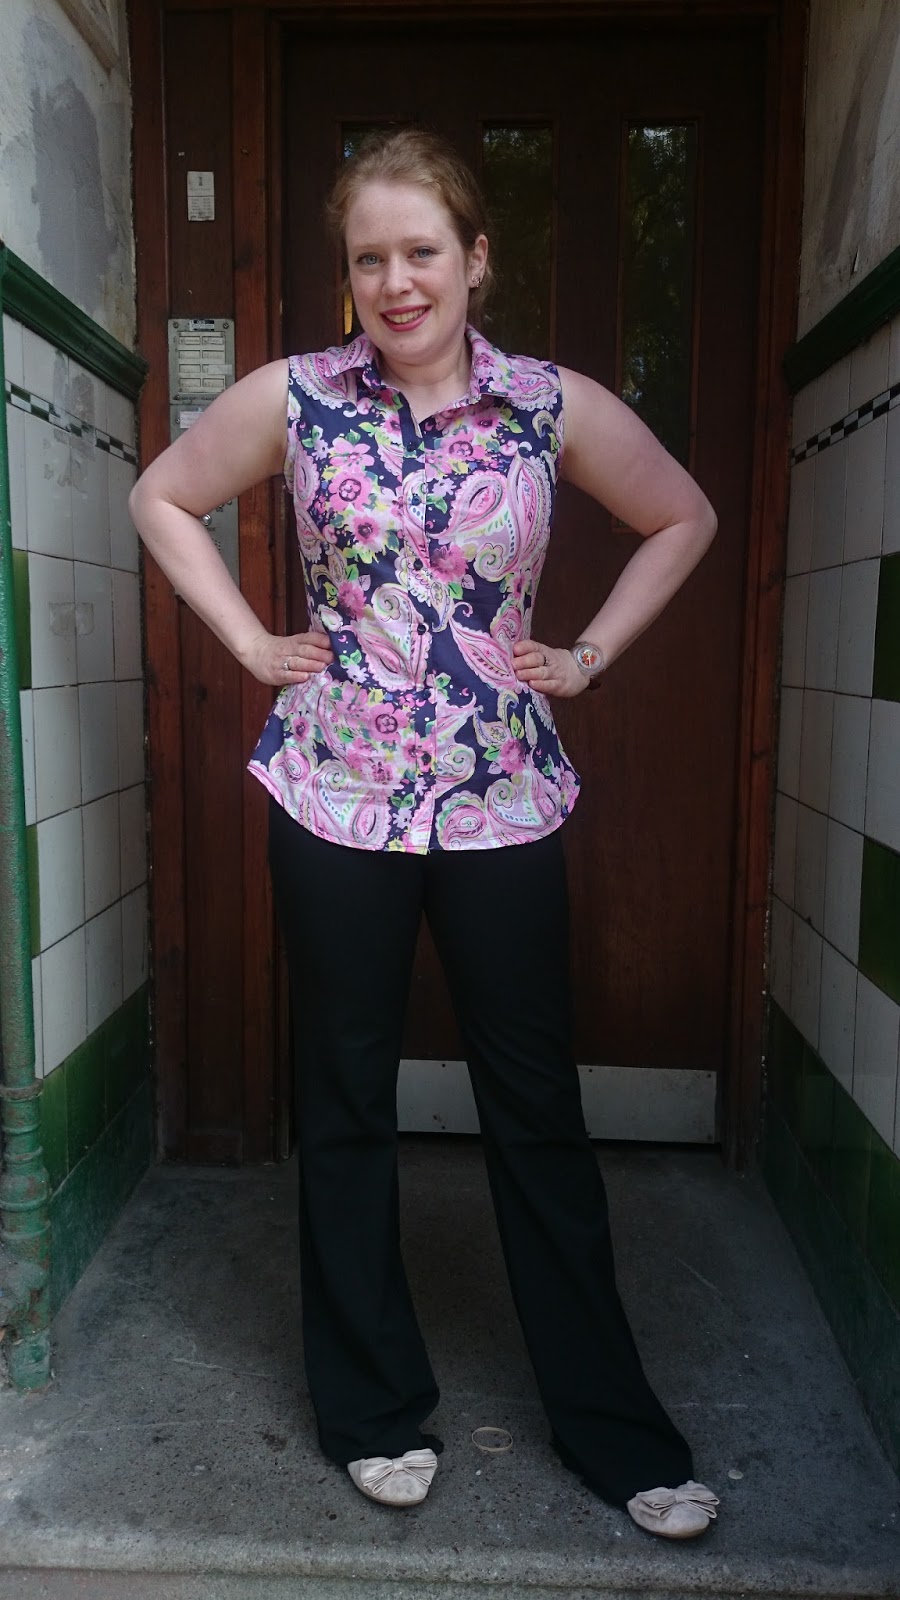
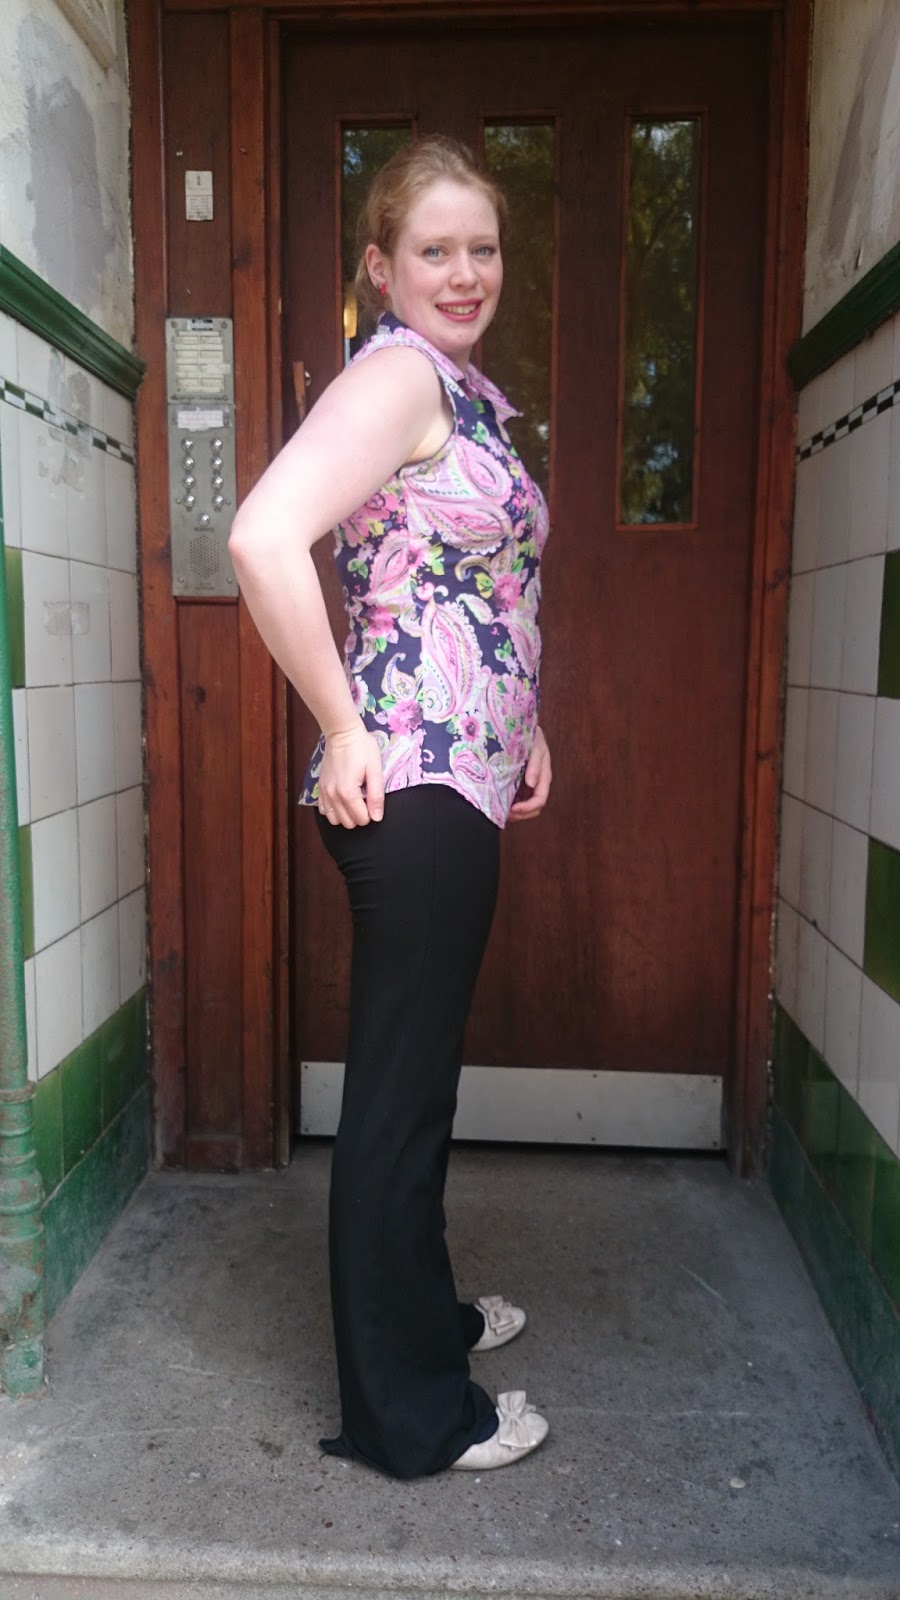
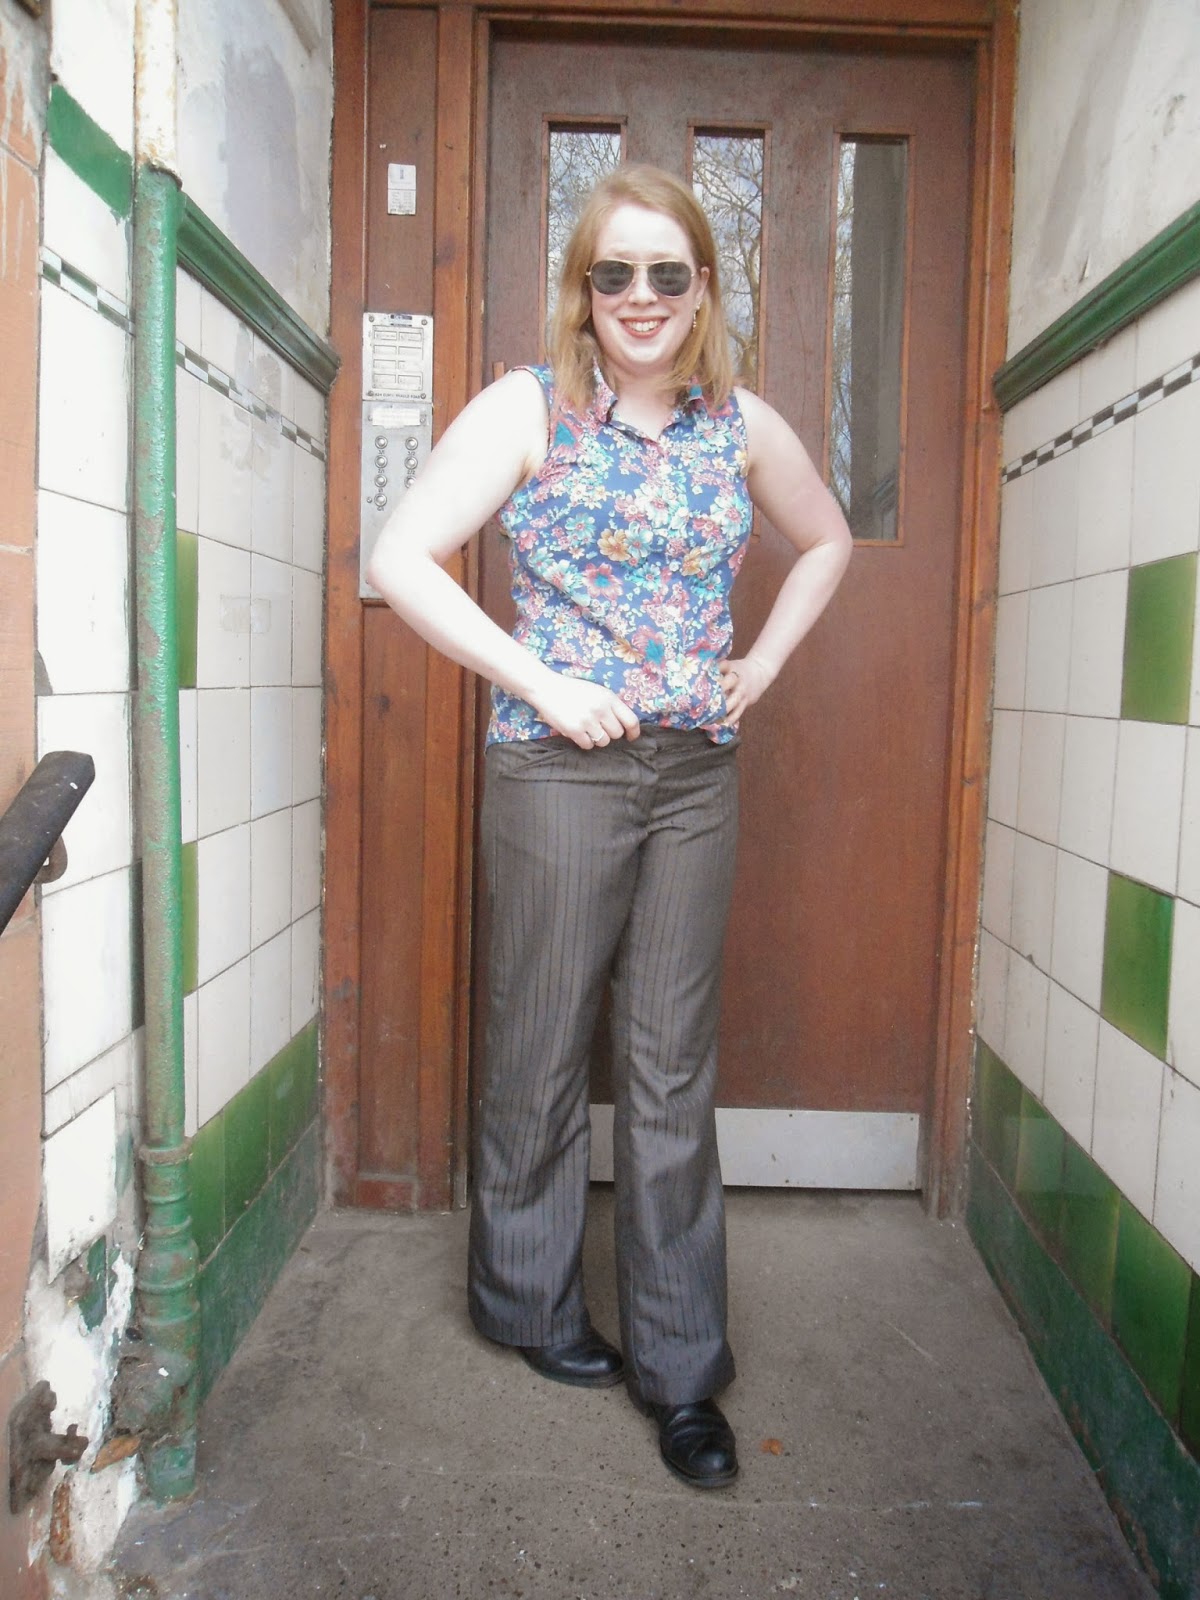
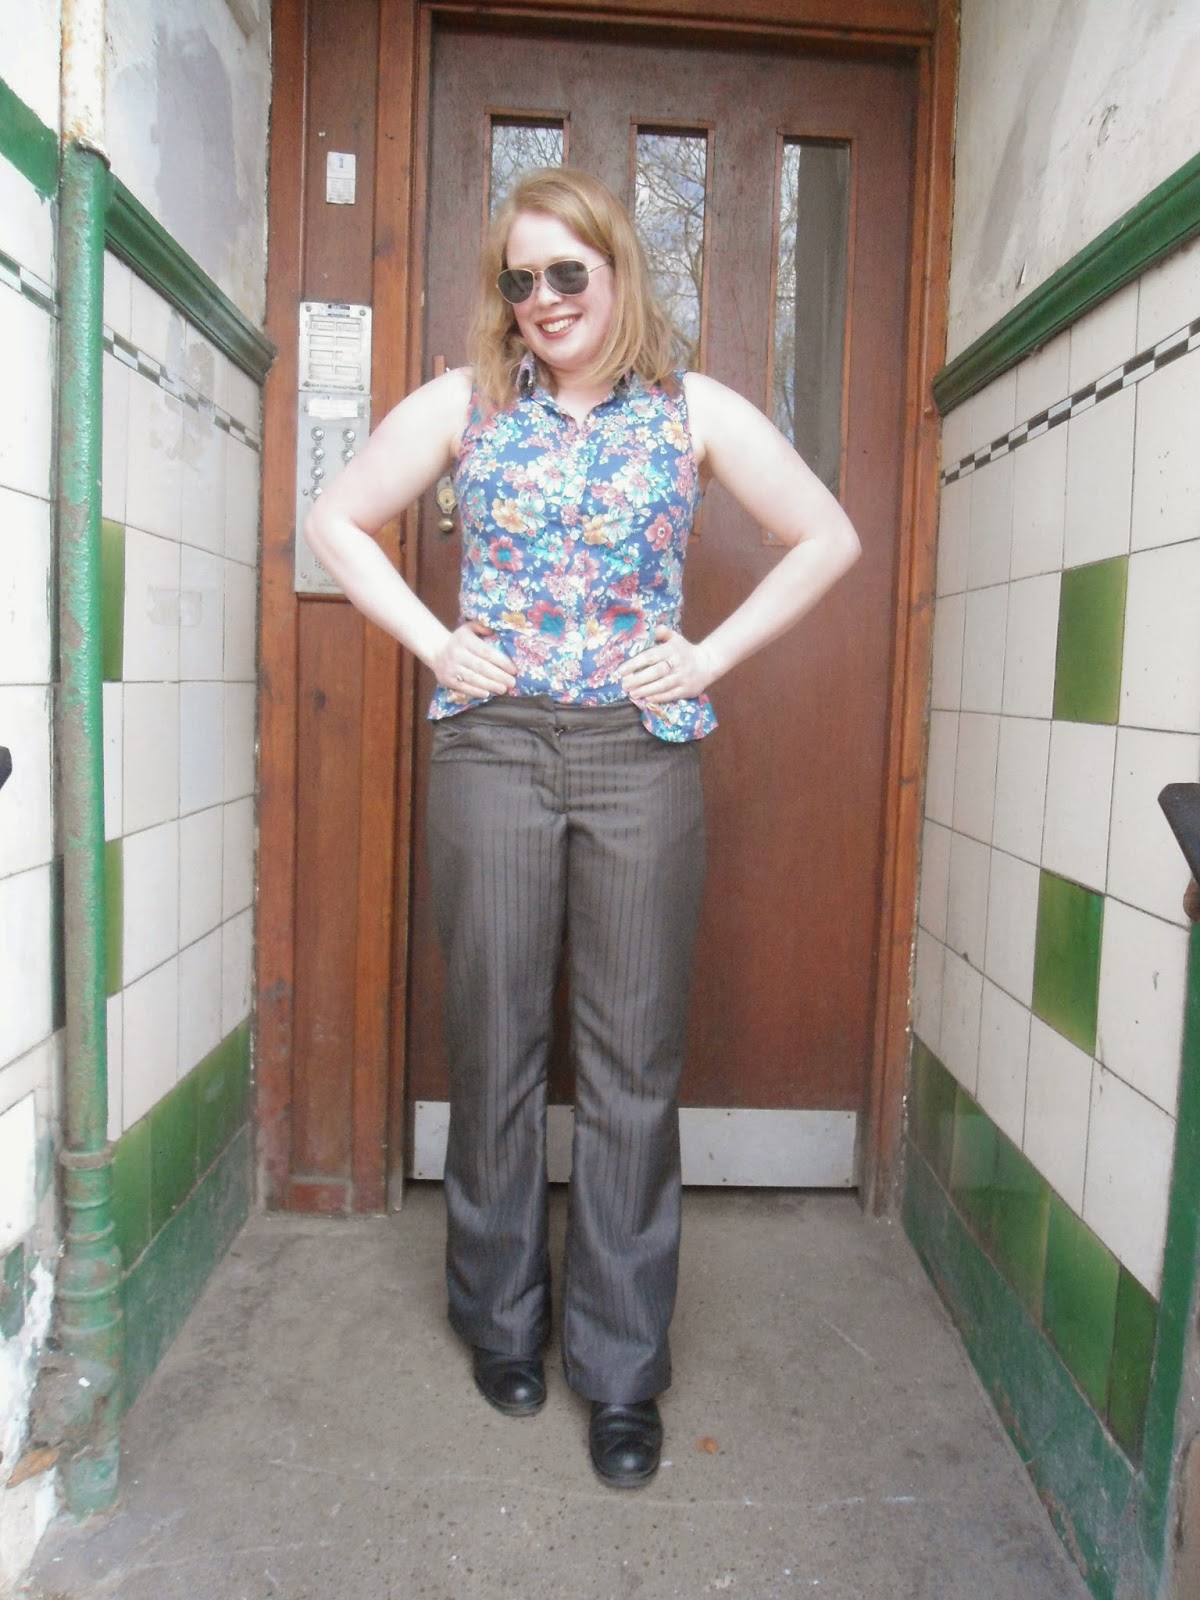
Anywas to sewing! I thought that I would quickly show a few pics of my 3rd sleeveless Granville shirt  I think I pretty much have the fit down now as well.


This was a small length of liberty fabric which I picked up in the summer sale. I'm not sure of the fibre that this is made from - I was sure there was a silk content however I cant find the fabric anywhere and I'm not really that bothered. I had a hell of a job trying to get the pins to pierce teh fabric and where I had to rip stitches there are little puncture marks so that sucks a bit. I only bought 1.2 m of this because even in the sale this was like £10/m and I wanted to maximise the number of fabrics I bought. Maybe the next time I'll go for quality...

I did mention I thought that I had the fit down - well this was a few weeks ago and I have lost a few lbs since this pic was taken and I am assured by my trusty photographer that they are no longer in existance! Moving house is hungry business!


I did a facebook  survey on the monthly stitch page and was advised that in order to loose the length that I did not need in the length of the back that I should pull the upper back up a little towards the yoke. I definitely think this adjustment worked and will be altering my paper pattern accordingly!


So hope you guys like it I certainly do! I'm still kind of in denial about autumn though - although I have looked out a slightly heavier outer layer than the hoodie that I lived in all summer :-)

Till next time
Jenn xx

Monday, 14 September 2015

Completed: Simple Sew wiggle skirt

Hola! I hope you are all well? I'm fairing rather better than the other week - no minor house fires to report thankfully!! We did however rip out a rather awful looking wardrobe today revealing a right mess of the wall behind and it looks like we need to get a wallpaper steamer in. It looks like it was last painted around the time the house was built in 1965...  That however is a task that I can handle!

I thought that we could get the dying light - turns out it was a bit to dusky to get good photos :-(

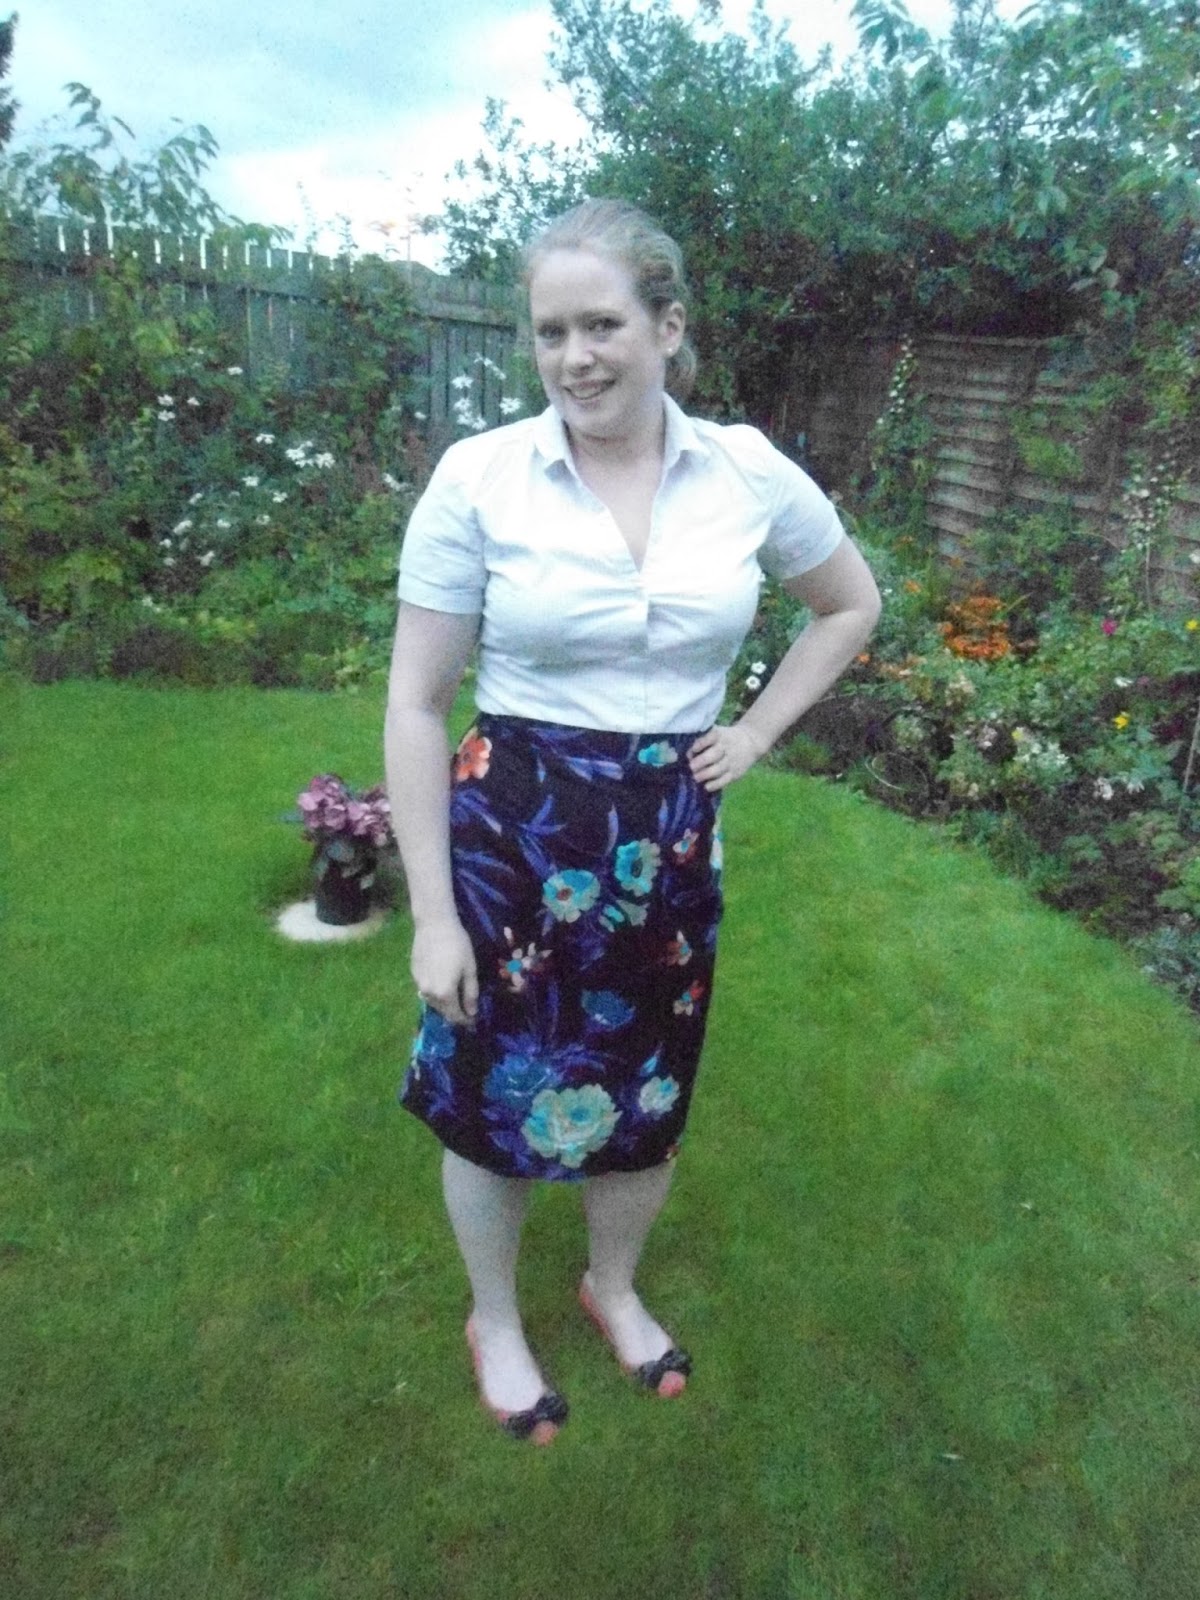
Today i would like to share a project which is not a wearable (or otherwise) muslin or a shirt... Haha. This is a project which I have been planning for a while however never had an exact pattern in mind for. I had bought some fabric (100 % italian cotton, very lightweight around £6/m) a few weeks back just before I finished up at work with a pencil skirt in mind for my new job starting at the end of the month - I even bought a 9" invisible zip to accompany the fabric - all I needed was the pattern. Then last week NavyBlueThreads announced that she had a few patterns that she was giving away and all the pieces fell into place. One of the patterns that was on offer for those who would use it was this pencil skirt pattern!
Less than flattering gardening shot

The pattern in question is the Simple Sew Wiggle Skirt which originally came with Love Sewing Issue 10. There is a tie back pencil skirt and a regular option. I went with the pencil skirt option. I really like the finished skirt however I have to say that the instructions were lacking a bit... There is a size chart on the back of the pattern which gives measurements however it doesn't state if they are body or garment !measurements - cue hungover pen and paper calcs aided by the trusty tape measure. Even looking at my mismatch of units makes me cringe! So I determined that the supplied measurements were for the finished garment. Which was cool. I wonder if this was maybe explained in the magazine that the pattern originally came with?


My other gripe was with the instructions for the vent at the back. They just kind of left you hanging on that one so I did a bit of hoping for the best. The instructions called for you to "press open and topstitch" what I actually did was to press open then fold the extension back on itself then topstitch along the two long edges. This doesn't seem right but at the same time I couldn't fatholm what else to do?

So moaning over the instructions aside I think this is quite a good wee pattern when made up! Next time I hope to make this out of a nice heavy wool for a cozy weekend skirt or a smart office number and to have a look about for better instructions for the vent. But the sizing was pretty true to the printed measurements and I think it works really well. Actually for the first time in a long while I cut into the pattern pieces however only because I spent so long measuring up I knew it wouldn't be too small!

So thanks very much for the pattern Teresa it will definitely be used again! Now to find a top pattern to go with it!

Happy sewing all :-)

Jenn xx

Wednesday, 26 August 2015

Completed: New Look 1467 View A

Good morning!

Just in time for Me Made May I completed this NL 1467 top which I got free with Sew Magazine. I photographed this earlier in the summer - but summer got lost (and my camera died)! I managed to grab a few shots not long before we left our flat and have sourced them from the chaos of stuff :-D.


This pattern is a wardrobe pack with a few options for a skirt, trousers, top and peplum jacket. Whereas I wasn't all that fussed with the other options I was quite taken by the top - I really liked the yoke feature and it looked like it would work well when I was having a fat day as after the shoulders it is not fitted.

The top looks like it works well with drapey fabrics and so I made it up using this fabric from Remnant Kings . I think the fabric was a good choice as it gives the drape that I was after however I'm not entirely happy with the fit. Based on the provided sizing I cut a 12. As you can see in the pictures the top is really loose around the neckline where it should be fitted and too tight around the bustline where there should be a 1/2 inch ease. I think I need to cut the smaller size and perform my now usual FBA. As usual the instructions from New Look were spot on - although with only 4 pattern pieces I can't really see how they could muck them up :-)


Never the less I really like this top and I have had a lot of wear out of it around the house. I do find that this top likes to create a lot of static and I have to be really careful when wearing it! I think I will have another bash at this in the spring when all the nice drapey fabrics are back in the shops and with the identified changes and I will hopefully have a nice top I can wear to the office.


 I'm not all that happy with the fabric available at the moment and have had a few fruitless trips to my favourite haunts. Although I did pick up a really lovely black linnen which I'm hoping to make into some trousers - my last attempt at trousers went really wrong. I think this was because the fabric I used was too light - does this seem like it could be the cause? Hopefully I will have the trousers that my wardrobe requires or I will have to go on a spending spree in the next few weeks, before starting my new job, to next where the RTW seem to fit perfectly!

I hope everyone has had a fab summer - it seems that a good few of you have been jetting off places :-)

Take care
Jen xx
Wednesday, 12 August 2015

Completed: Another Camberie

This was a dress that was never meant to be a dress!


The other week I was digging through the large bag which has become my leftover fabric dumping ground to see if there was any way in which I could reduce its size and get some use out of something! Well what I found turned out to be the first ever muslin of my emery bodice and some lovely floral poplin from my first ever cambie. Two pieces which I reckoned had potential to be saved from the bag of doom! There was a good amount of fabric left from the cambie but in a strange L shape so my options were very limited - there certainly wasn't enough for a full gathered or pleated skirt and definitely not enough for a full dress!


I knew that one option that would work with the piece of fabric I had would be a pencil type skirt and I reckoned that with some coaxing I could fix up the bodice muslin and make a pretty summer dress. The initial muslin had been made up using black thread and a purple zip crudely affixed at the back. an hour and a half later the bodice had been resewn, re darted and the zip had been removed. The back neckline darts aren't perfect but I cant see them so it works for me :-) I also decided that I would try another exposed zipper. A feature that I really like right now.


For the skirt I revisited a favorite pattern - the sewaholic cambie. (I'm pondering a few changes for my next bodice, I love that top but the area under the bust could do with some curved darts methinks) I have never tried the variation A skirt and it looked like it would fit perfectly on the remaining fabric. I cut a size 10 based on the waist measurement, however it quickly became apparent that I could have made up the 8.

There are a few things wrong with the dress - most apparently those awful bust darts - more time and care next time I think. There is also a bit of extra fabric making an appearance at the back too. not in the usual place but more of an all over effect...That can easily be fixed with a cardi right!!
Todays outtake!!

I'm not sure exactly if and when I will get round to wearing this dress the fit isn't wonderful and I seem to be carrying a bit of extra weight again. I blame the stresses of moving house and finishing a thesis!

Hopefully everyone is doing well - I hope to catch up on my reading list soon and be back to sewing by the weekend! It feels dead weird to have my machine in a box and doing nothing!

Take Care
Jenn xx

Sunday, 26 July 2015

Complete: New Look 6020(2)

Hey guys! Iteration 2 of my New Look 6020 project is now completed :-D read - has been complete for quite some time... haha


I tried a few alterations from the first version that i made and I showed a few quick pictures of this during MMMay week 2 (and week 3) and even then I wasn't convinced that I had made the right changes - now after a ton of wear, I seem to have confirmed that while the changes helped they were not the right ones.


After many an hour trawling through the internets I'm pretty sure I need to size down to a 12 and perform an FBA. This should reduce the excess I'm still feeling in my shoulders and neckline. Also what is with the extra space before the pic below...(what can I say my laptop is pish!)


A lot of the gaping and excess is around the shoulders and the neckline as I cut a 14 based upon the 38.5 inch finished bust measurement. My high bust is a little over 36 inches and that puts me into the size 12 range. Next time I think I'll try the FBA as I have tried a few times recently to OK effect... :-)


This isn't to say that I don't have a wearable dress! It fits so much better than my last attempt and I love the fabric - it was another Mandors purchase and was around £6 per m.

Close up of the fabric

One thing I have decided upon with this version is that I'm happy with the length - previously I had toyed with the idea of making the dress full length but I now know I'm happy with this length.

you can see the excess on the right neckline - it has a weird curve

All in all I think two more iterations and I might have a dress that I'm 100 % happy with...It turned out that with the lack of time I ended up with, I didn't use this pattern for the wedding but I cant wait to make this up again. I love love love the neckline and it's great to have a TNT princess seam bodice! As for that crepe...I have a plan, but need to wait for the cooler weather so sleeves will be functional!

Hope everyone has a great week - 'm off to another festival on friday - the gentleman of the road tour with mumford and sons and primal scream. I'm not necessarily the biggest fan of either bands however looking forward to the break. It's about a two and a half hour drive for us but the scenery is breathtaking! I think this dress may also make an appearance!

Jen xx


Wednesday, 15 July 2015

Completed: Granville too

Good Evening guys! I hope you are all well and hopefully the sun shone where you were today too :-) I'm really glad its our long weekend this weekend I have been feeling so rundown! It's glasgow fair weekend this weekend - its a fair that dates back to the 12th centuary, Wikipedia has more info if you're curious - however it is now pretty much a bank holiday for all intents and purposes. If the weather holds we're off to my grans on friday to pick blackcurrants :-D.


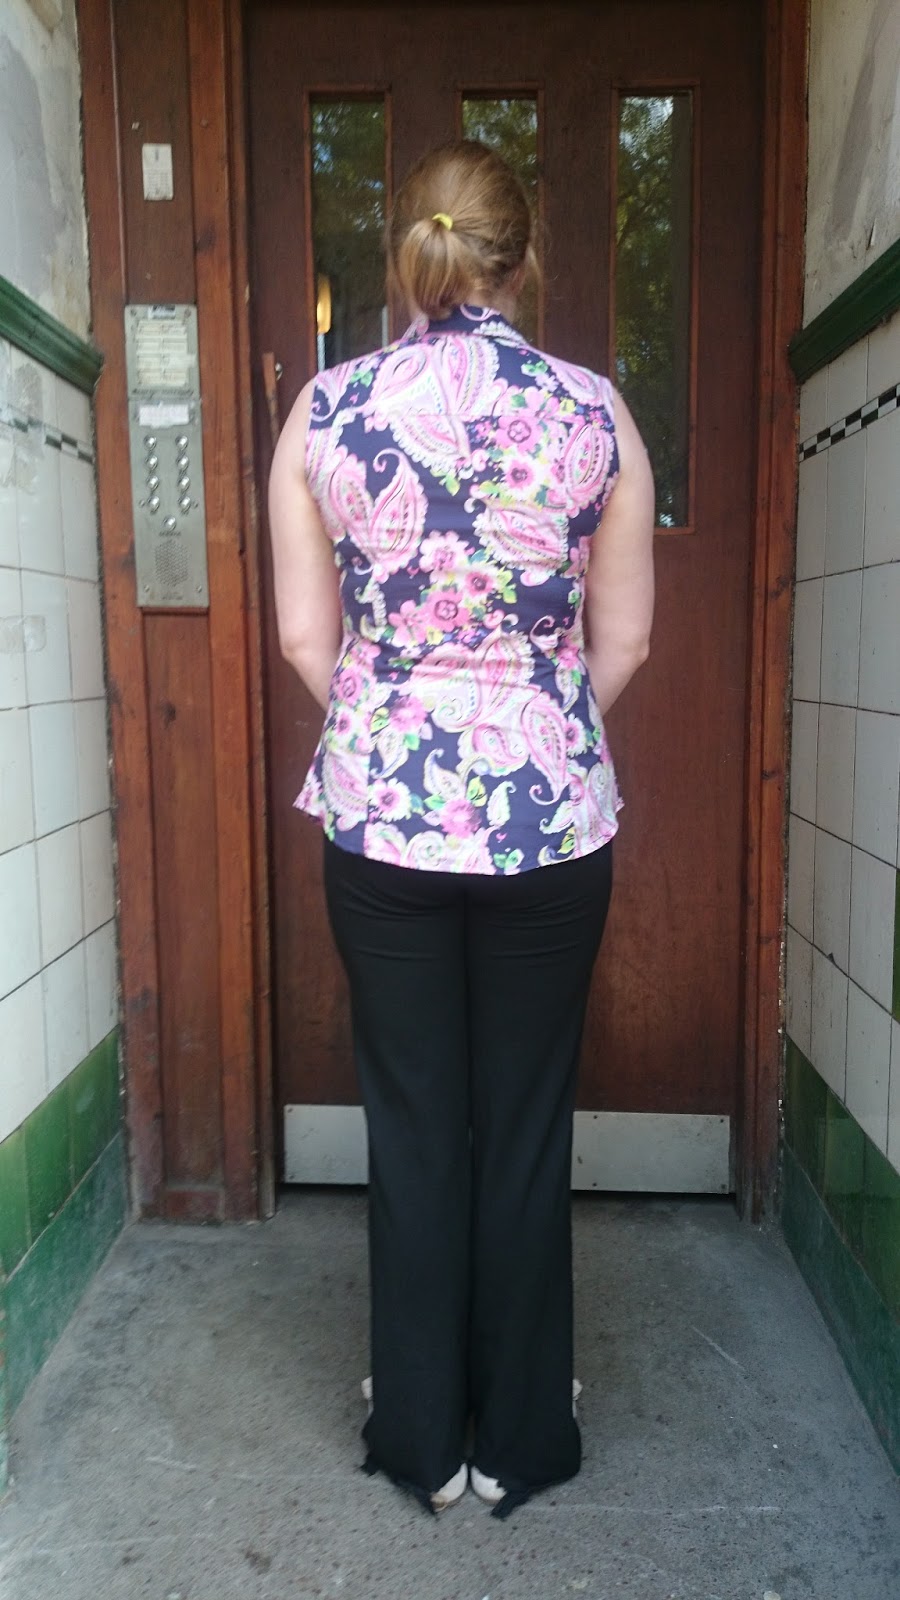
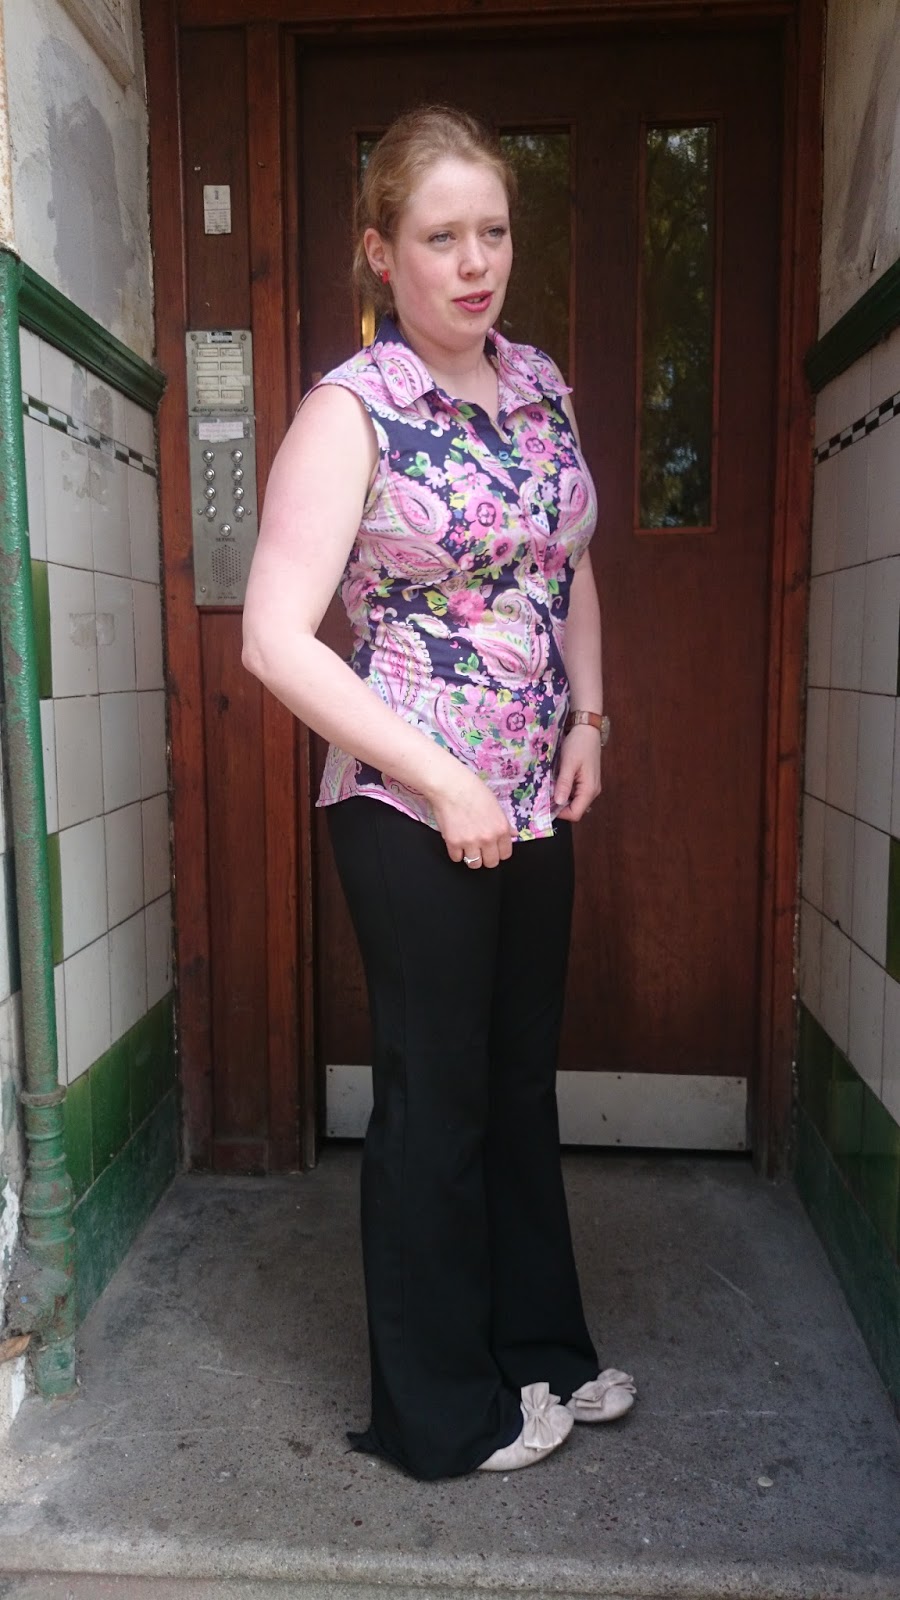
 I have a bit of an impromptu make to share with you all tonight - another sleeveless Granville shirt from sewaholic. I had decided that after the previous version that I would like to make up another few similar shirts. The problem is that I dont really like this one. The fabric is the right weight and looks really nice and all it's just a result of sewing when I haven't been feeling well for a couple of weeks and this is riddled with mistakes.


I think that overall I got a better fit with this second version than with the first - I sized down from a 10 to a 6 and performed an FBA. I still need to add about another cm to the FBA but I think the darts are sitting ok adn it fits well around the neck and shoulders. Whereas the front looks not to be pulling- that is because of mistake 1 - instead of making a double fold on the left front I only folded once. HMPF! I only noticed after the collar and stand had been attached and by this point there was no going back. I fixed up the raw edge with bias tape. Problem solved.


Another thing which I annoyed myself with was my lack of attantion paid to the back of the shirt. I have made enough sway back adjustments by now that I know I should do them every time. But I forgot. For next time I will make this alteration! Due to the fact there is no CB seamline the back piece will have to be cut on a single layer in future.


While I sized down by two sizes so the shirt wasnt as baggy as last time I kept the few extra mm that the length of the 10 gave me. I serged the bottom hemline and then folded over once managing to create some additional length. While it may not be necessary I kind of like having a few additional cm at the hemline. I managed to line up the bottom of the button band and facing on this shirt better than the last time too: the button holes even sewed up really nicely and I think the buttons are lined up relatively square too. UNTIL I HAD CUT THEM AND REALISED THEY WERE ON THE WRONG SIDE!!! Face palm all round. The result being that the buttons sit very obviously off centre.

So the shirt os OK. it is wearable and will probably live under a sleeveless jumper if it makes it to an office situation. I was considering donating it however if i'm not happy with the finish I can't imagine other people would buy it! Finally:


Got to love a good outtake pic! Apparently John thinks this looks like I am lusting after a runner in lycra running past the flat....ahem!

Have a great week folks!

Jenn

Wednesday, 1 July 2015

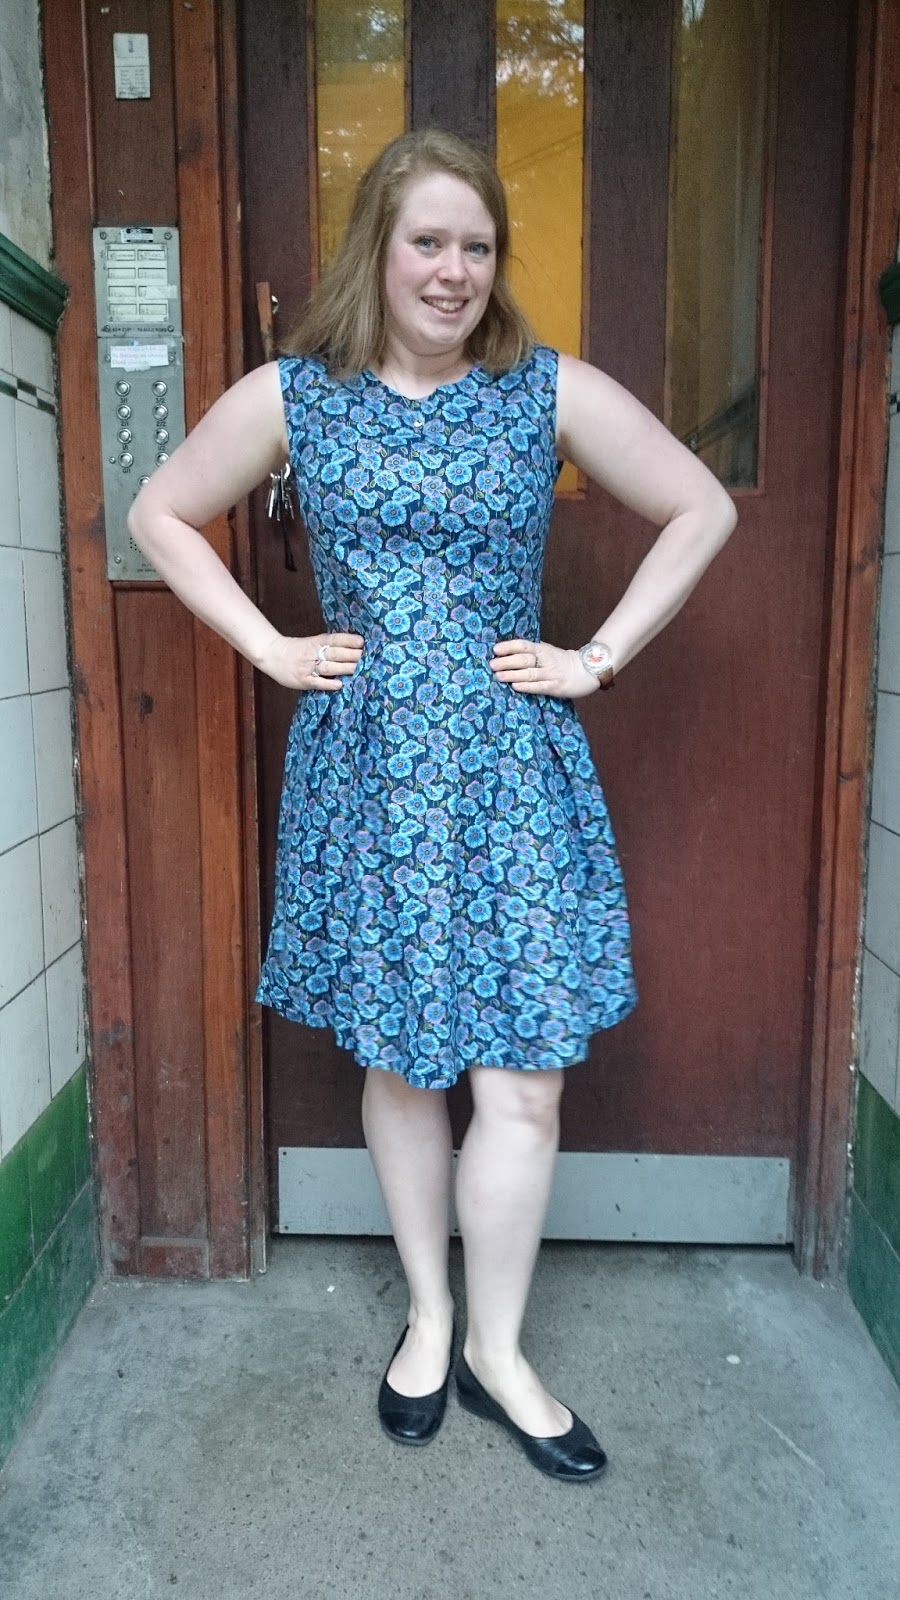
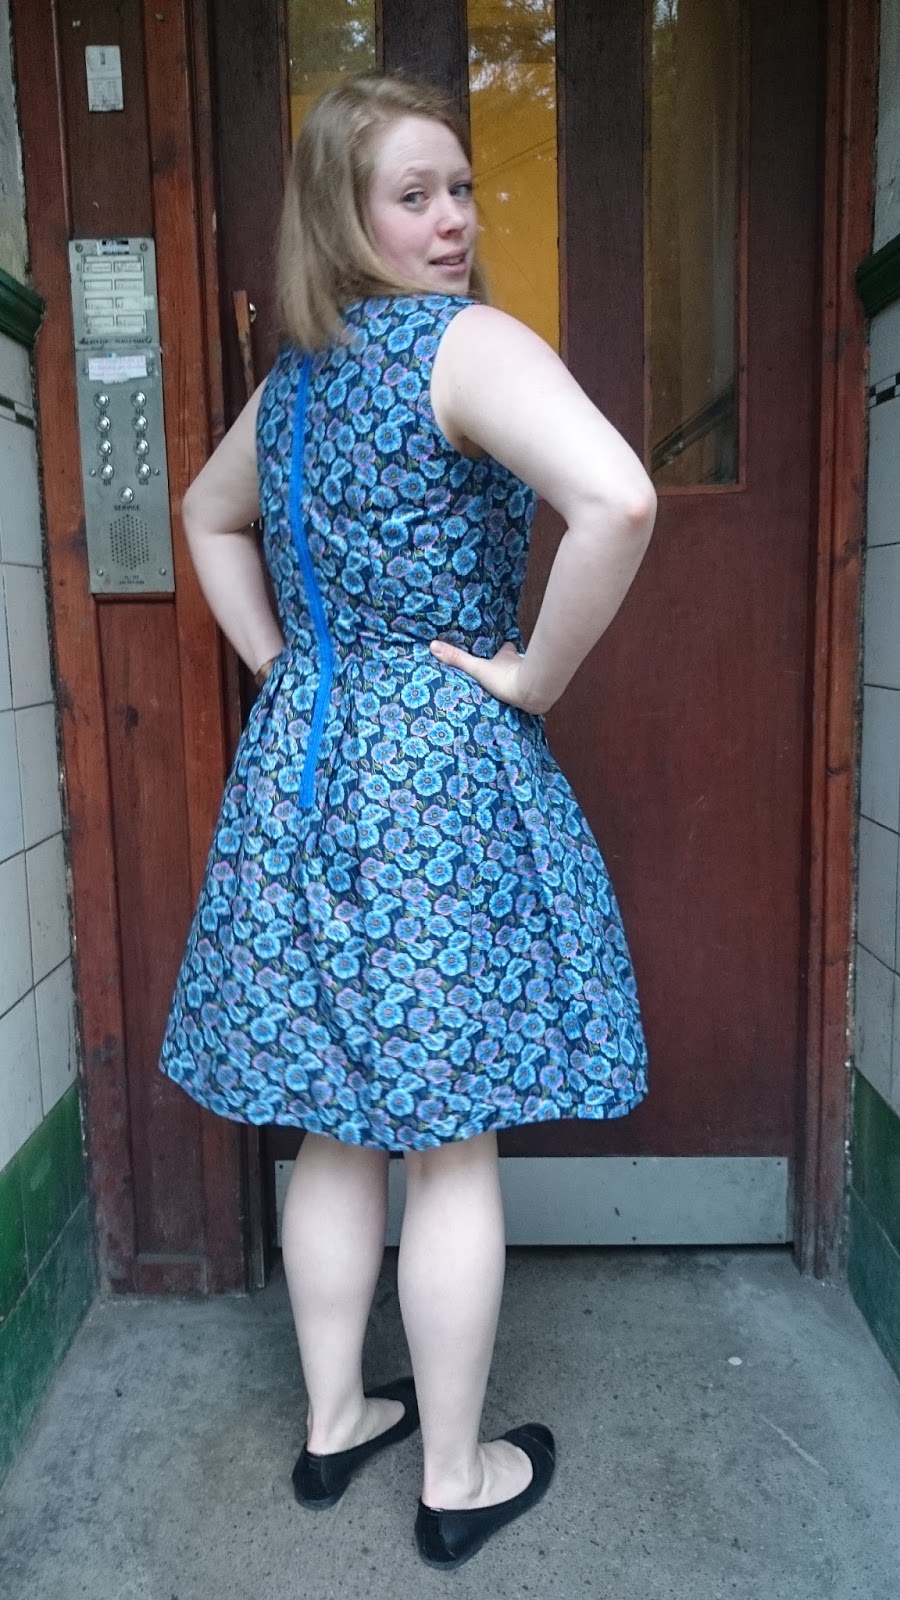
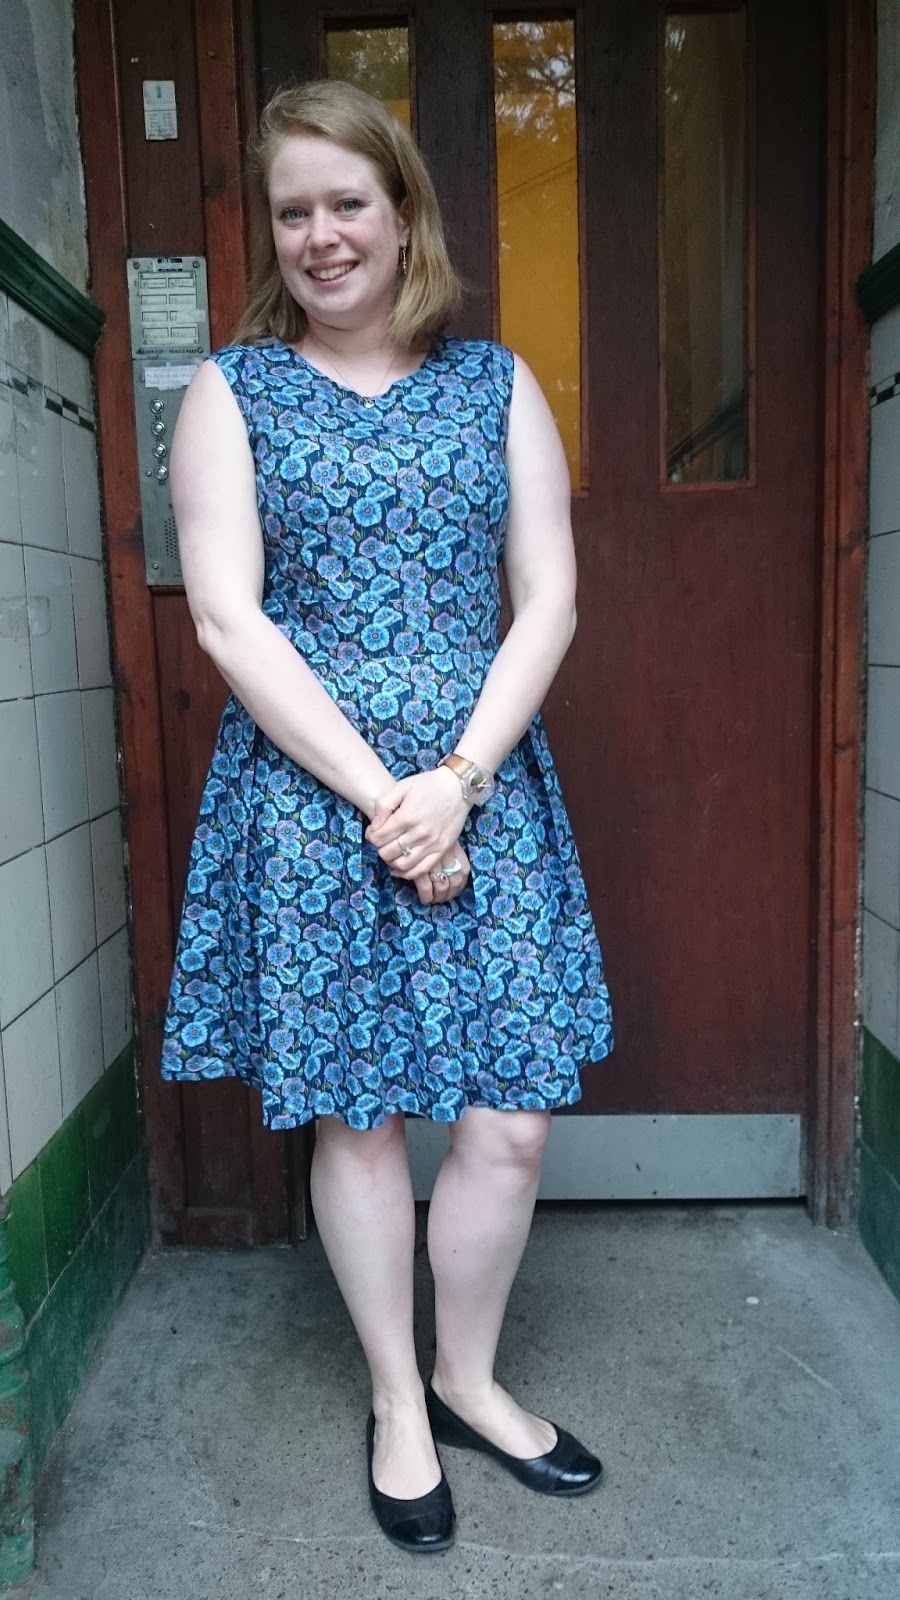
Completed: Sewaholic Cambie with a Pleated Skirt

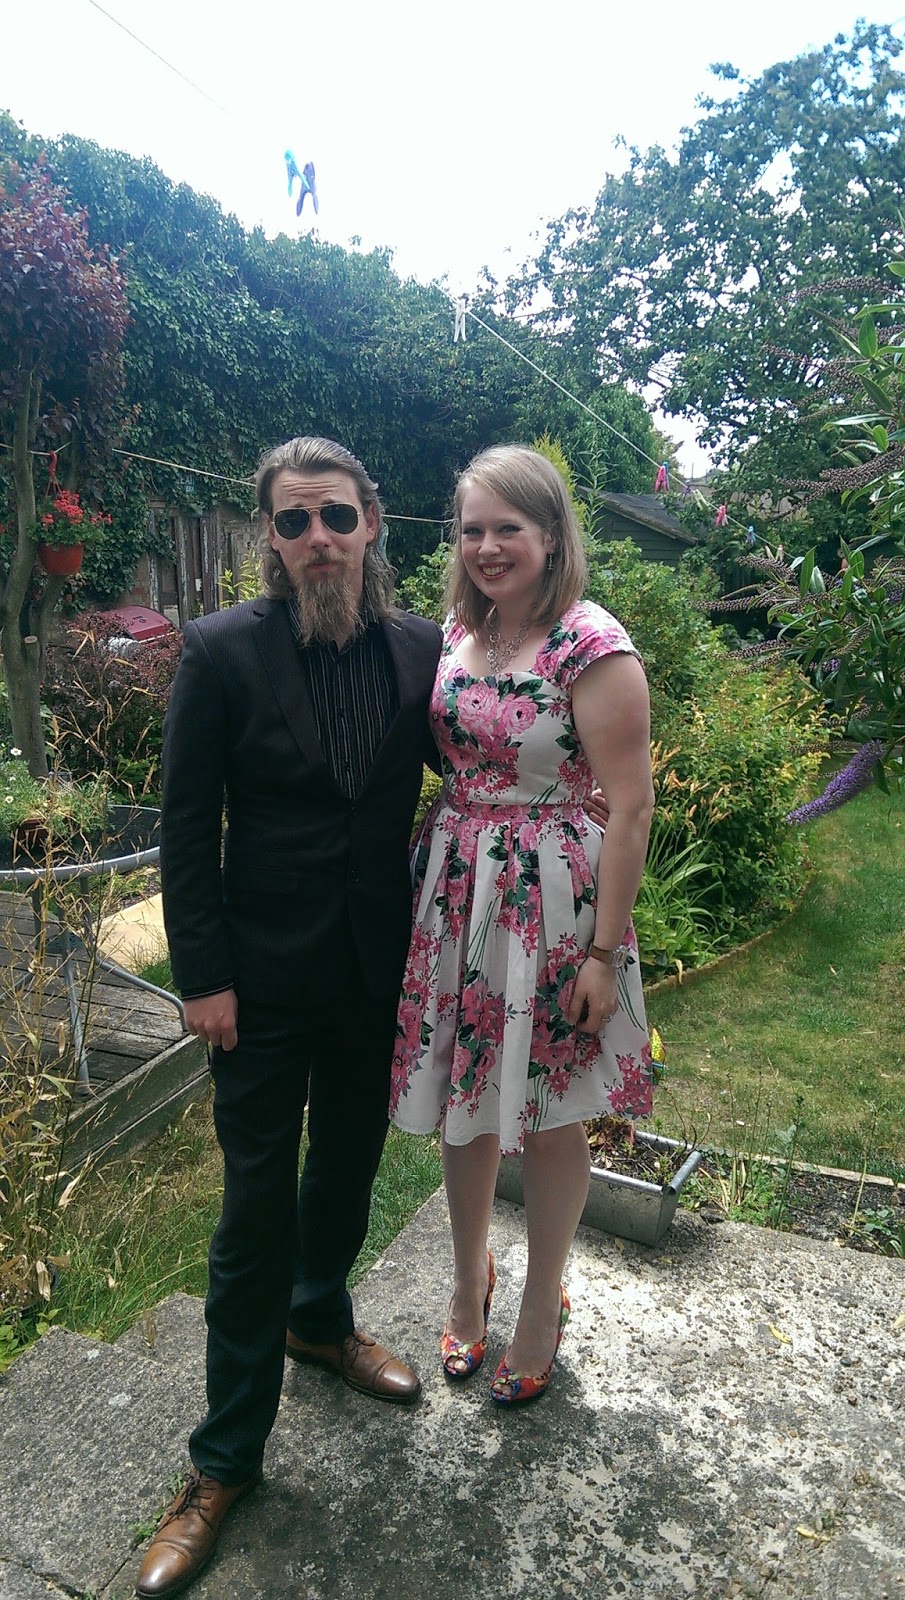
Hello! It seems summer has now come and gone! Well almost. The sun seems to have returned to the clouds... At least I had a dress ready for the summer and conveniently as it turns out - it was the same day as my cousin's wedding!

Sewaholic Cambie Dress
The bodice pattern I used for this dress - as the title suggests is the Cambie by Sewaholic. This is a personal favourite bodice of mine however looking at the fit i think I need to make a few changes. I have already shortened the waistline by a cm or two and for this verison I made a sway back alteration too. Next time I think I will side down the bodice to an 8, perform an FBA, raise the neckline by a few cm and then grade back out to a 10 for the waist, I found that the neckline still gapes a little and I am determined to rectify this!

I think this photo proves we have lived together toooo long!!

In terms of pattern placement I only really agonised over the placement of the CF bodice. I wanted to have the flowers of the print on full display! Because of this I ran slightly over the 2 m of fabric I had and used some scraps from a previous project to use as the back lining and pocket pieces. The fabric was really light so definetely required lining - if only for modesty!

For the skirt I used my now favorite sewing technique - pleats! I substituted the gathered skirt for one width of fabric rectangle for the front and two half width for the sides - maintaining the pocket pieces of course. This brought a whole new meaning to advanced higher maths!!

each pleat was measured out to 4.8 cm

I did experience some overlap of the pleats because the fabric was 160 cm wide.... and I experienced a lot of heartache in ironing them pleats when I took the dress out of the case! This added like an hour to my getting ready time!

So thats about it for this dress. Sadly I ran out of time to make the red crepe dress which I had wanted to but I'm really happy with what resulted! And to finish on a high - who can resist an awesome photo in a beautiful car!


Hope everyone else enjoyed their summer (!)

Jenn xx
Friday, 19 June 2015

Completed: Gather Kits Mortmain

I will be honest - I did a happy dance when this pattern arrived through my letterbox as part of the pattern swap hosted by the monthly stitch - and not least because someone let the postman into the close!! I had been hankering after this pattern for the longest time and finally I could get to work. I had the perfect fabric sourced - a beautiful Amy Butler floral and a zip had been sent as a supplementary gift so I was all set to go on return from my holiday.


Then disaster struck and my plans were blown out of the water. As my grandmother has always been really enthusiastic about my sewing hobby I knew that I wanted to make a dress for the funeral and what better a plan than to make up the dress which has been the source of so much excitement for a woman who meant so much to me?

The fabric I purchased for this new vision of the dress was a dark blue with gold outlined flowers. I saw it and instantly knew that this would be the perfect fabric. It is a kind of hybrid between a lawn and a poplin. I cant decide which! It came in at around £6/m too so - bargain! I couldn't find a zip that I really wanted but I think my second choice works just fine. I had to stitch over the ends of the zipper as it was open ended.


For the bodice and as per my measurements (38:31.5) I made up the size 14. This size worked mostly well for me however for next time I have noted a few small changes.
  • take around 1 inch of length out of the back - around 1/2 for a sway back and 1/2 for short back
  • make a large bust adjustment of around 1 inch
  • make the dress in a heavier fabric - I really want the pleats to stand out
  • remember to add my standard pocket piece! (from the cambie)


For the skirt however I went a little off piste... As I was really limited for time I decided to make the pleats up and place them myself based on the width of fabric rather than the slightly narrower pattern pieces. I didn't want to copy off the skirt pieces and carefully copy over all the notches. So i aligned up the side seams and the centre back and front and then divided up the remaining fabric to give me the required number of pleats. I thought it worked well adn is an alteration that I think I will proceed with. I also cut the fabric to a custom length based on the length between my natural waist and knee. Unlike my kim however I remembered seam and hem allowances...


I really hope you like the dress I certainly do and it's one that I enjoy wearing for the sentimental reasons that I have noted. I have really enjoyed indie pattern month over at the monthly stitch and seeing everyones wonderful takes upon all the challenges however really disappointed that I havent been able to complete everything that I had planned. Also I realise that these pics are a bit awful however thats what a fortnight of stress and not sleeping does to you! after seing these I went and relaxed with a facemask and some tea for an hour!

Enjoy your weekend folks make sure to make the most of it!

Jenn xx
Tuesday, 5 May 2015

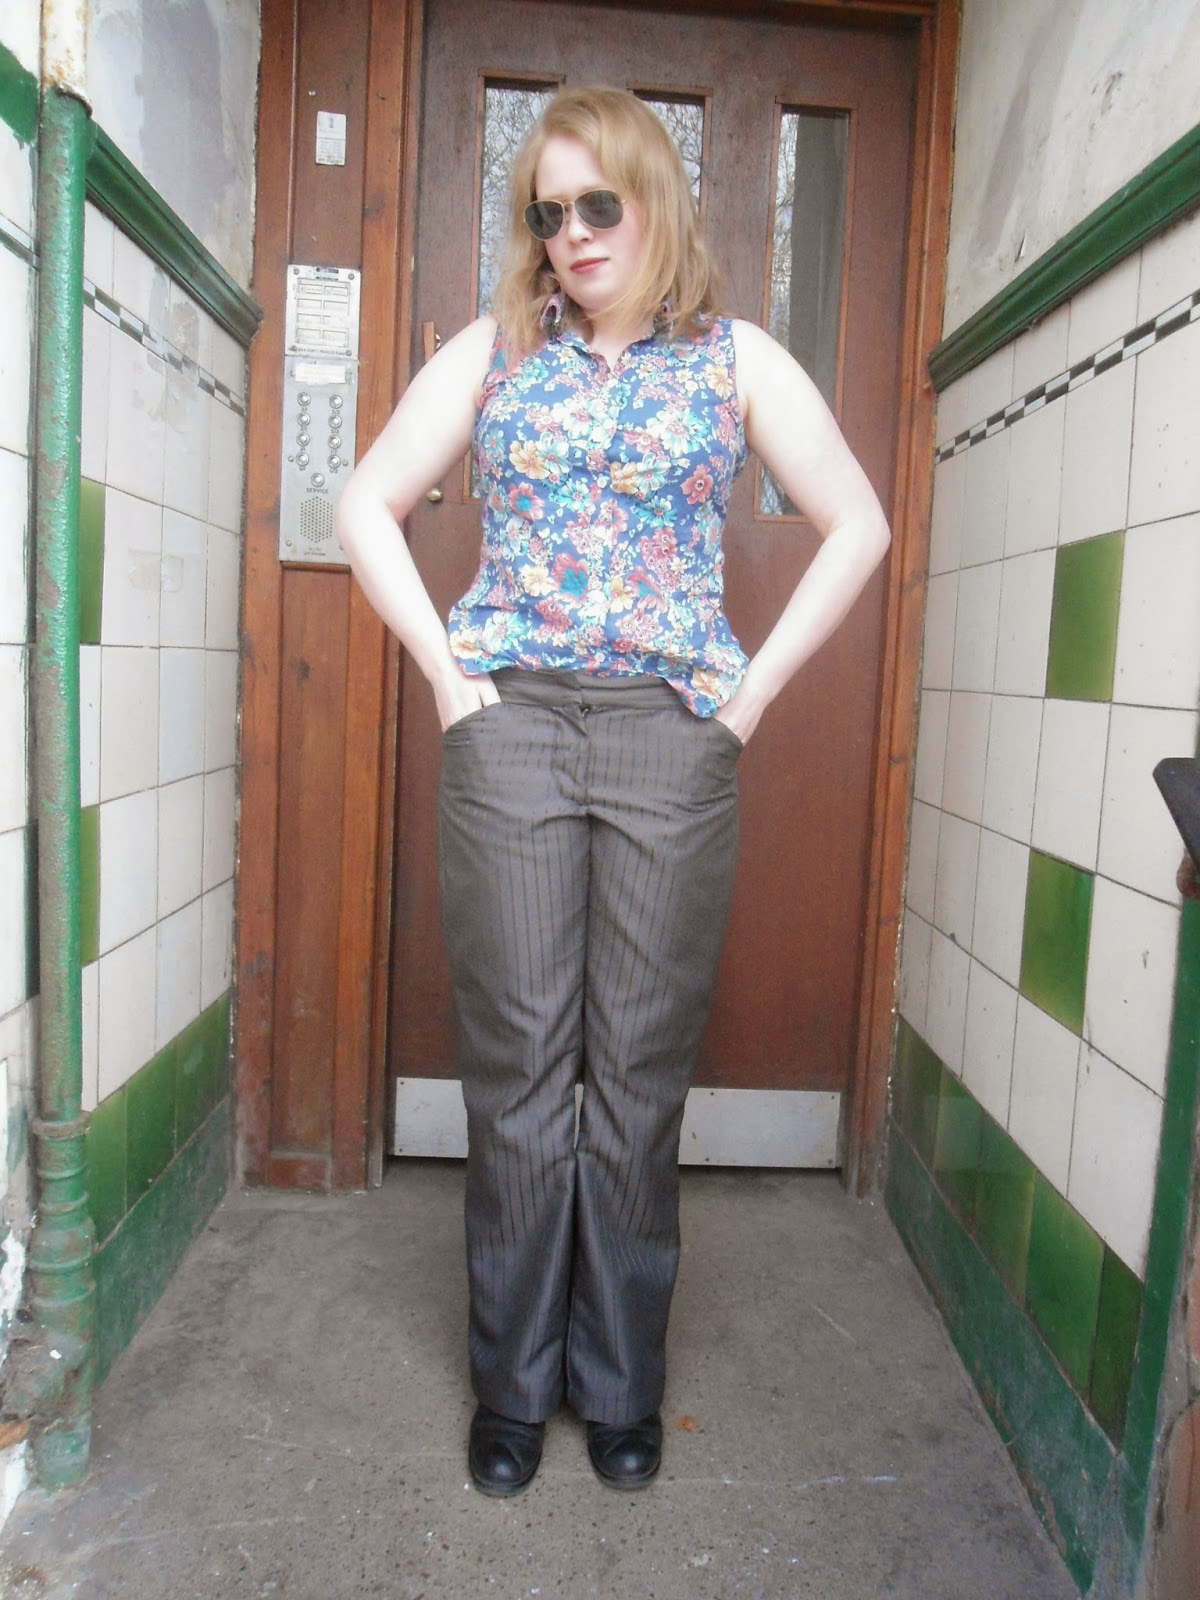
Completed: Sewaholic Thurlow Trousers, Muslin 1

This is the second of the makes which I promised myself that I would finish before I started another project. In January. Seing as that promise failed they have remained sitting on the top of the WIP pile ever since ( read: they have remained my only WIP ever since while I continually overlook them for something instantly gratifying...)


I bought the Thurlow PDF in December and the fabric even before that... I made most of these up in an evening stopping only because I had no zip for the fly. Post Christmas I lost a little weight (strangely) so cut these in a size 6. Another reason I left them because I didn't honestly believe that this was the correct size and I was a bit disappointed to have wasted fabric.


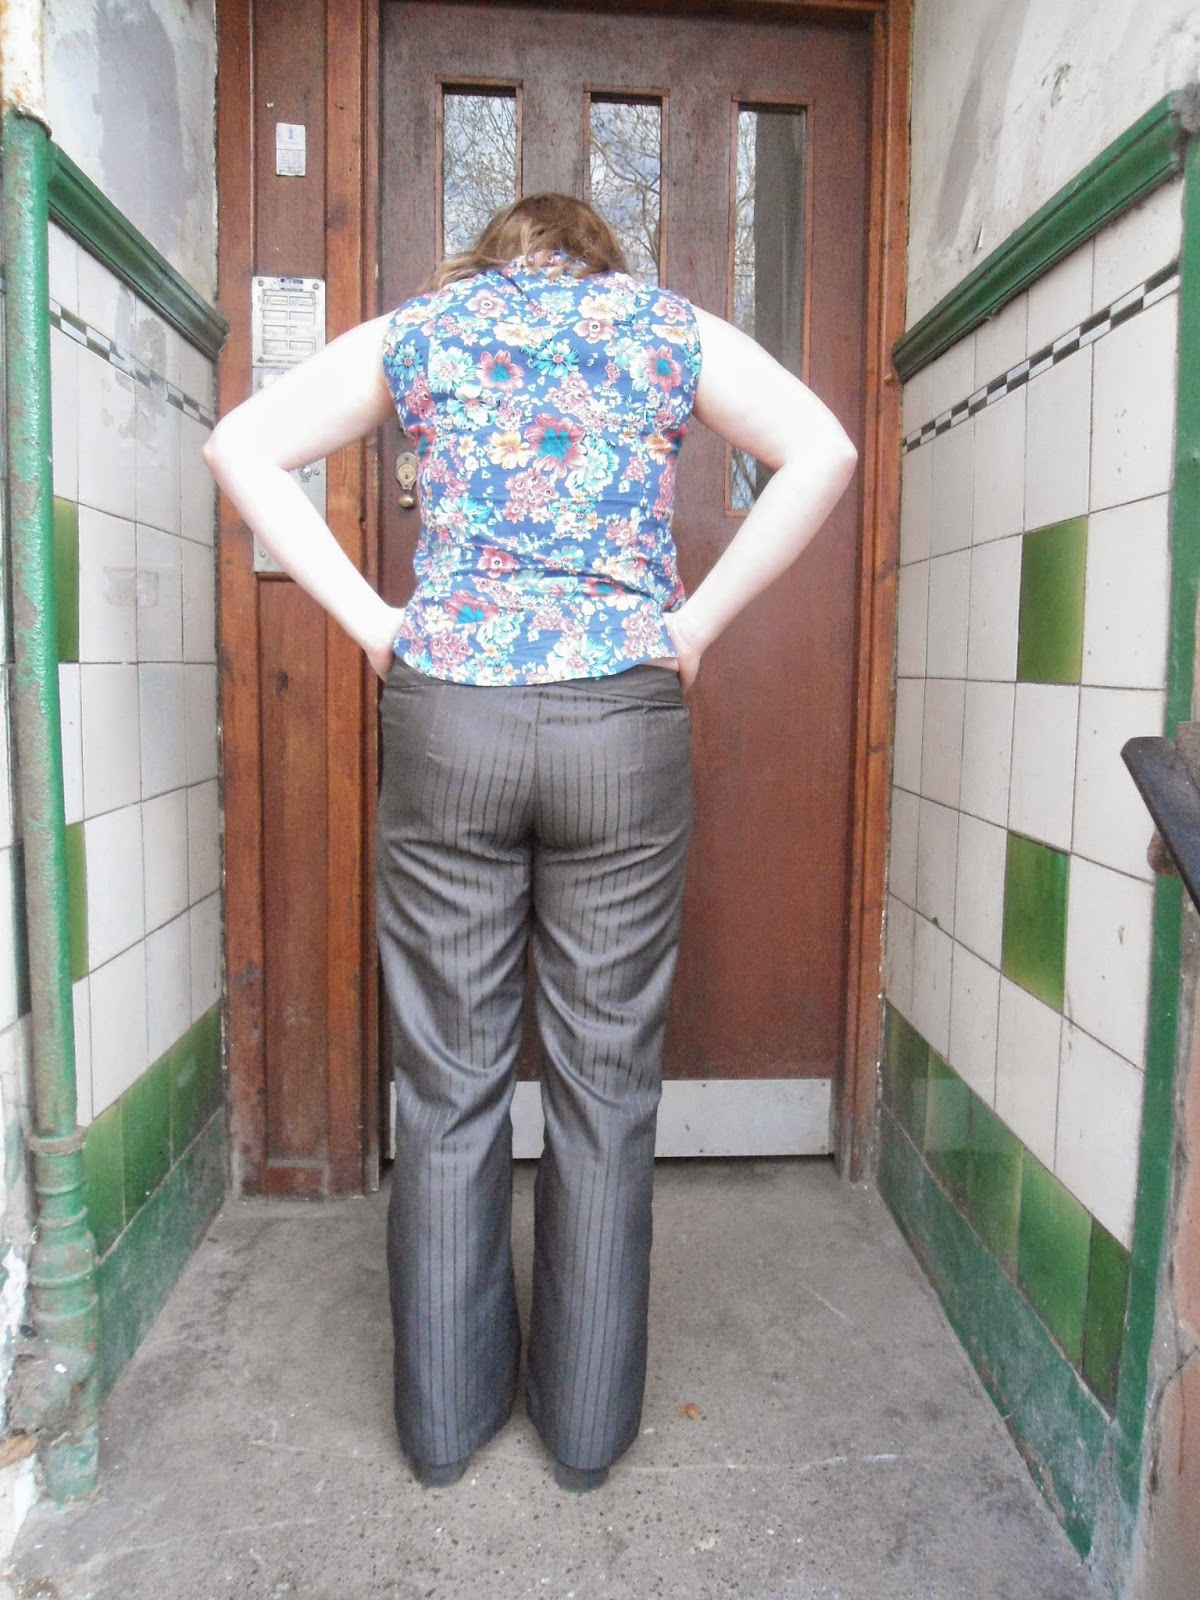
So as I required space in my living room corner for thesis writing I decided to just go for it and make them up anyways! Strangely enough they fitted quite well! I say strangely only because I had convinced myself that they wouldn't fit! There are some strange lines around the base of the fly however I'm almost 100 % sure that they are from the fly insertion bubbling a little over any actual excess fabric. There's also some strange lines on the back around my thighs. I have searched the internet and cannt think of how to accurately describe these to come up with a fitting adjustment - does anyone have any ideas?

The major problem I found when making these up was the instructions for the fly. I didn't find them very clear at all for the joining of the two halves of the fly together. In hindsight having used this tutorial for sewing the fly I understand what they were showing however it seems it is a tricky part to convey without photographs. Needless to say - upon completion of my first ever fly zipper I was ridiculously proud :-D


For this version I decided to omit the welt pockets for speed and because I didn't think I'd ever get any wear out of the trousers. Next time I make the trousers up I will make up the details however not actually put in the pockets - I always forget about things in back pockets :-(.
Awkward pose trying to show off the waistband!

Changes I will make up next time as well will be to make the waistband pieces a touch longer as well as interfaced- i'm not sure what happened however one of my waistband pieces ended up a little on the short side which wasn't ideal - I used the pattern piece to add back in about 3 inches of which I only needed about 2 but was not taking any risks!! I'm also planning on narrowing the legs a smidge to the knee then returning to the wider lower leg. I also need to remove at least 2 inches from the leg length. Other than that I think its just tinkering with the waistband with different fabric weights.

So what do you guys think? a winner? With the completion of these trousers, I have now scored off number 6 in my 2015 sewing plan. :-)

Have a good week all :-). I made so many plans for this week that i'm already looking forward to the weekend to relax!!

Happy Sewing

Jenn xx
Thursday, 9 April 2015

Completed: New Look 6020

Hola!
After declaring that I had not much time for sewing, my production seemed to take an upturn! This dress came together relatively quickly once I had a spare few hours to actually sew it! I even managed to get my overlocker overlocking properly again - somehow the left needle thread had worked its way out of the tension disks :-s. oh well sorted it now is :-)


So with both of my machines fully working, making up this dress from scratch was actually a fairly painless experience :-D. Fairly. I want to make a dress for my cousins wedding at the end of June and have decided to use this pattern and make the necessary changes over a number of wearable muslins before making up the final version in some lovely red crepe I bought in Edinburgh fabrics. I'll share each iteration as I learn to get a perfect fit on this one.

The fabric was a 45" wide cotton from Mandors. I realised at the last minute that I didn't actually have any fabric that was appropriate for a first run of the dress so spent ages lurking all the new bolts which have recently appeared. I felt the flowers on this print stood out more than a regular floral.


This pattern called for facings and as I really dislike facings I decided that I would try and fully line this dress - skirt and all.

Partial fail on the white lining here...
For this I just made up two identical dresses. I had to think a bit about the construction order a little but it went together OK. I attached both dresses at the zip and then pressed the other armhole and neckline under by 5/8" and top stitched. Not the neatest finishing ever but the print hides it a bit. Next time round I am going to finish the armholes with a bias binding facing - much less lazy and a far better finish. I might actually just finish this version with a binding. Maybe. I altered the other half's jeans the other night and it wasn't actually all that bad...

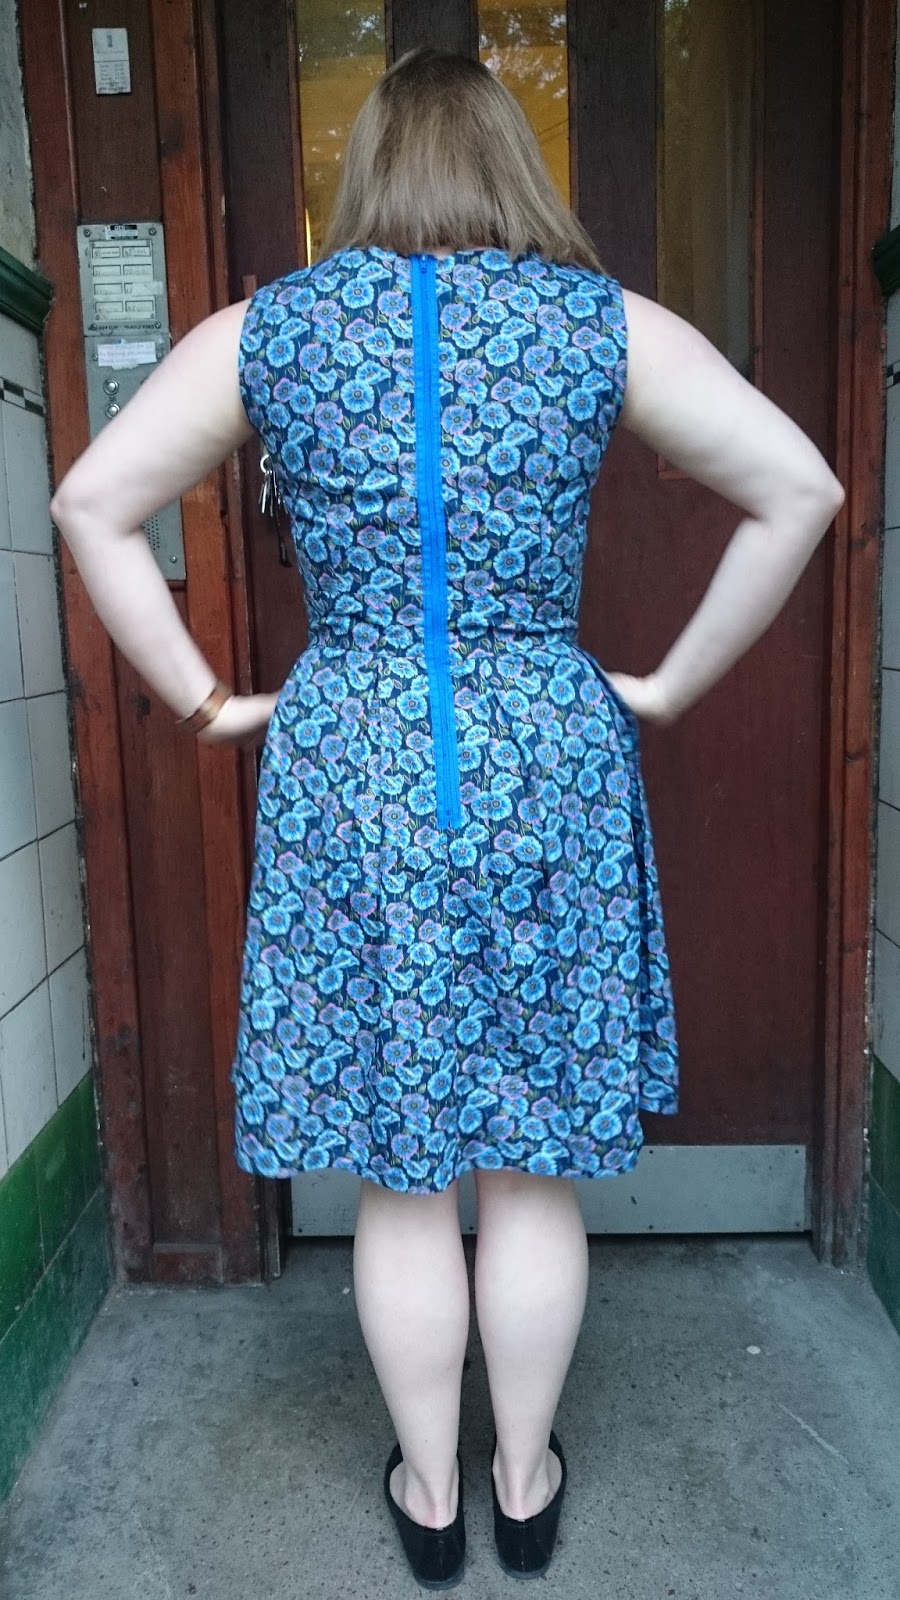
I ended up with a fair amount of gape all around the neckline - I think this is something to do with both my requirement for a narrow shoulder adjustment and the fact it may have stretched while under construction as well as I get the inkling that I cut the size too big. (oh well that's why I didn't cut straight into my crepe....) So in the back I added two darts - which turned out a little too narrow and   took out 3/4" length out of the shoulders; on the front I am debating some front darts. I have already taken a wedge out the back paper pattern piece for my next run. Finally I removed quarter of an inch from the back length with another quarter inch marked onto the pattern pieces for next time.
I had no idea how to expression an extreme close up...

One thing that I liked about the dress is it is more like a tea dress than other styles I have tried. This dress sits under my knee and it took a while but I think i'm used to it! I'm kind of feeling the length right now however will no doubt loose some of it for version 2. Or lengthen it the jury is out on full length, I do love a maxi however the wedding is in the South of England....

I  also wore this as my birthday dress the other week (imperfections and all and as a result I'm almost set on trying the size down) - so that is item #2 off my 2015 plan scored off! yay!

Hope your all sewing up a storm :-)

Jen xx