Showing posts with label 2014. Show all posts

Tuesday, 6 January 2015

Happy New Year!

Hello all! I hope the new year has been good to you! We had a fantastic new year in Latvia which i would not change for the world! We rung in the bells on one of the bridges over the Daugava and had a fabulous time sharing traditions both familiar and new to us. This is about the best of the photos!!


 Resulting from my travels, my sewing machine has not stitched a stitch since Christmas eve! I have a number of projects I'm excited to finish, and am slowly learning the art of prioritising!

So through lack of any new sharable projects, heres a quick round up of my favourite makes of 2014:

No.5
My first Bronte top. 
This was one of my few me mades to have made it to Latvia. (We flew ryan air and didn't want to pay to take 2 cases so we shared 1 and squished in a thermal wardrobe :-p.) The fabric is so warm and it layered really well with my winter wardrobe!

No. 4
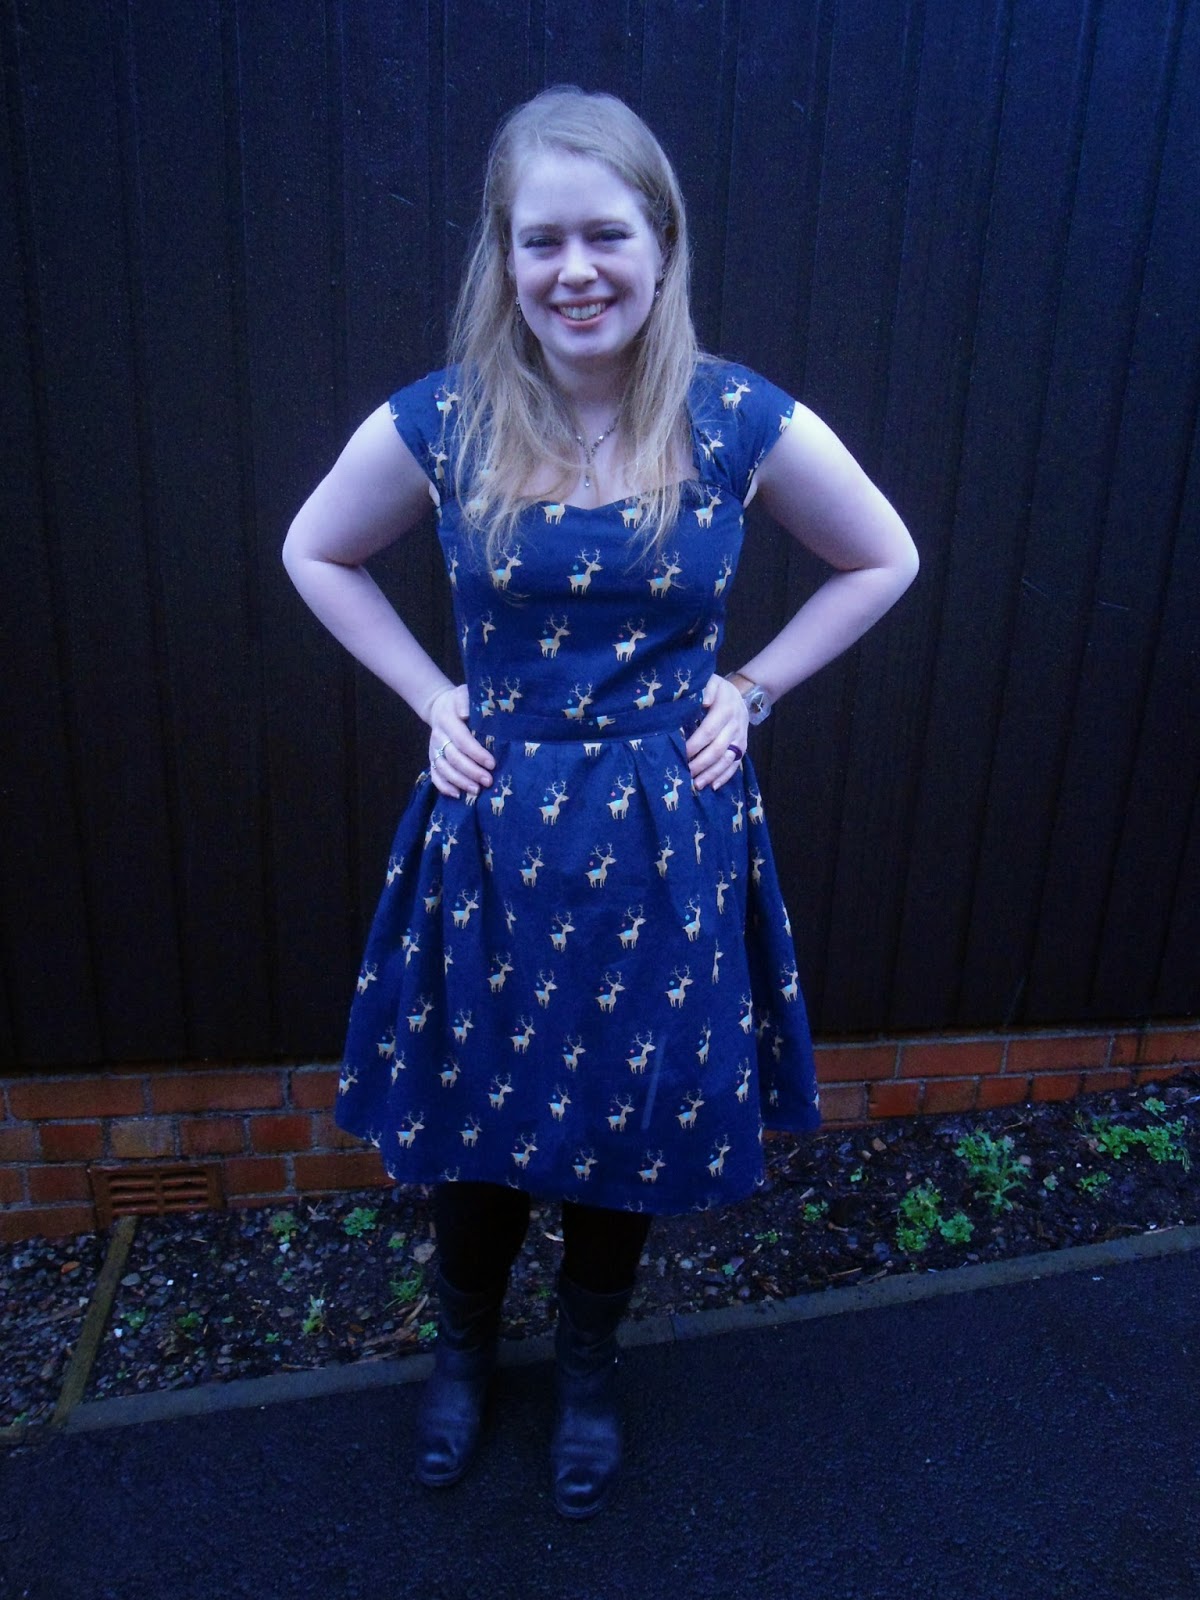
My Christmas Cambery
The fabric faded a little with washing however this dress got so much wear over Christmas and the fit was pretty good. i love everything about this dress and hopefully it will still fit next Christmas!

No.3
My first pieced quilt.
By no means perfect but I love it and don't have to justify why :-p. It's  so damn snuggly :-)

No. 2
My first Chataigne shorts
 Along with my Bronte above these also made it to Latvia. Because they are wool they are really warm and went really well with my top for my Hogmanay outfit. The zip is beginning to come loose however a little TLC and these will be right as reign in no time.

Finally my No. 1 favourite:
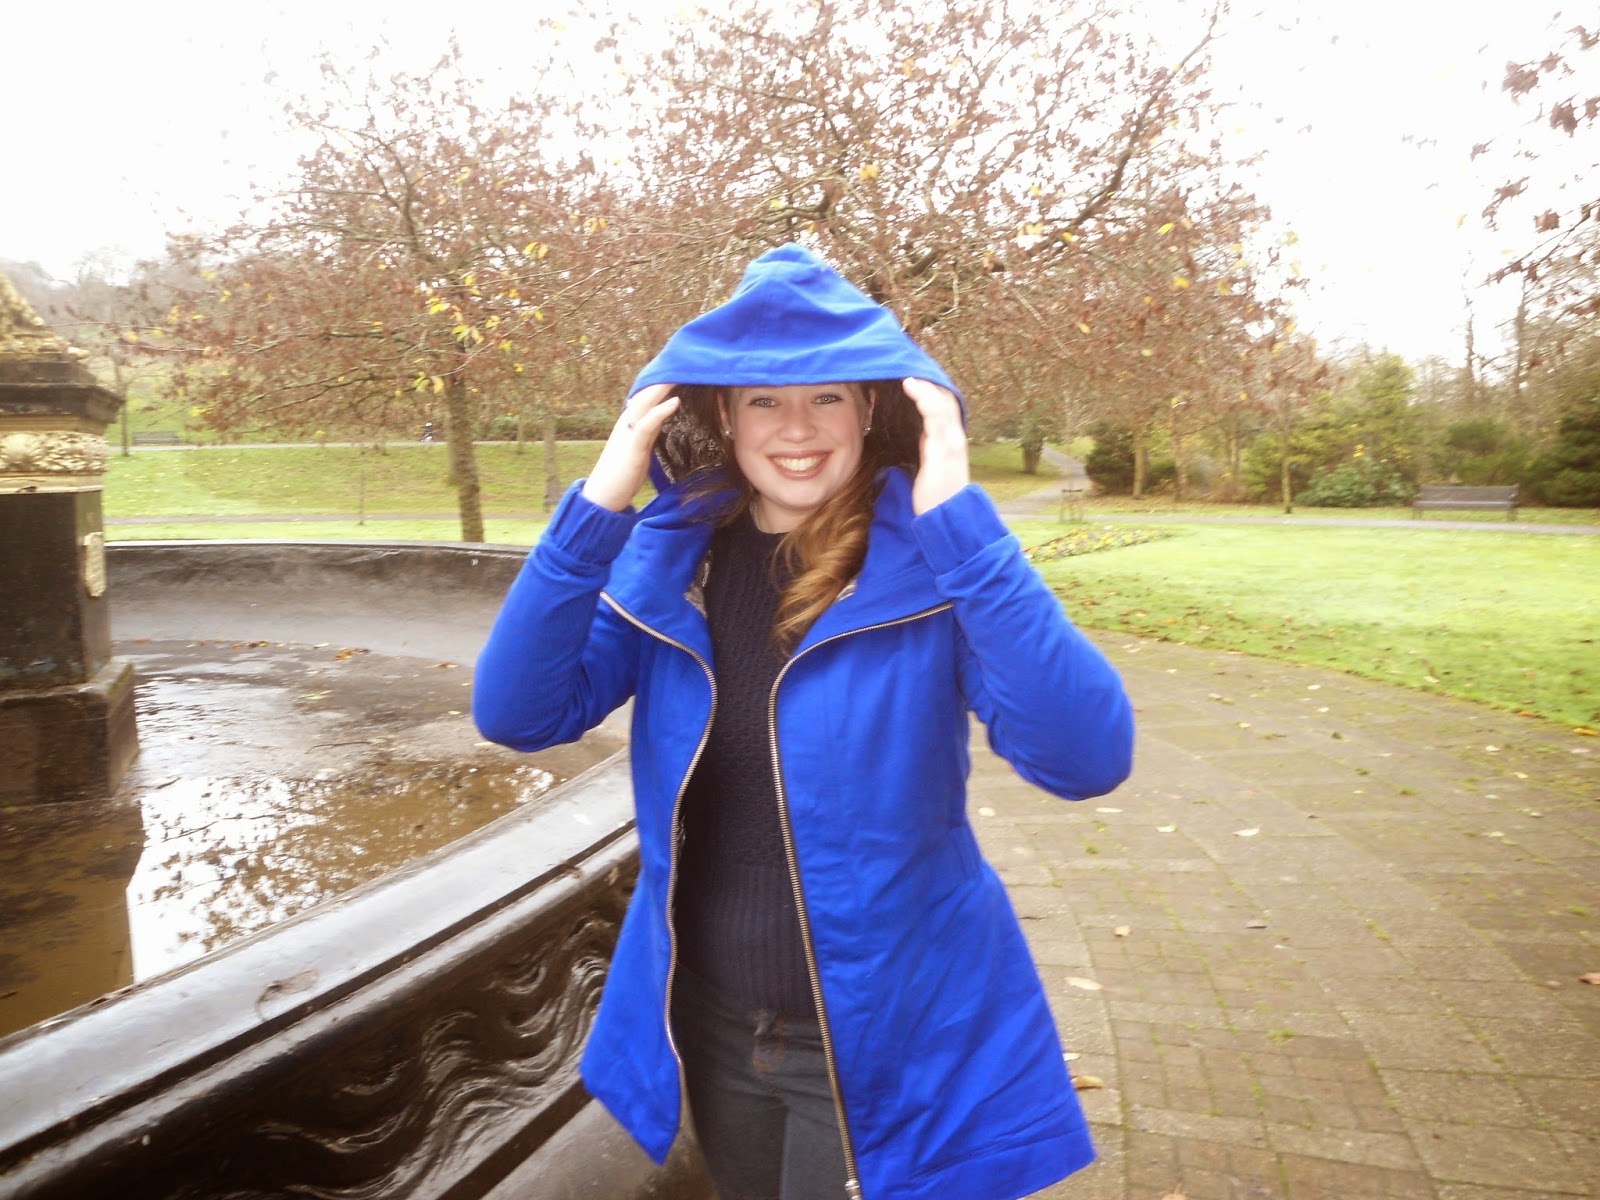
my Minoru Jacket!
In it's limited existance this jacket has had so much wear and is steadying up to be a true wardrobe staple!

So thats it from me today, I hope everyone had a great new year and all the best for 2015 :-)

JCS xx

Friday, 12 December 2014

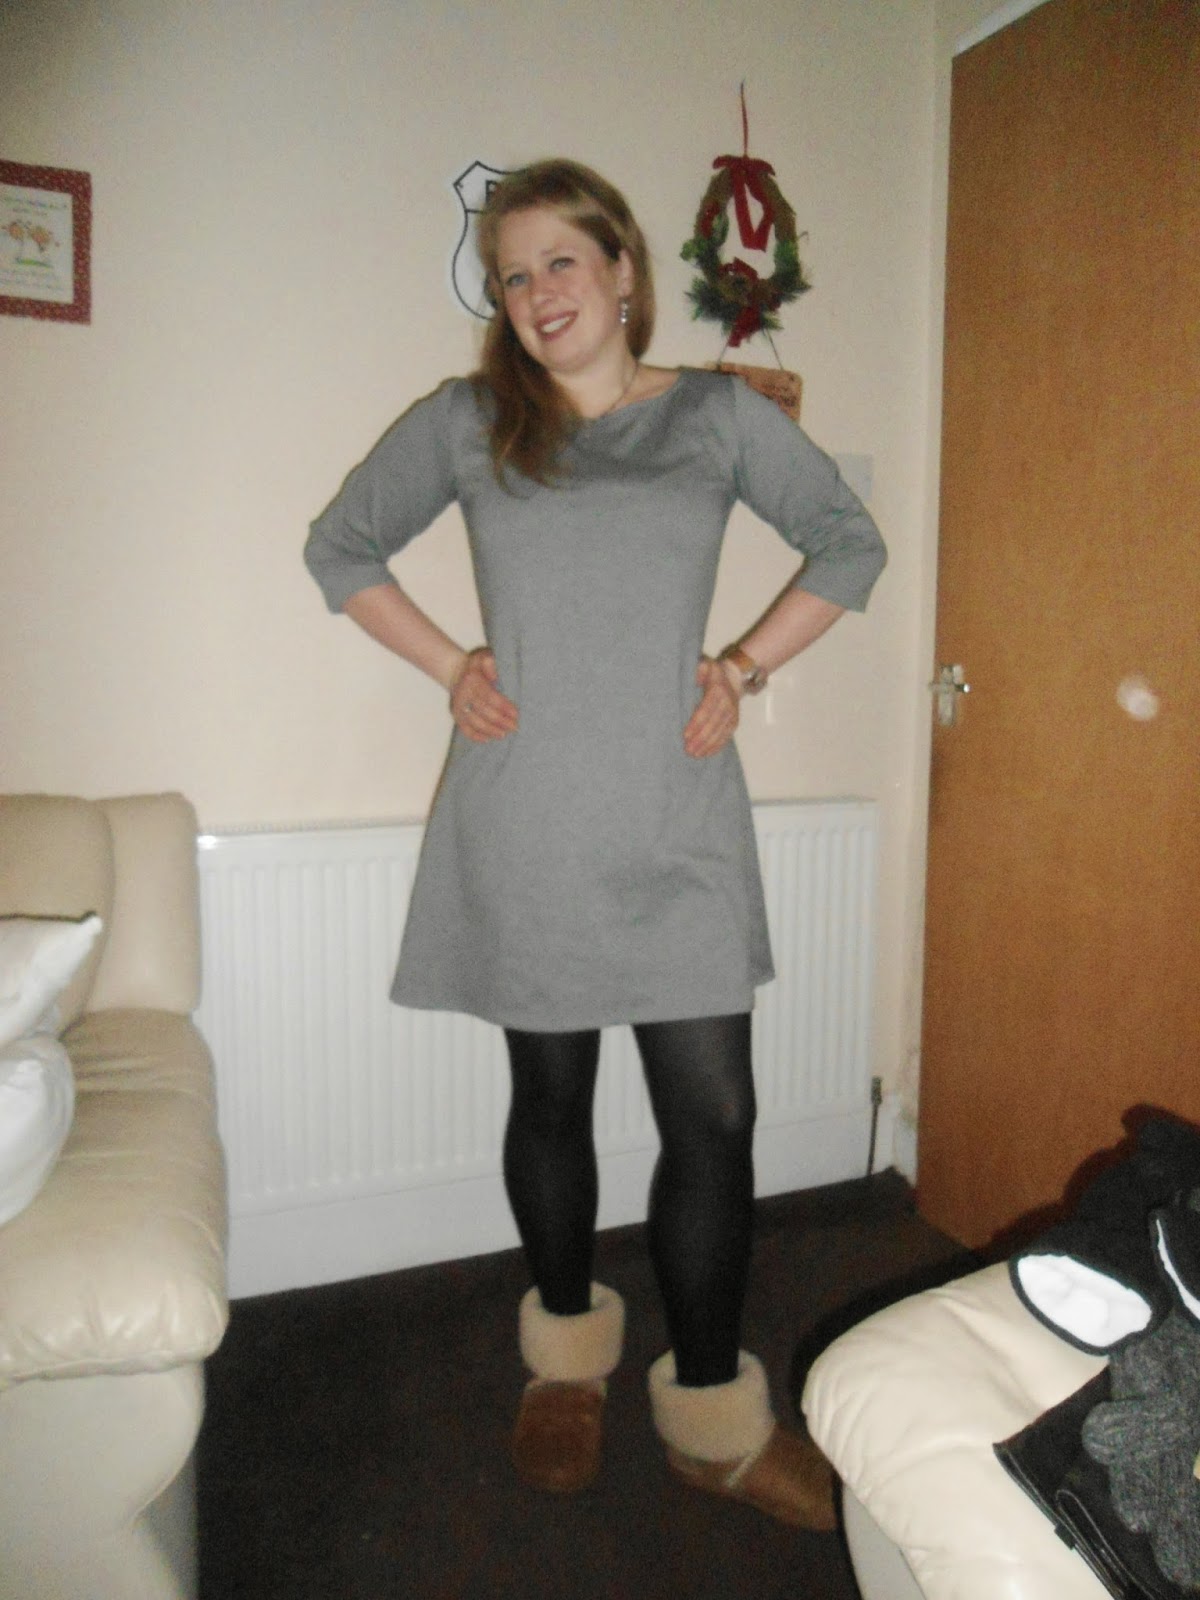
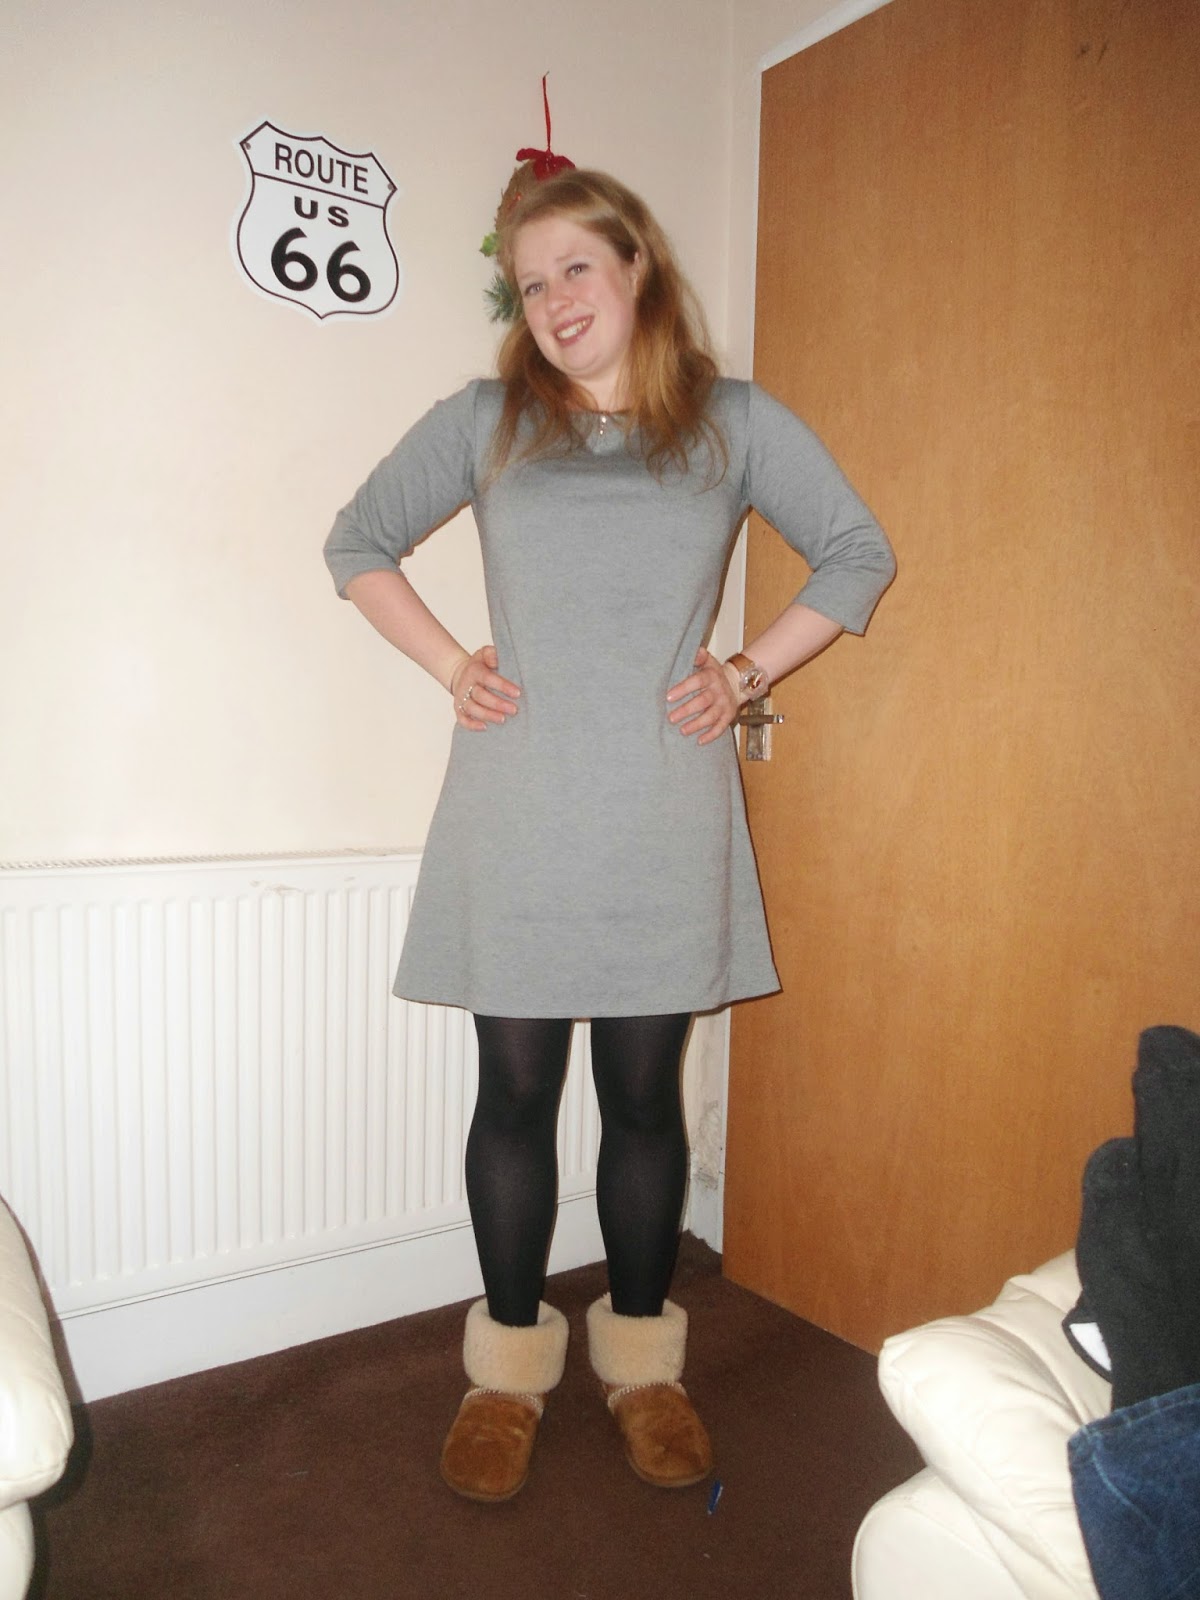
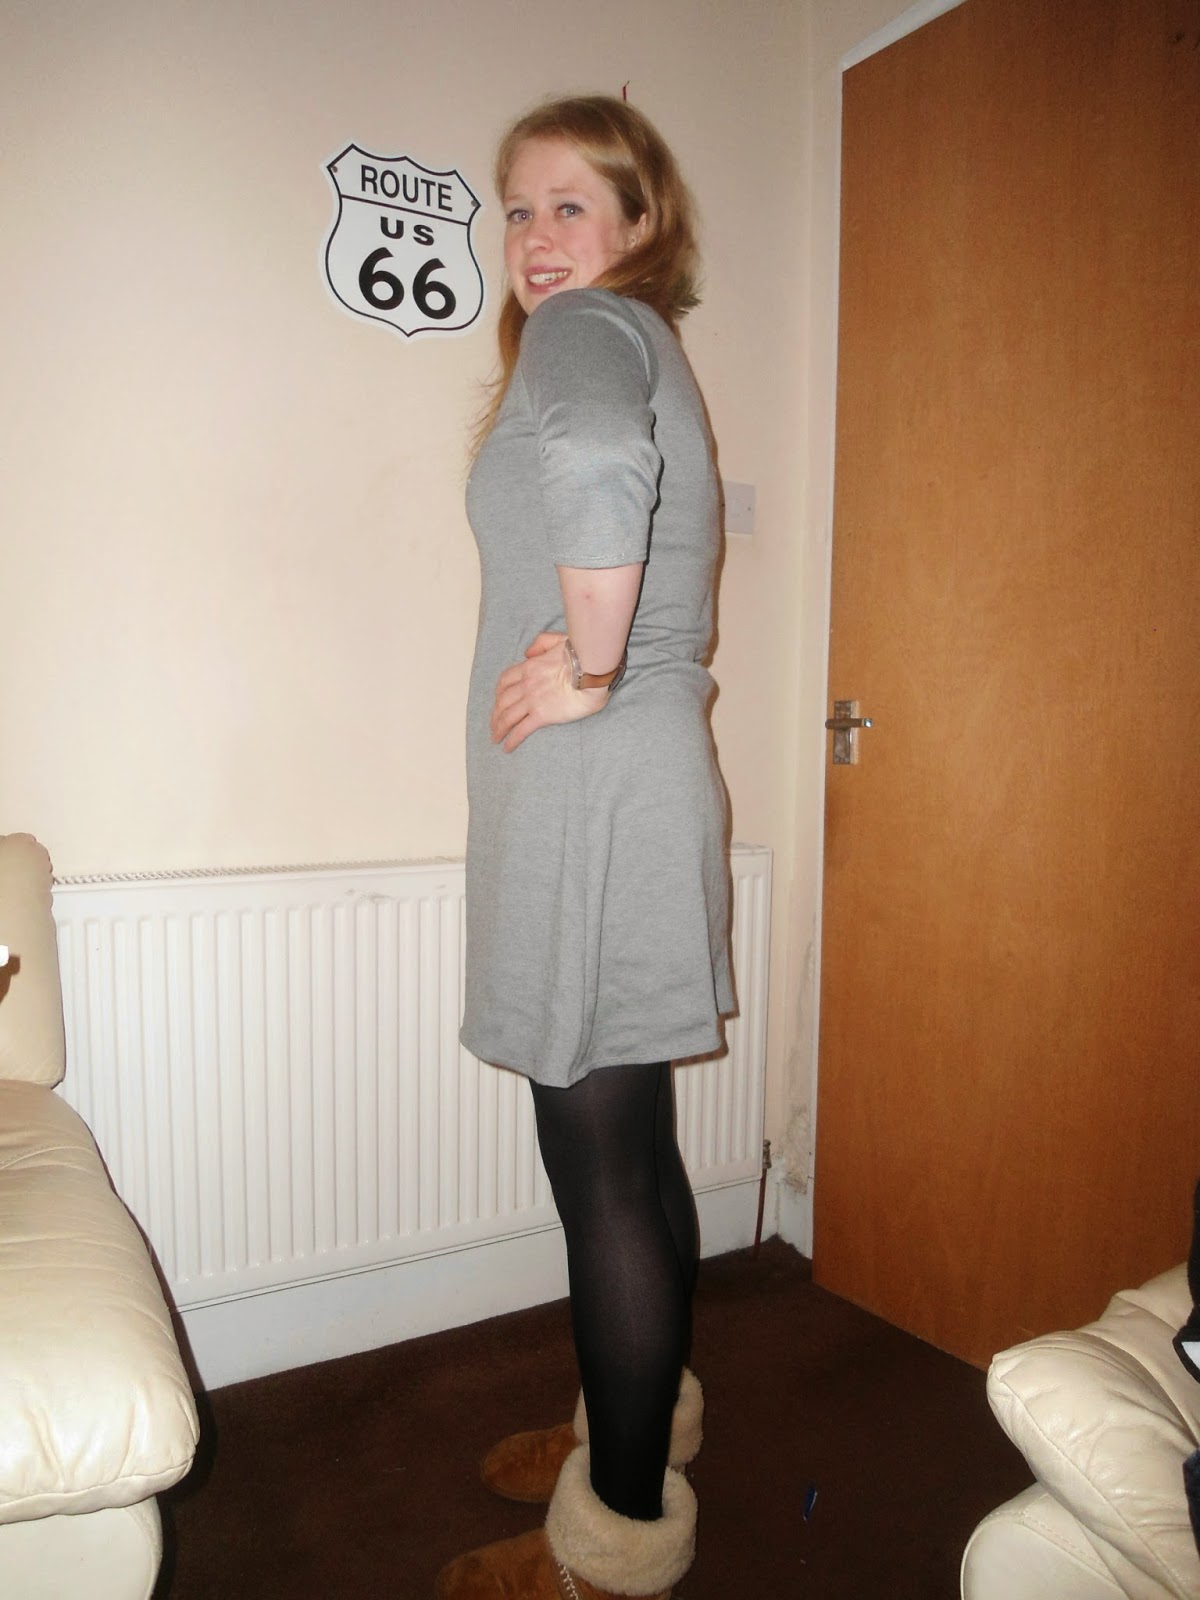
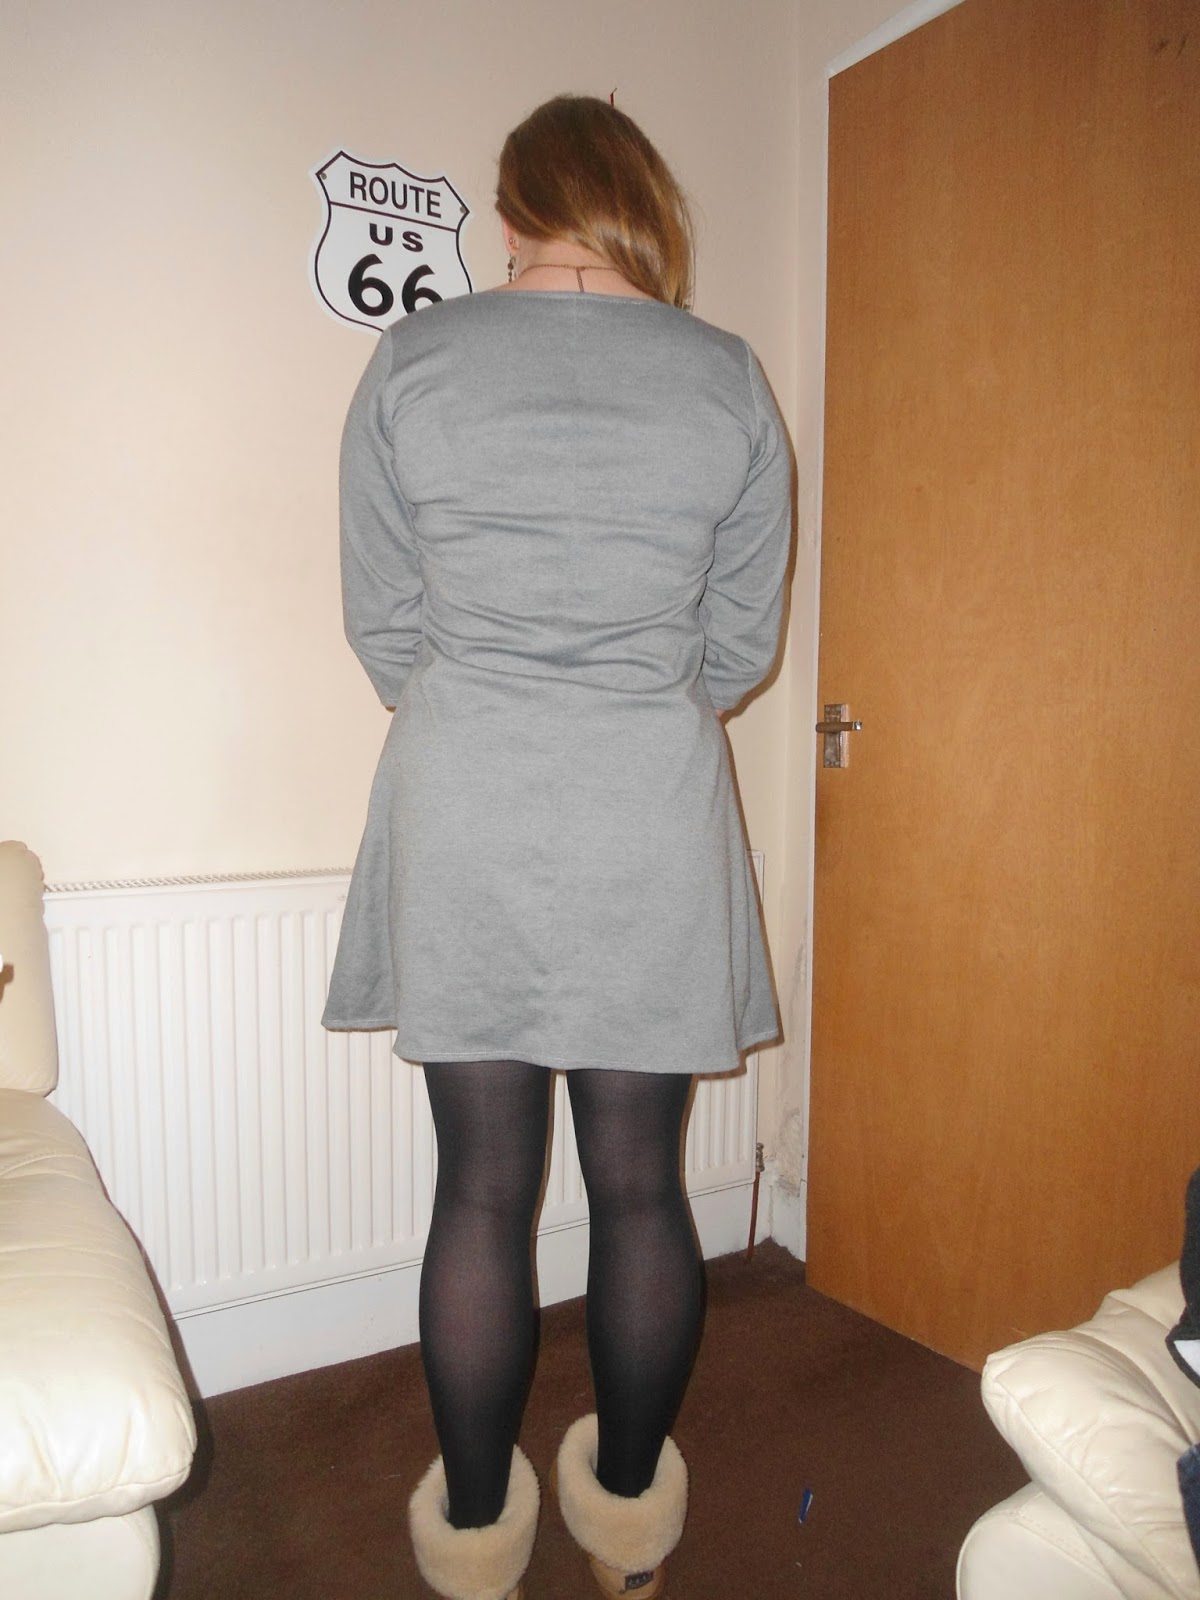
A Completed Coco

To prepare for my impending trip to London I decided that I would make up a new Tilly and the Buttons Coco.


The Coco dress pattern turned out so much better while using a heavier ponte knit than the really drapey ponte that i used the last time. I liked the fabric however it most certainly was the wrong choice - that being said I have had a lot of wear out of it!

This time though, instead of cutting the size 5 and  taking it in I cut out the 4 straight off. This size seems to fit exactly how I would like it to in terms of ease. I omitted the pockets and cuffs - this dress had more structure than the last so I didn't need to add interest in form of the cuffs.

Another change which I made during the construction of this dress was to include a seam on the Centre back. As the pattern stands, you cut both front and back on the fold. In this case in an effort to minimise the fabric used and to try and squeeze in a skirt from the scraps I cut the back piece on the straight grain not on the fold adding 5/8 inch to the seam allowance on each side. I think this worked well. Using 60 " wide fabric I managed to get the front and rear pieces next to each other on the same width of the fabric. I never redrew the pattern piece though with the seam allowance in so I'll add this in to my pattern now that I know it works so well and saves a ton of fabric.


In making up this dress I realised that in actual fact when making any subsequent versions that i will have to shorten the back length as the back kept wrinkling due to the fact the waist as I had sewn it wanted to sit higher than it hit on the garment. I couldn't tell from the last version that this would be an issue.

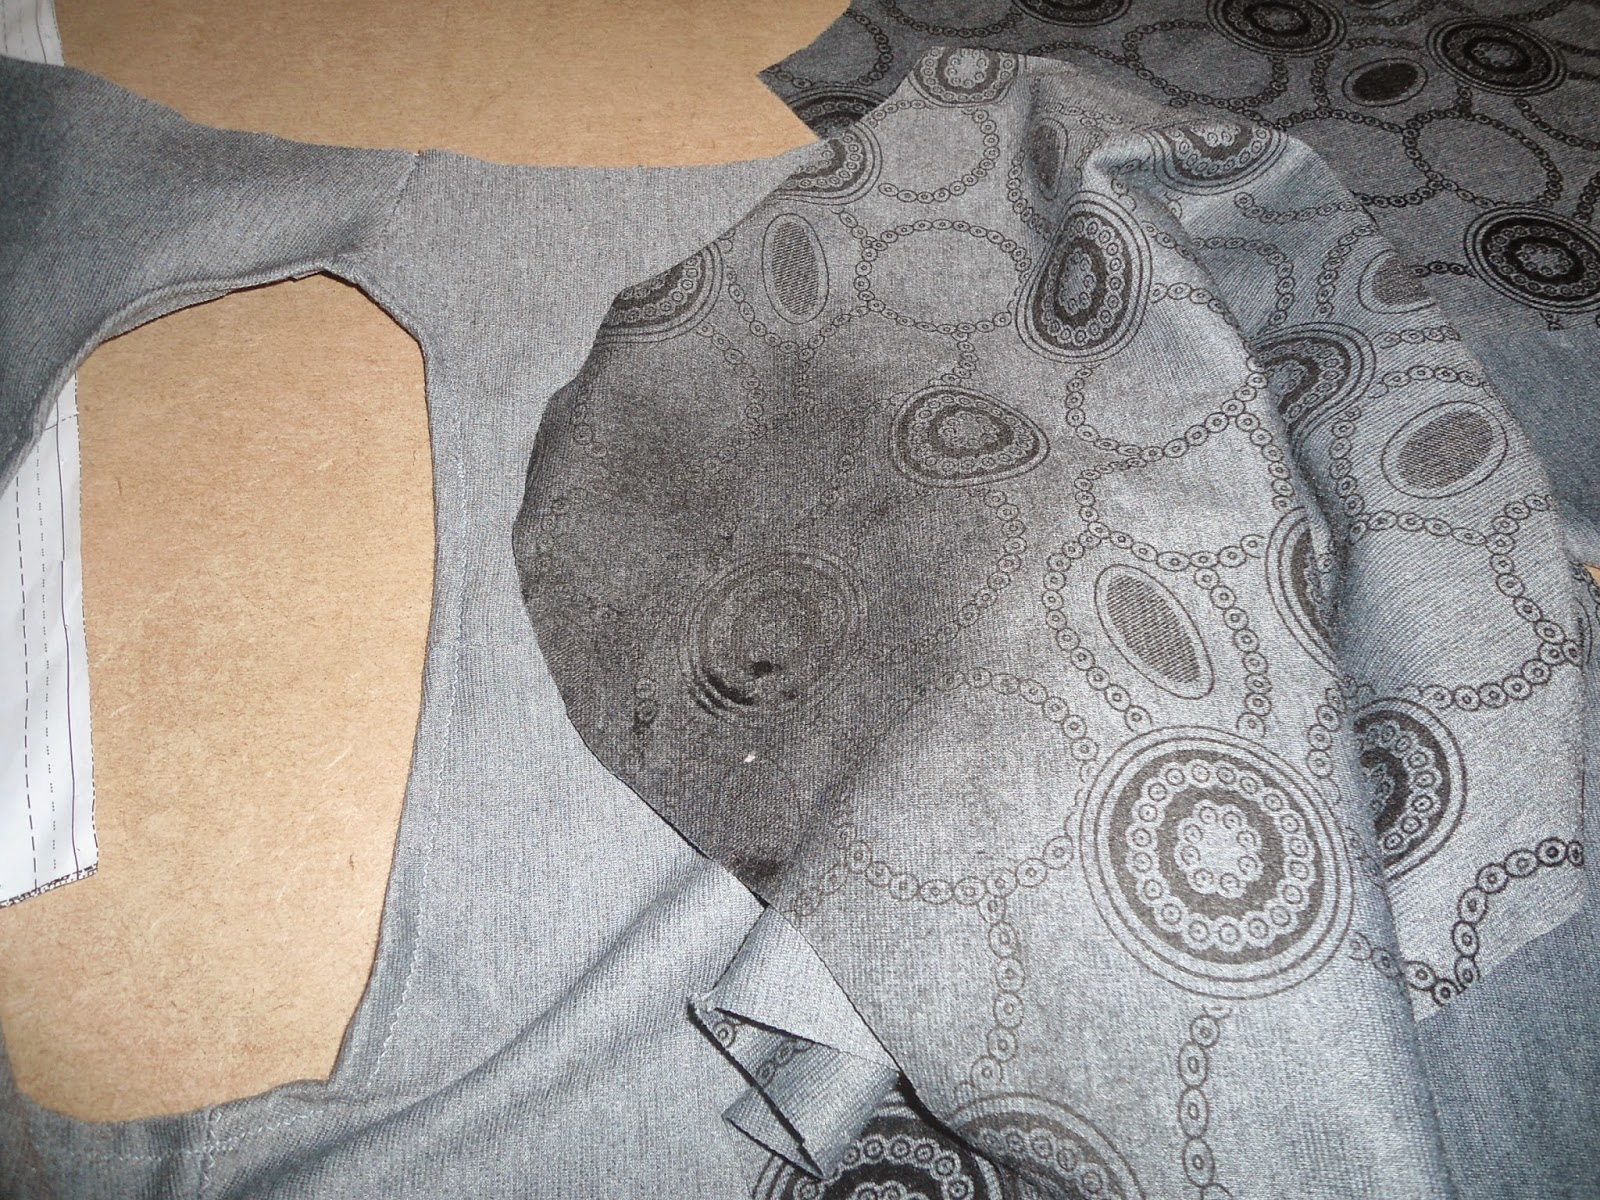
In terms of the fabric used for this project, I used a flocked ponte knit - it came in about £7 /m from Remnent Kings. I was told at the time 'do not machine wash or teh flocking will come off' I totally failed to take heed, washed it anyway and this was the result. Hence my coc was constructed using the wrong side of the fabric as the outside. However I care not. I got a nice dress out of it :-)

This is what happens when you don't listen to washing instructions
So all in all a succesful project. I'm 100 % confident that next time i'll have a coco that chanel would be proud of ;-)

Have a good weekend guys -  I'm off to a friends for pre christmas drinks :-D. What is anyone else up to?

JCS xx

Saturday, 4 October 2014

Completed! A Robson Coat

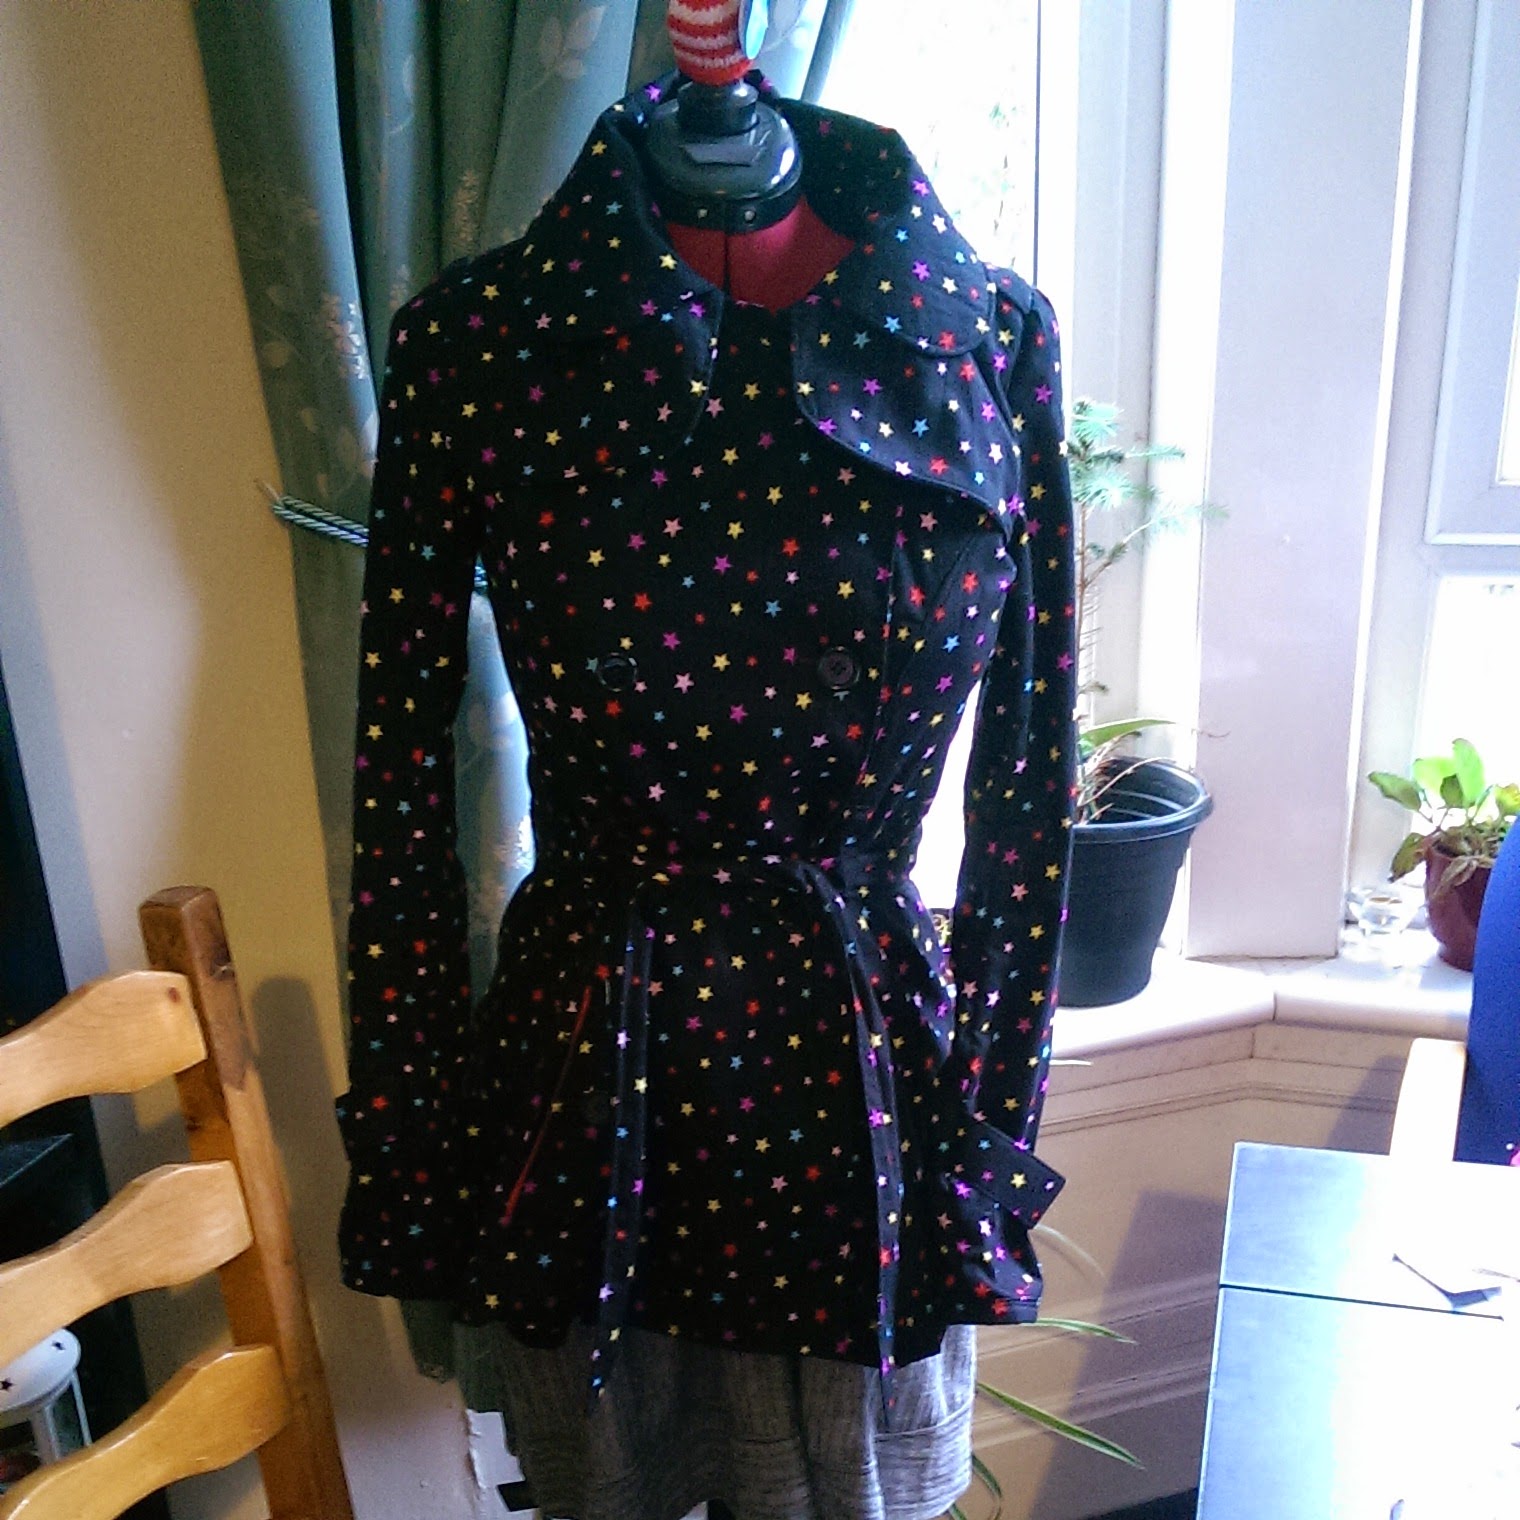
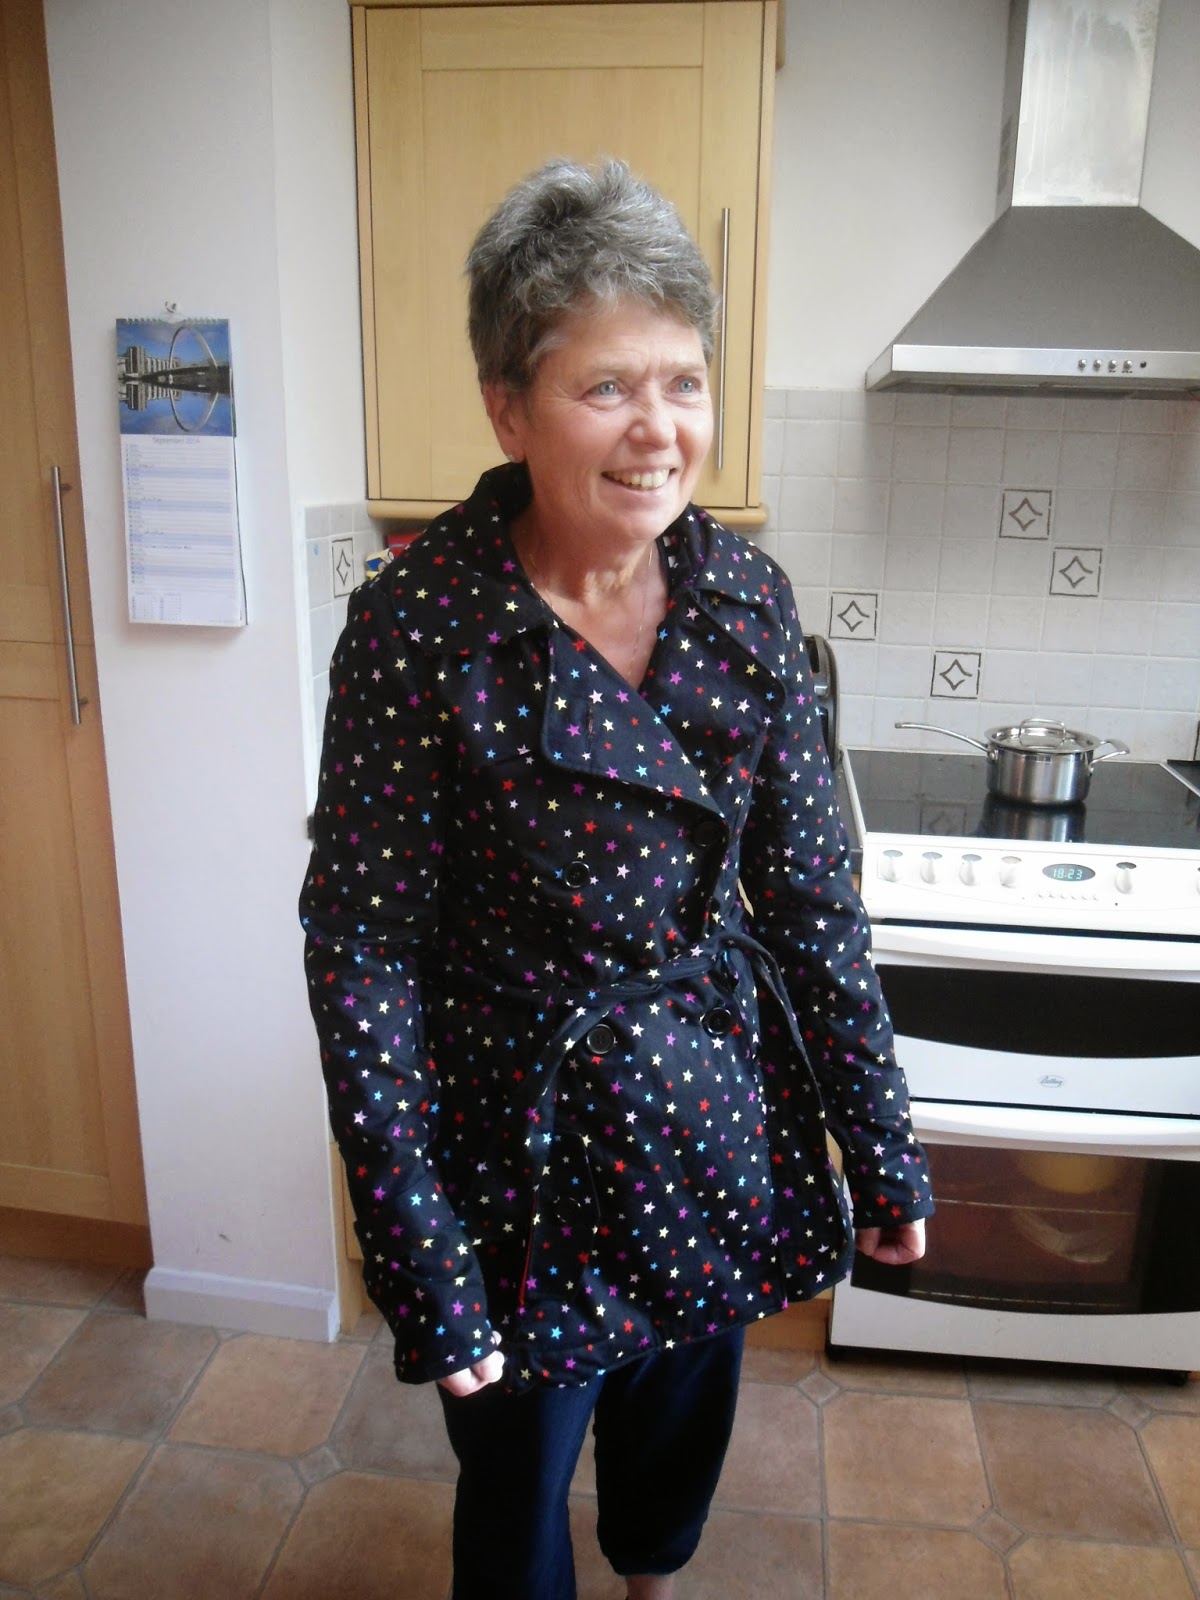
Hello blogging world!I feel like I've been away ages! So today I would like to share with you a make which I finished up at the end of August but has remained unblogged due to lack of photos... After a summer where I did not feel like sewing a black trench coat - my mum's Robson Trench is finally complete!
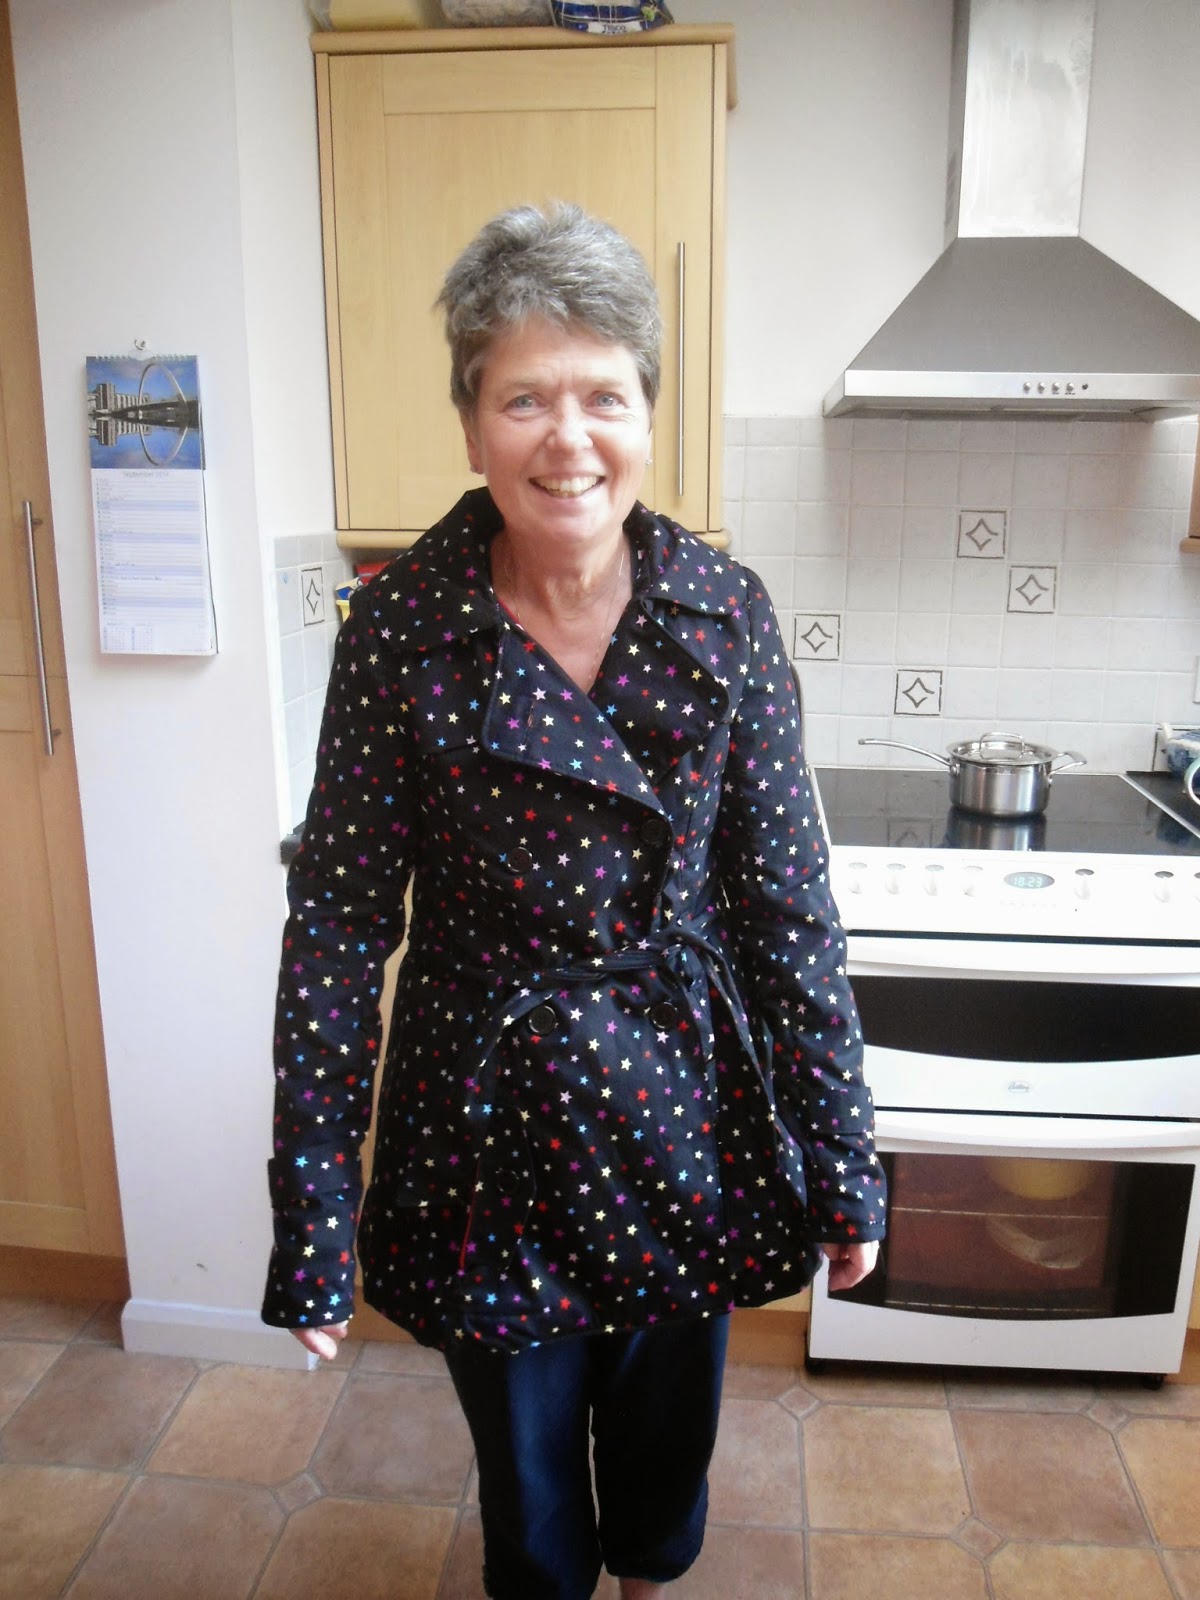
Starry Robson Coat


I must admit that I am rather jealous and totally wanted to keep it for myself :D
So here was my brief:
a trench coat
with buttons (NO ZIP)
lightweight to wear in the spring/summer/autumn
showerproof
no hood
shoulders that were broad to help getting it on and off.

I totally reckon I nailed it :-). See my mum has issues with her motor skills and has no depth perception making zips an imposibility and coats with narrow shoulders a right royal pain. My mum is about a size smaller than me in measurements, so i made up a size 10 in the shoulders and a size 8 in the sleeves and in the waist. I think the sizing worked out ok


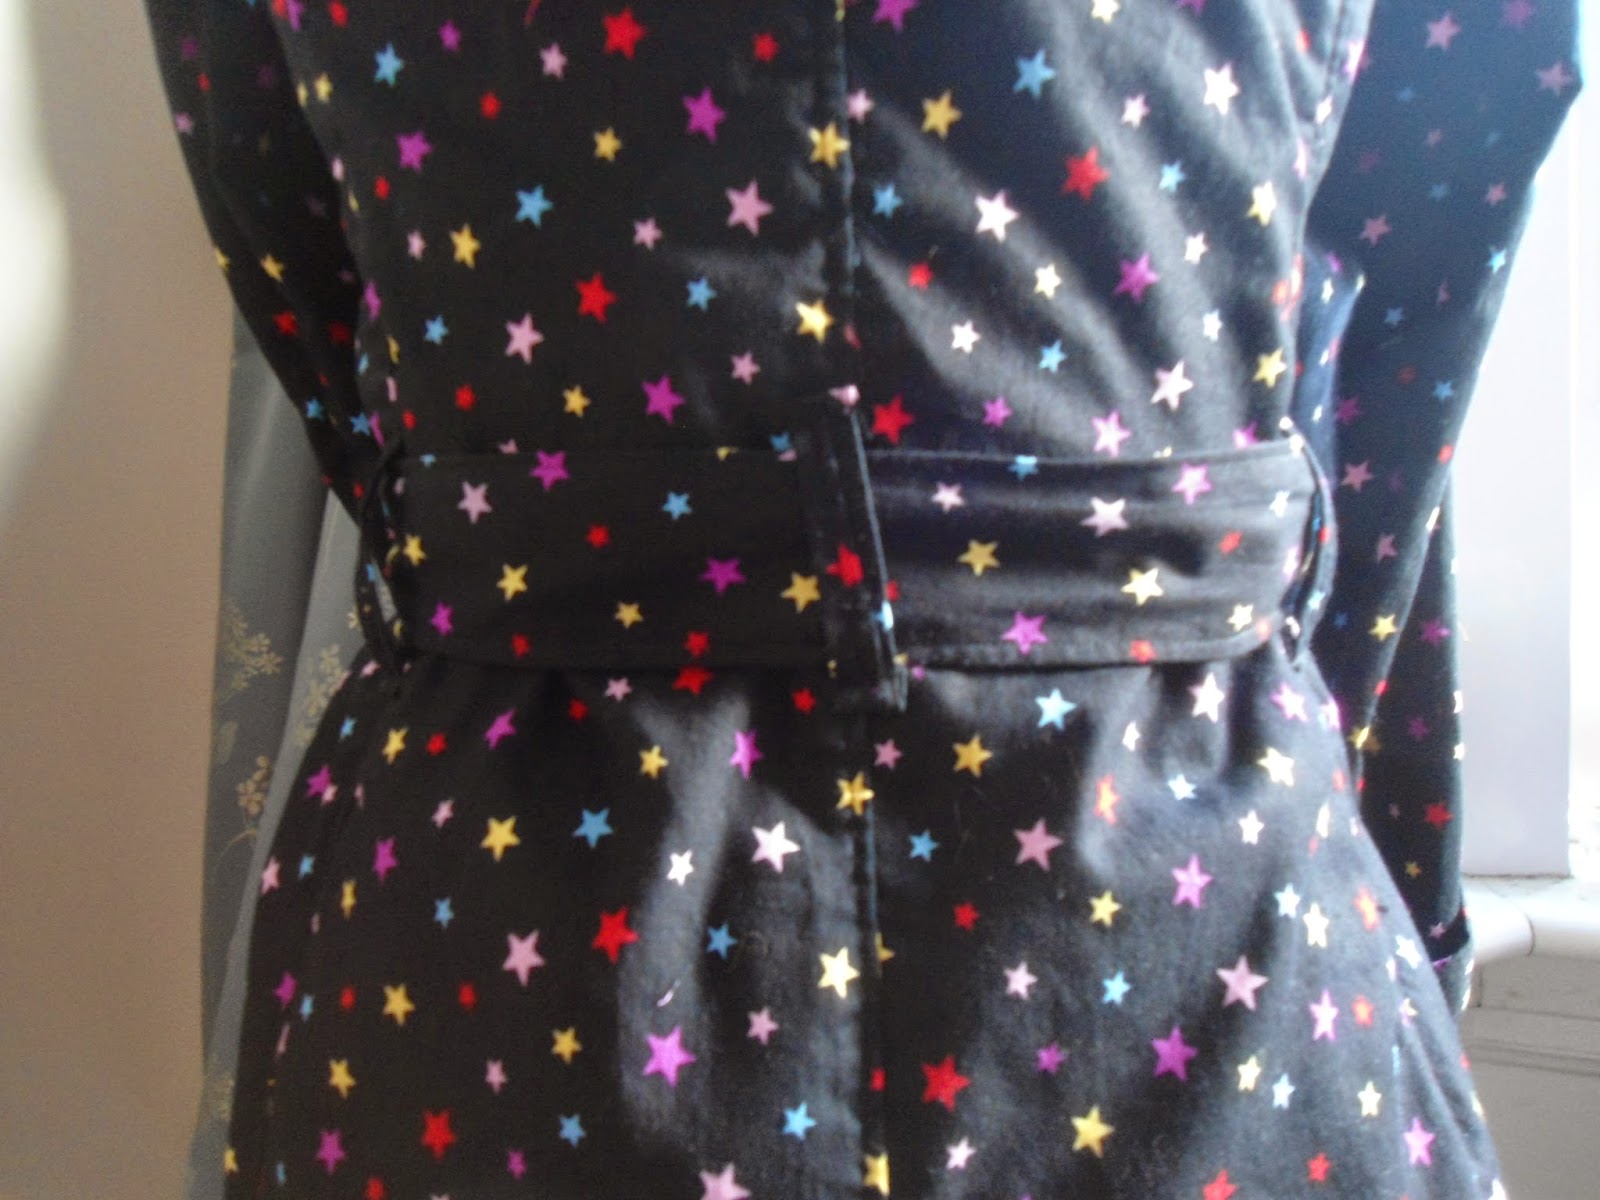
The fabric as usual was bought in mandors back in May - that's how long this has been in the pipelie for! I think it took us about 40 minutes to pick something that she liked and wasn't tooo expensive. As it was only a 45" fabric the instructions suggested 6m. so we didn't really want to go much above £8/m - it ended up at £6.99 so bargain!! The fabric is a lightweight cotton poplin and the lining a plain polycotton which I bought in Norman Cummings on a trip to Linlithgow. Annoyingly there was a repair in the outer shell fabric which I hadn't noticed until it was all cut out so one of the pieces needed recutting.

I cut off about 19cm (7 1/2 inches) off the bottom to make it more summer appropriate and less of a faff too. (Length is also a problem when it becomes a trip hazard...)
The storm flap at the back ended up a bit squint...oops!

So the instructions call for you to bind all your seams with bias binding however I decided to see what effect french seams would have - next time ill be sticking to instructions as these turned out too bulky. As a result half the seams are french and half of them are bound... makes for an interesting design feature!
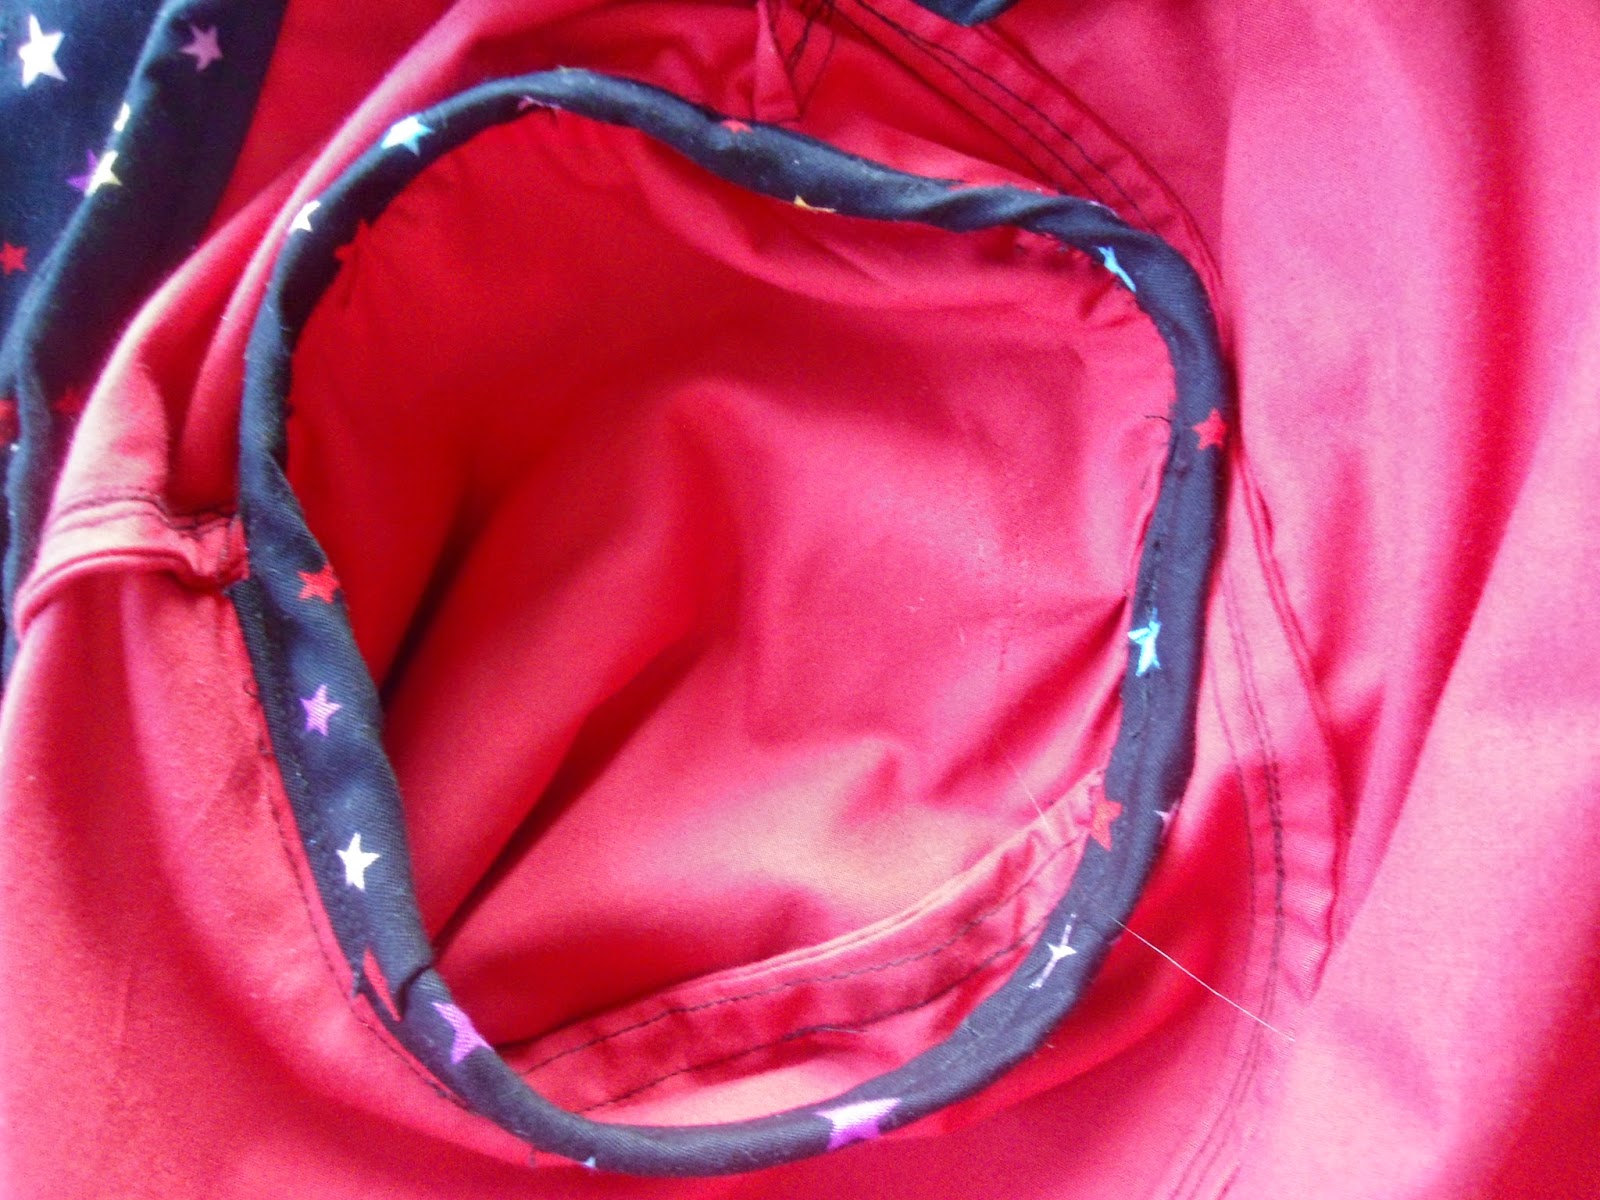
Using the shell as binding makes a good target for the arms!

One of my only problems I had while making this coat is that i forgot to put the notches onto my traced pieces - to be honest this is the main reason that this took so long to finish. I think i set them in about 5 times *next time trace ALL markings* but once I was happy it only took about an hour to attach the binding to the sleeves and all the other little things that remained.
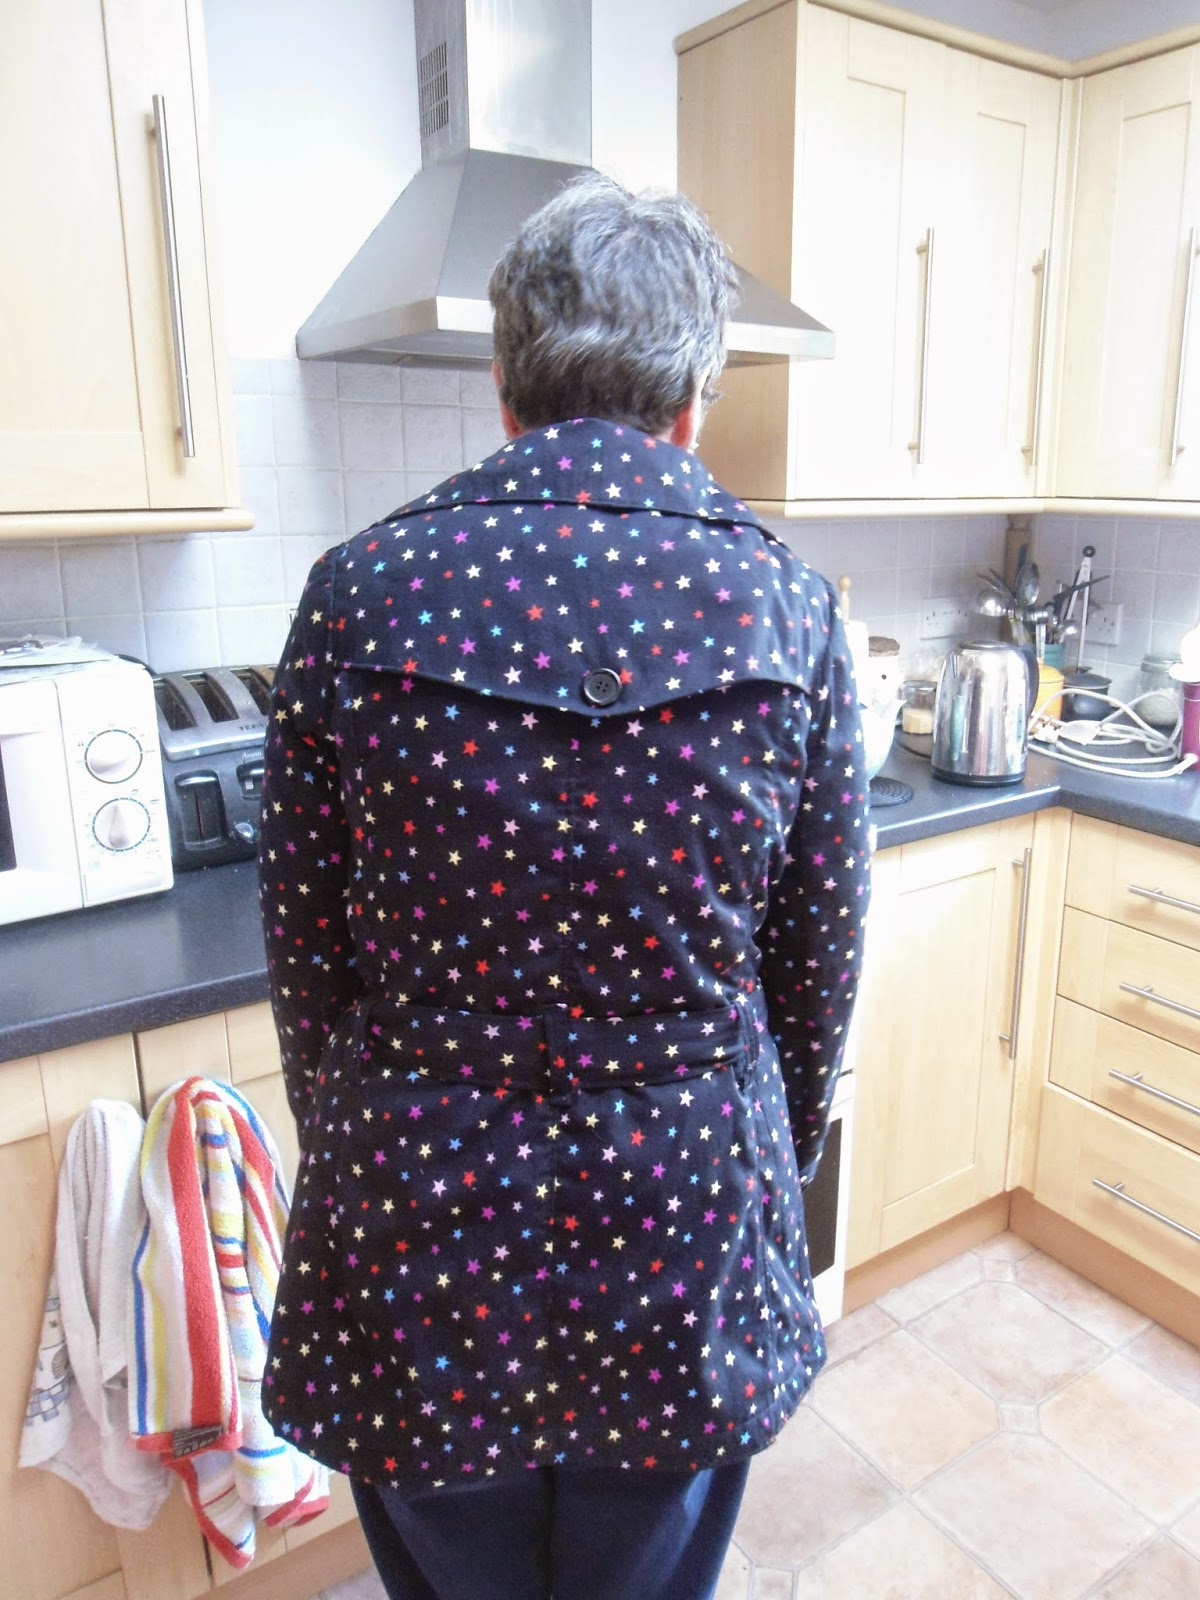
that button looks awful!

So lessons learned for next time then - (I do have a version of this lined up for me but it's not my main everyday autumn jacket.) cut a straight size 10, do not french seam, mark all notches, check fabric before cutting, add back on the bottom section of coat. I'm not entirely happy with my sewing process this time but I am happy with the end result , and that's the main thing right?

Has anyone else got any jacket patterns that they would recommend? Its getting to that time where I can't leave home without one!

I hope everyone is enjoying their weekend :-)

JCS xx